The ultimate Panda mods

For those that have Panda spinners, you all know how awesome they are for what they are. But, they are not designed for our use.

While my pandas are retired as we upgraded for compliance, safety and practicality, it’s hard to deny their ability especially for newbies. Hell we even captured slow motion video to see if they are really spinning at 3200rpm. Result? That and more.

Anyway, get your tools around. An Allen wrench kit, Phillips screwdriver, diagonal cutters, a drill and a beer.

Then, you’ll need to go to the hardware store. Get foil duct tape, the real kind… not the general stuff, but the nice thick stuff that is practically sticky tin foil. And also an ac remote switch. You can go as fancy or basic as you want. We started with the $7 one.

I’m not going to post pictures of removing the lid. It’s pretty straight forward. There’s an allen wrench in the handle. Loosen that, lift up the handle (it may be tough) then remove the 3 screws holding the lid on.

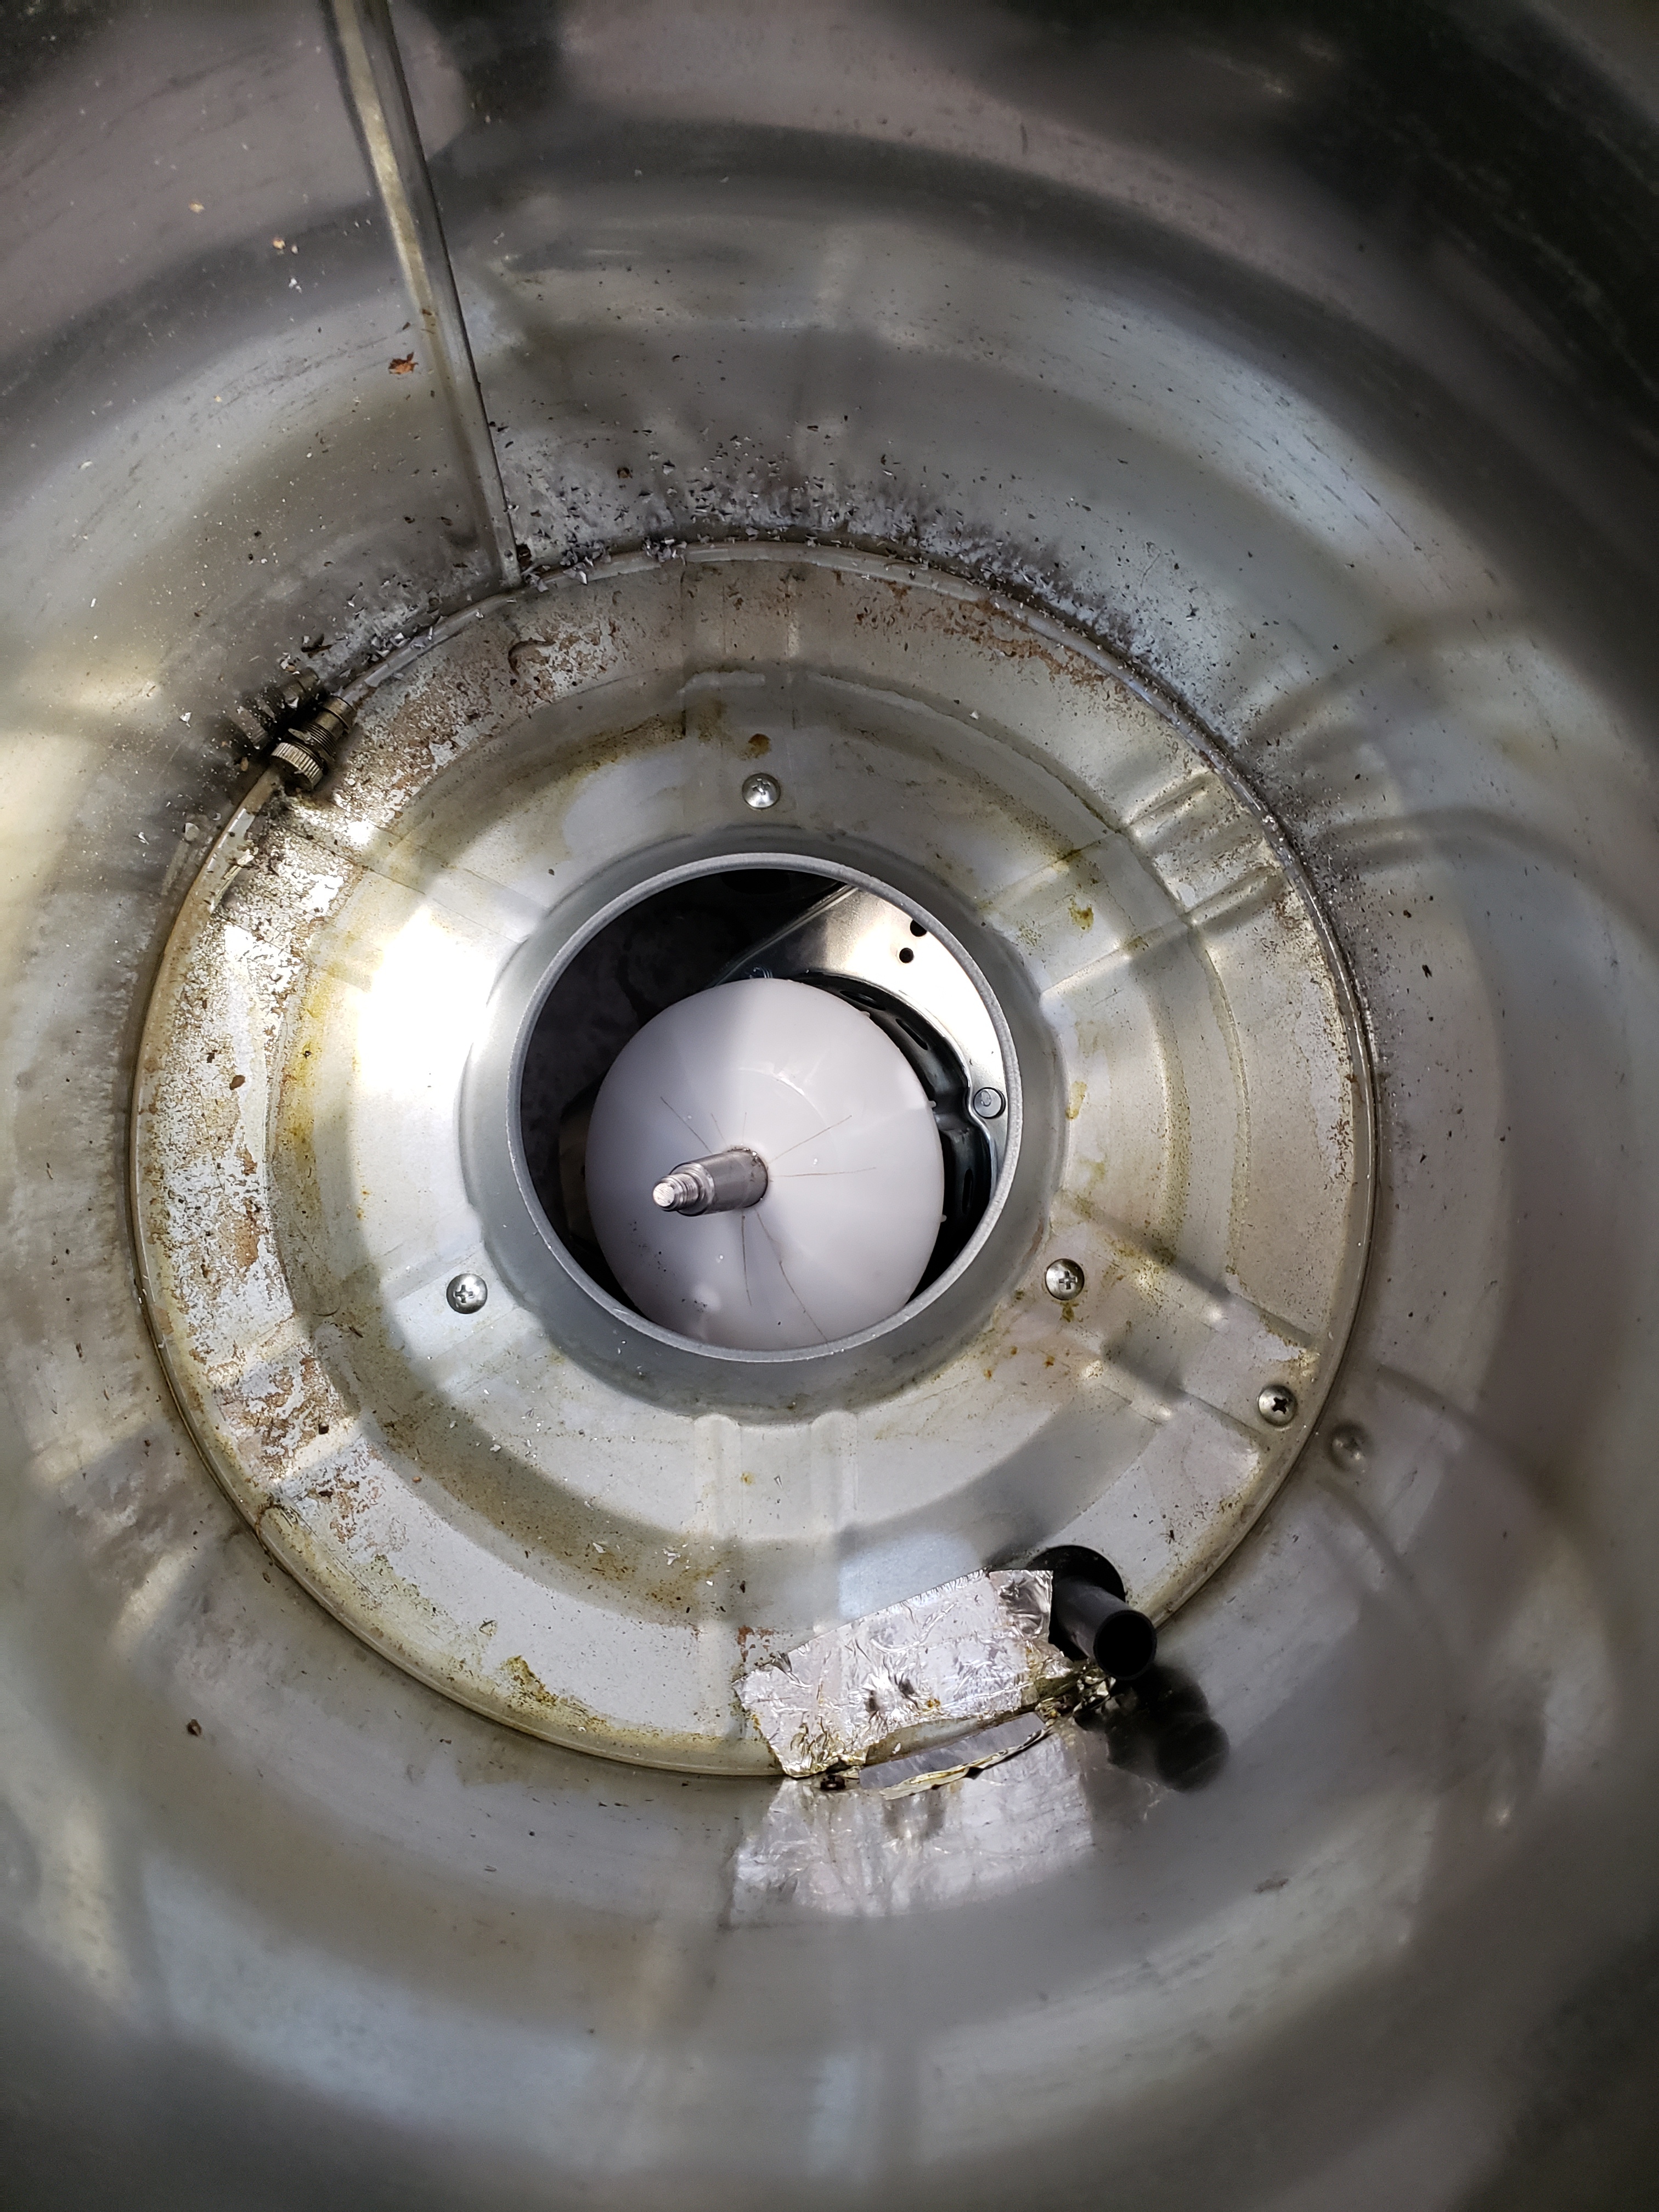
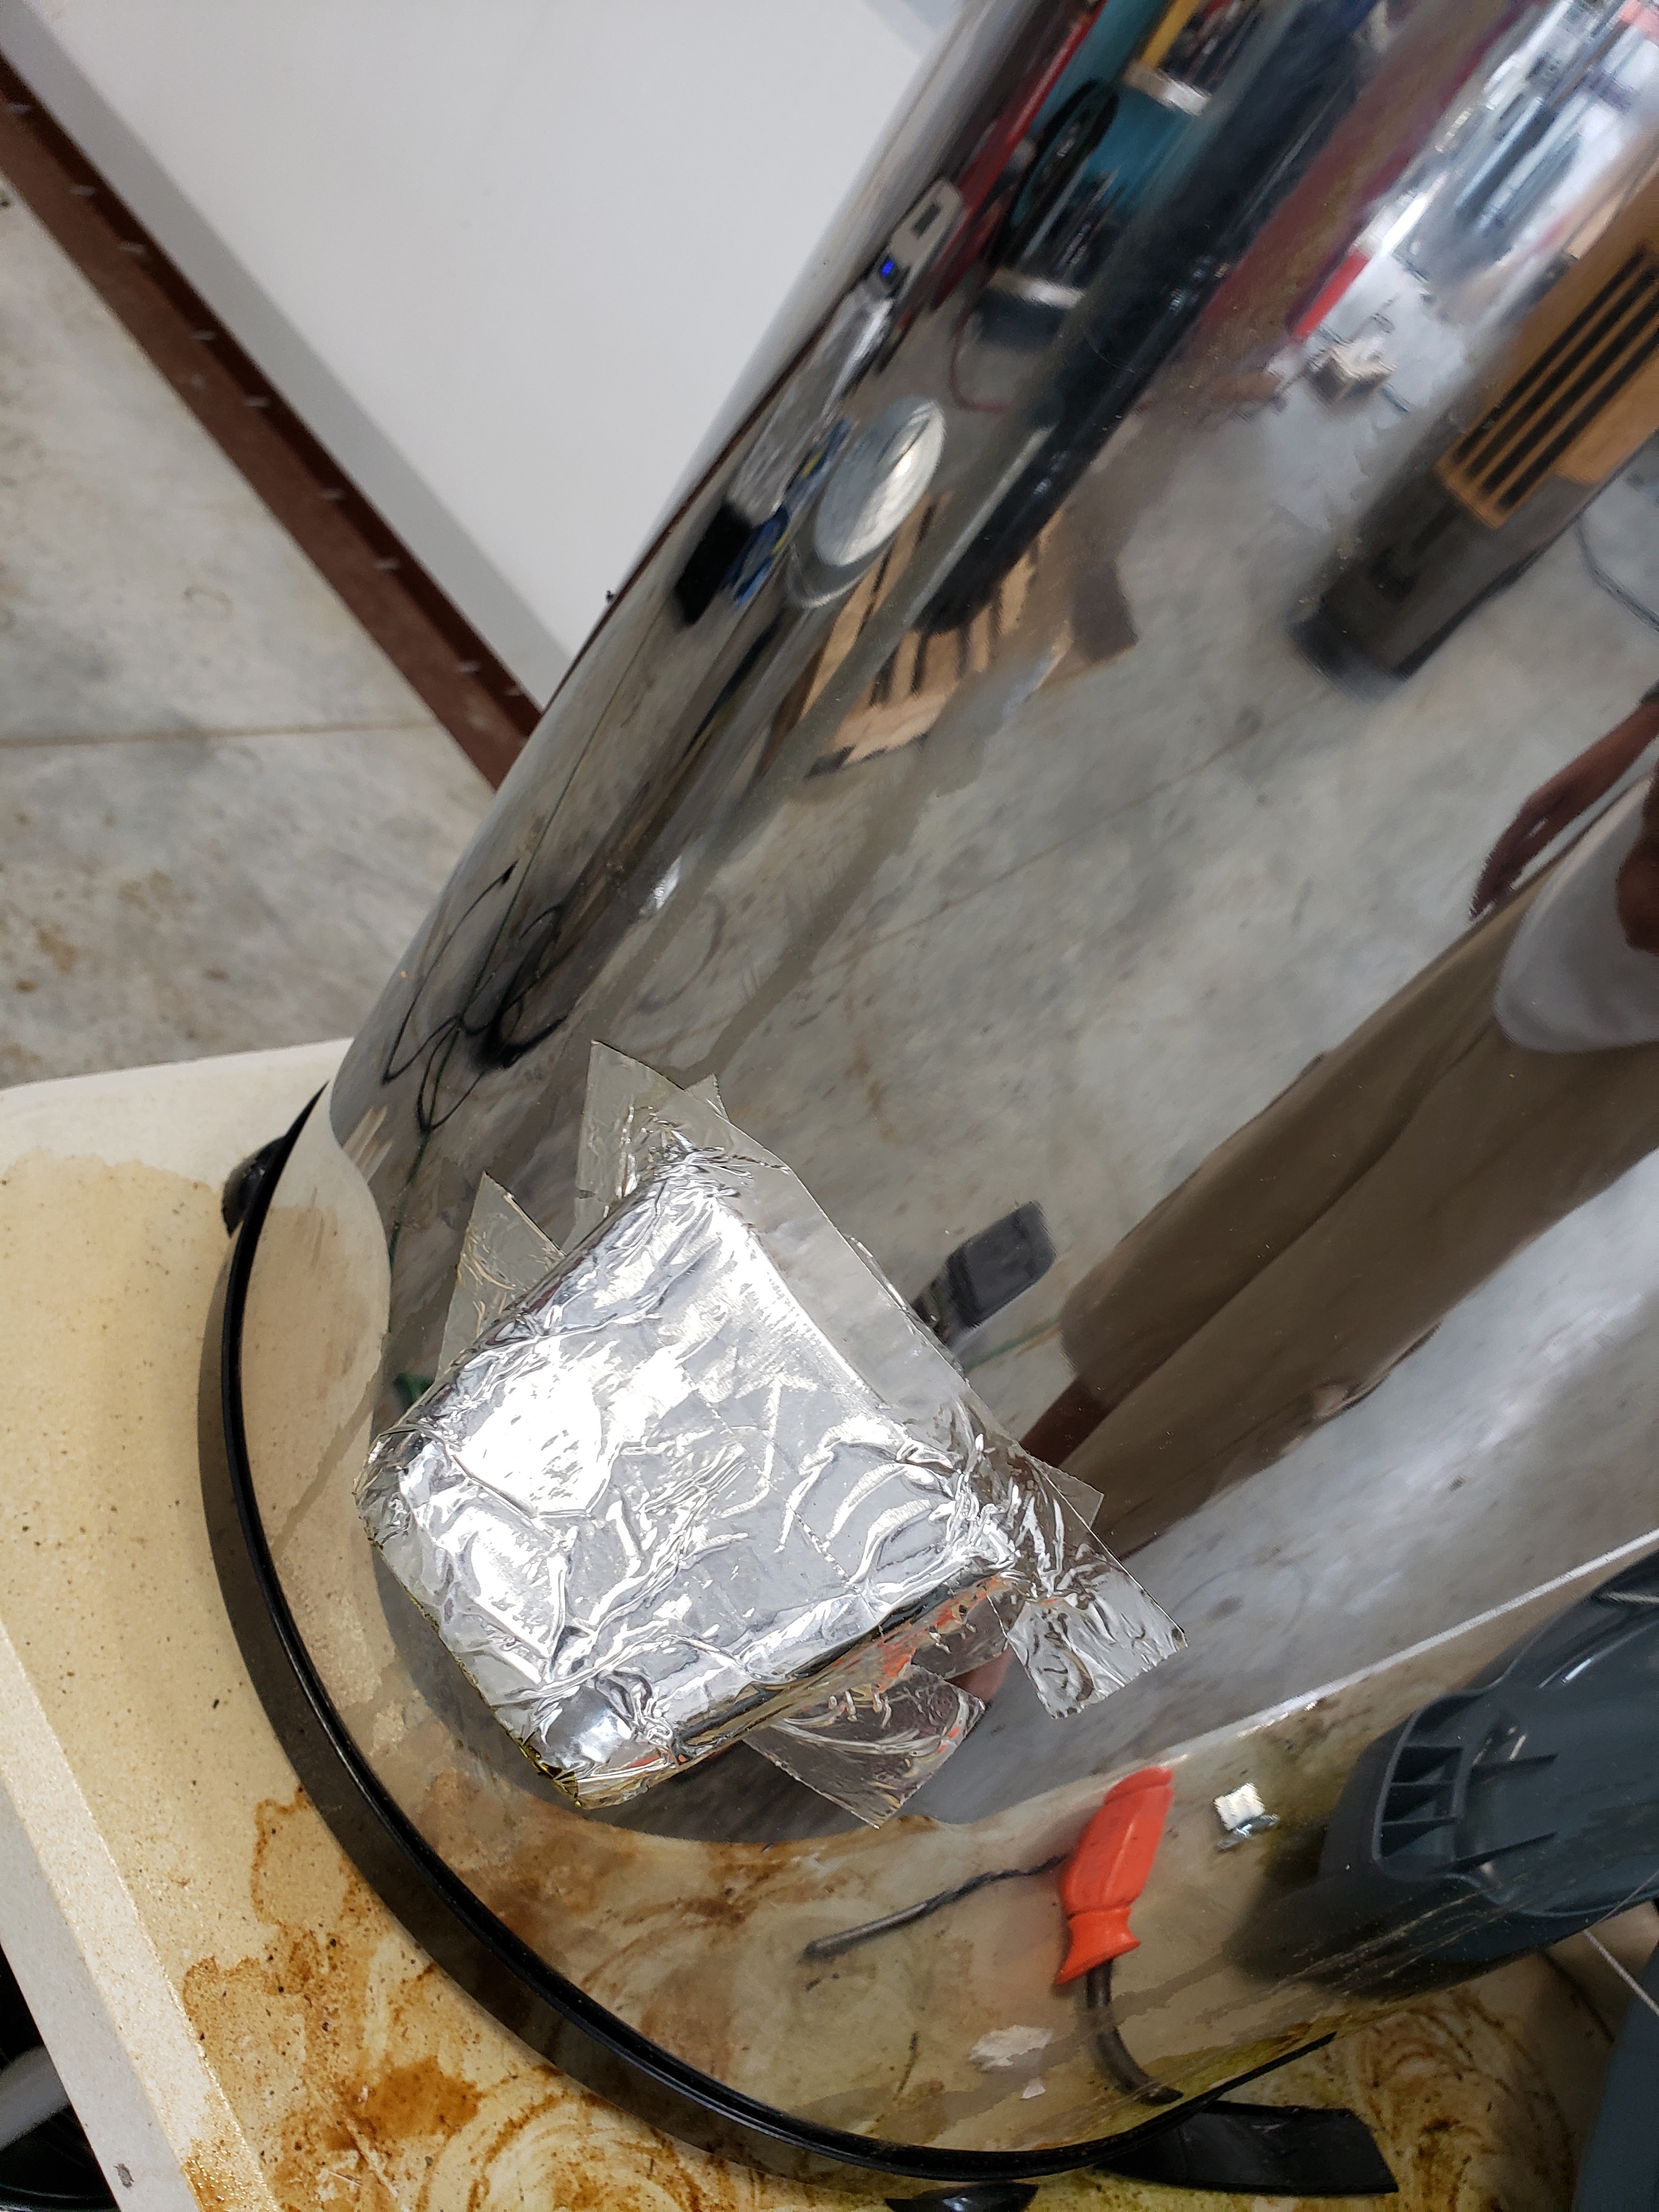
Next step is reinforcing the spout. That freaking thing gets so brittle after exposure to solvents that you don’t even have to bump it. Take your foil tape and cover 100% of the spout, inside and out.


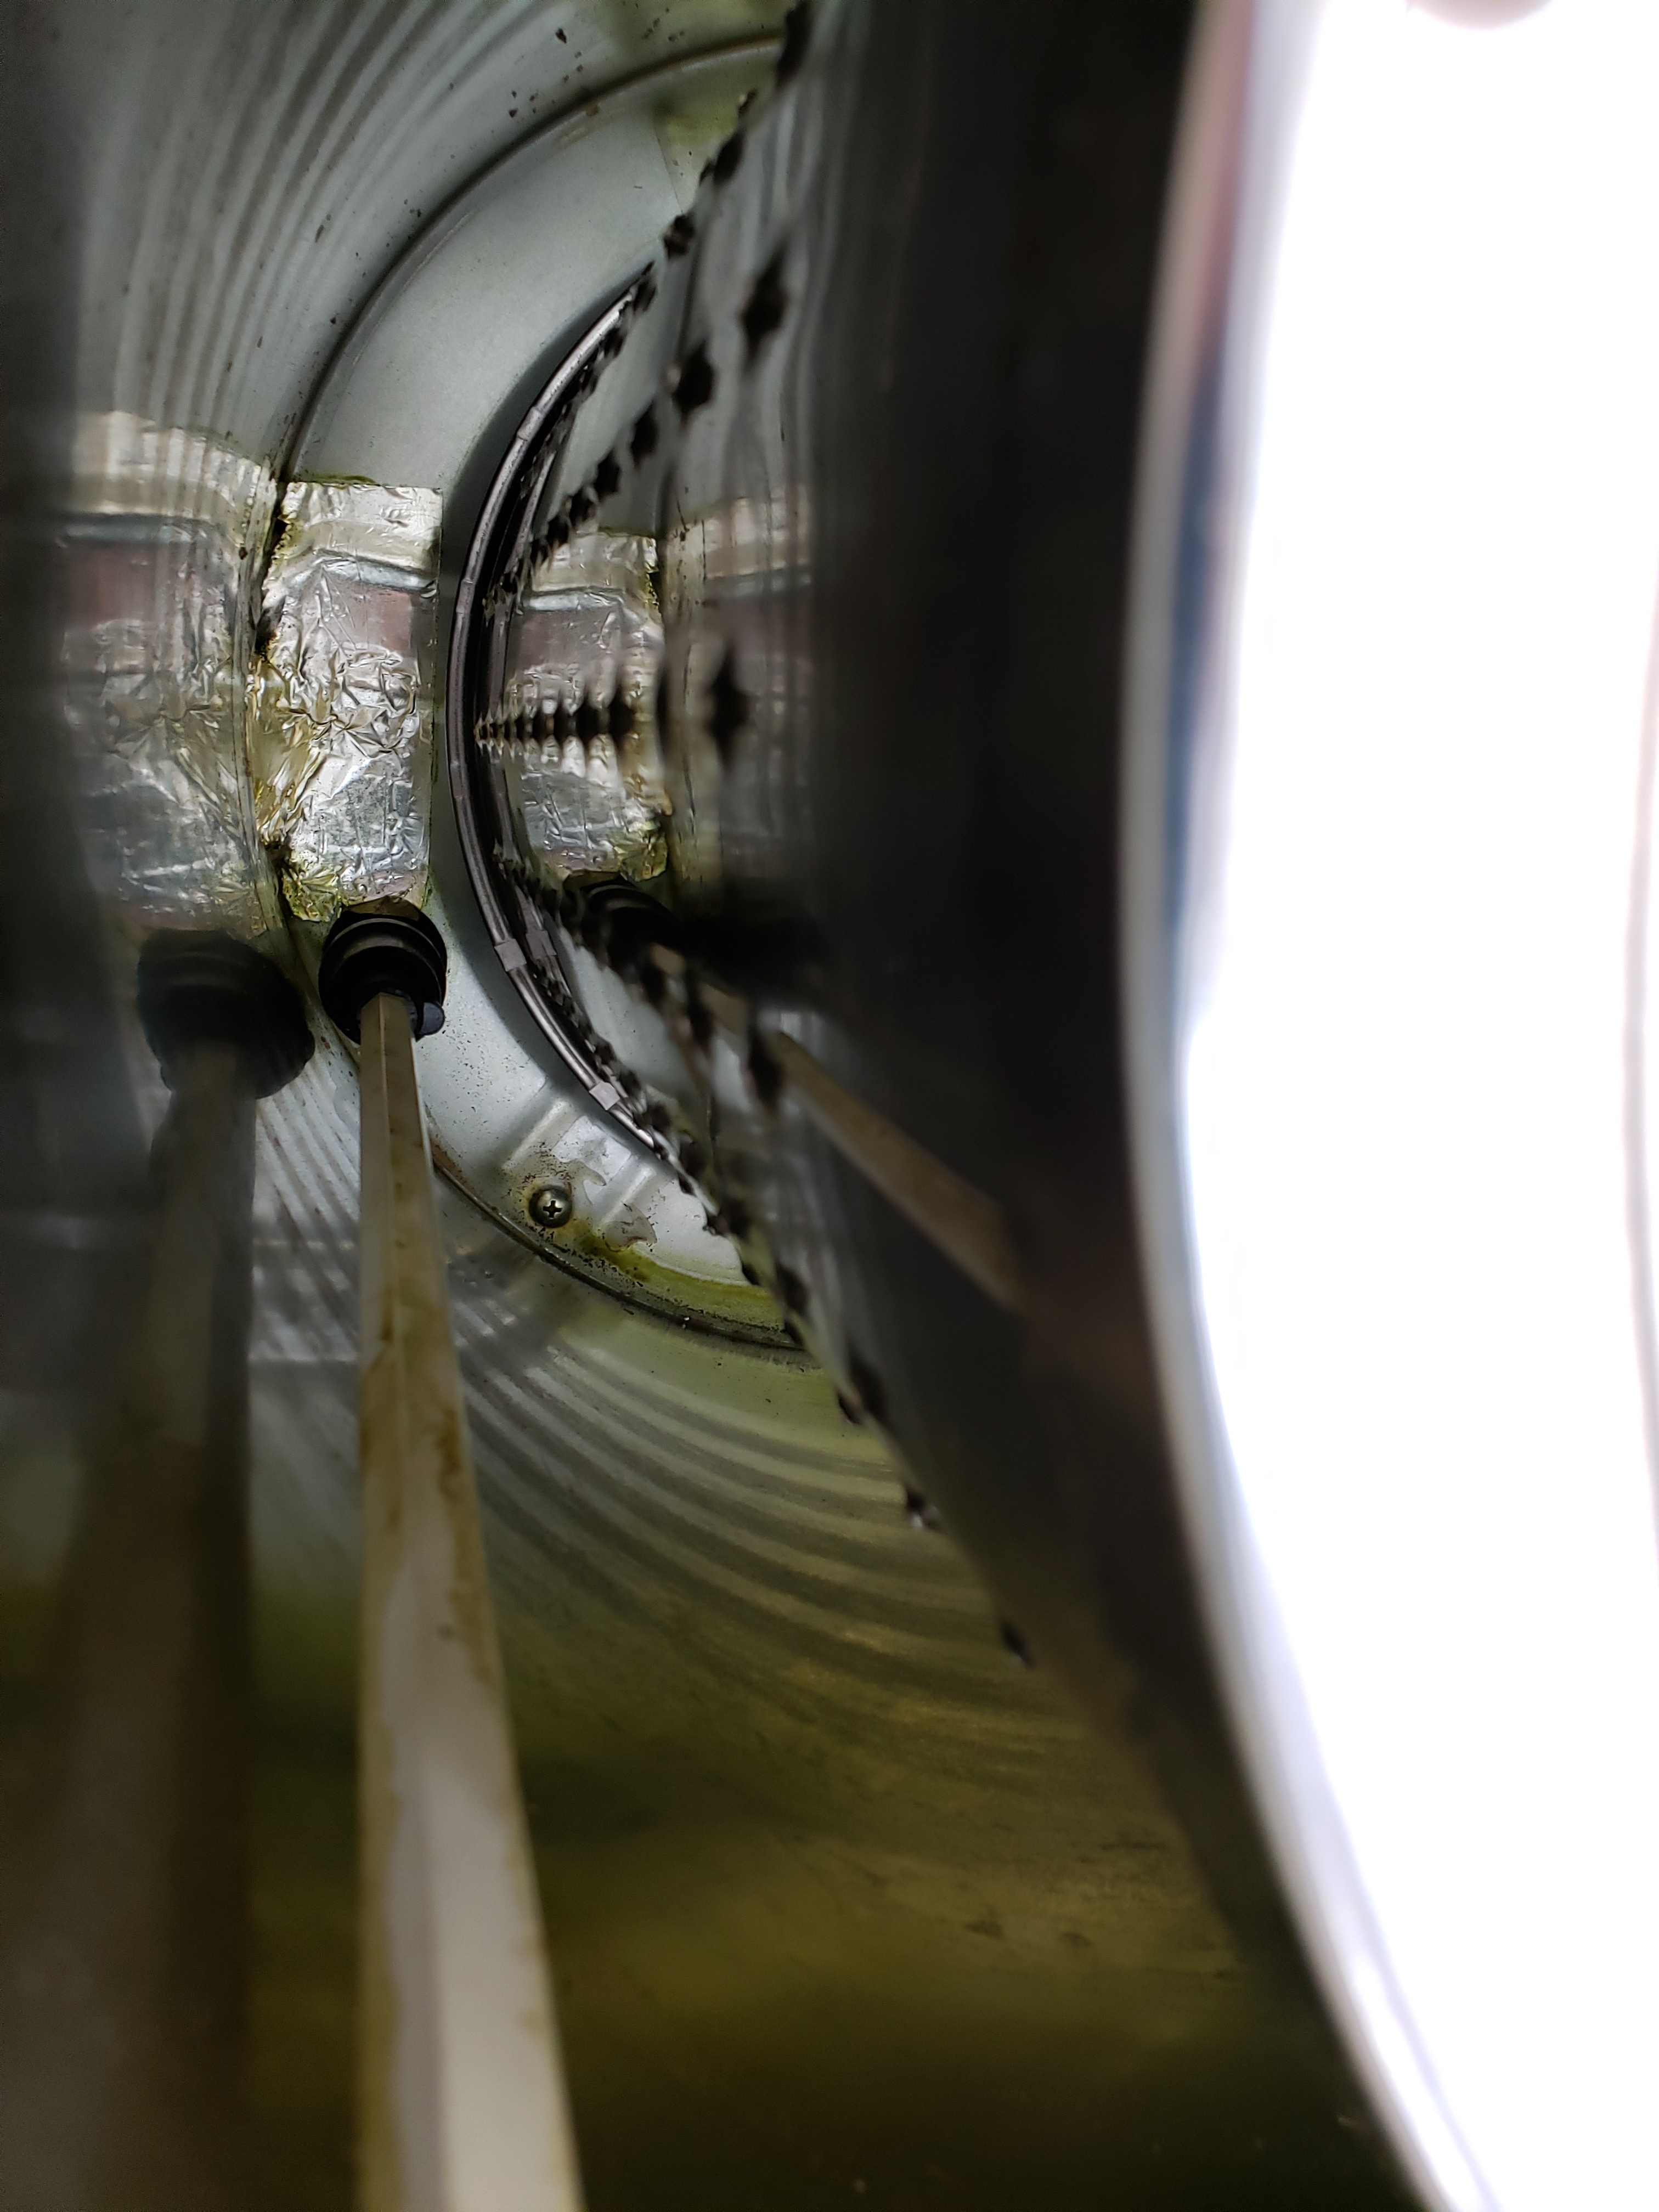
If you have the top removed you can push the basket to the side, allowing you to get inside there a little easier. Careful, the outside of that panda is a cheese grater.

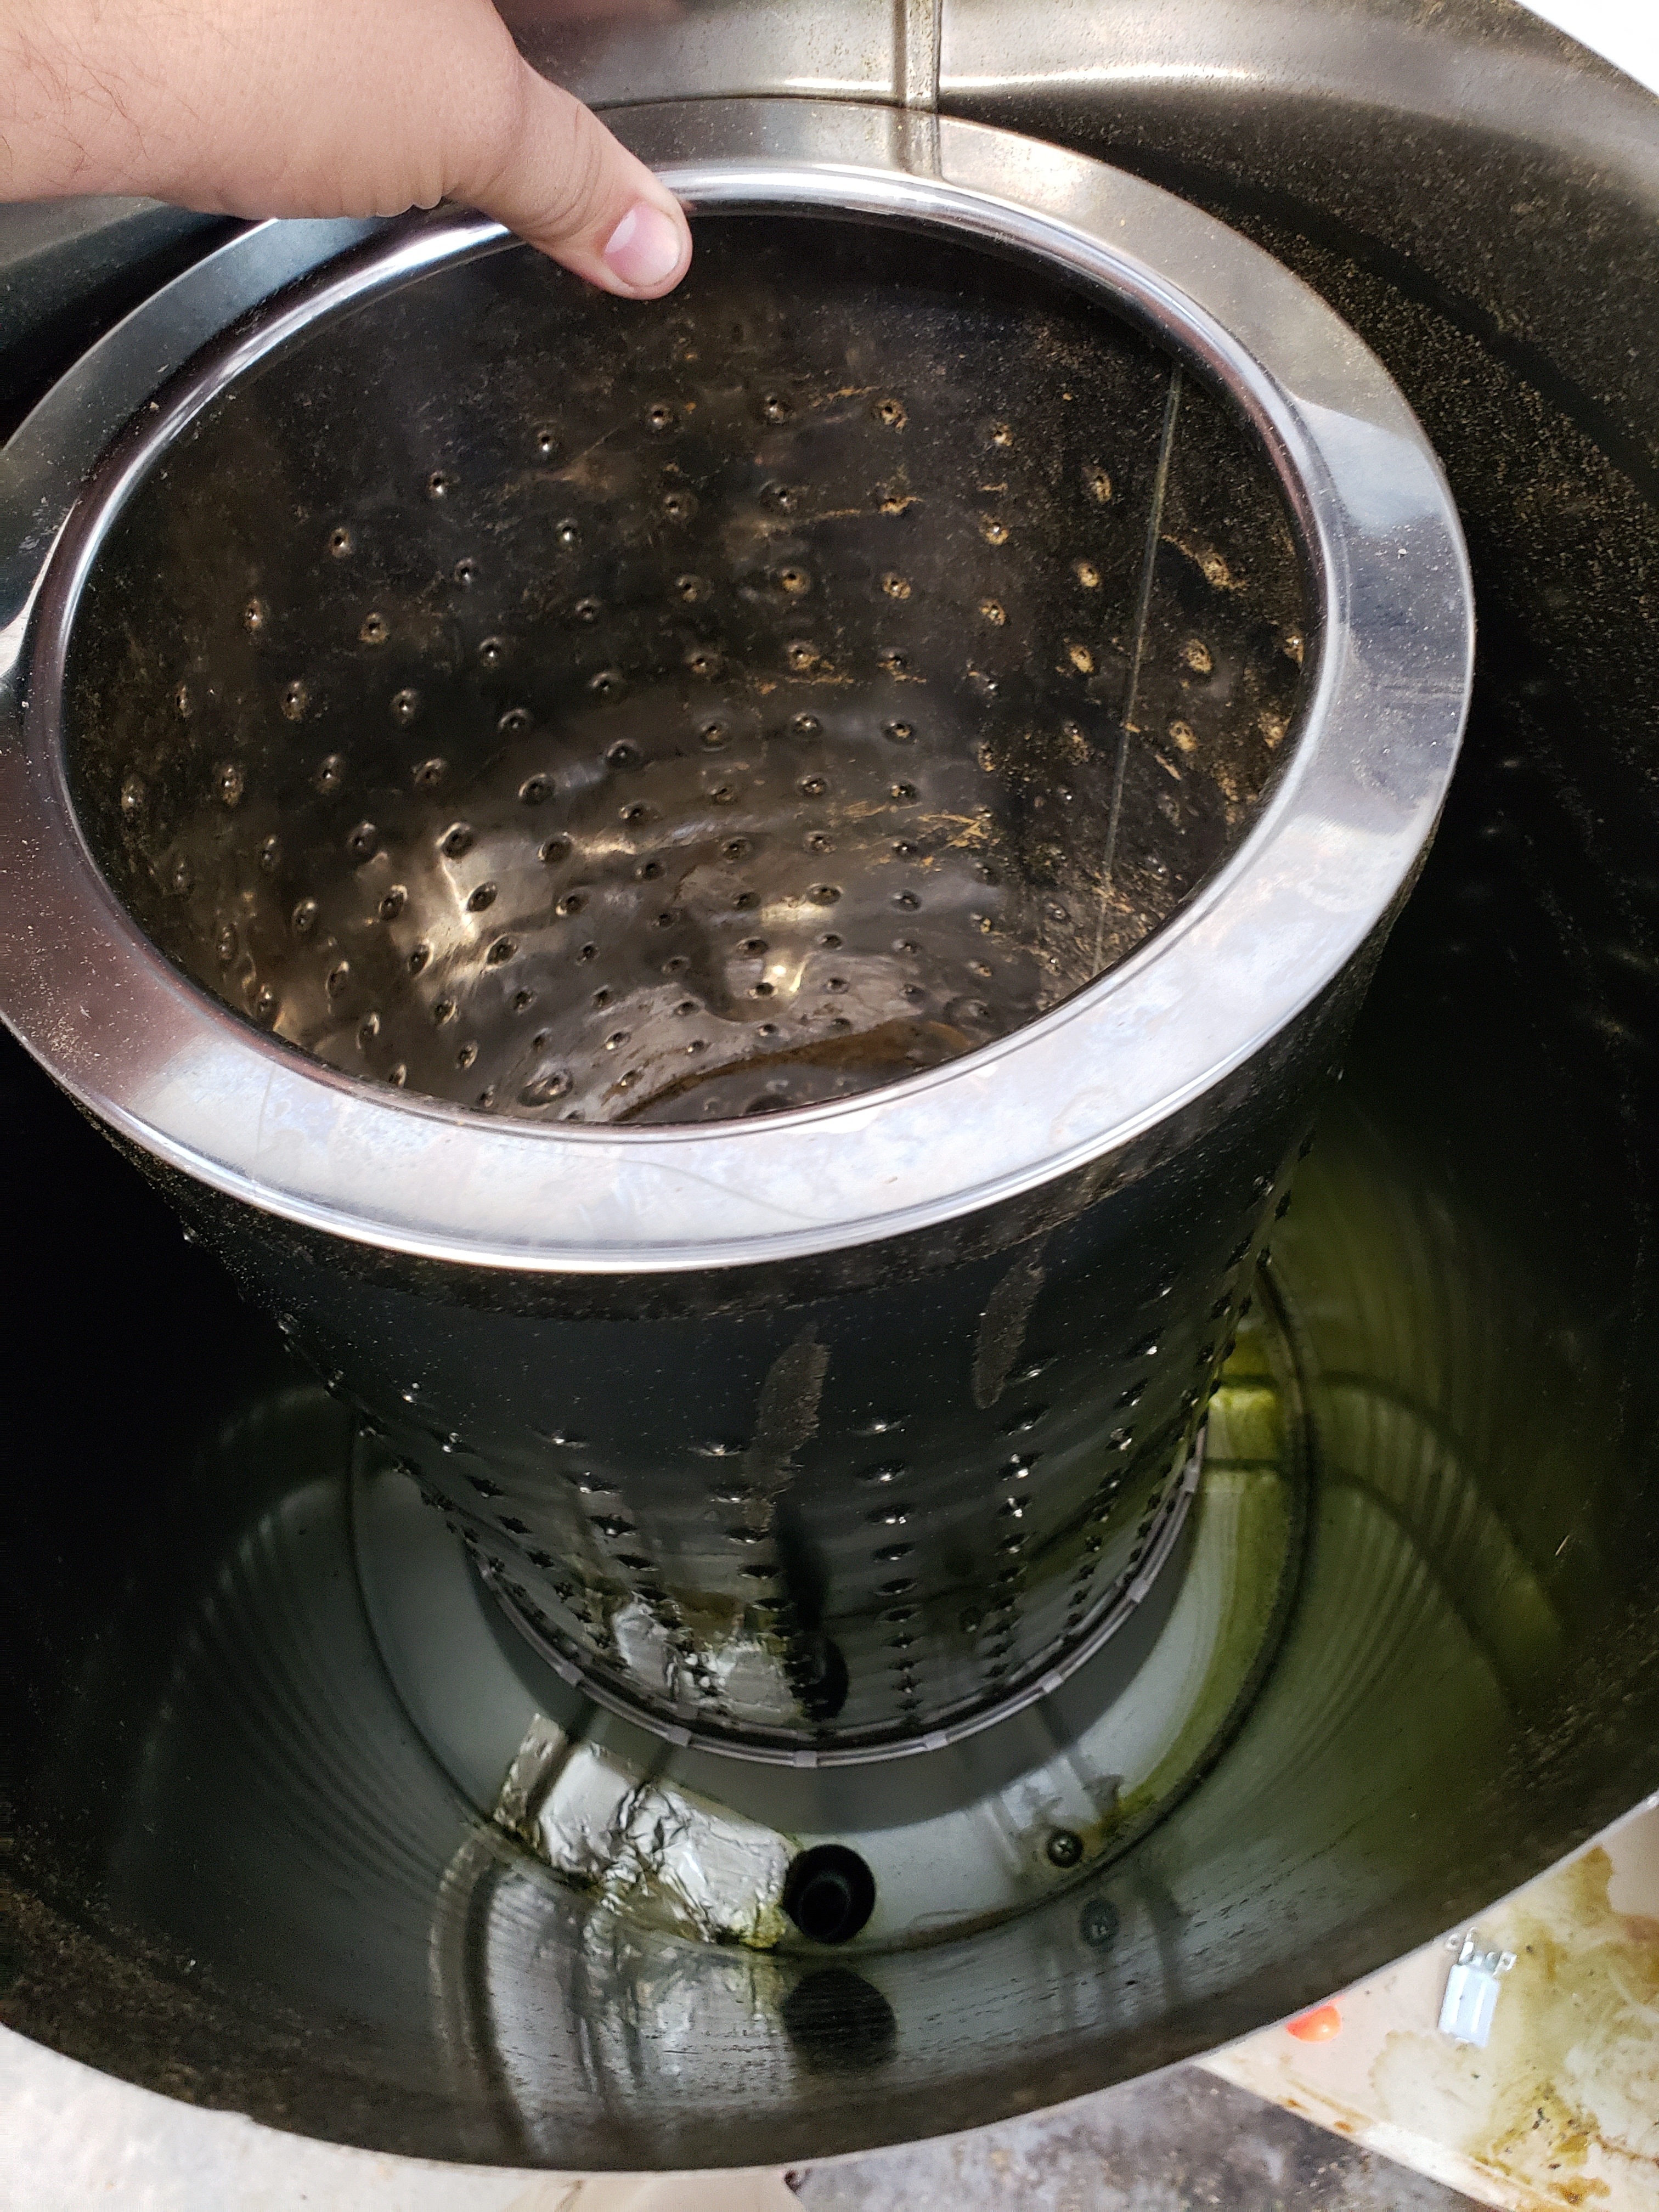
Drum removal (optional). The drum was actually easy to remove once I figured out how. There’s one nut in the center of the basket. Remove that. Now the basket is only held on by that bolt, but it’s wedged on there pretty good. We found that after removing the nut, one person holds the basket, and lifts up the panda an inch or so off of the ground, and another takes a long rod or punch tool and taps the head of the bolt that was holding the basket in. The basket will drop and voila.

Next is going to be the electrical upgrade.

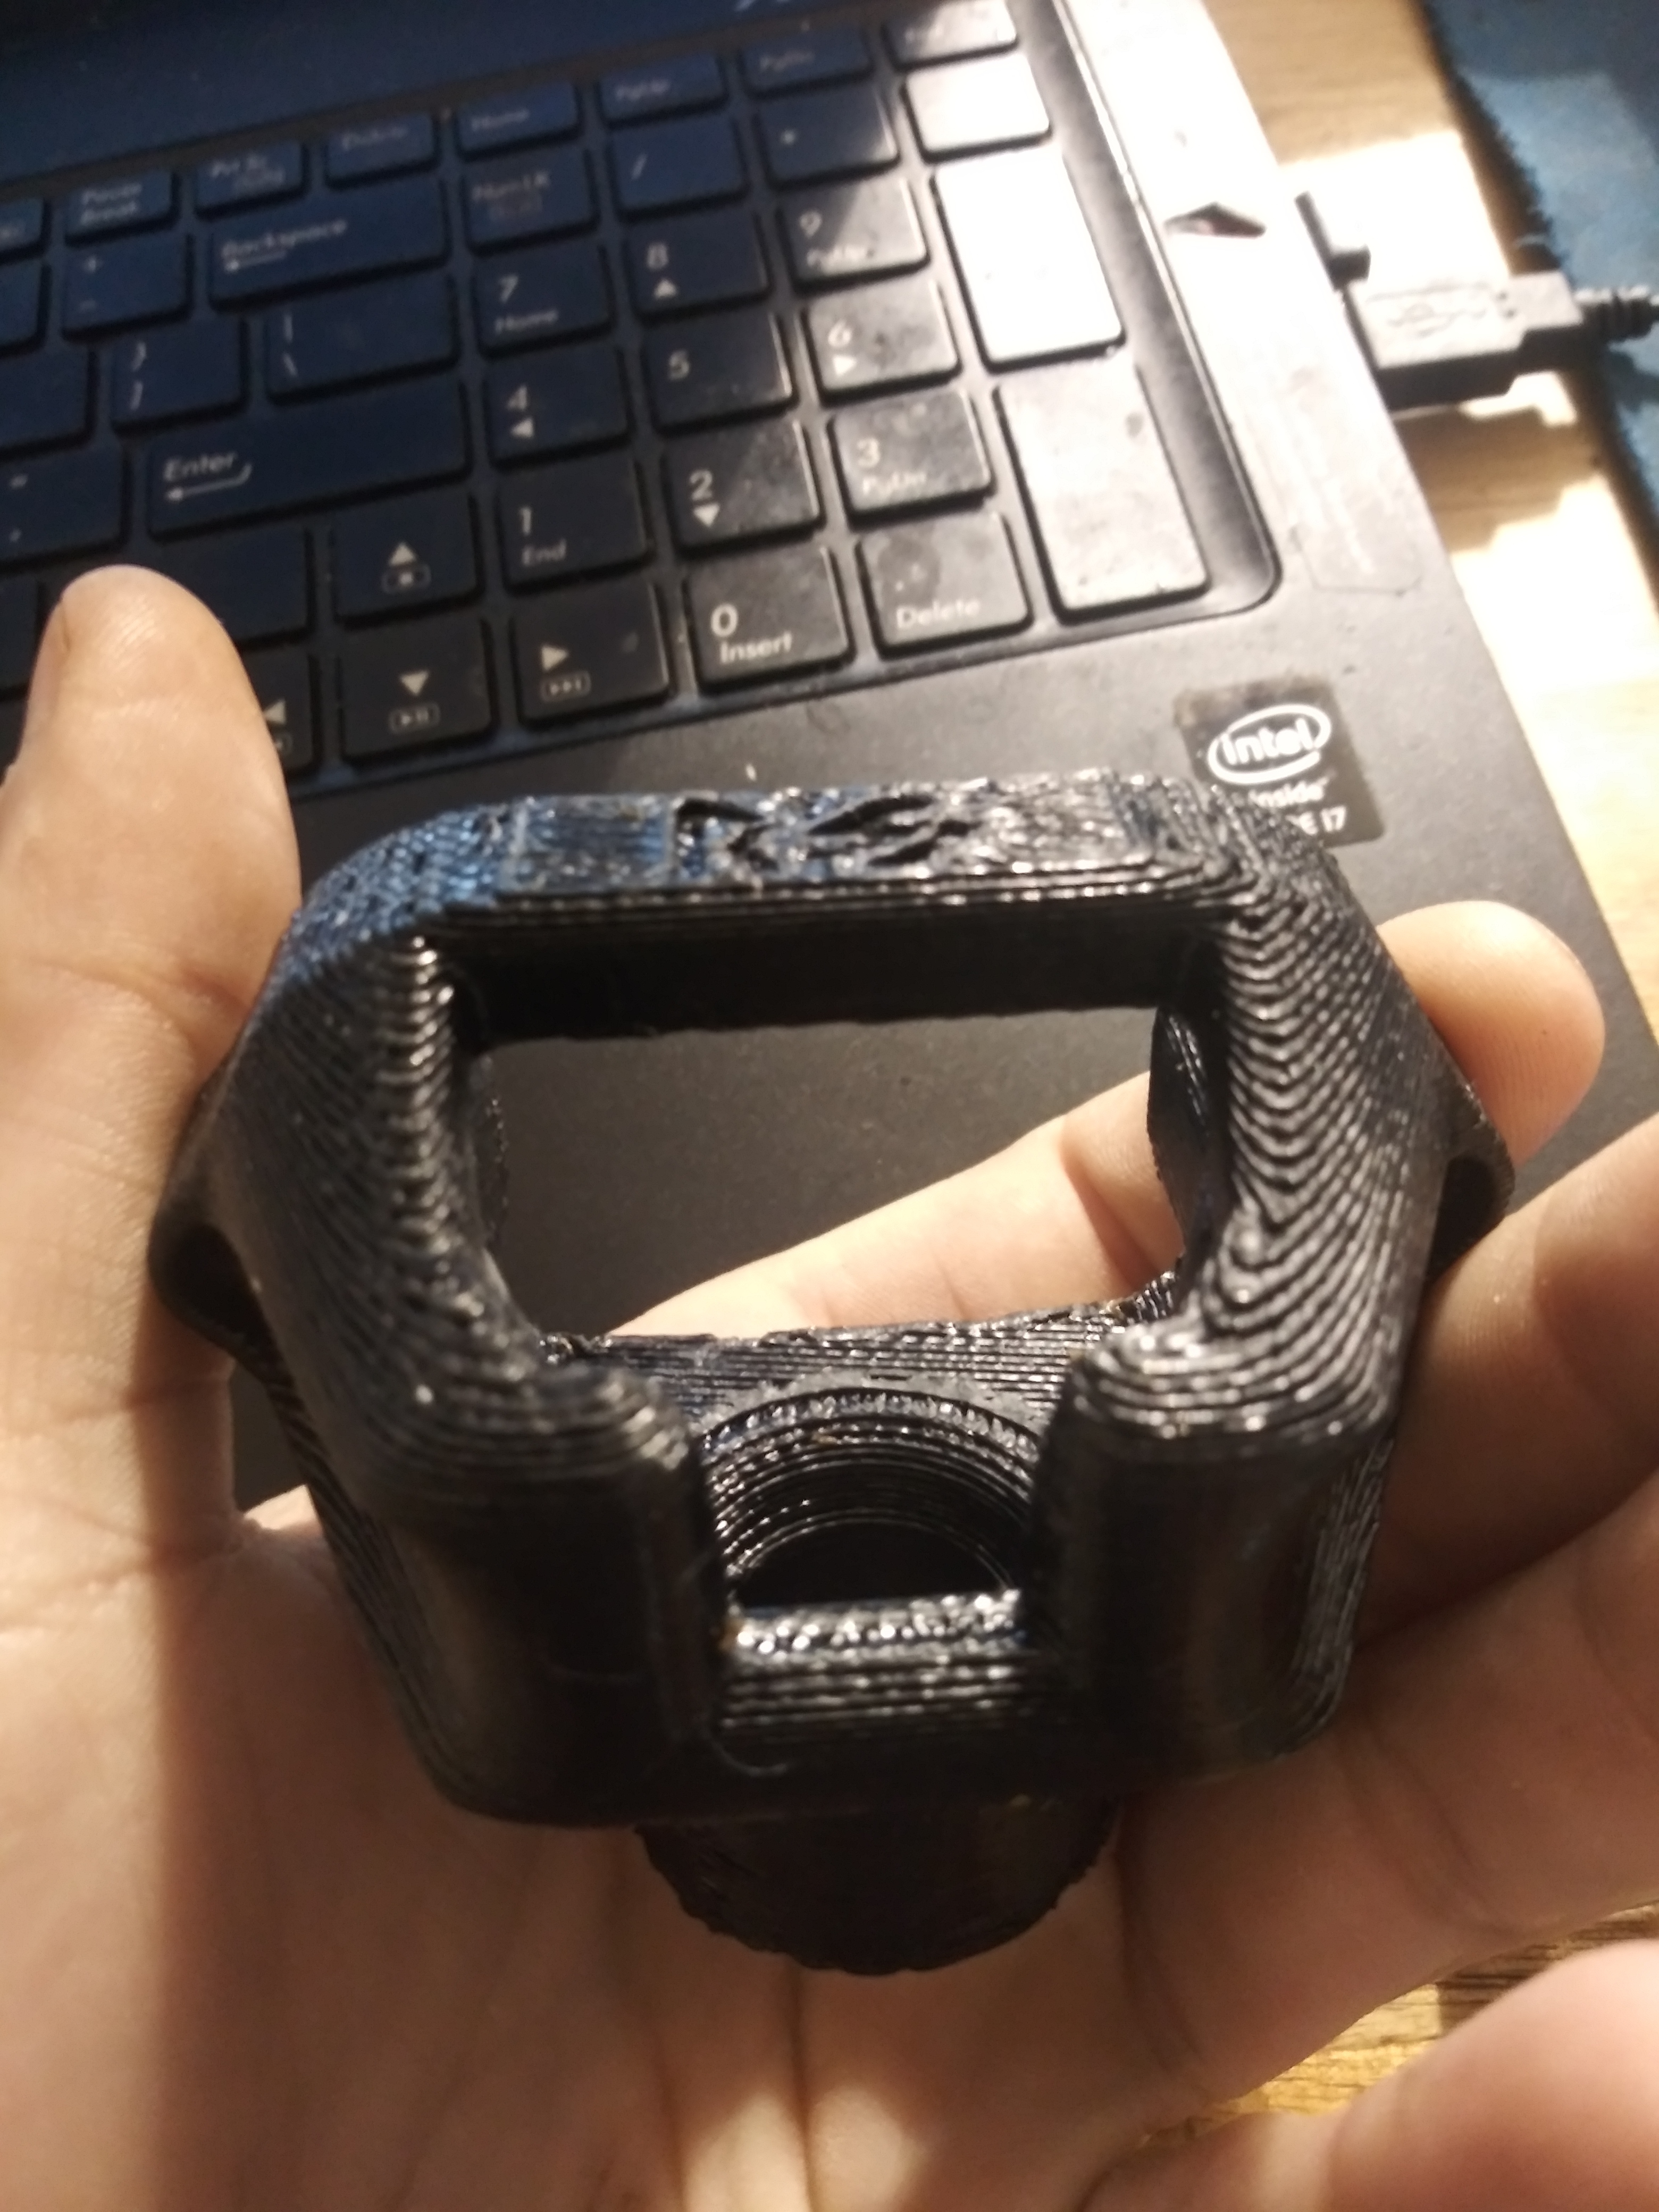
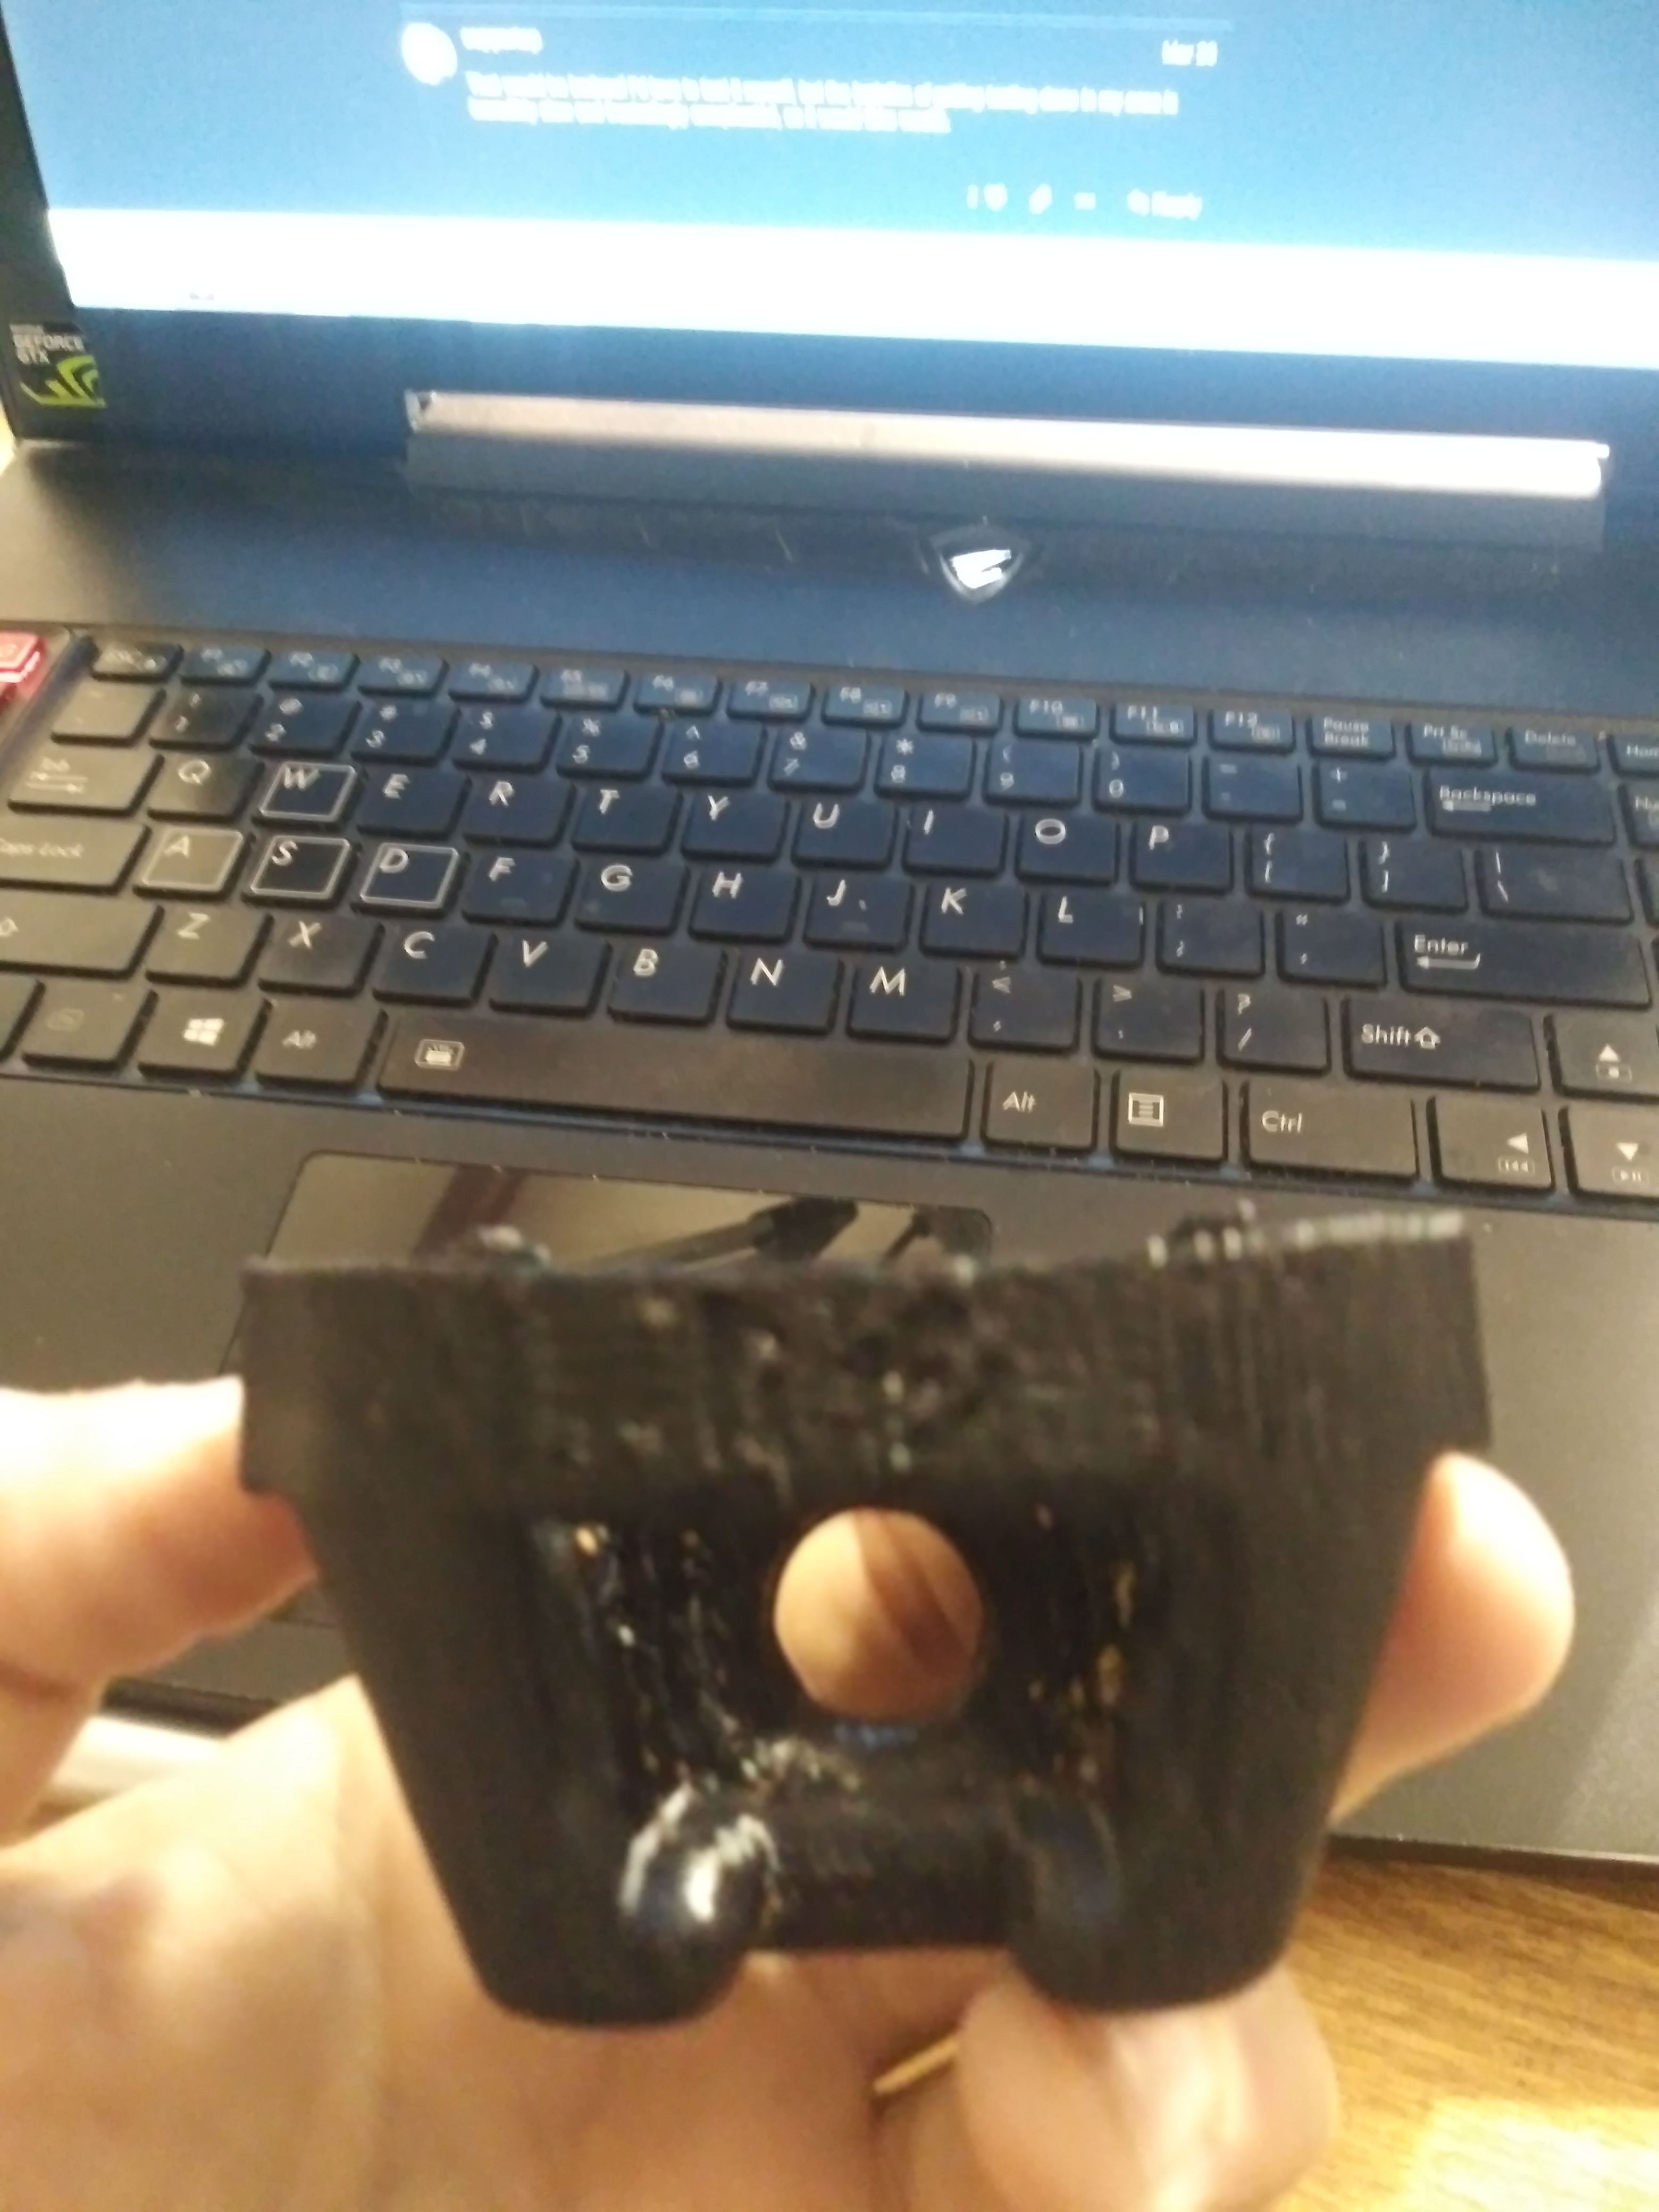
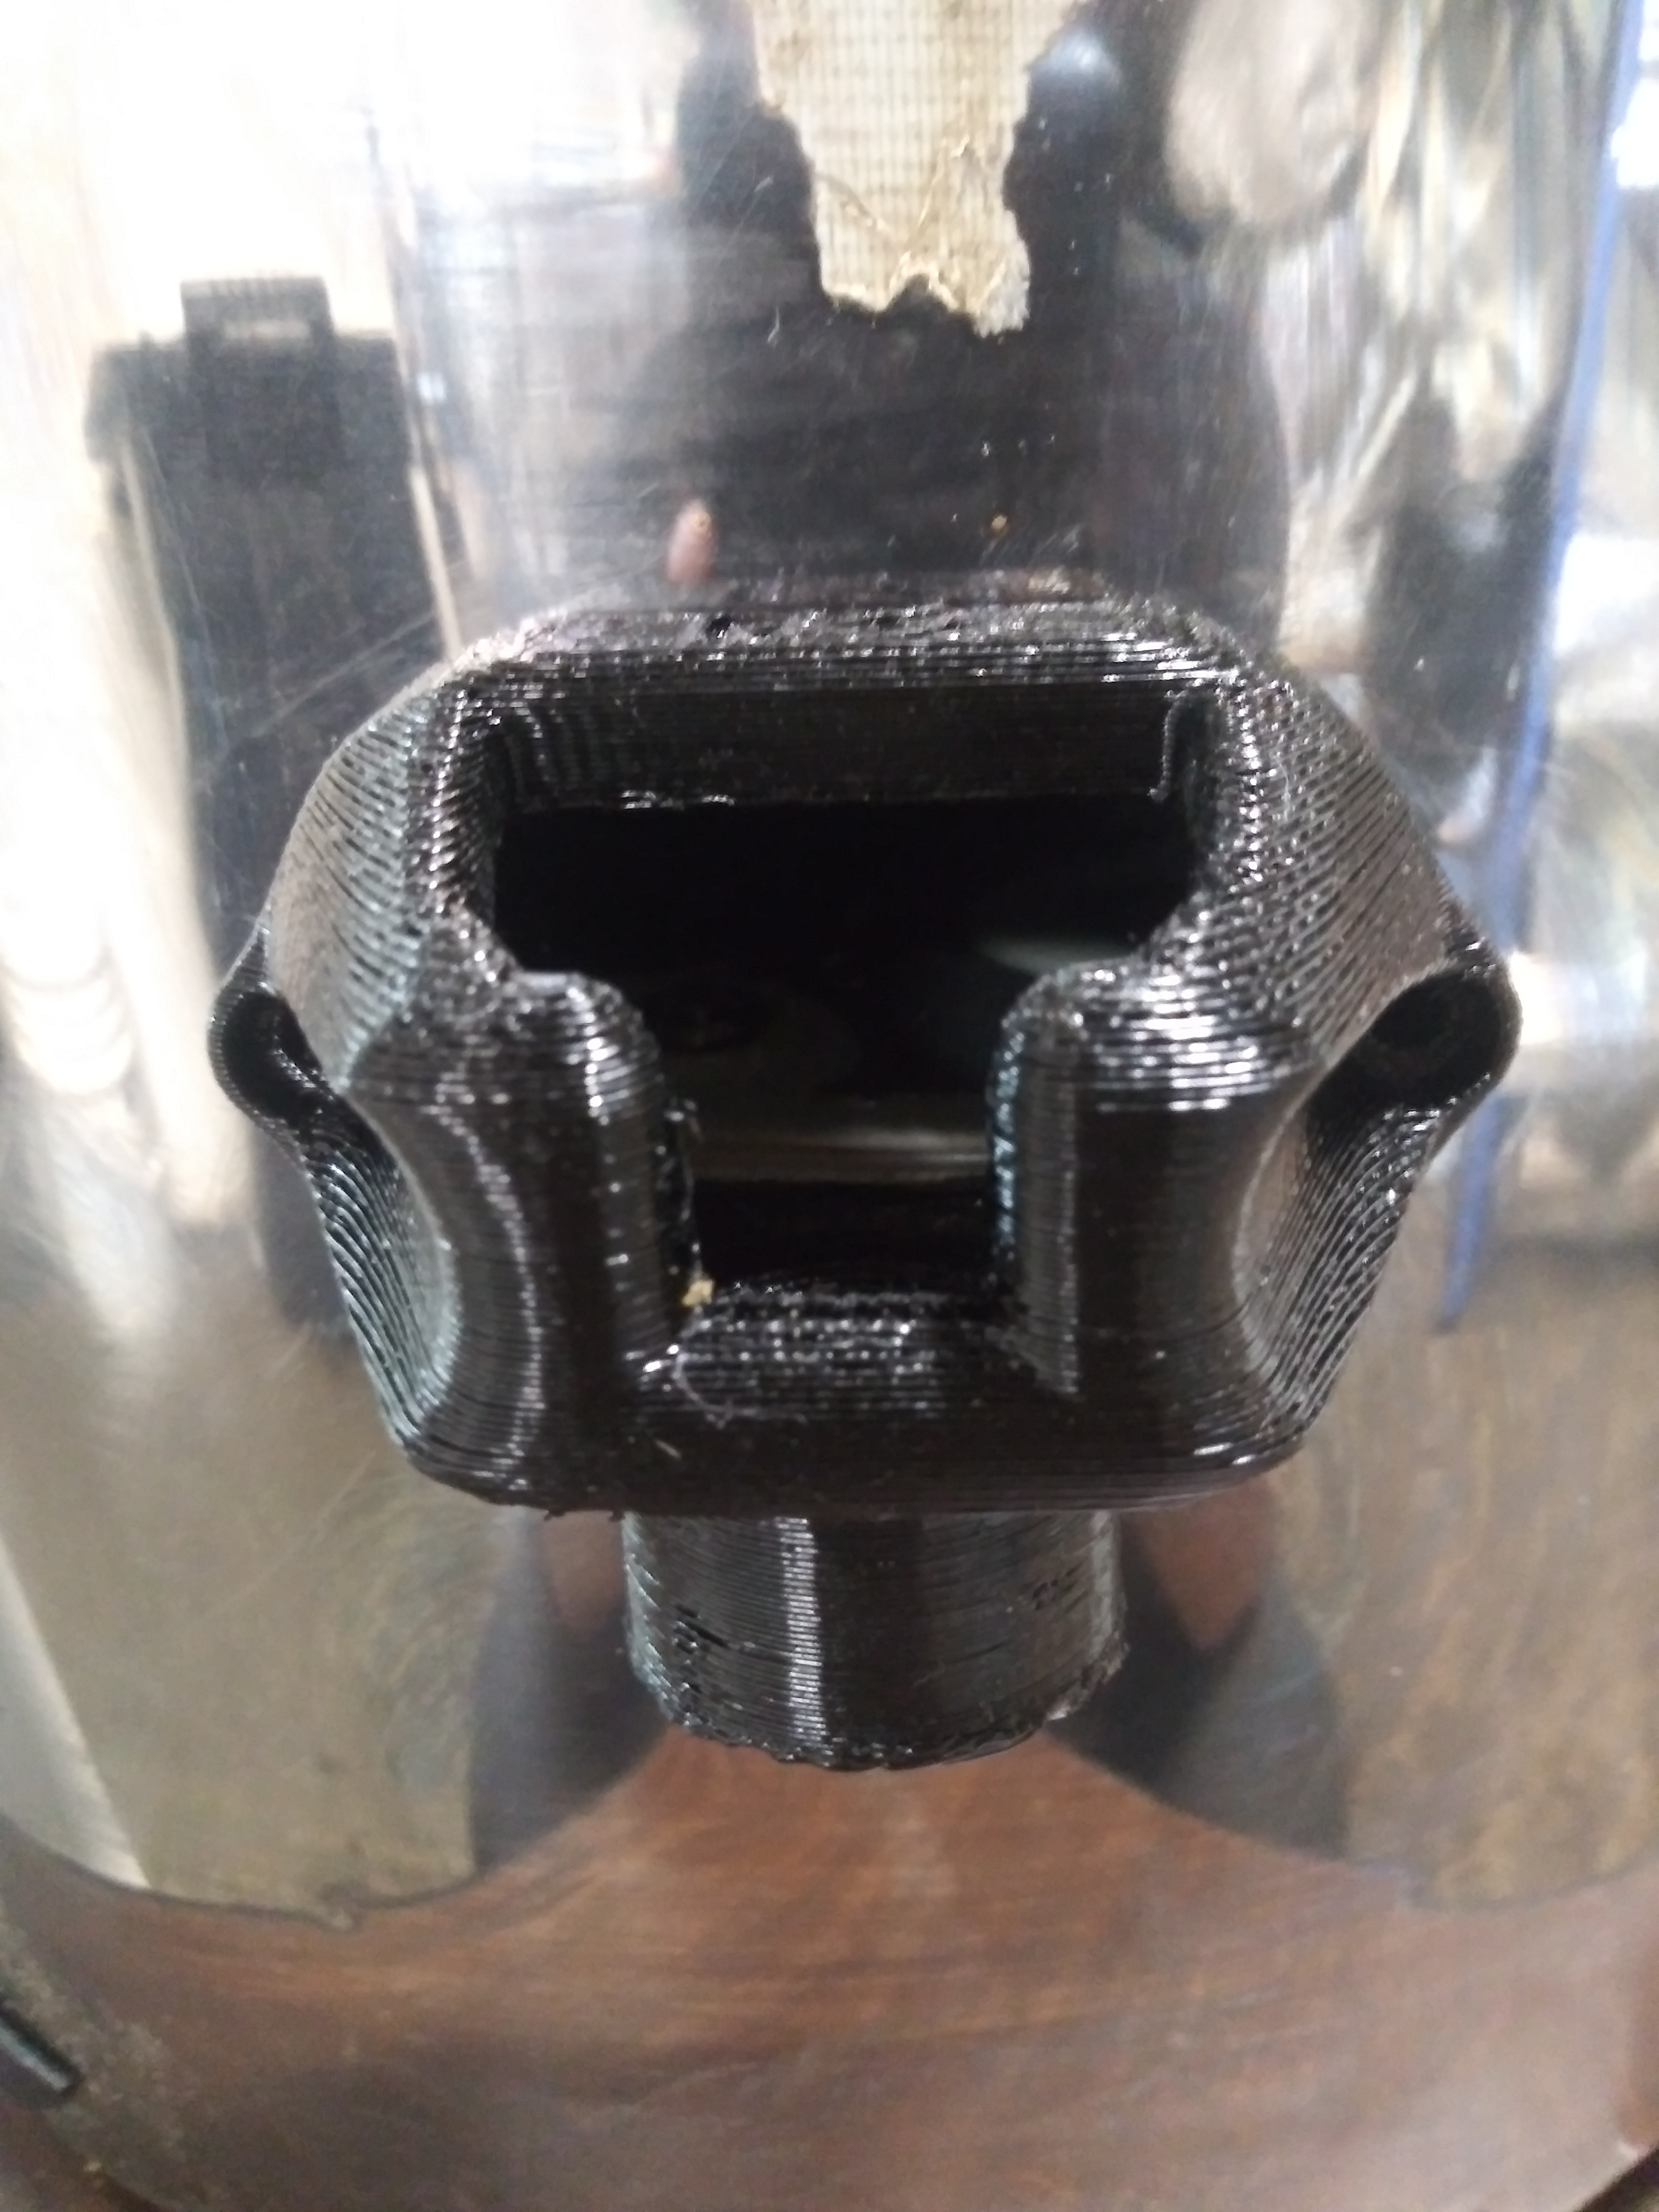
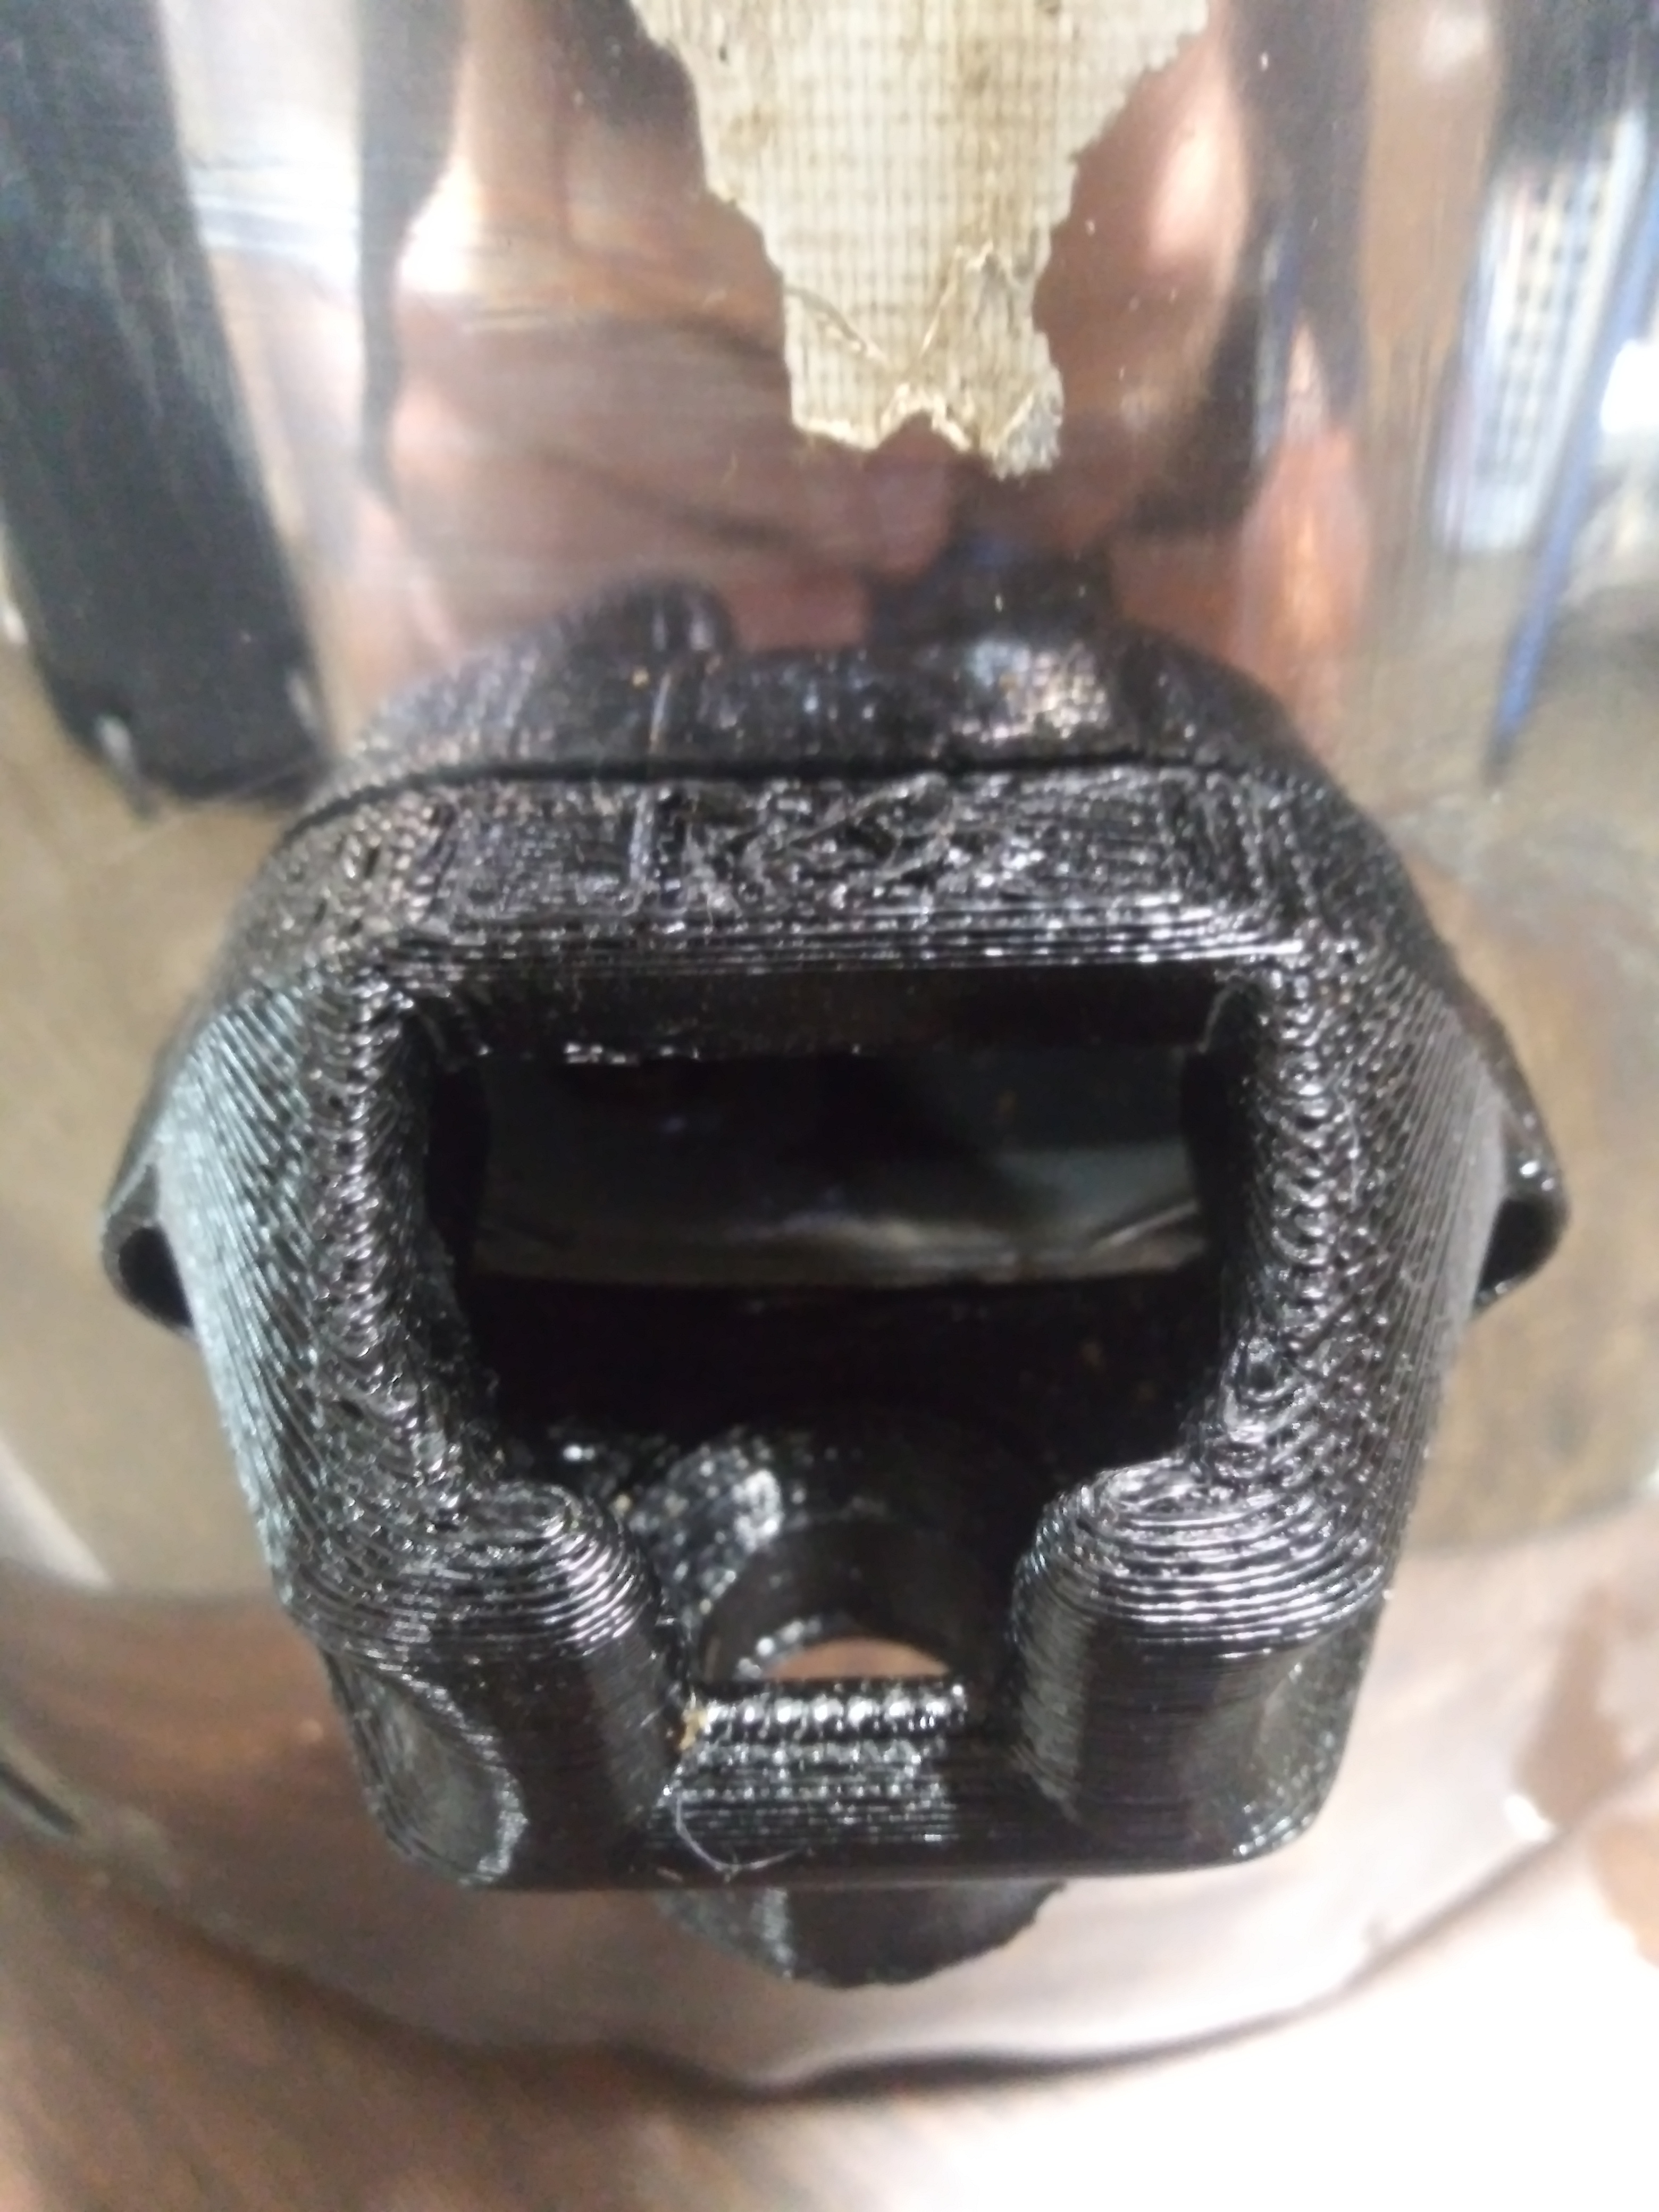
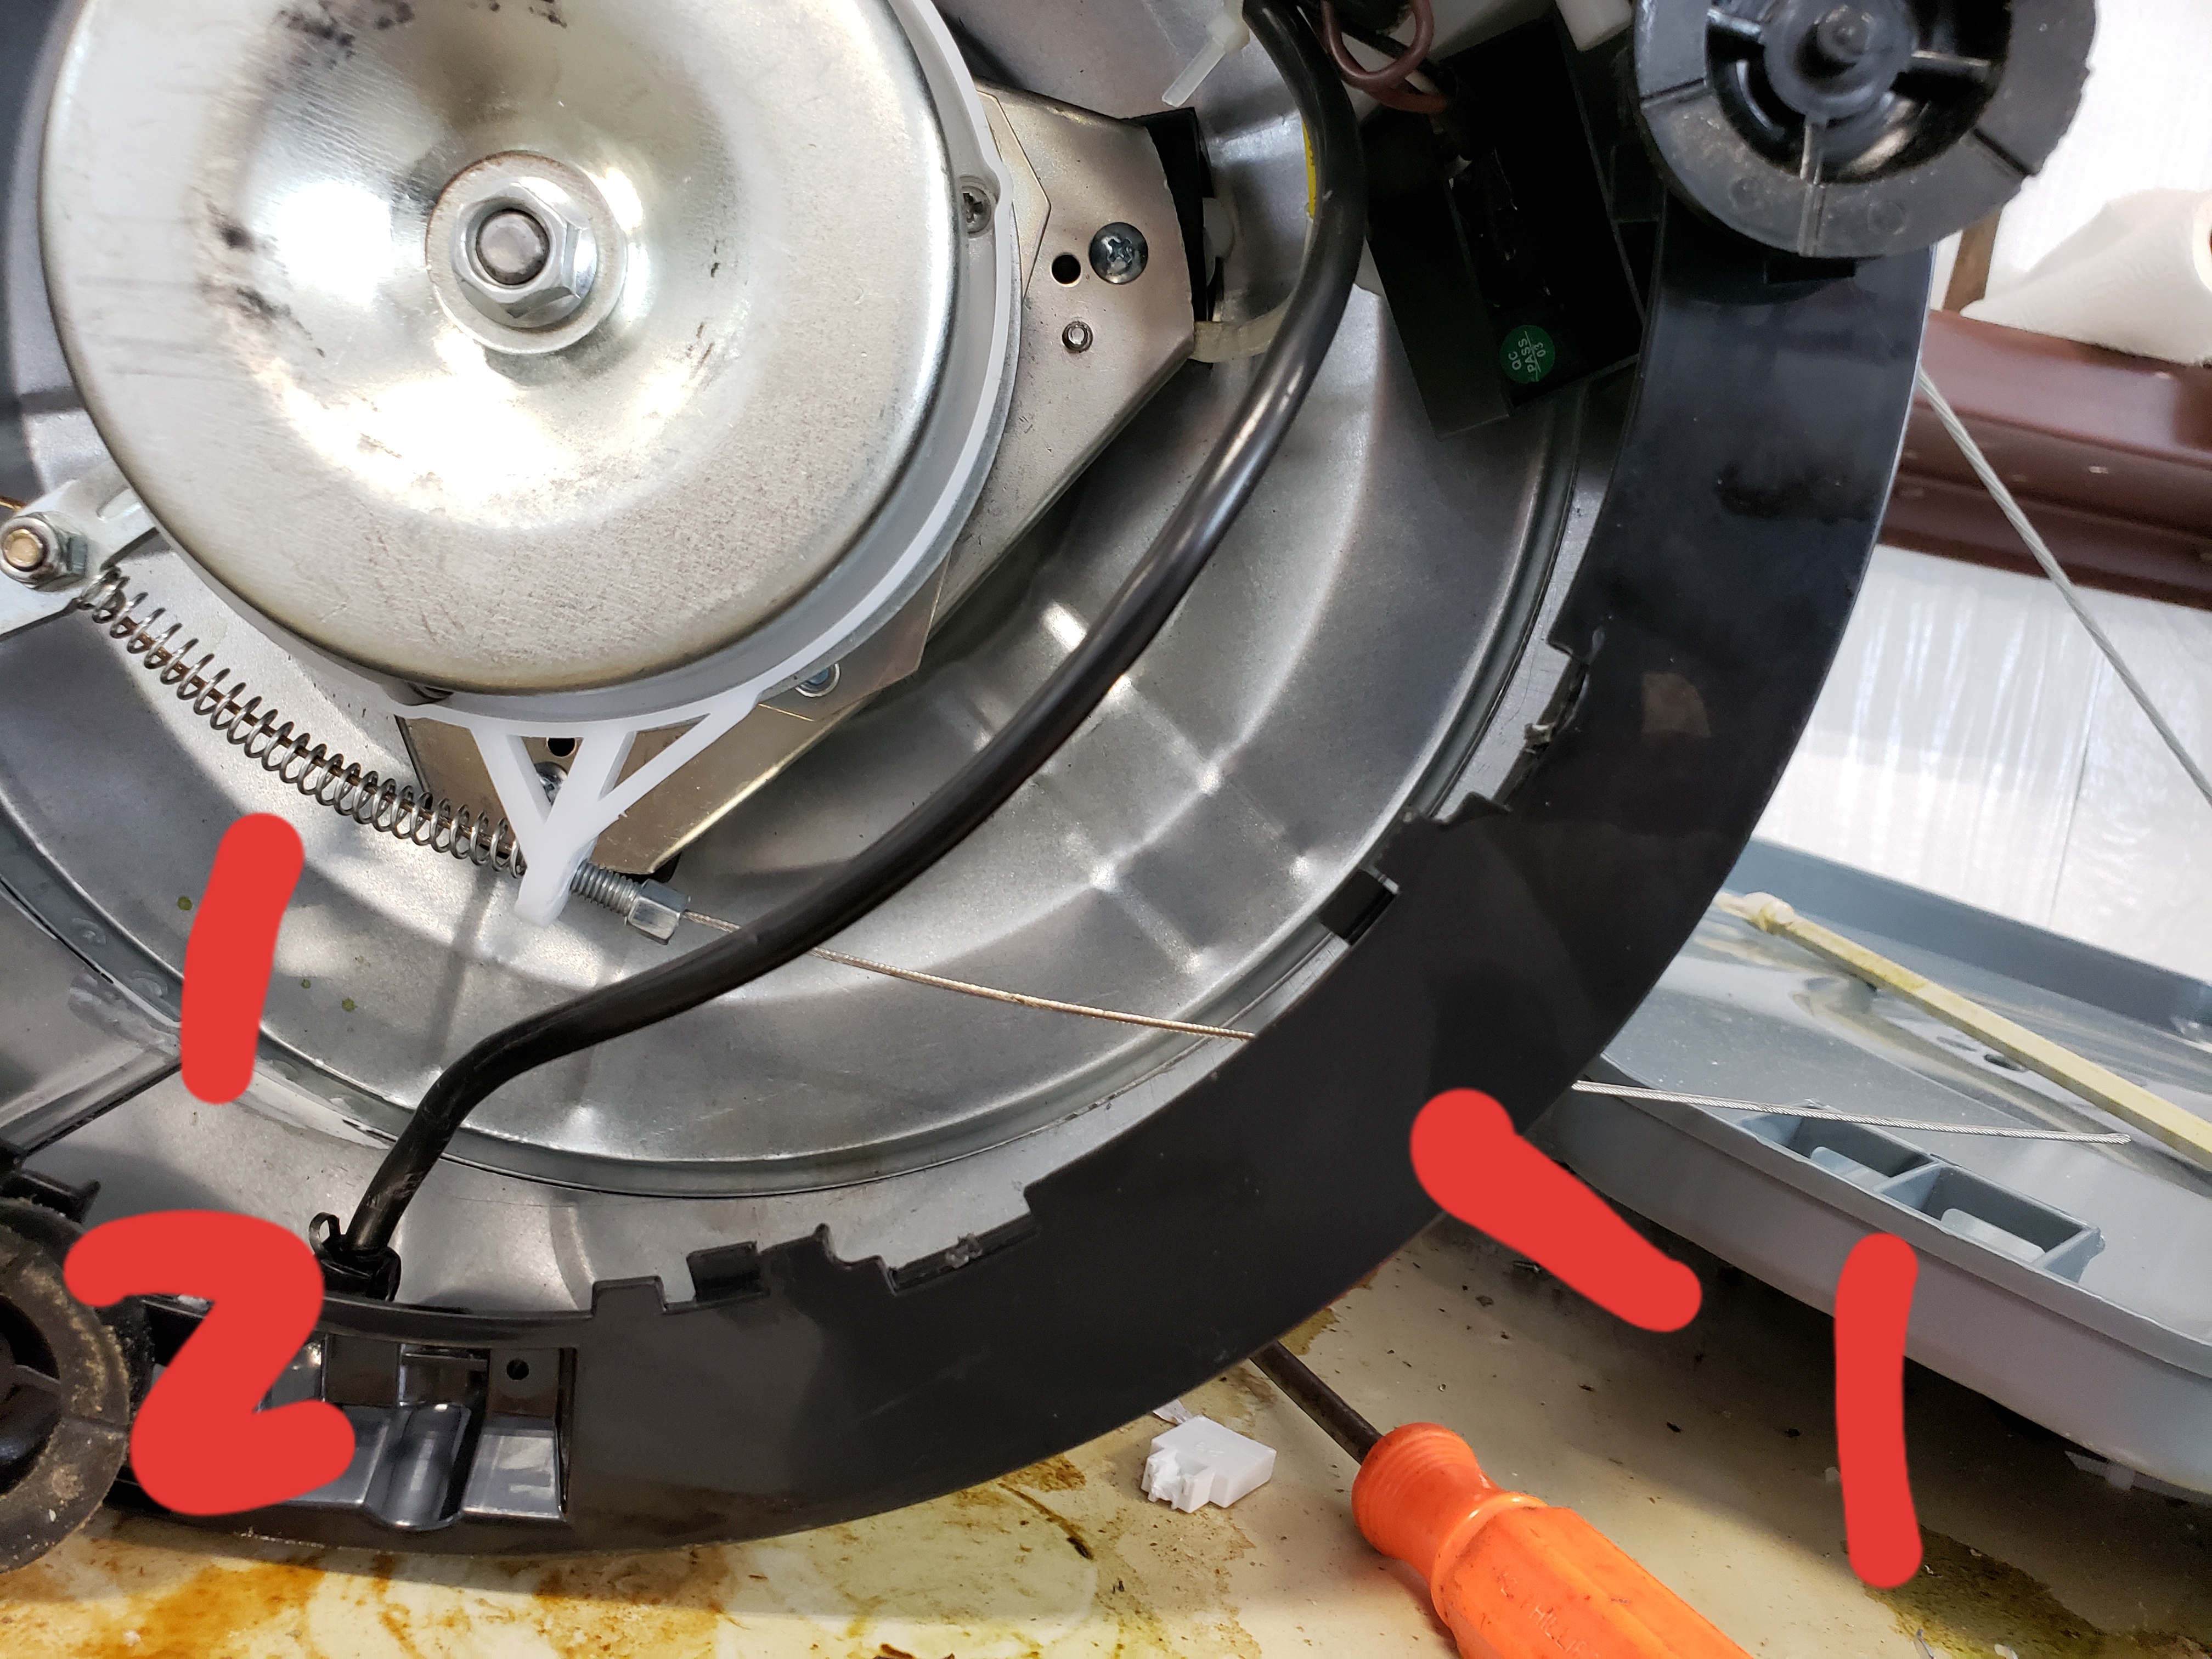
Flip the panda upside down, and use your diagonal cutters to cut the plastic bottom off of the panda. Make sure to cut the zip ties also holding down the main power cable.

About where I put the red dots on the picture is where you want to cut. Don’t wince… your already risking life and limb using these pandas so you might as well use them more comfortably.

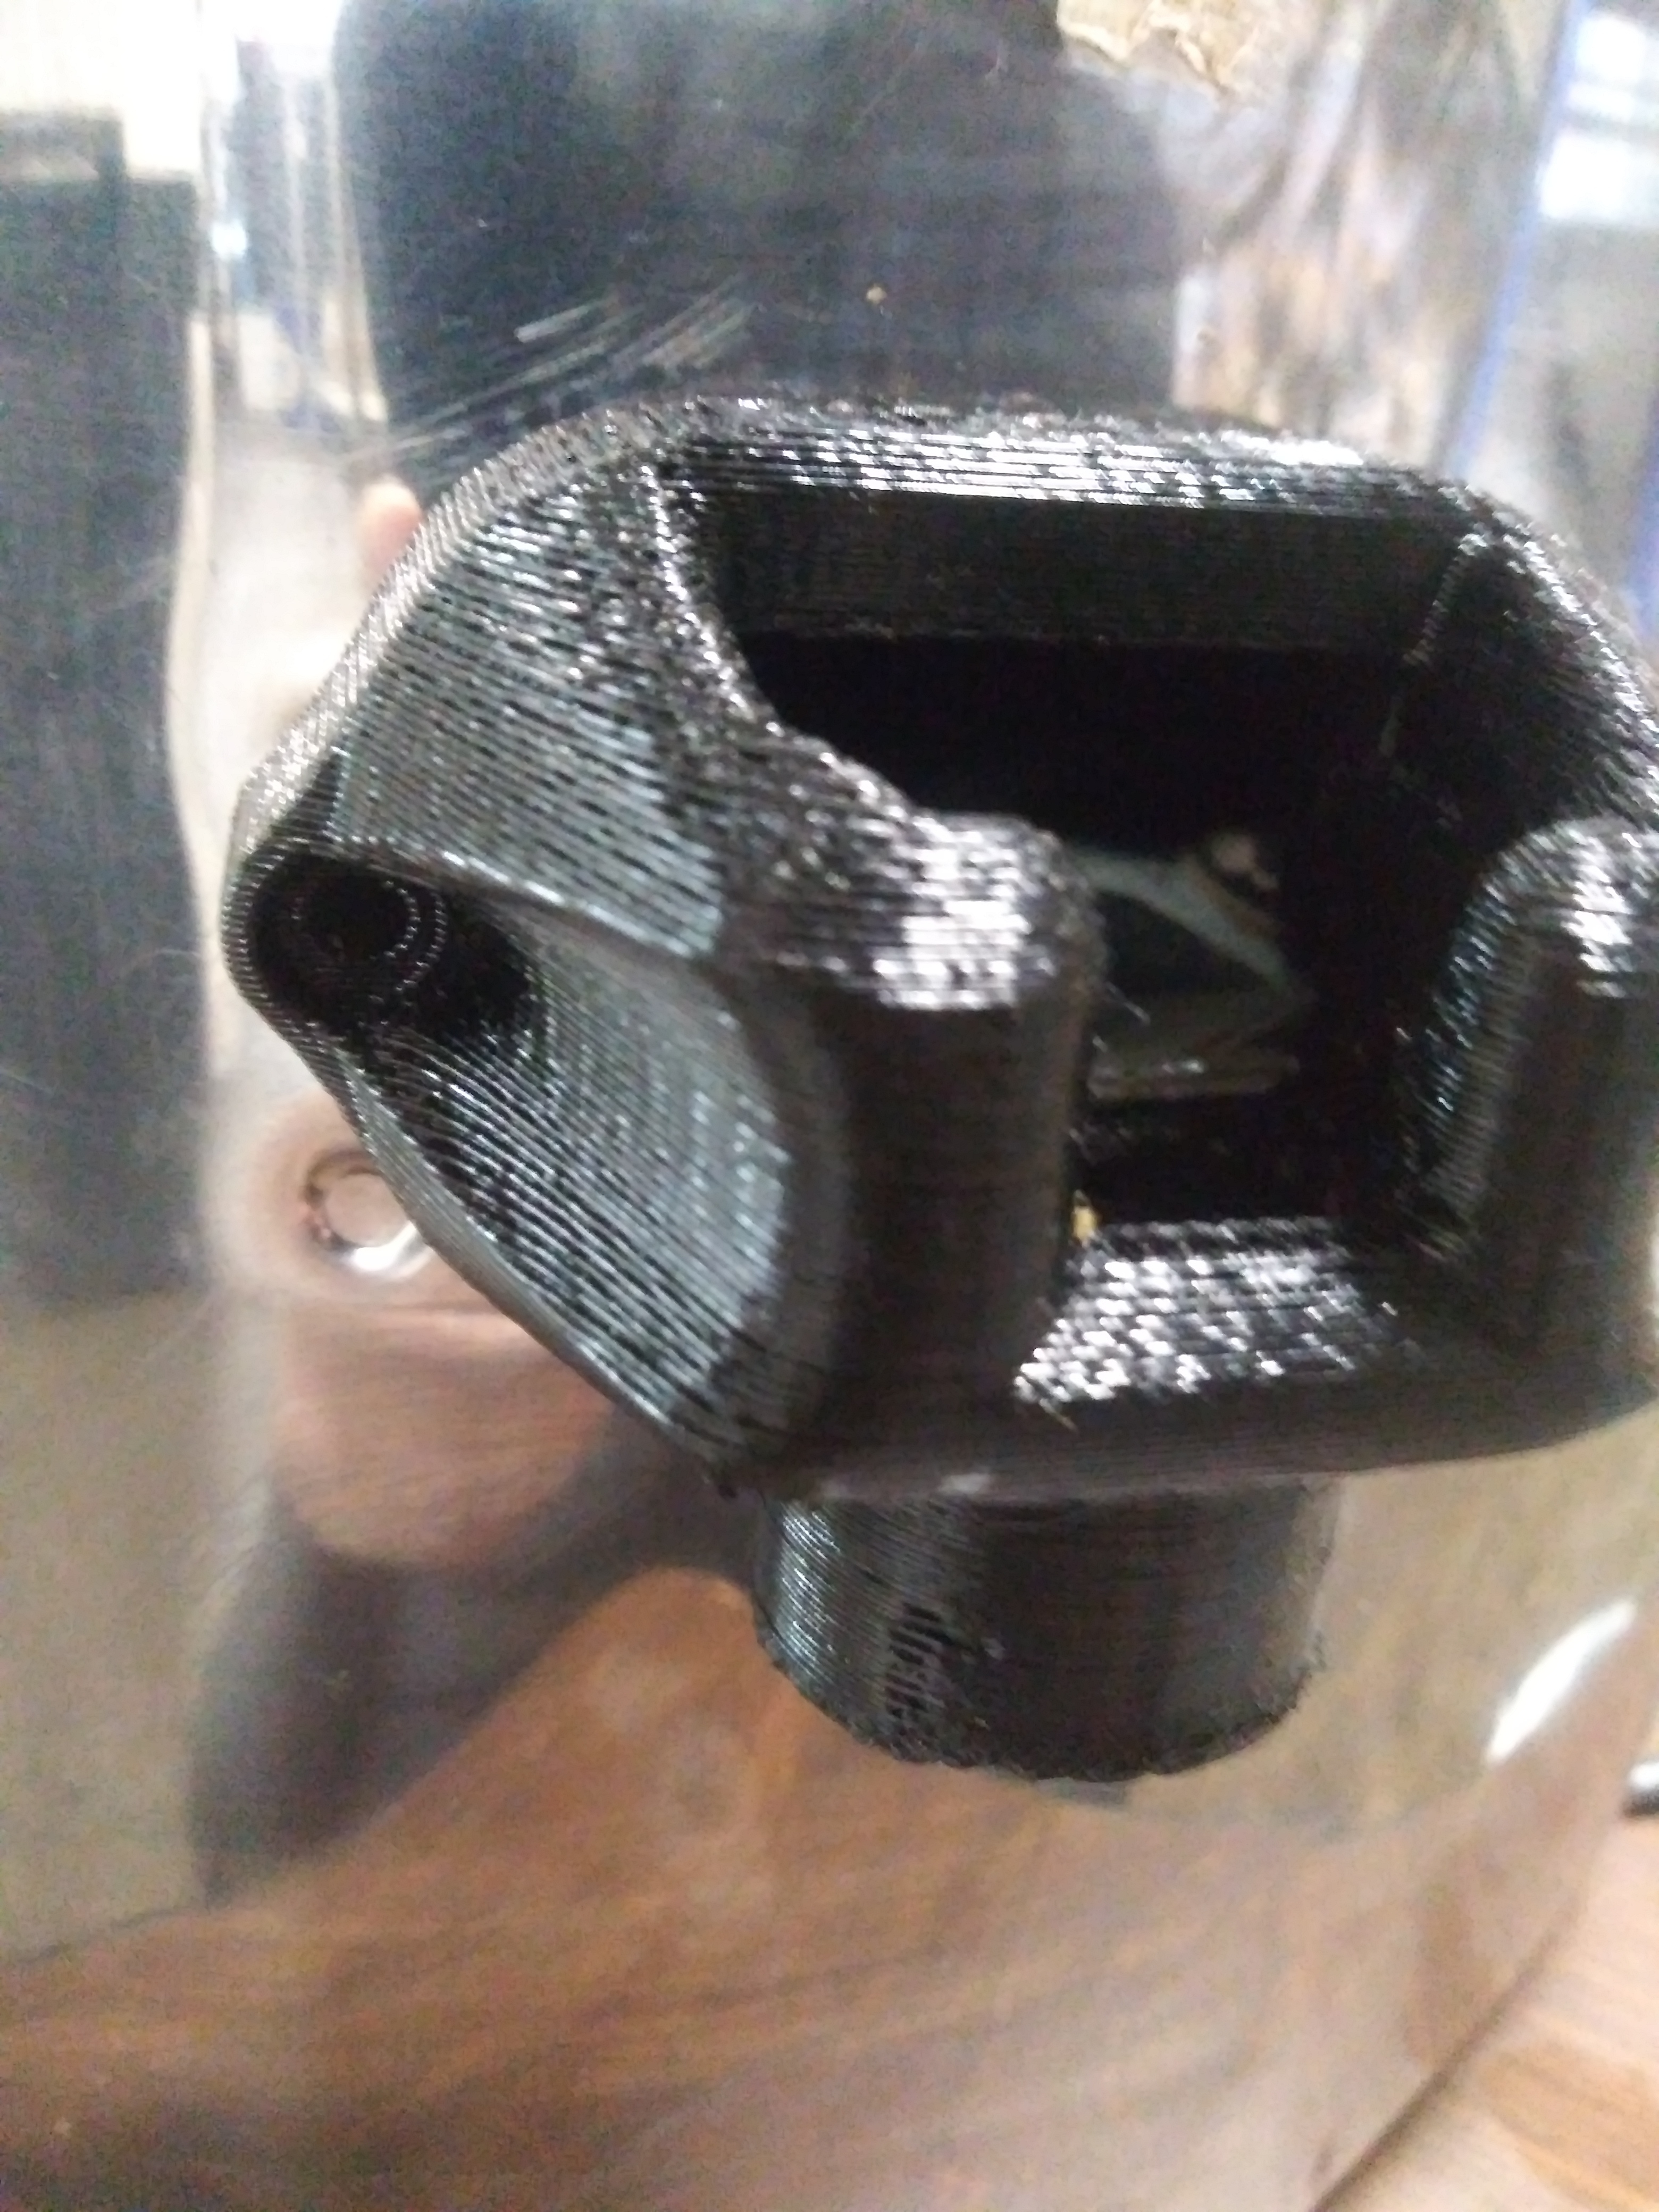
With the bottom removed first find the switch, it’s right here:

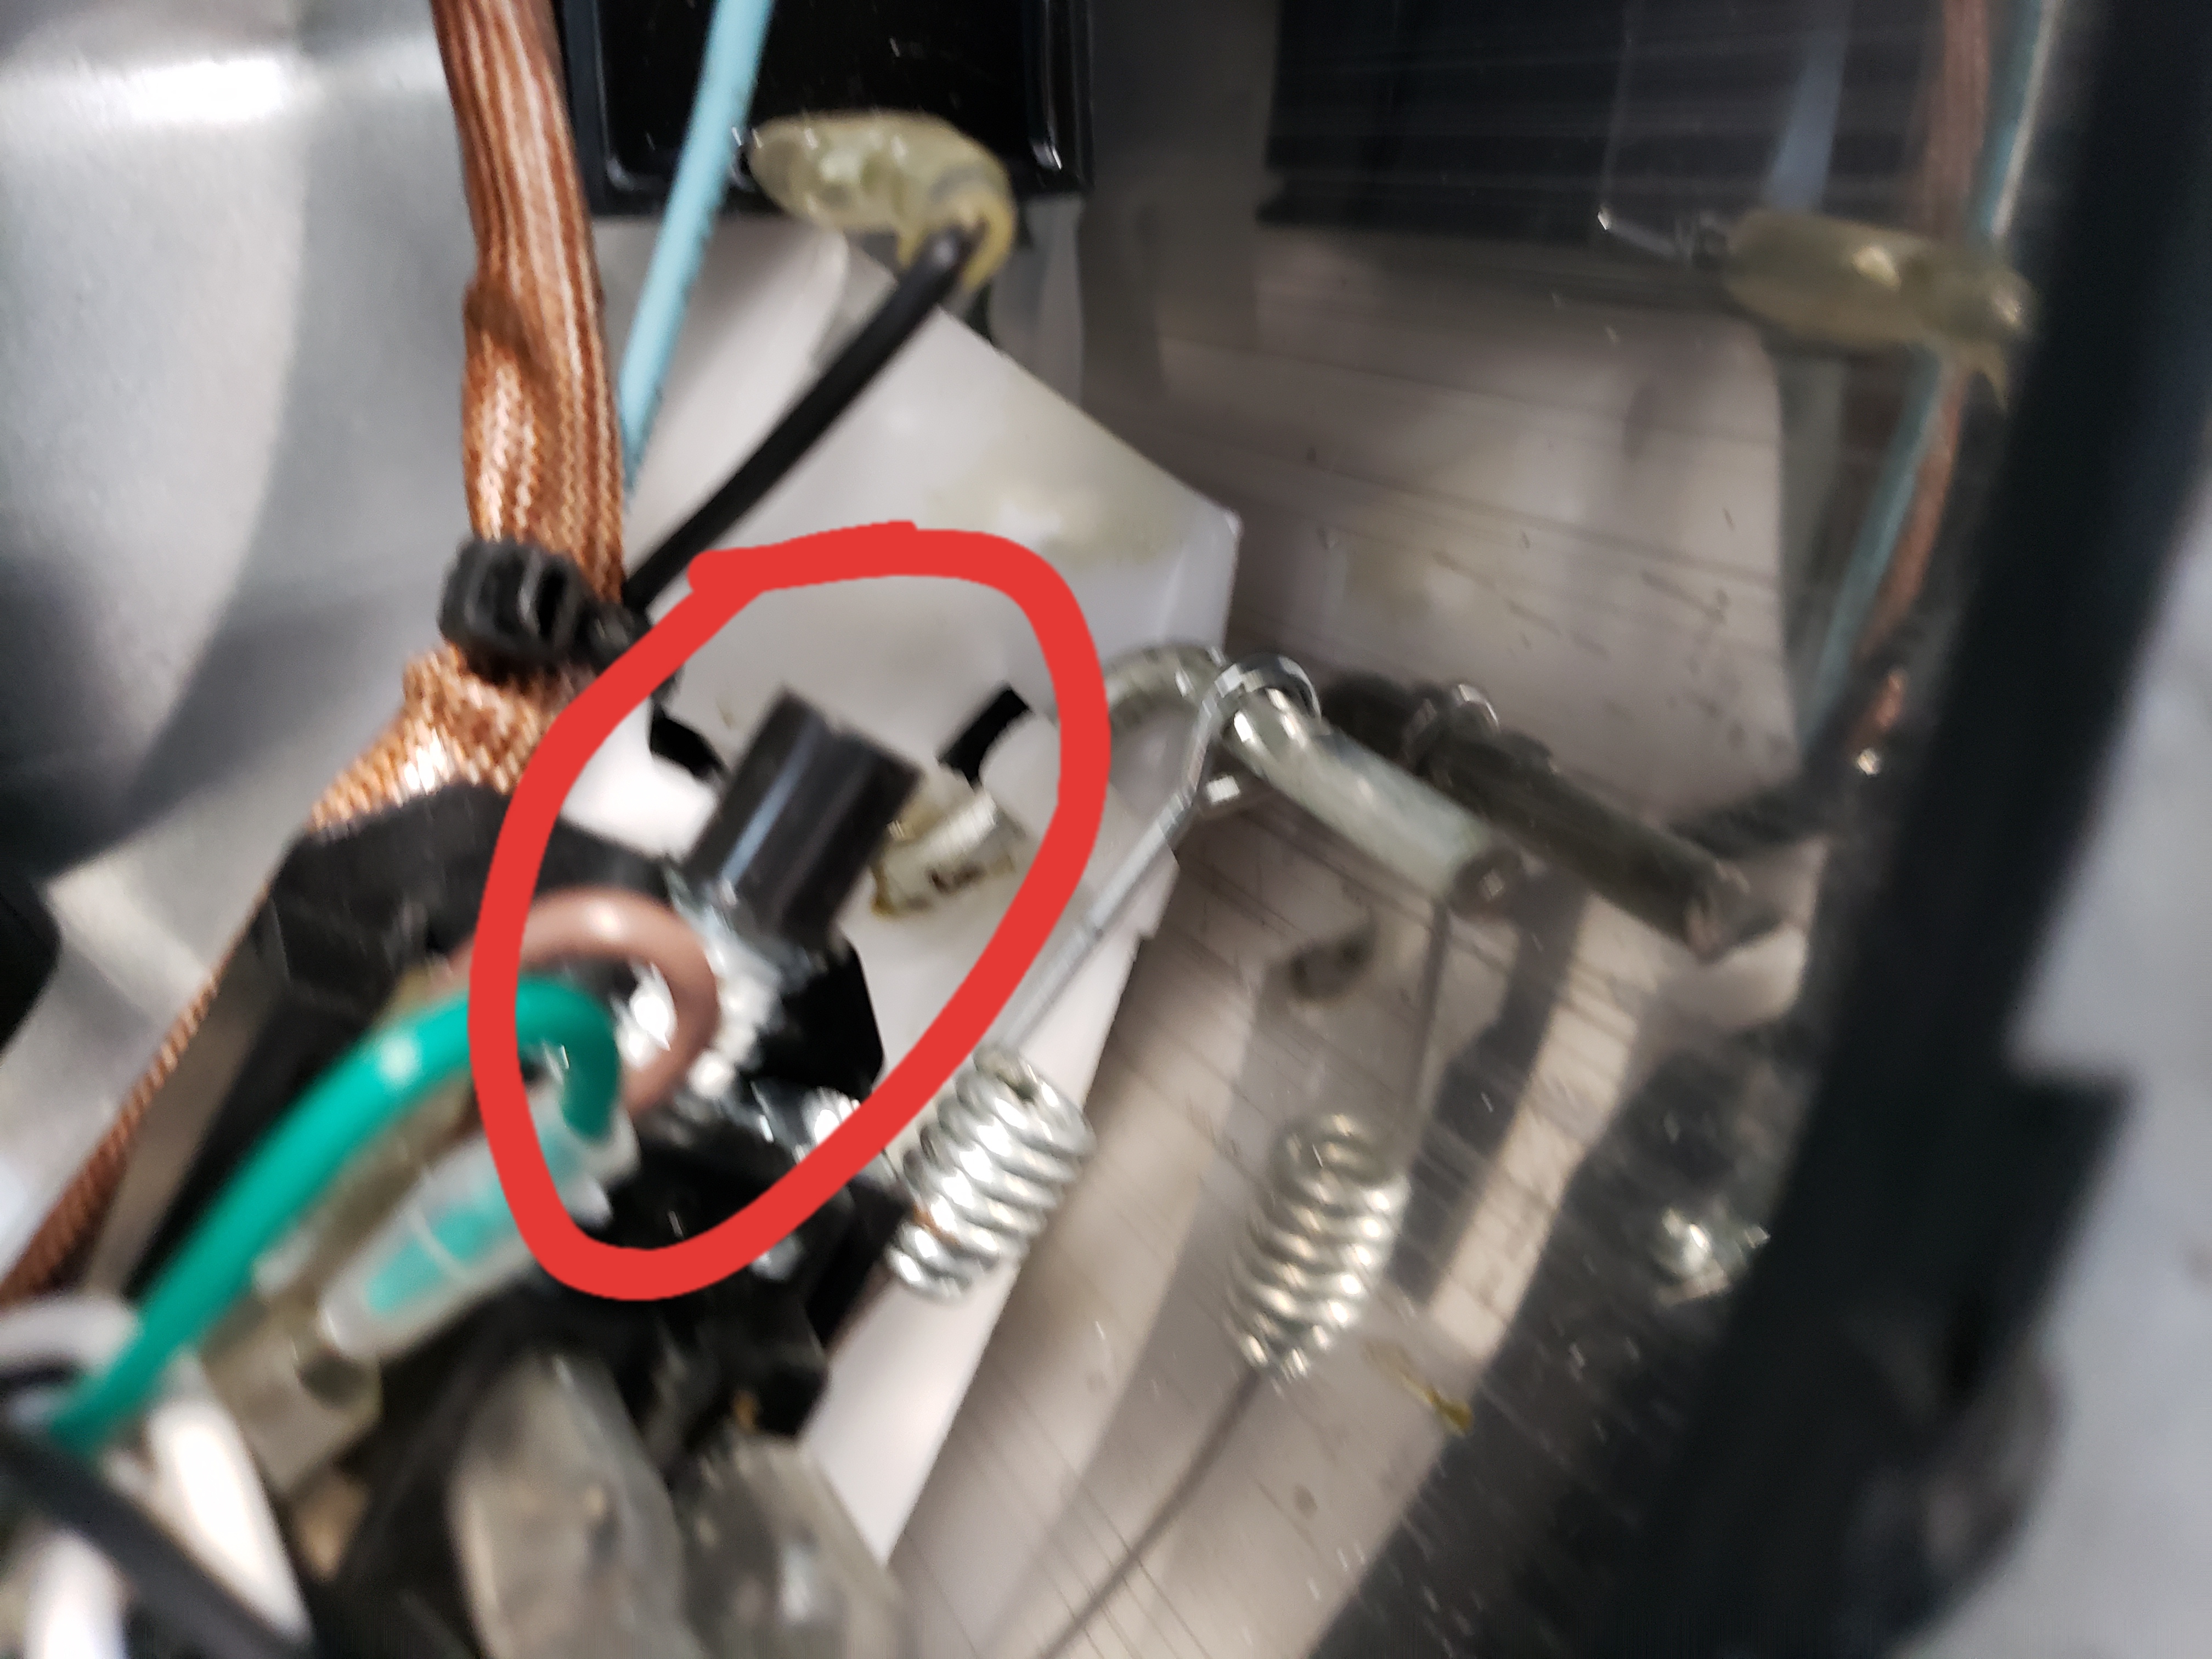
Take the diag cutters and pop off the head to the switch (or fiddle with it, I don’t care) Spring and cap will go flying.

Push the switch in. There, the panda is now permanently on.

Re-route the break.
At fast as fuck speeds this unit can spin your biomass forever when you turn it off. The brake is nice, but it relies on that stupid handle. I like my manual option.

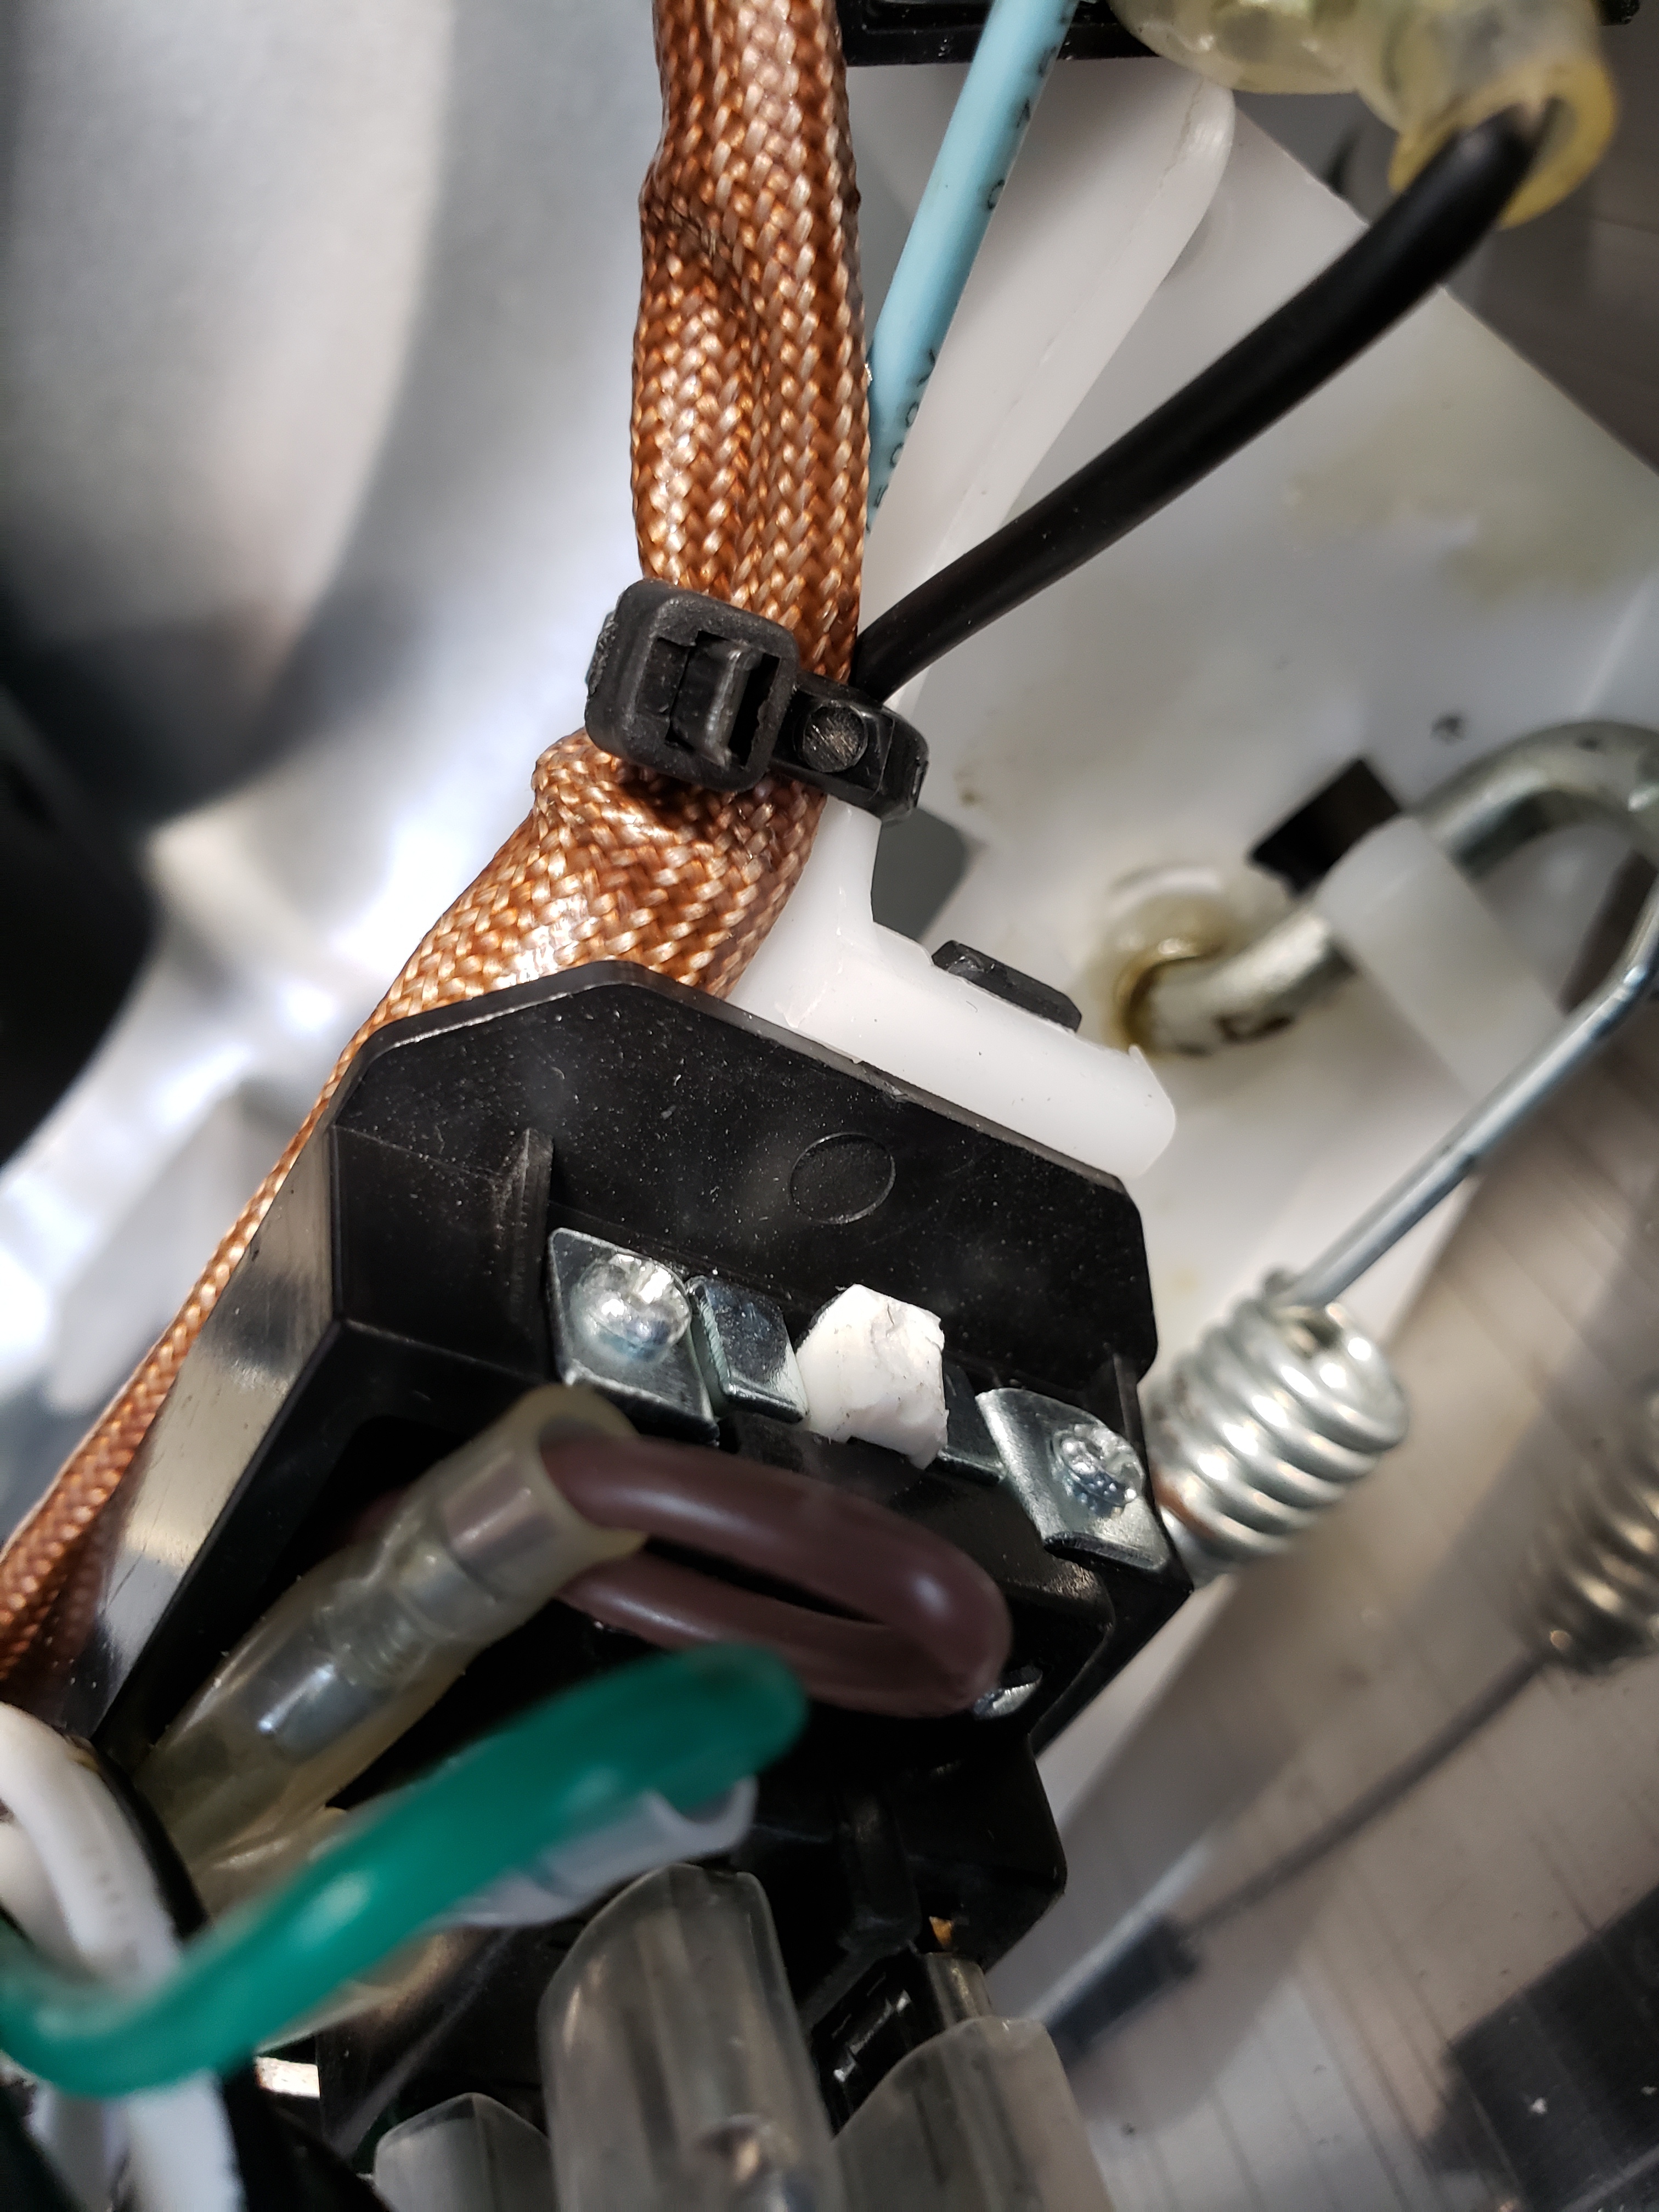
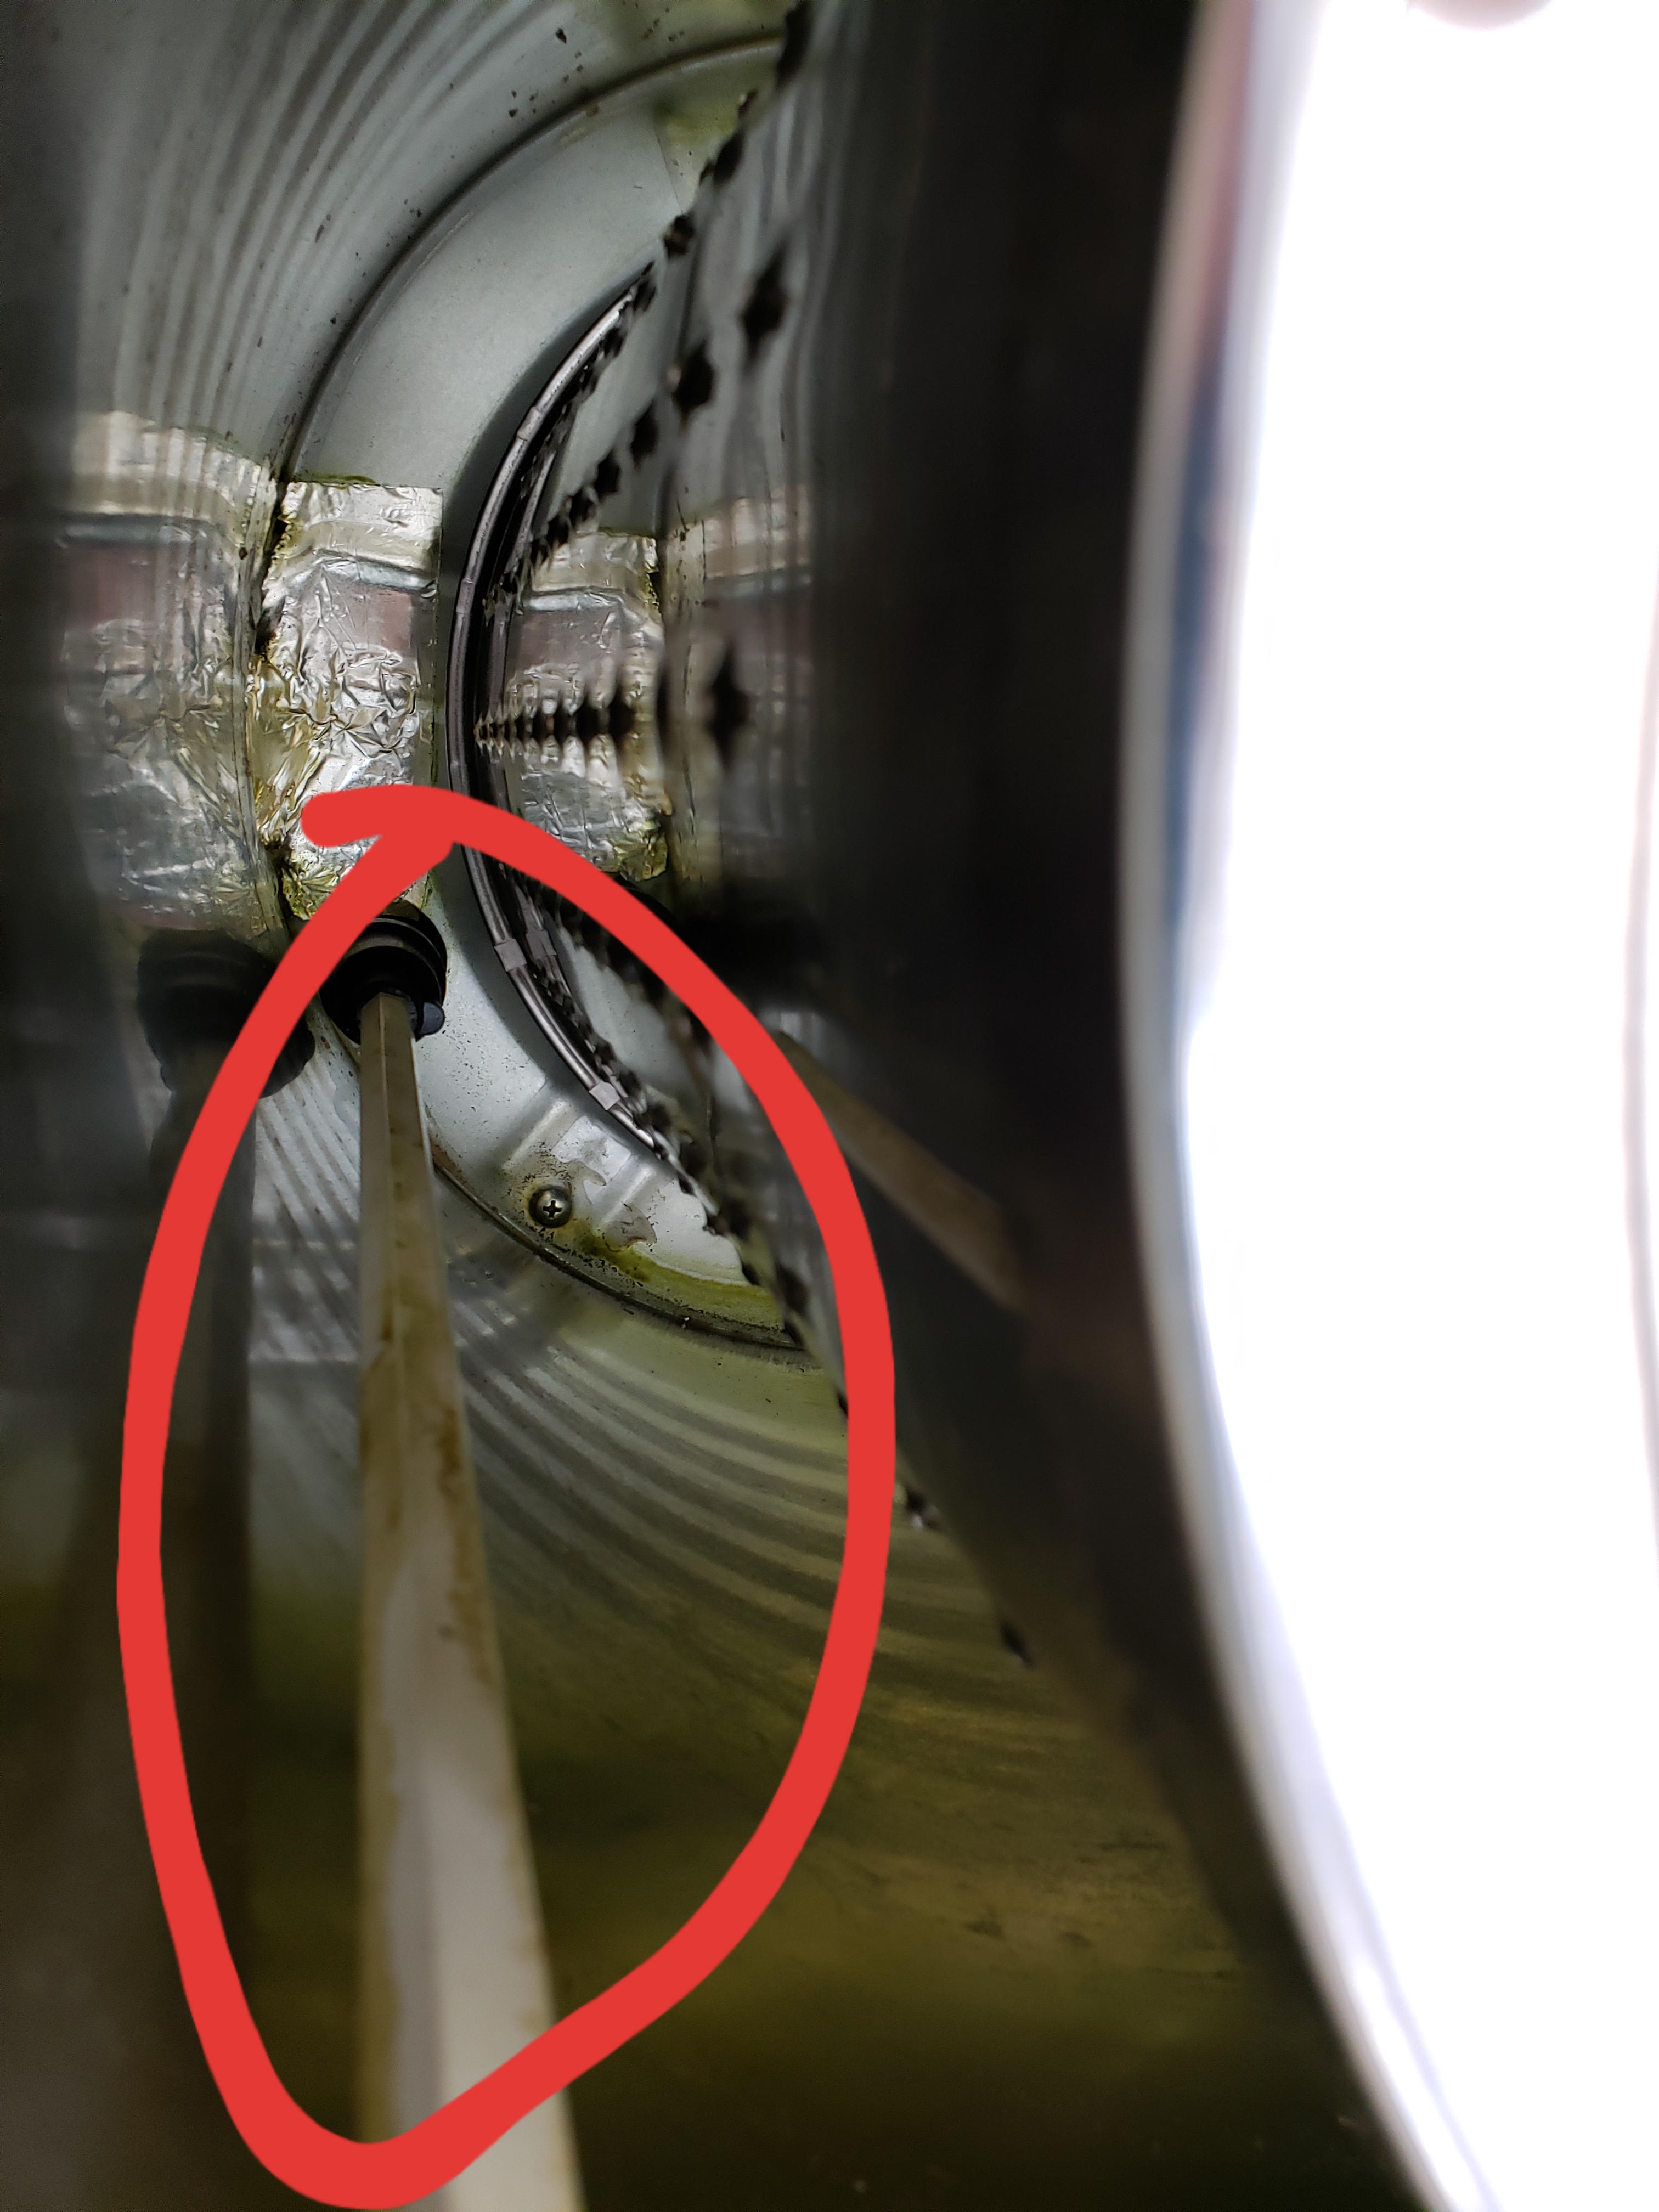
Cut the brake line at the spring like shown.

Take that spring off, and pull back the brake line until it meets the brake junction. Drill a hole in the panda(1) and feed the brake line out. Now I went ahead and removed the other spring (2) as it was hard to engage the break by hand. Just pull the brake line all the way back, remove the spring, then feed through the hole you drilled.

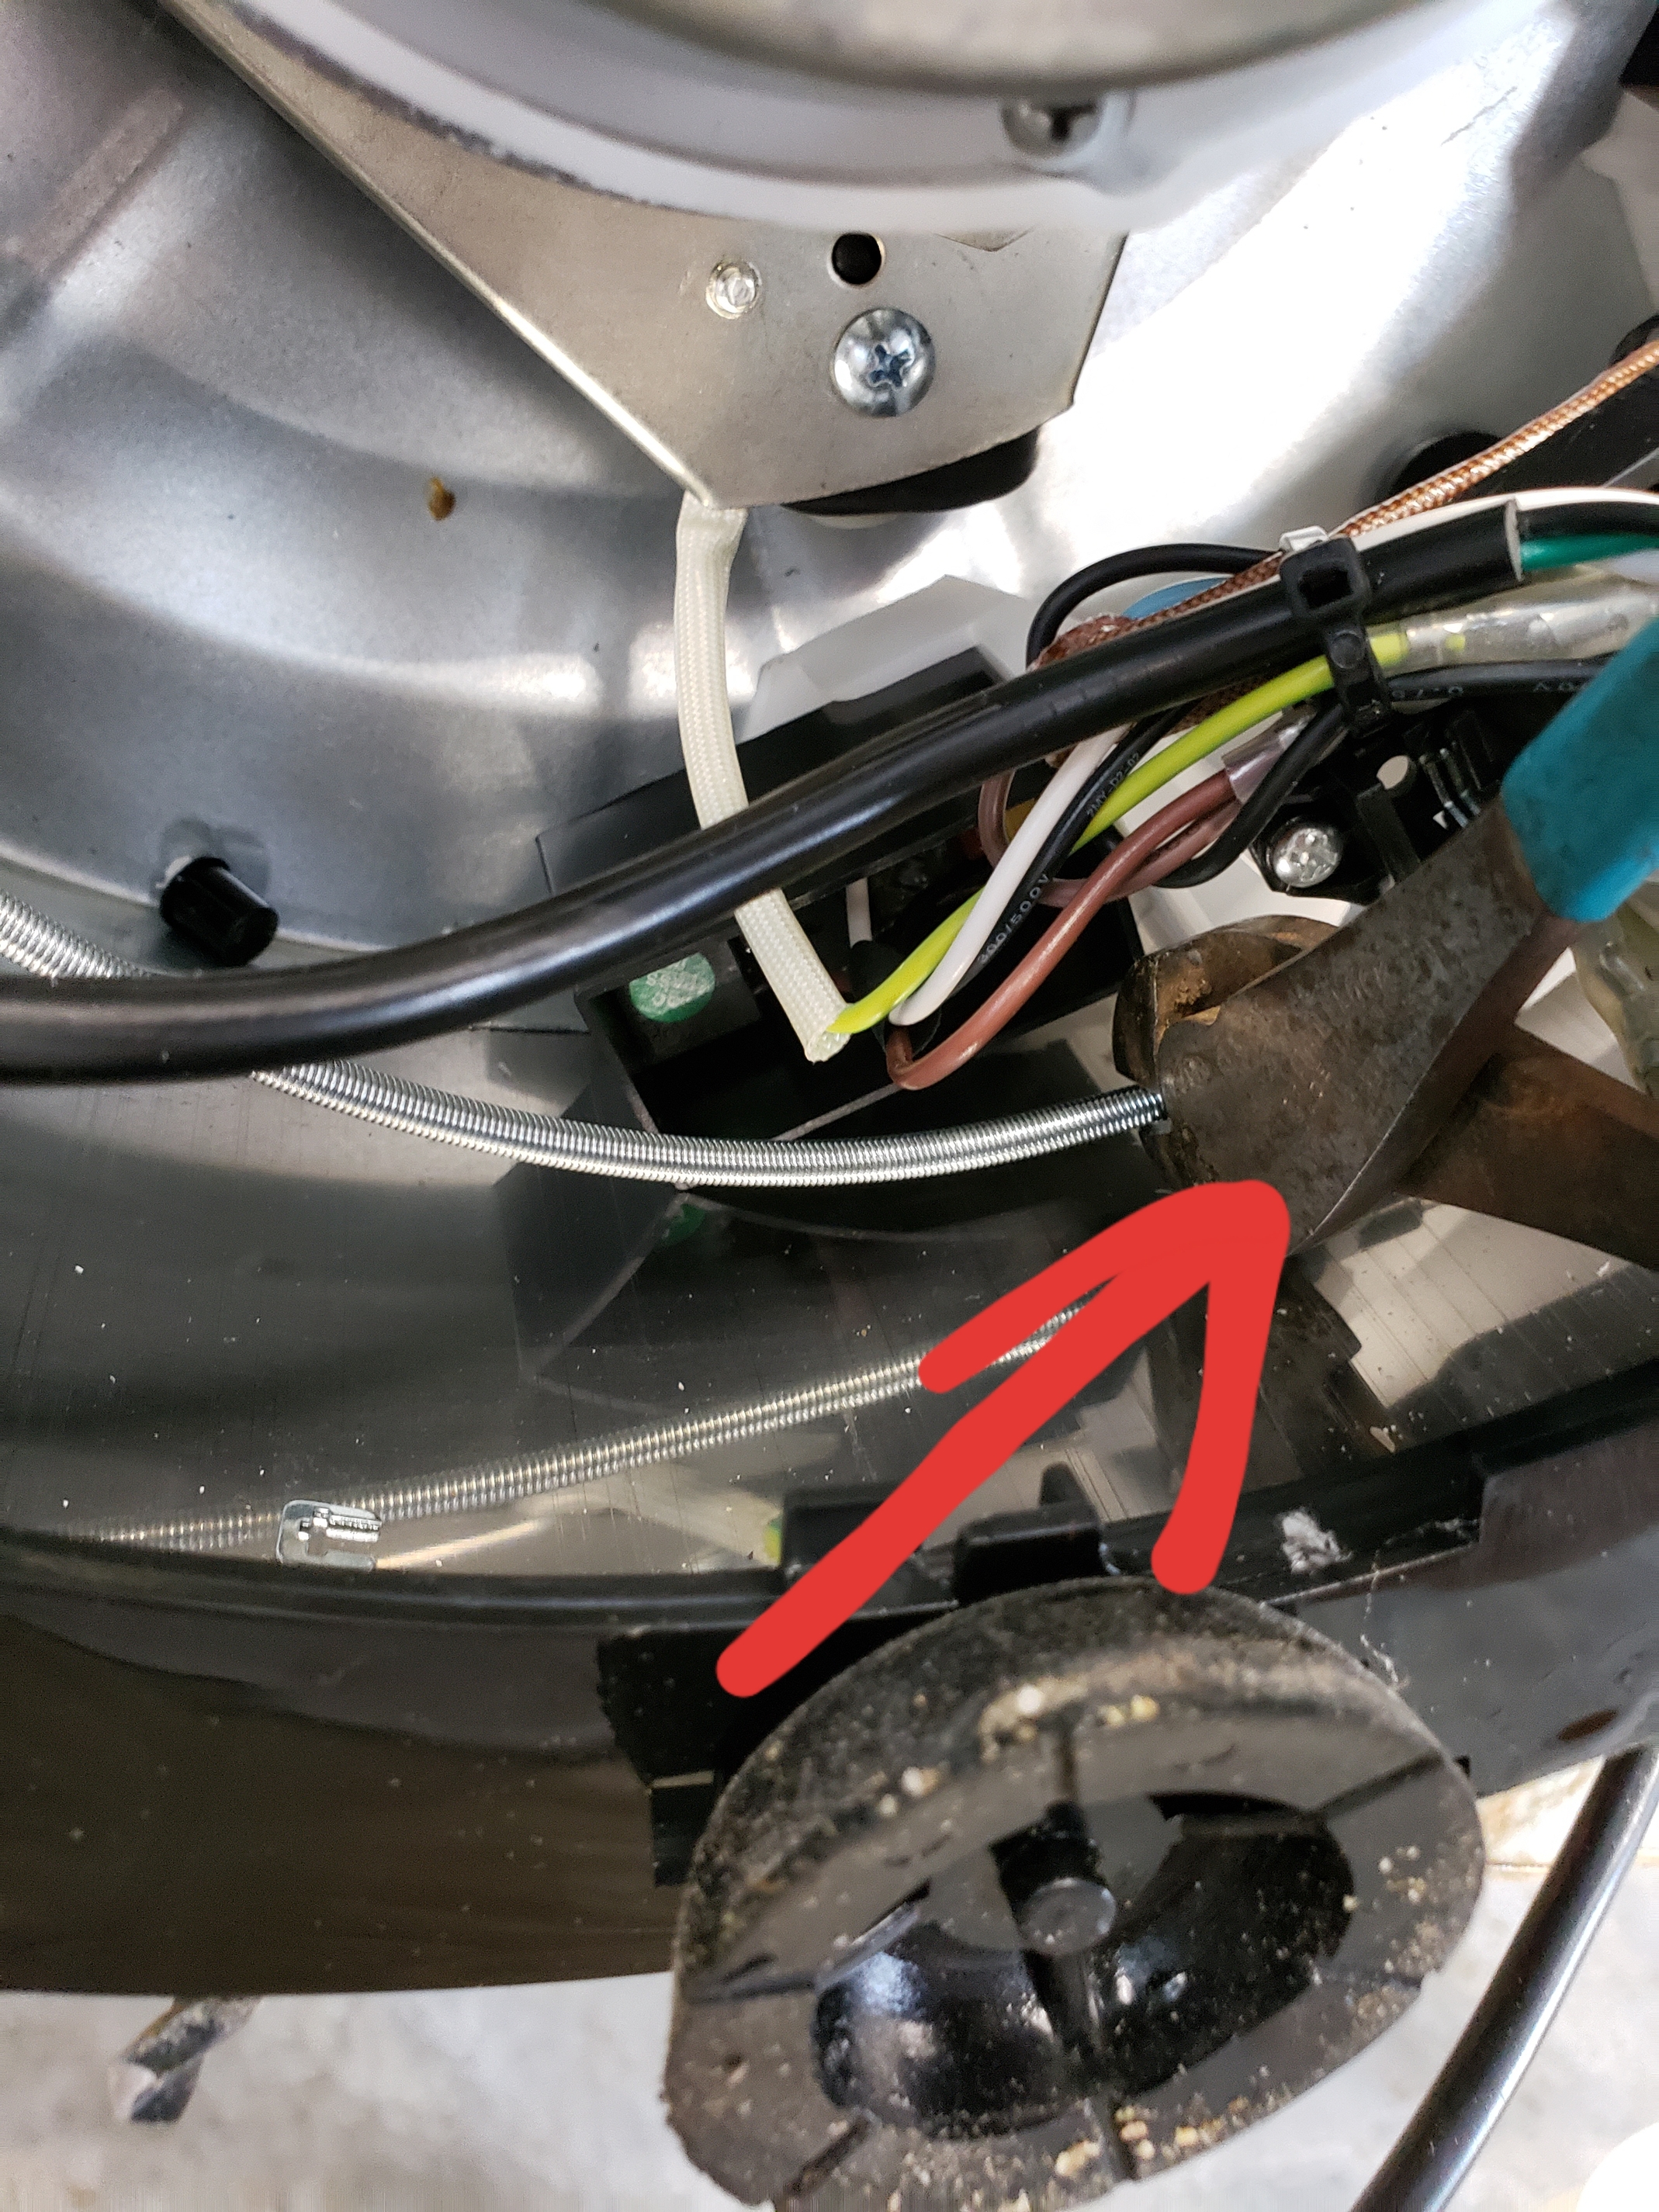
Metal switch bar removal.

Now that the metal bar is not needed, might as well take it out. First, take out the inside plastic rod.


just lift up on it. Flip the panda upside down and remove the metal bar,

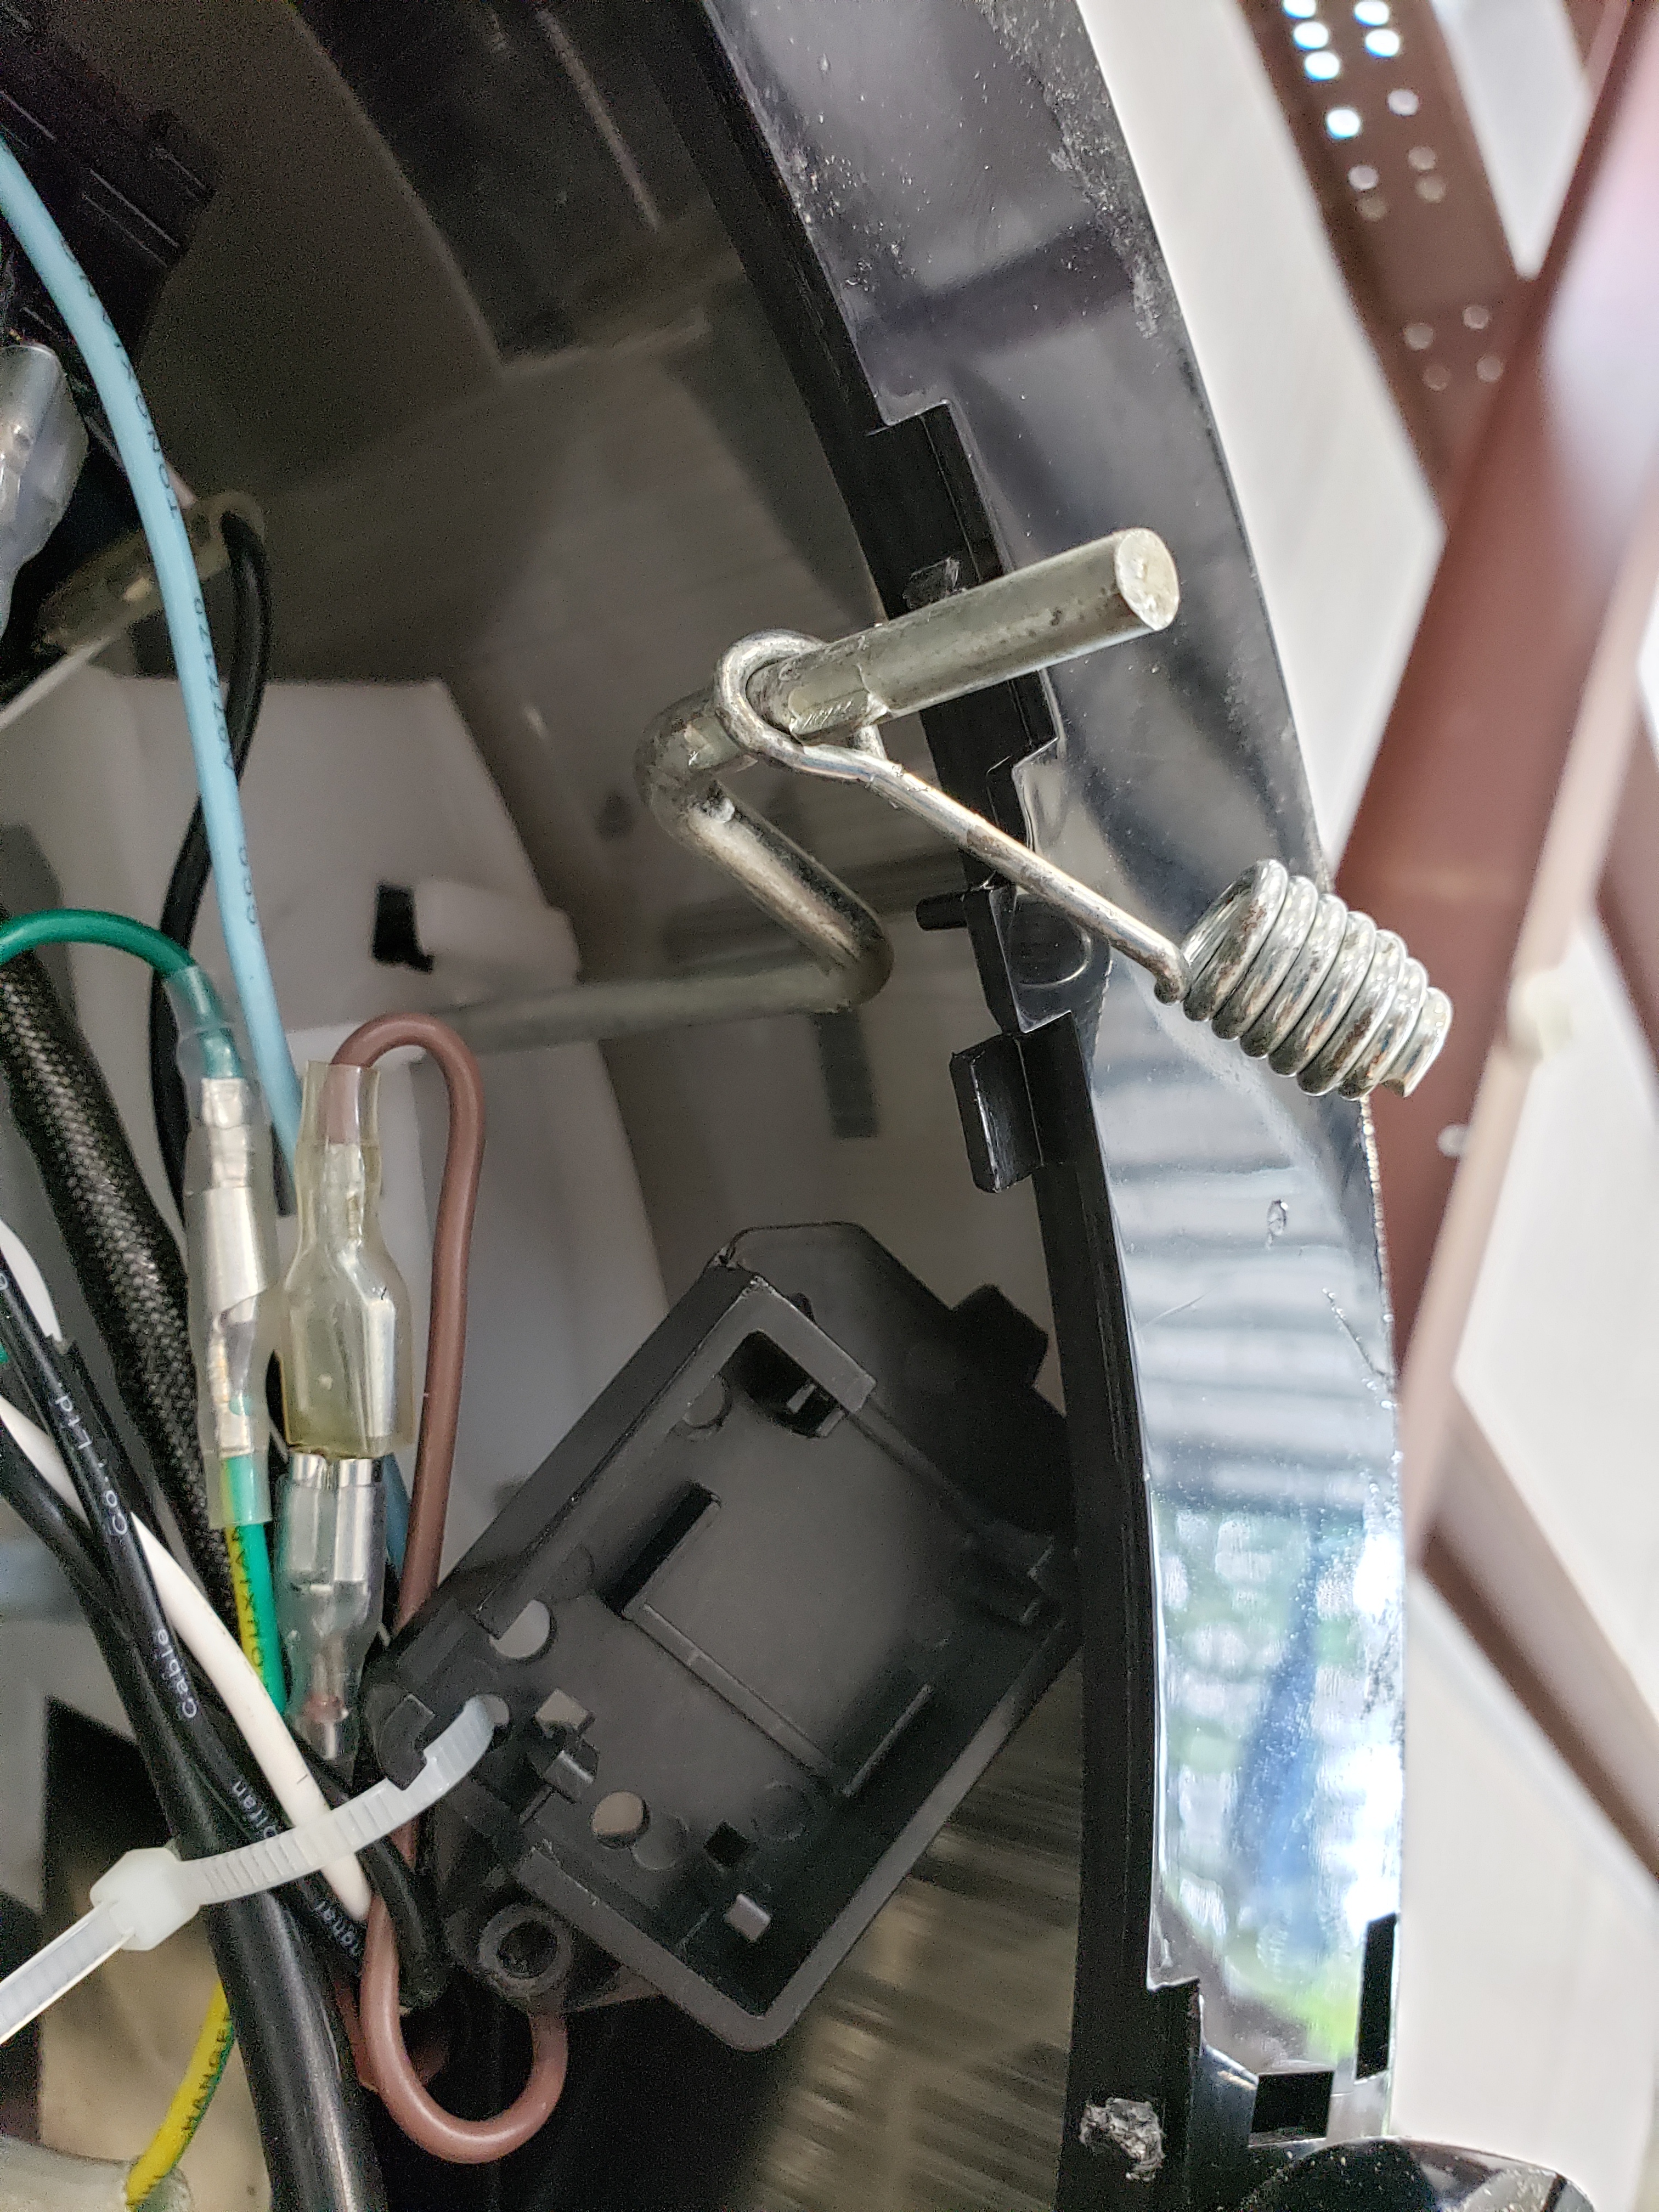
you may need to manipulate it a bit but once it clears the bottom of the panda, go ahead and practice your pull out game.

You’ll see that you are still left with a hole from where the plastic rod held on the rubber stop. Cut off the plastic above the rubber rod. Also note the rubber starting to break down. Something to take note of.


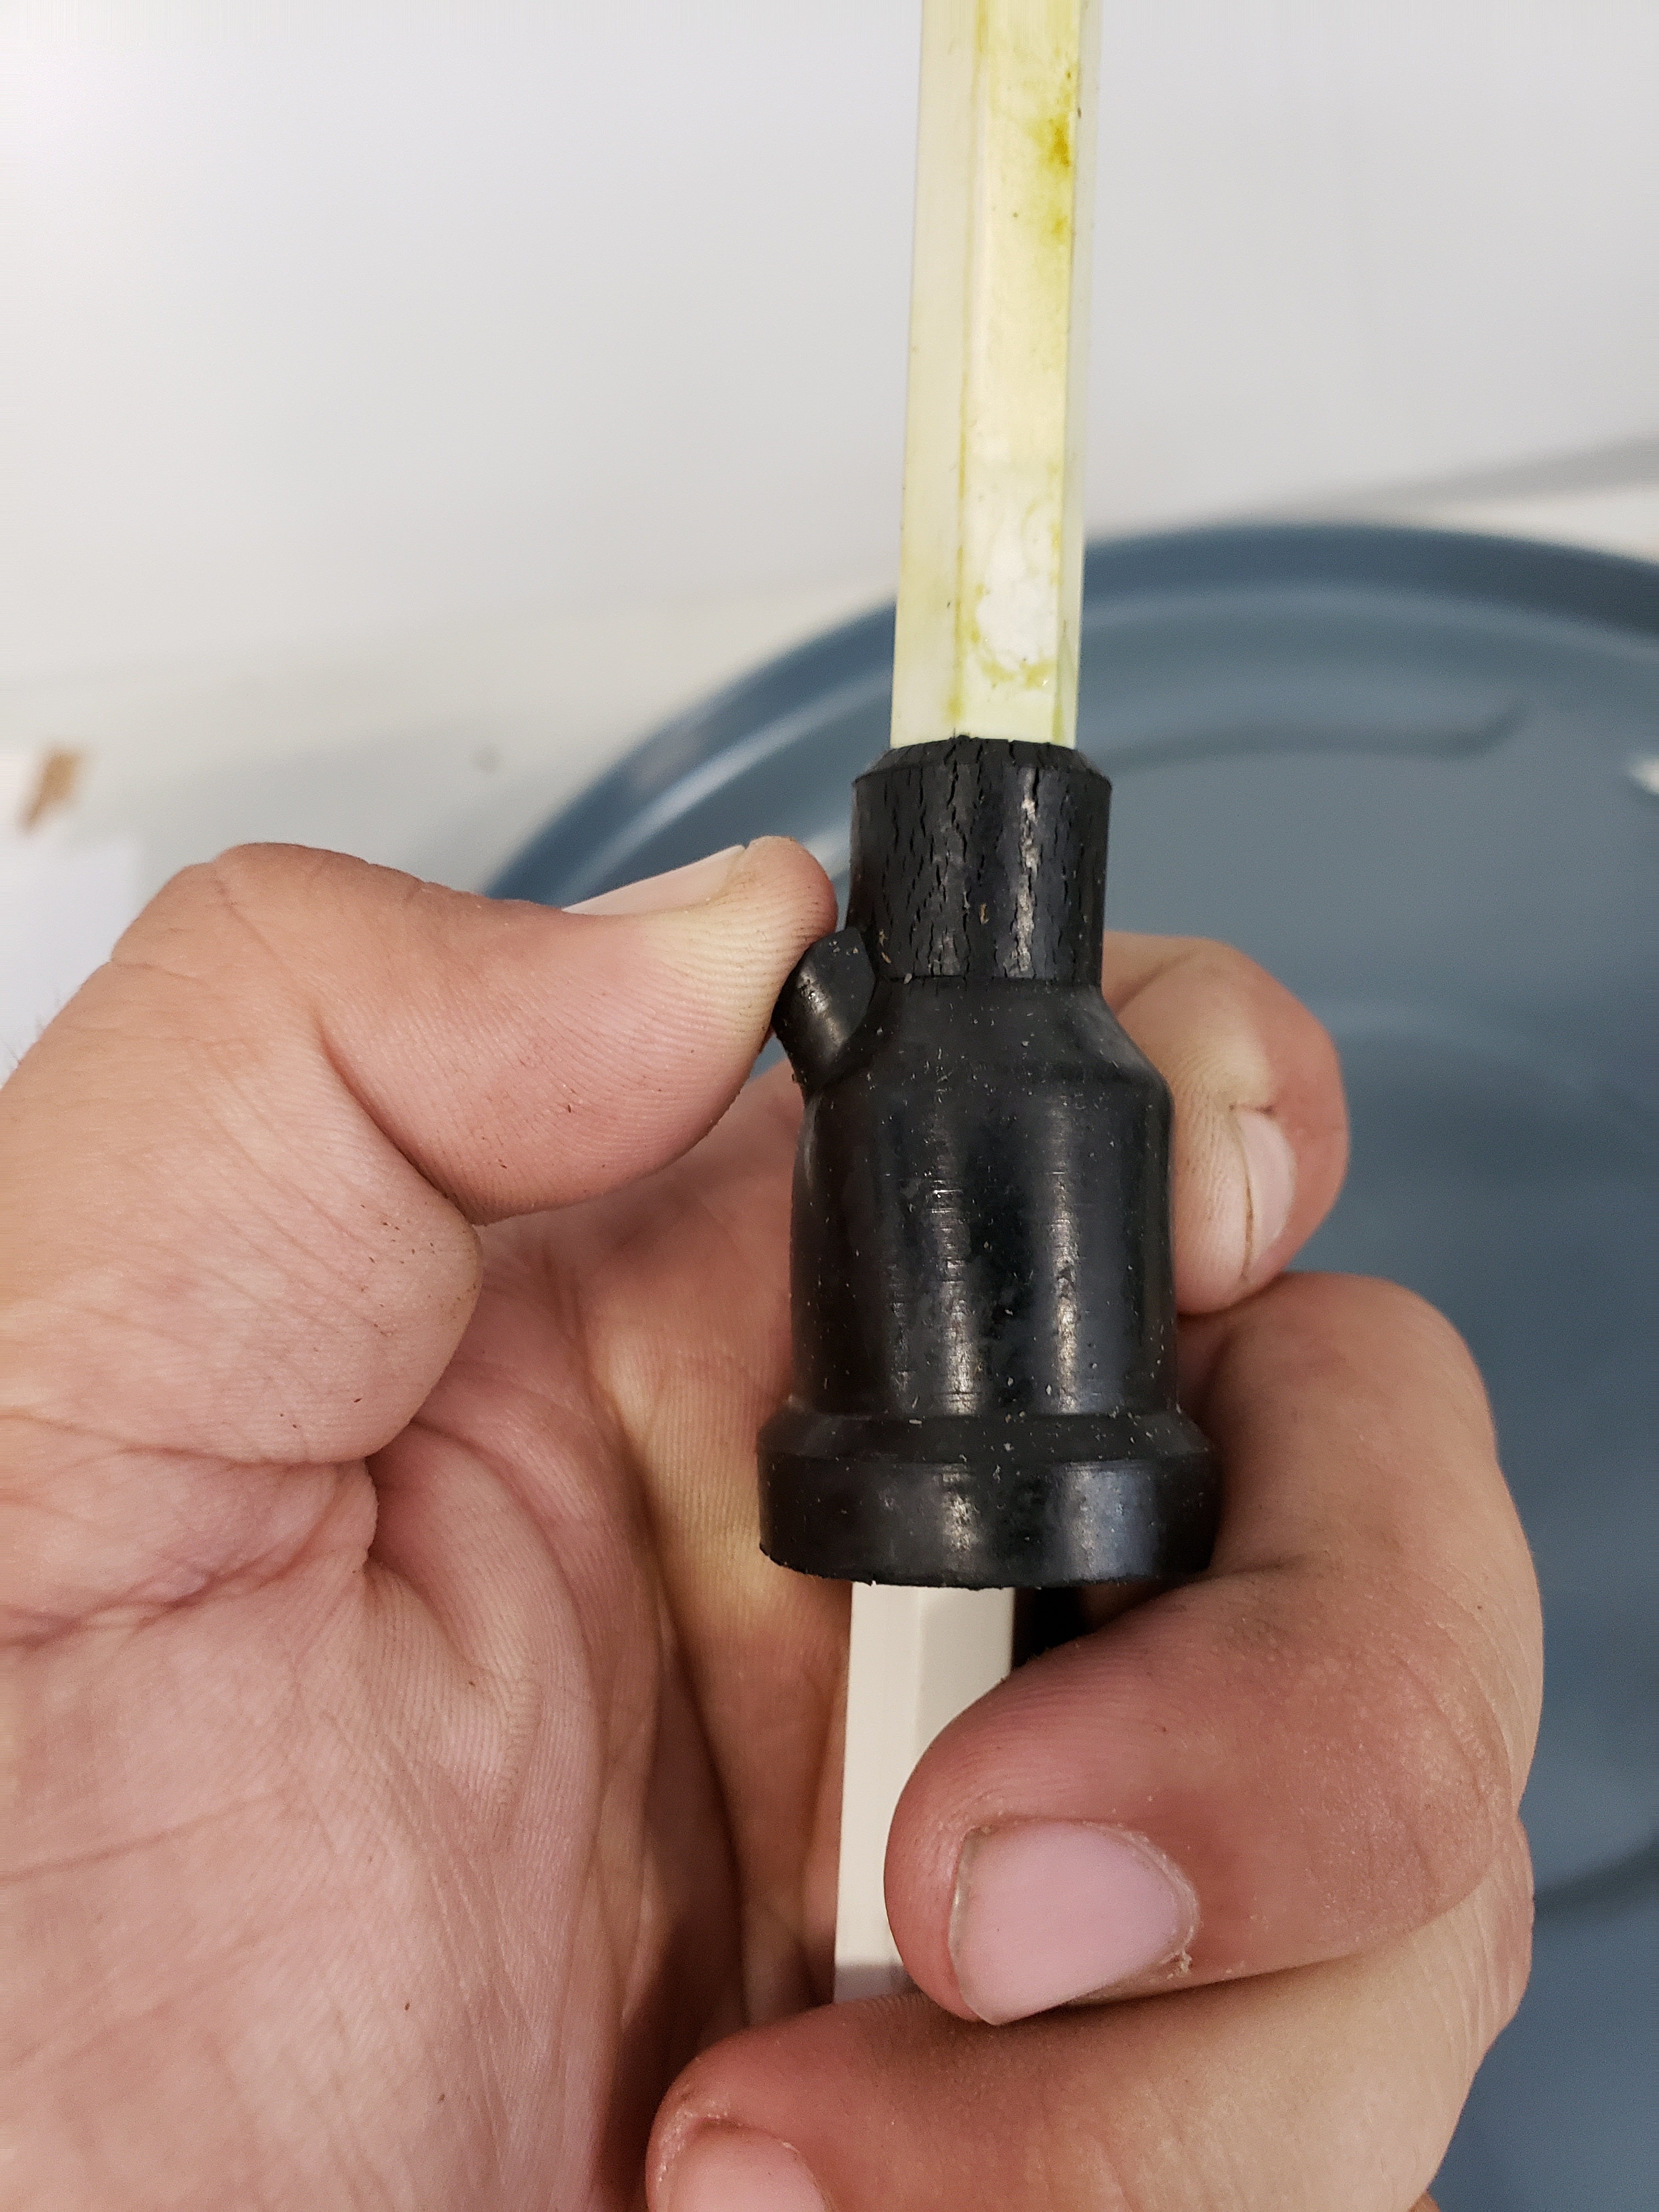
Tape the hole closed with the metal duct tape, and then put the stopper back in the panda. If you are ambitious you could probably make this a drain, but it’s right by the motor and kind of a bitch to work around in. You would have to completely strip down the panda.

Anyway, after all of that, put your basket back in if you need, plug it into your remote switch and enjoy your remote activated panda. When you need to stop the basket from spinning just pull on the brake line.

If you want a better lid, now that you will have a flat surface on top of the panda you can put anything flat on top.

There you have it! With ours setup this way we had 4 pandas plugged in at once and could spin 100 lbs in less than two hours.

14 Likes

How’d the duct tape hold up to your solvent?

6 Likes

Amazing. We use warm eth heptane denatured and it held up to hundreds of lbs. No sign of degradation and a spout never broke off.

3 Likes

I just modded the lid on one of mine last week. HUGE improvement on getting the bags in and out. Luckily I havent needed to replace the spot yet.

im going to design a 3D printed replacement nozzle for the panda… it needs to be done. needs a hose barb to make it safer aswell, im tired of seeing pandas sitting above pools of ethanol with brushed motors inches away…lol

im going to hempfest OR this weekend, but when i get back and have the time to draw it up/print ill release to the community
It will be printed in PETG which has excellent resistance to ethanol

11 Likes

When you say hose barb you mean an adapter that makes it so you can spin the ethanol into containers via hose?

1 Like

Thats the plan, it must be done.

2 Likes

Yes it does and thank you for doing it. I wont buy a Panda until that’s made then.

1 Like

Next trick would be loosing the brushed motor…

2 Likes

Your the man !!
Nice write up and indeed excellent mods :fist_left:

1 Like

This would be great

1 Like

A new spout is a must preferably hexane heptane and ethanol compatible

1 Like

That would be great, but I’d be nervous about it getting clogged or someone putting a valve on it. Any more than an inch and it’ll flood to the motor.

3 Likes

Thanks for that important info, i have designed accordingly, the outlet is open to atmosphere, so if the hose/barb fitting gets clogged the system will overflow instead of seaping into the motors windings. I didnt have much time to work on it, and im currently enroute to the woods for hempfest so i wont be able to get anything else done in solidworks till Monday, but i will share with everyone what I have so far. Im completly open to any and all criticism, as im trying to make the best possible solution for the community. Think of this as a community design project.

I’m intending to use a bog standard 3/4MNPT to 1/2" barb fitting, that will thread into the 3D printed material, PETG is wonderful as its pretty much self tapping, some Teflon tape will seal it well from leaking. There is a oring groove that is intended to be filled with a bead of silicone to act as a gasket.
Positive retention, is achieved by 2 snap clip(potentially 3), and also by screws or bolts in the the holes already in the shell of the panda.

12 Likes

Could you hook a panda up to lenticular housing units using the barb?

1 Like

Not a good idea if the panda overflows which it does fast all shit can hit the fan :flushed:

1 Like

Finally back to civilization,

Im sure you could if you were driving the filter with vacuum, although i think lenticulars are better with positive pressure, if i remmember correctly, hopefully someone with more experience with lenticulars can chime in.

you might need to go, Panda - holding tank - Pump - Lenticular - holding tank, or something of that effect.

@Roguelab yeah thatd be a shitty situation realfast!!! the lip on the spout is much lower than the lip inside the system, so it will overflow over the spout before, it would overflow interally. Id rather have a puddle of etoh on the floor or in the containment tray than in the motor lol :stuck_out_tongue:

2 Likes

Hello everyone, got some time to finish up the prototype spout, i have a few modifications to the design to make before i finalize and release, thought id have more time to do this lol, but you know how it goes sometimes when your at the helm of multiple businesses.

upon testing this design i discovered the need for a baffle to direct the flow into hole, also the barb hole is being resized to 1" MNPT, which will be less of a restriction. other than that it seemed to work pretty well.

I put it on my oldest panda, and the only one i have with a broken spout currently. This unit has been decommissioned for awhile now, fits and works like a charm, will be more effective with this final round of design adjustments and modifications.

Edit: I have sent out for a set to printed on a buddies high resolution industrial SLS machine, ill post when i receive them

11 Likes

My SLS printed prototypes came in, these were printed on a million dollar machine, in a chemical resistant glass fiber reinforced nylon composite material, the finish is beautiful, stay posted for video of the spout in operation and the release of files if the test goes well.

Also I added in a baffle to help direct the initial surge of solution, need to go buy a proper SS barb fitting aswell

!

13 Likes

I cant post this into the “ultimate panada mod” mod thread due the 3 reply limit lmao, so im posting a new thread, if a admin can merge this into the below thread id be grateful.

the unit is a success. DM me if you want an .stl file to print it yourself, i cant upload it here.

18 Likes