The last two uploads didn’t finish, can you try again? or even just pictures might be fine.
Okay so the video uploader on here is shit. It’s a 1 min video explaining the current issue. I am desperate for help. @SubstituteCreature does your wizard mind have a solution to release the wires from the wire clamps?

Check now

Is there a way to free that from being mounted on the panel? There may be set screws behind/underneath there but you gotta free that whole unit off the panel to kinda verify that. If not then that is some planned obsolescence bullshit.
AGAIN still pictures. Hi Res.
Marked up to show wtf you want to get across.
Most likely those wires need a small screwdriver inserted in the slot to remove them.
Had you uploaded a still, I’d mark it the fuck up.
But as you seem to be from the “if it’s not a video I can’t learn from it” generation, try

I suspect the 4min mark…
I think op misunderstood. My video request was for
![]()
WELL I FUCKING AM!
But @cyclopath assuming this is a normal wiring block with no fuses involved couldn’t this gentleman simply hard wire everything together or do you think there’s a splice or two within that block? As kids who were too broke to buy wiring harnesses for our car stereos we did that shit all the time
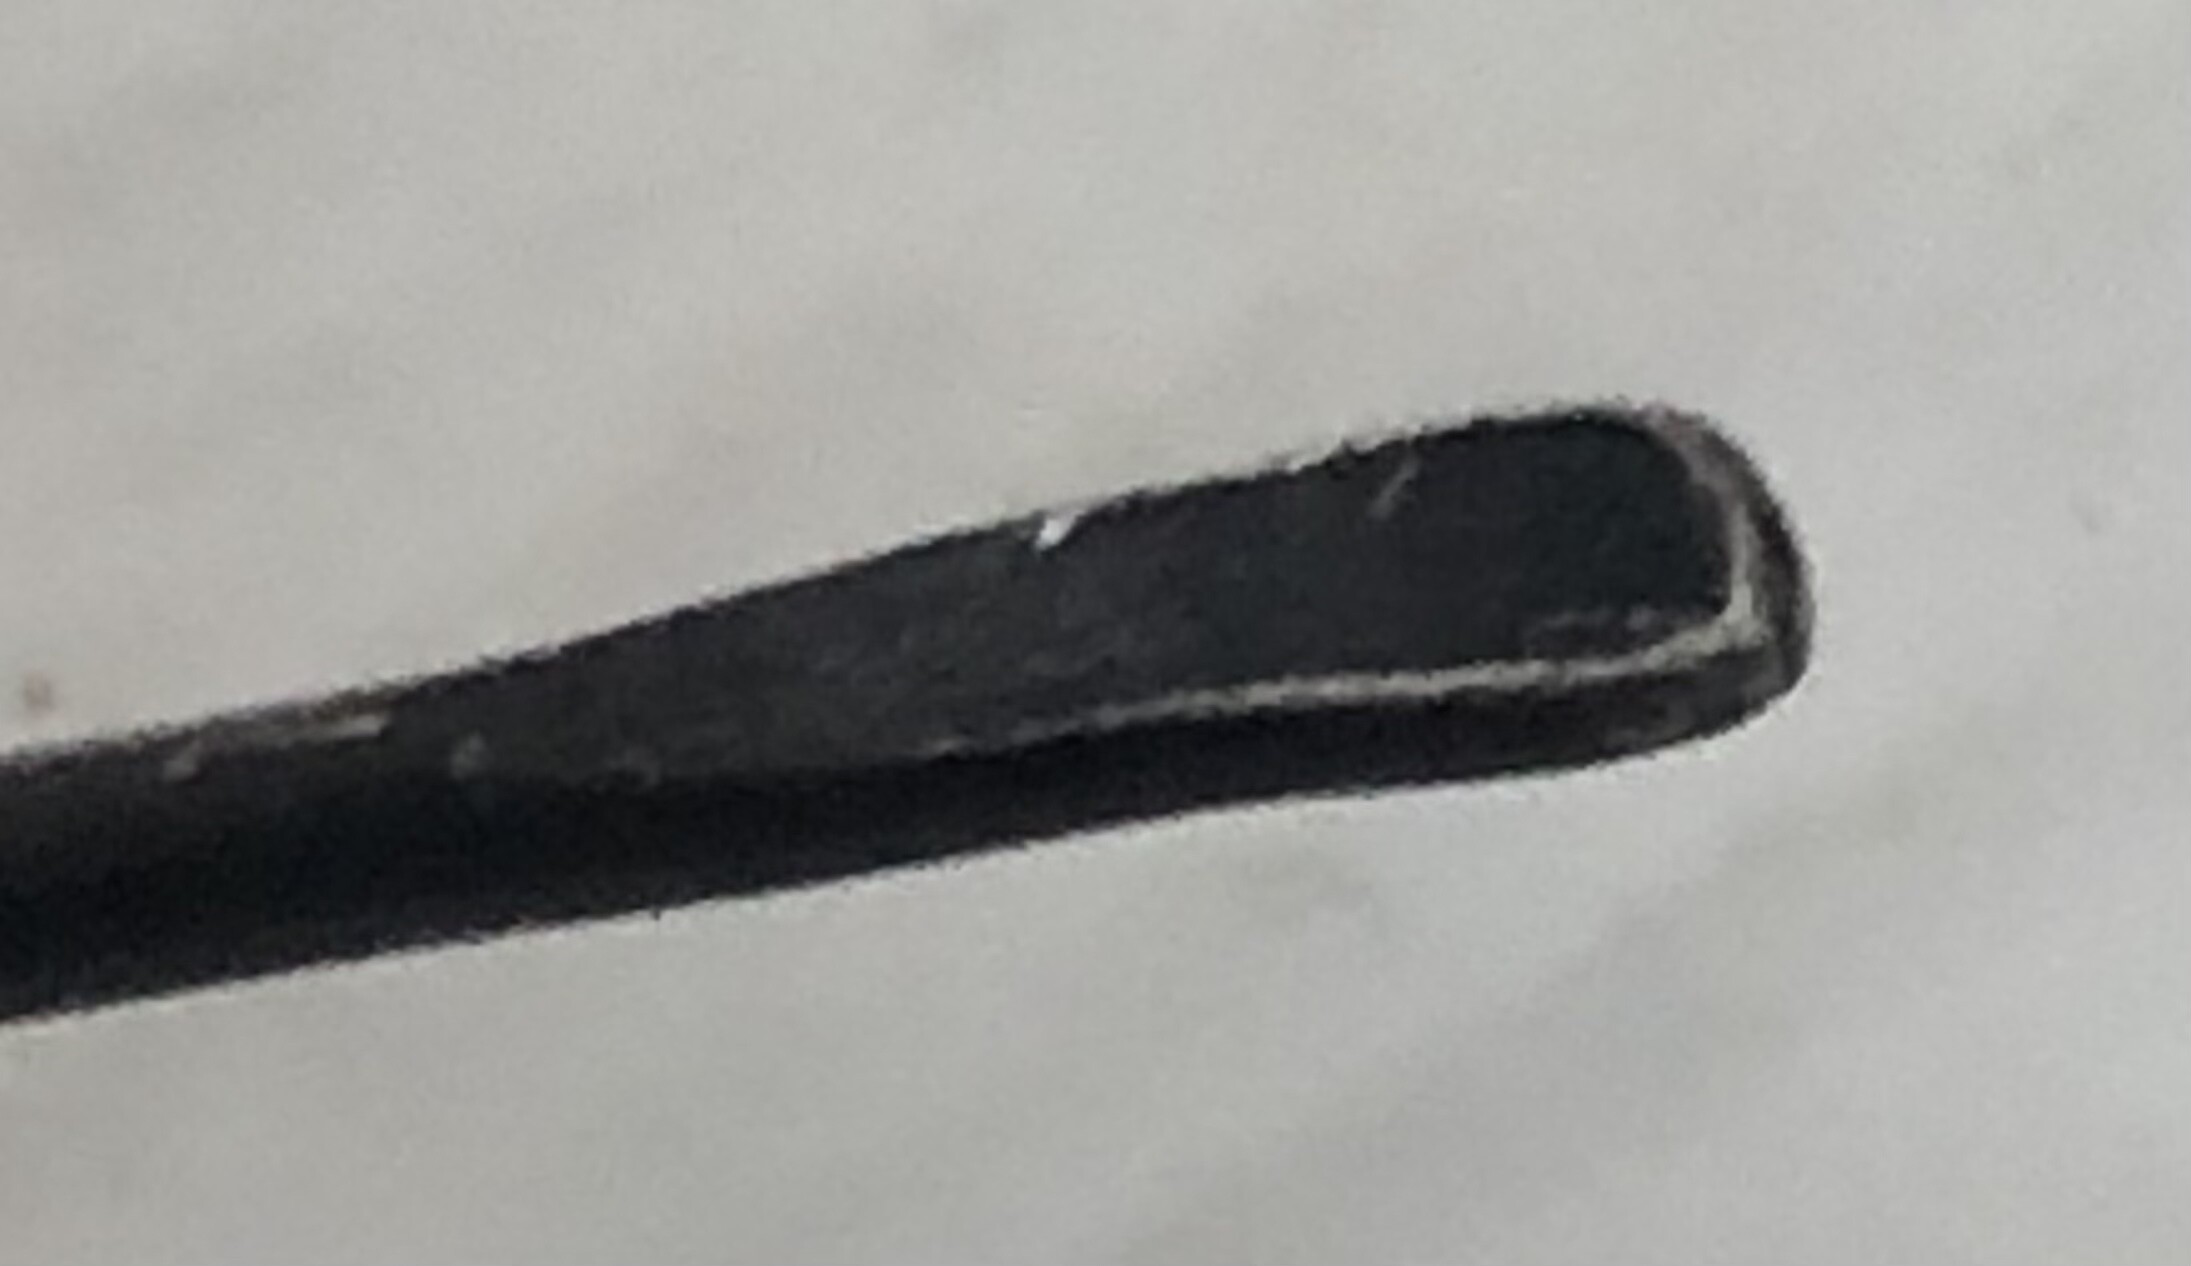
Block looks generic. Wires should be trivially removable. Not certain, but suspect this bicycle spoke I use as a dab tool would free them…

Pretty sure I’ve used it or one of its brethren for that task more than once.
Personally if it were up to me and the tools were in my hands i’d just cut the connections and directly wire them together but if you’re junking the block regardless that would work perfect too. I really do feel bad for dude because HR really doesn’t have their customer service shit together.
If you have a continuity tester you could check and see if that block has splices or if it’s all relatively straightforward ‘wire connection a touches wire connection b’ type shit so hard wiring wouldn’t ruin anything
Edit -
InFlorida4252BettysHarvestRightFreezeDryersGroup BRINGING THE BIG DICK IN THE LOCKER ROOM INFO
She doesn’t seem to have tech-level shit but she does have some good guts-level shots of the internals
Damn straight!
just threatening dissection seems to solve the problem some percentage of the time…which has not gone unnoticed by those closest to me.
Personally I think it just needs a
Poke in the eye with a sharp stick…

Did you get that +×÷× thing fixed yet?
1st. Does that push on connector have anything to do with critical machinery in your lab?
Pull every plug in your lab and change to screw clamps or bent circle that you personally screw tight yourself. Assume entire project is #12 for the 20 or 30 A circuits.
When you rescrew everything restrip the wire end with a tool that does not cause nicks or indents on the copper. Those push in connectors are problems.
Now A freeze dryer is nothing but a vacuum pump, a refer unit and perhaps a tray heating circuit. If you want to screw something simple up add a computerized controller.
That plug you showed …what is the factory input voltage?
When the unit failed did it trip the breaker in the power panel or just the computer controller shut every thing off.
Seems to have managed wiggley (~) to dc.
Video reports led on board.
So your computer controller is on.
Is there a vacuum sensor in line.
Apply vacuum directly to just the sensor…
It should pump down in minutes…
If the machine powers down with out blowing a fuse …the program has a set value to shut down.
If it keeps running…well not the vacuum…not sensor…not controller.
If your you breaker trips…when going into failure mode…it may well be the refer unit cycling or in continuous mode.
Nothing else draws that type of current.
Unless perhaps a dead short in tray heating circuit.
I can’t test if the vaccum is working the screen won’t come in right now I think I have 2 of the wires plugged into their opposite placement but I can’t release the wires to confirm my theory. I cannot for the life of me get the wires to come free, I have already bent upwards the metal pin that looks to be holding the wire in place but the damn wires are covered in metal solder and it’s like once they are pressed into place they cannot be easily removed for ‘planned obselence’ or however it’s spelled. I am pulling my hair out. I just want my machine to work
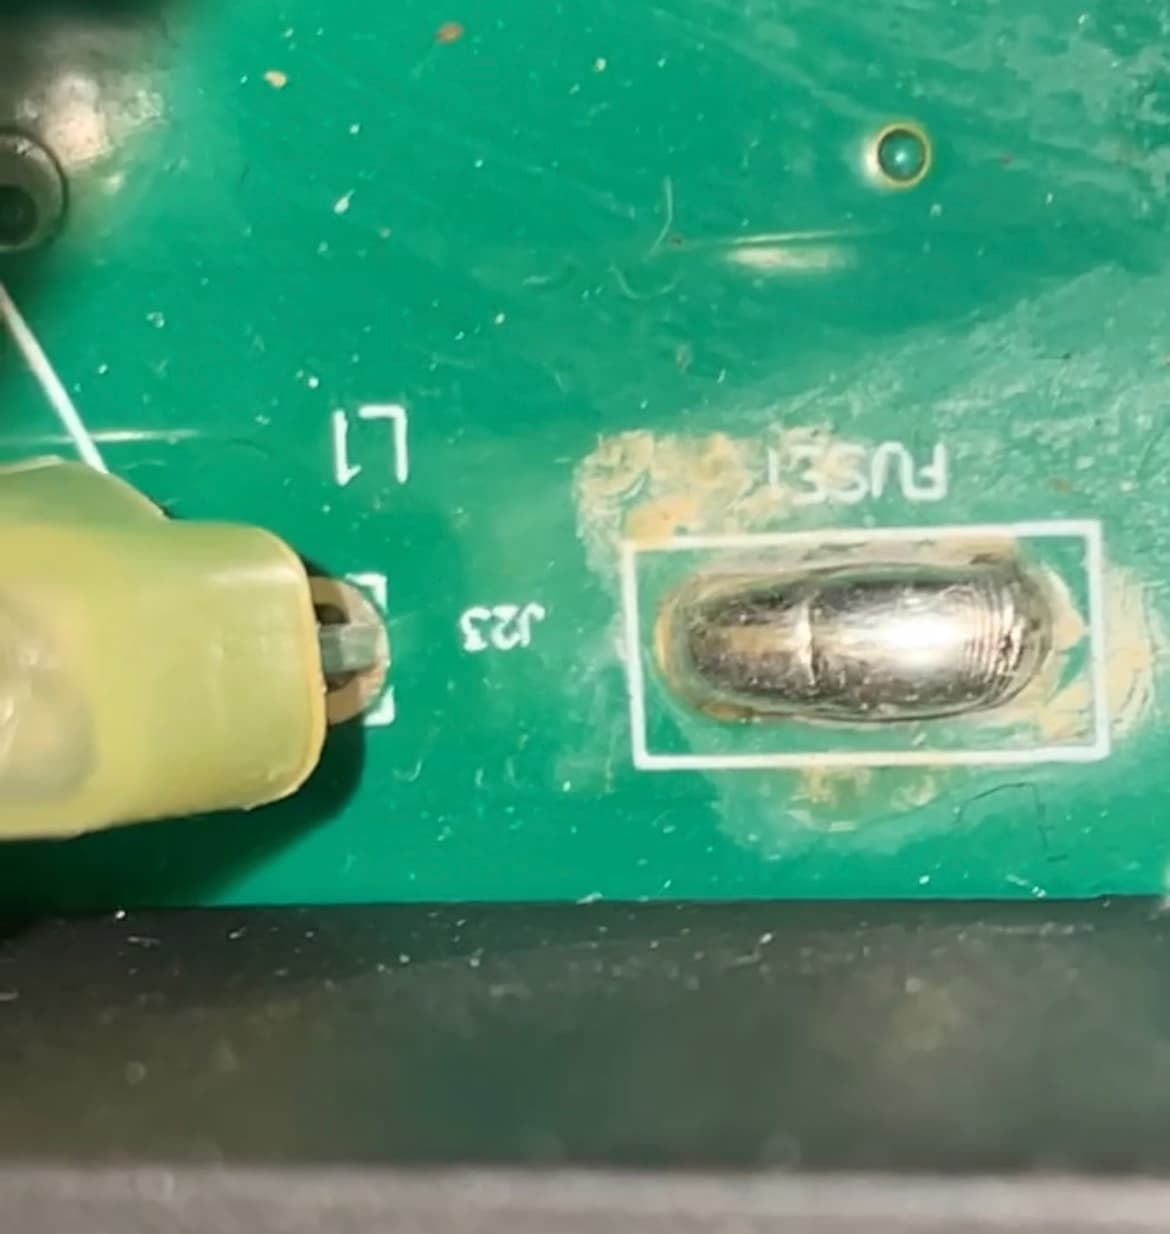
can you clean it a bit…?
can you see the other side of board…
or is that just solder being used as a fuse.?
is that a crack that bisects the solder joint…
has water been getting there?
In your case…if the screen is not coming on,
You have a microprocessor board…that is powered by DC voltage.
trace your 120V ac coming into the machine…verify…
then follow the wires to find the power supply that supplies
DC voltage to the computer…verify this transformer/rectifier is working
(it should be a separate board)…by checking the DC output…should be like 12-15 V DC. If this board is not putting out power you need a new power supply for the computer. If the board is putting out DC and you can follow to input of microprocessor board… then your microprocessor board is fried. there should be fuses along the way…those can just be checked with a continuity meter.