Made a post on insta saying I would be down to sell customized baller jars, pint glasses, etc with my stencil/acid etching tek. So the next logical thing to do is open source it right?
To start you’ll need:
Armour etch
Removable vinyl
Silhouette studio
Vinyl plotter
Transfer tape
Scissors
Paint brush
X-acto knife
Gloves
Paper towels
WARNING: Armour etch contains Barium Sulfate, Sulfuric Acid, and Sodium Bifluoride. Do not allow it to come in contact with your skin, eyes, or any surface you don’t want to be ruined. If armour etch comes in contact with anything you didnt intend it to, immediately use running water and towels to remove it. Keep it away from pets and children. Wear PPE (gloves, lab coat, eye protection, etc) at all times. The fumes are dangerous, work in a well-ventilated area. X-acto knives will easily cut you. Cover workspace in something that will be discarded after the project. Work clean and be aware of what you’re doing at all times. Immediately clean any spills.

Find a design that will be easily weeded, download it, and open the image in Silhouette Studio.

Use the trace tool to trace the image you want to turn into a stencil. You can adjust the thresholds if it doesnt appear to be grabbing your image correctly.

Resize your stencil to the dimensions you need, and then draw a box around it. Duplicate that as much as you want.

Load the vinyl in the plotter, ensure the cut settings are correct for the material and send it.

Weed (remove) the part of the design you want to etch. X-acto knives are 4200 times better than the weeding tool included with the plotter.
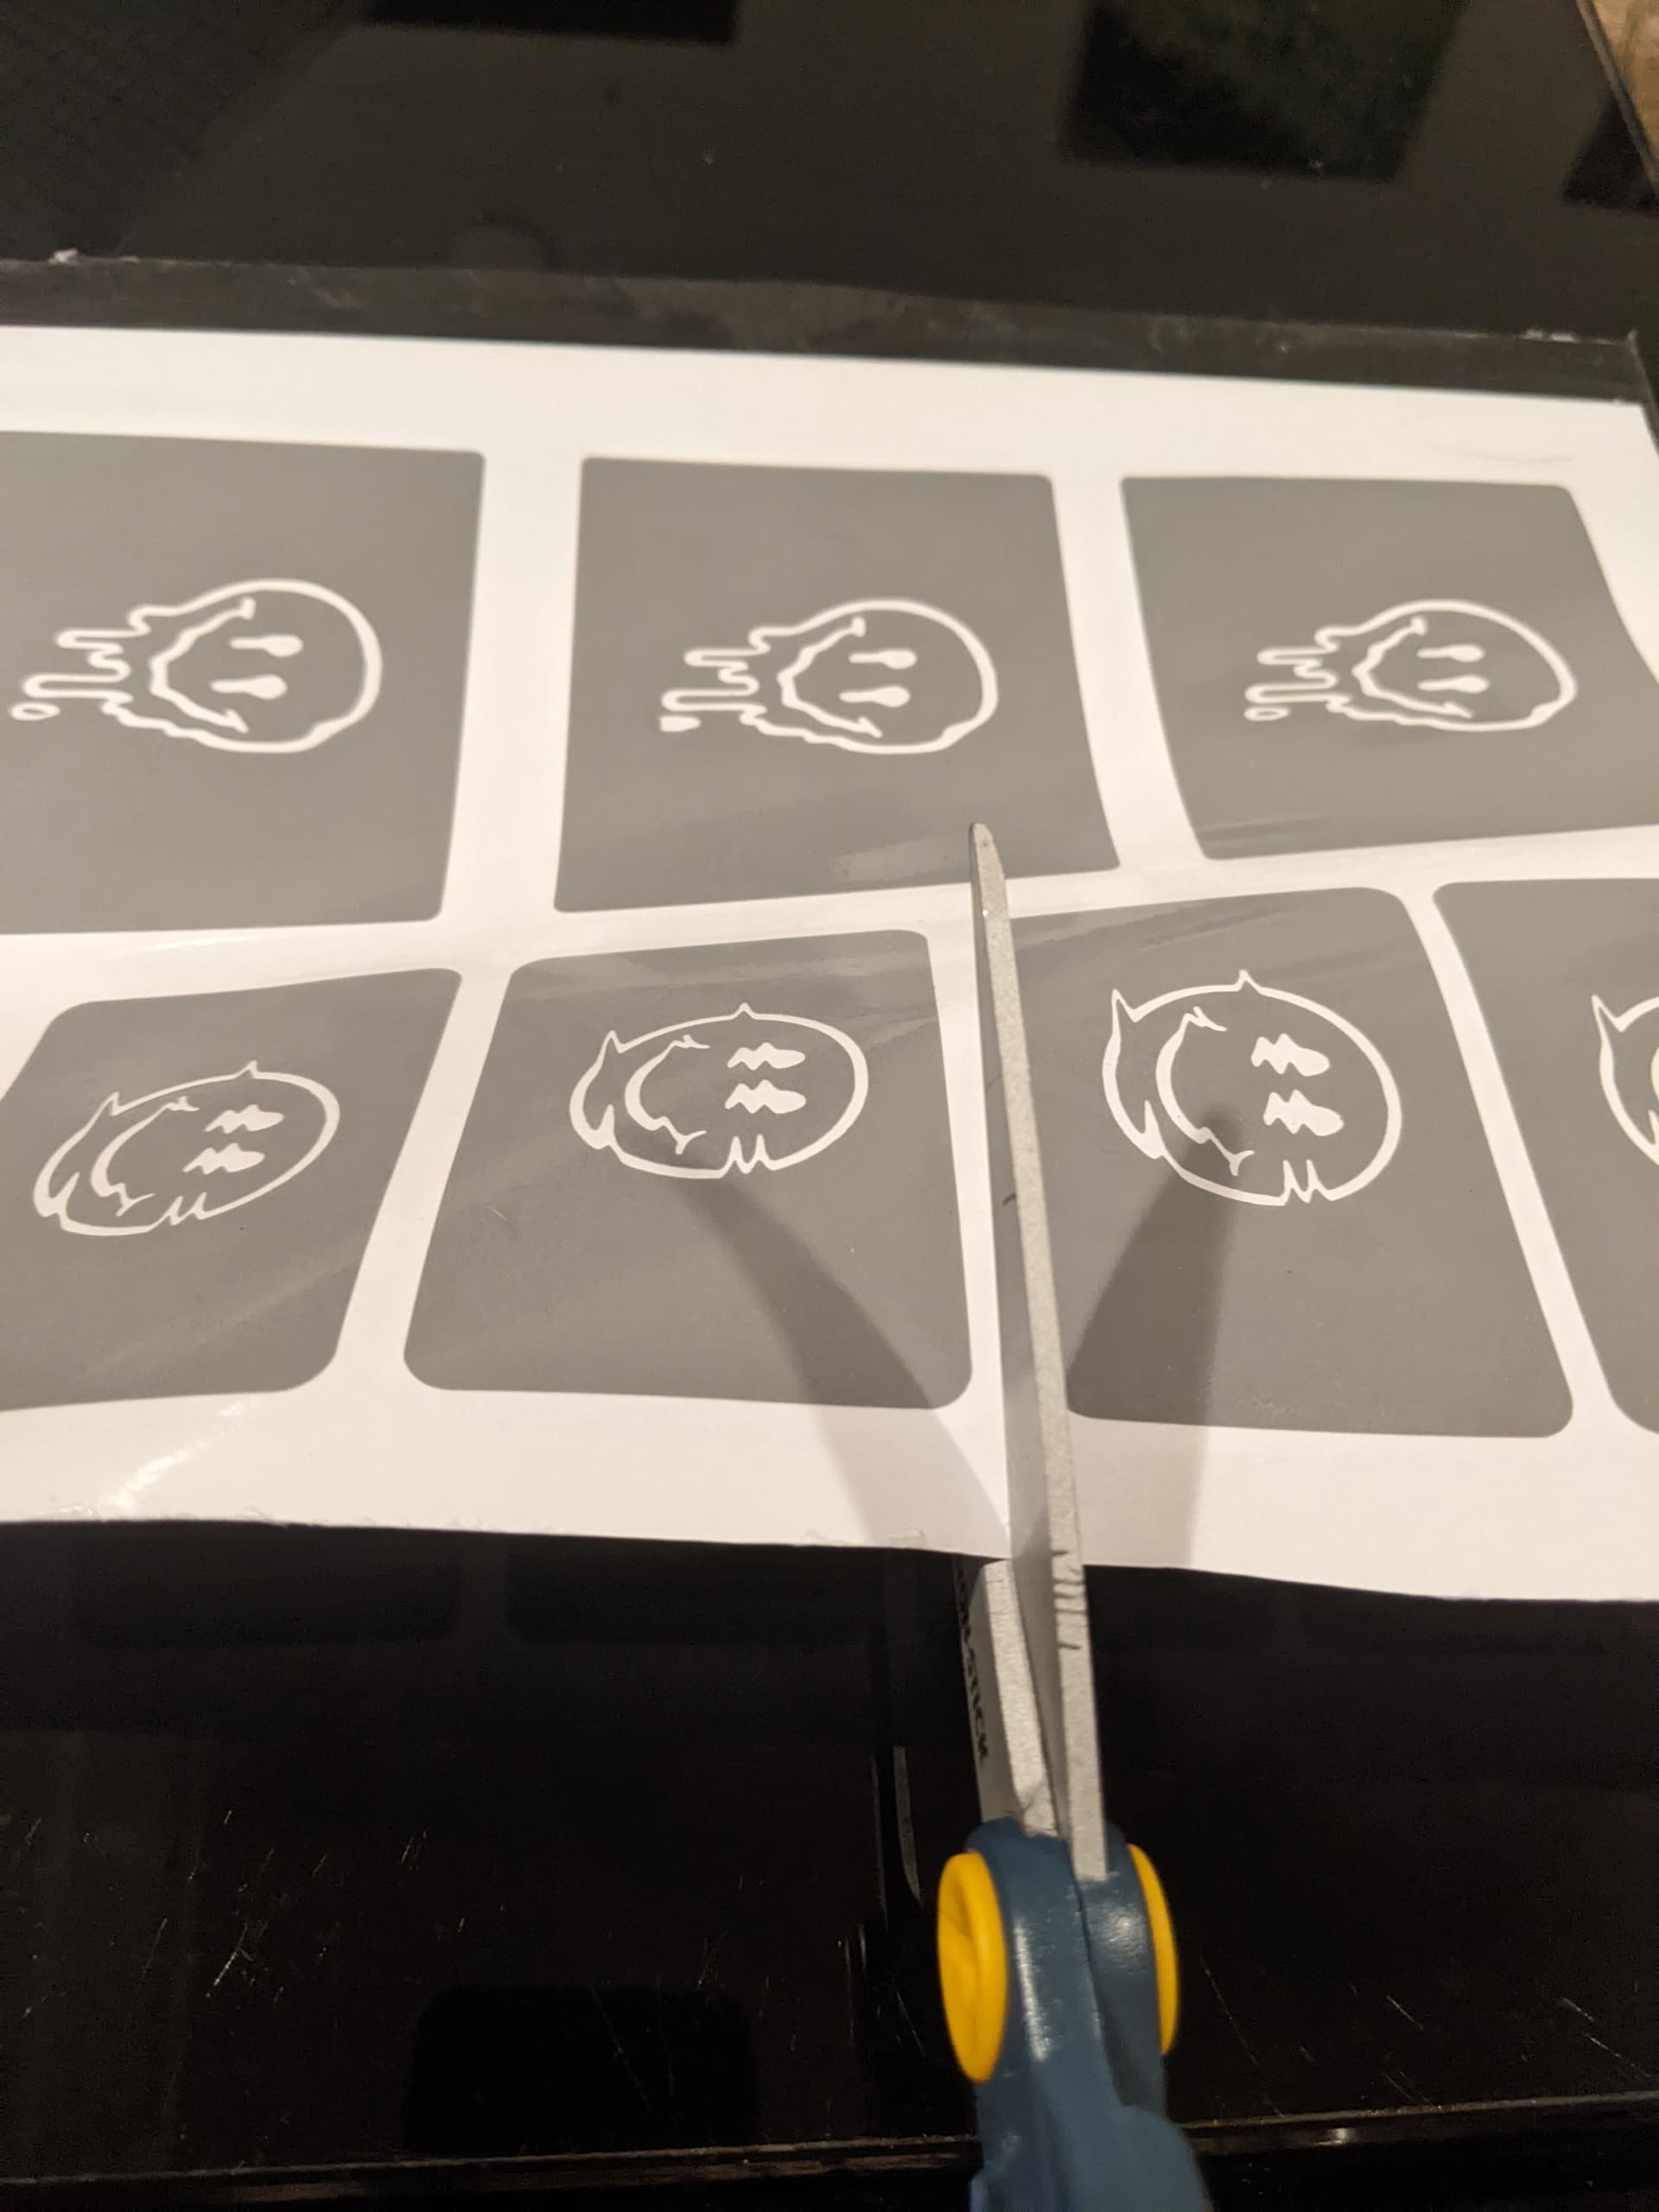
Apply the transfer tape to the whole sheet and then cut the stencils out. I like to use a little more transfer tape than needed, so I can tape one end down and make sure I’m getting good cuts.

Apply the vinyl and remove the transfer tape. I like to fold when applying so I can center it and then fold one side down at a time.

This wasn’t needed for this particular example, but this is crucial for bigger designs. You want “stage” big globs of the creme on the vinyl so that way when you start painting it on, you can cover the whole thing quickly and won’t have spots that are a little more frosted than others.

Cover the area well and set a timer for 3-5 mins. (the armor etch website says a minute only, but I’m a cowboy)

After the timer goes off you want to act quickly.
You can reuse this creme if you want, carefully scoop it up with a tool and put it back in its container, or wipe the creme off with a dry paper towel and discard it.

Make sure most of the creme is wiped off and then run it under water until you can’t see any residue.

Remove the stencil and make sure to wash everything thoroughly
