ouch. as a one off, replacing that probe that came with it with one that sat between the flask and the mantle might be more work than it’s worth. as a community project, where dozens of these things could be re-hab’ed it might be worthwhile.
my guess is they’re using a k-type thermocouple (but that is just a guess). You probably don’t have a half dozen PID controllers lying around like I do, so hooking their probe up to another controller to confirm that isn’t trivial in your world.
if you’d like to post pictures of your probe, and the connector, we might be able to source a $20 replacement that you can sneak in between the flask and the mantle.
the grainger one I linked to may work, but will require a soldering iron.
…and that is assuming it’s a k-type.
edit: chat at OSS could not confirm probe type or name the style of plug used. They said they’d look into it and get back to me. Not holding my breath. I may get around to opening up the end of my spare probe to see how it’s wired and what sort of sender is being used, but I don’t have the same mantle, so I can’t be certain how generalizable that information is going to be.
Edit: thermomart is where I generally shop for controllers and probes. I use Granger only when instant gratification is the order of the day… and omega for anything serious (like figuring out wtf connector we’re looking at)
So the Grainger wire could be placed between the flask and mantle and hook up to a k-type connector, which would allow you to seal of the thermo probe joint on the boiling flask?
Thermoprobes come in a number of flavours. the two basic types are resistive (change resistance with temperature) & thermocouples (generate electrickery).
thermocouples also come in flavors. the most common being k-type.
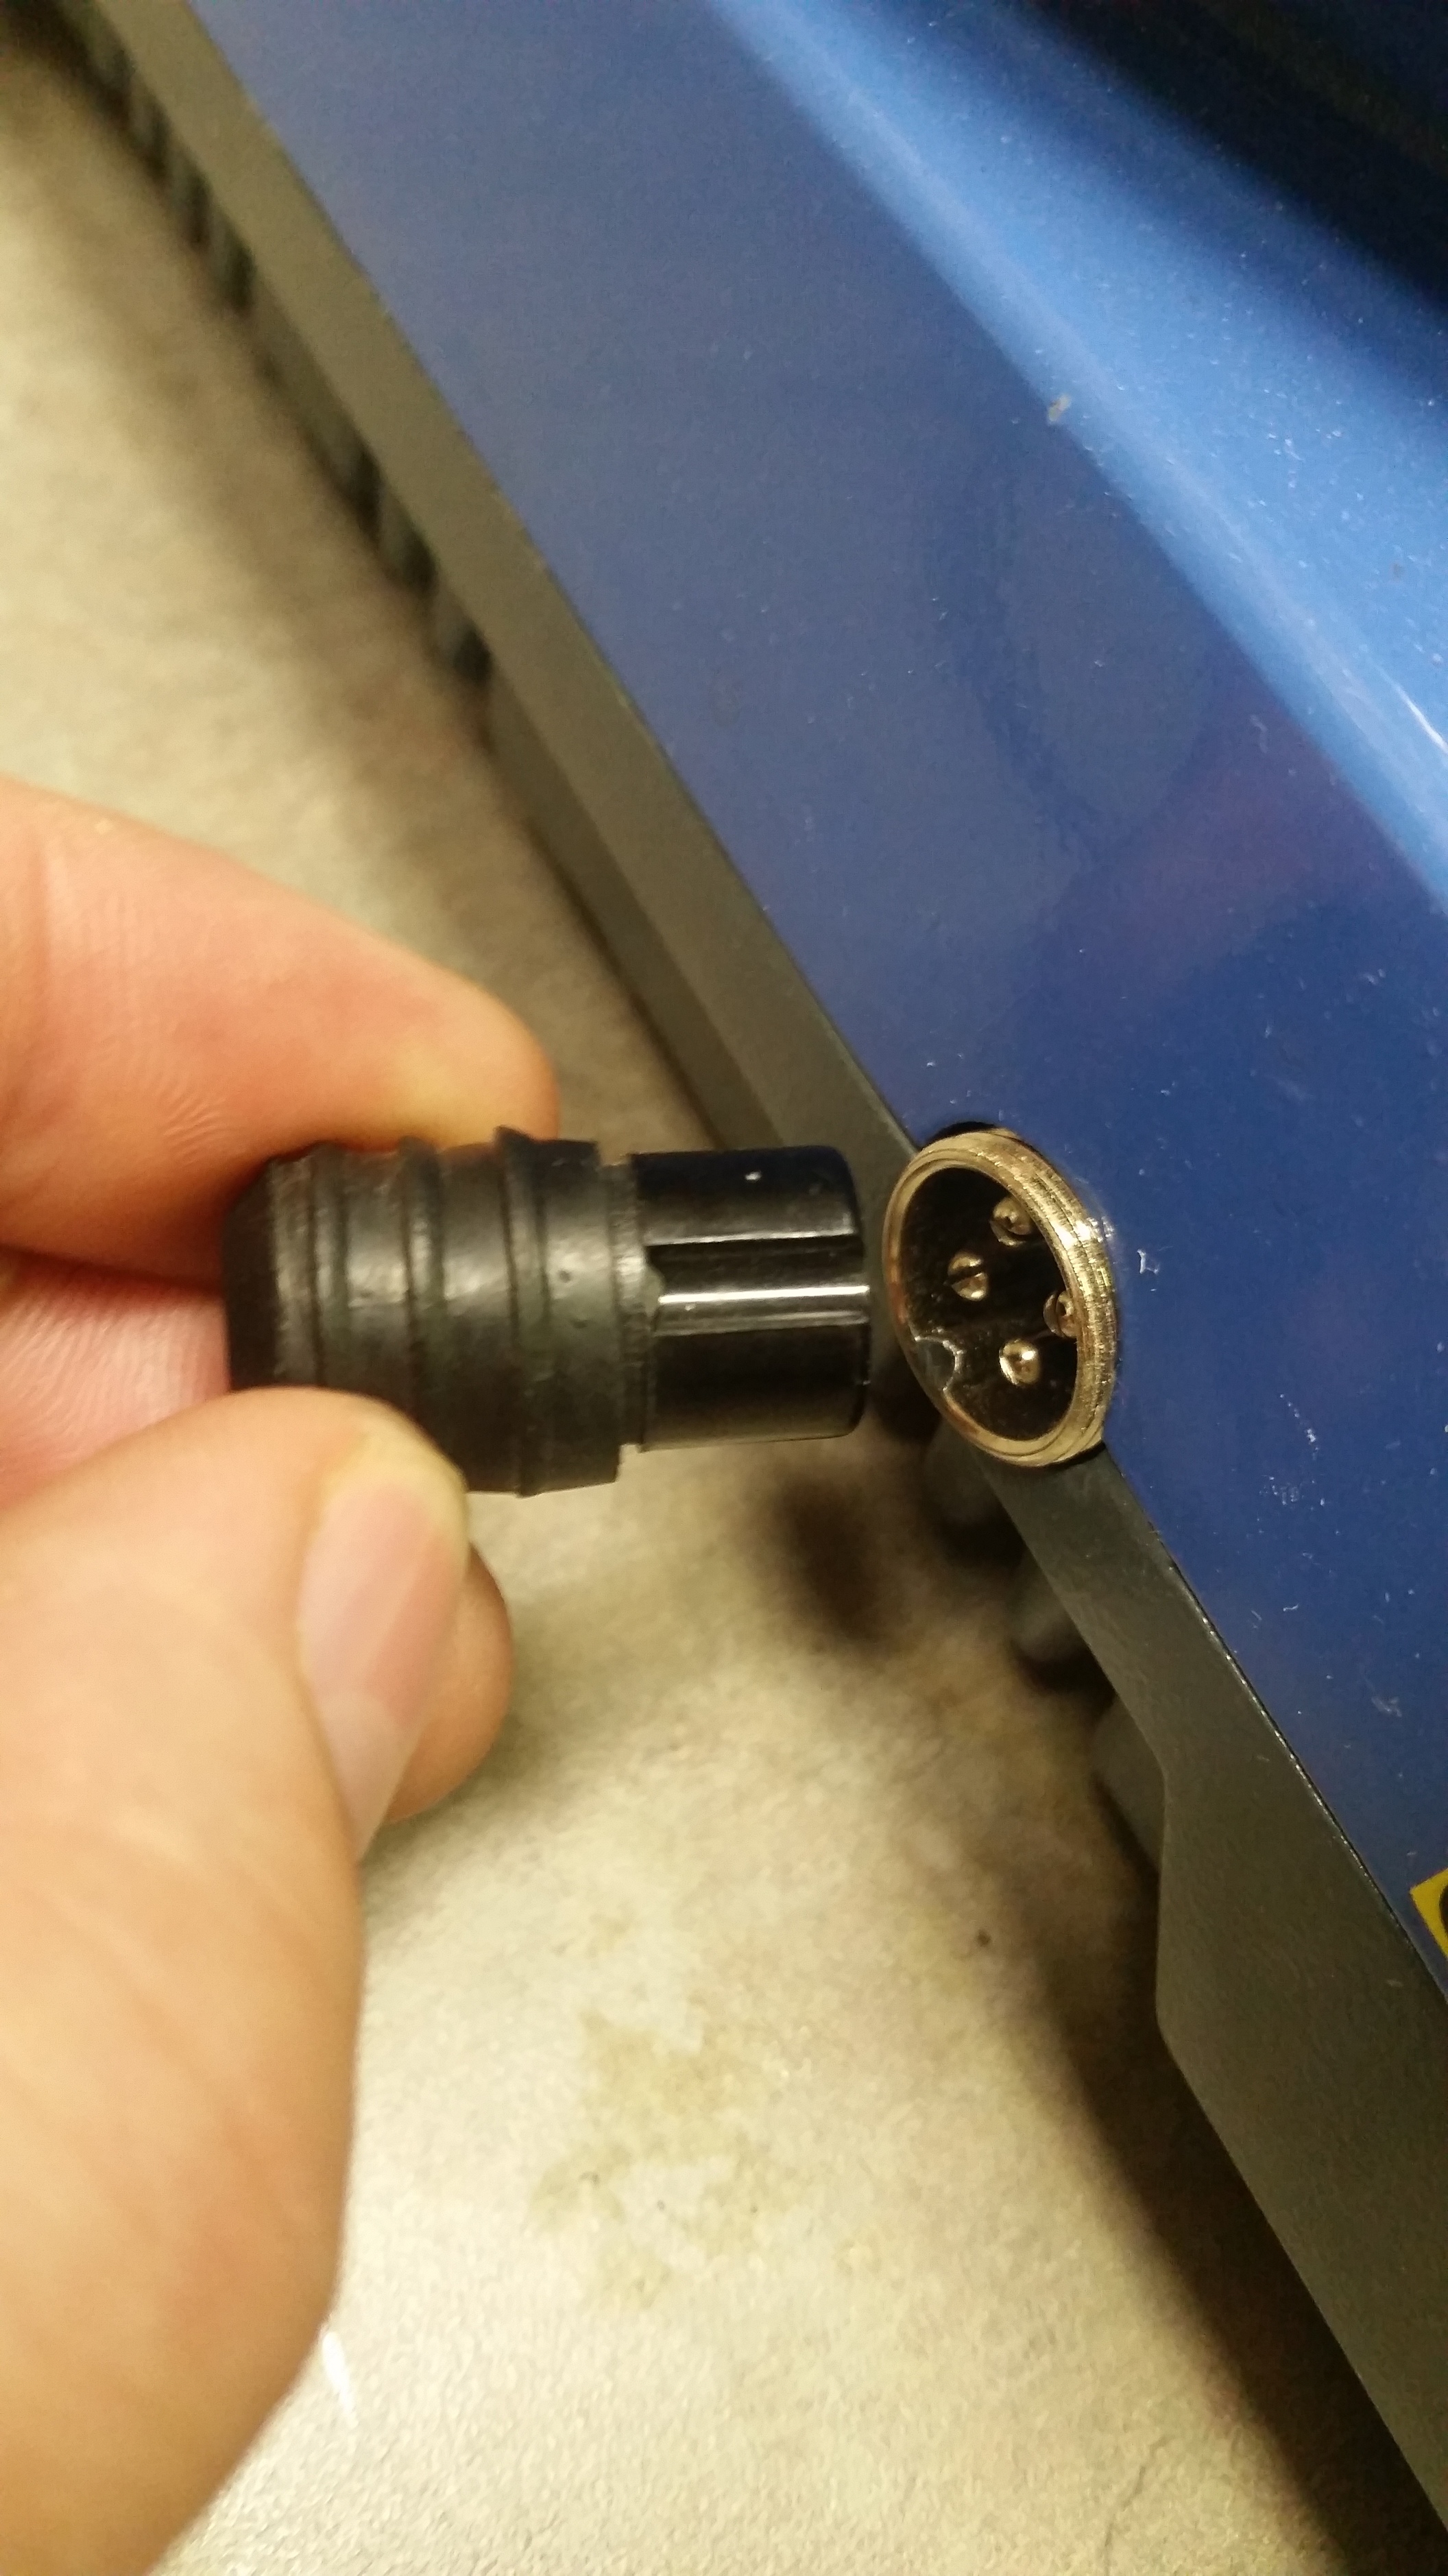
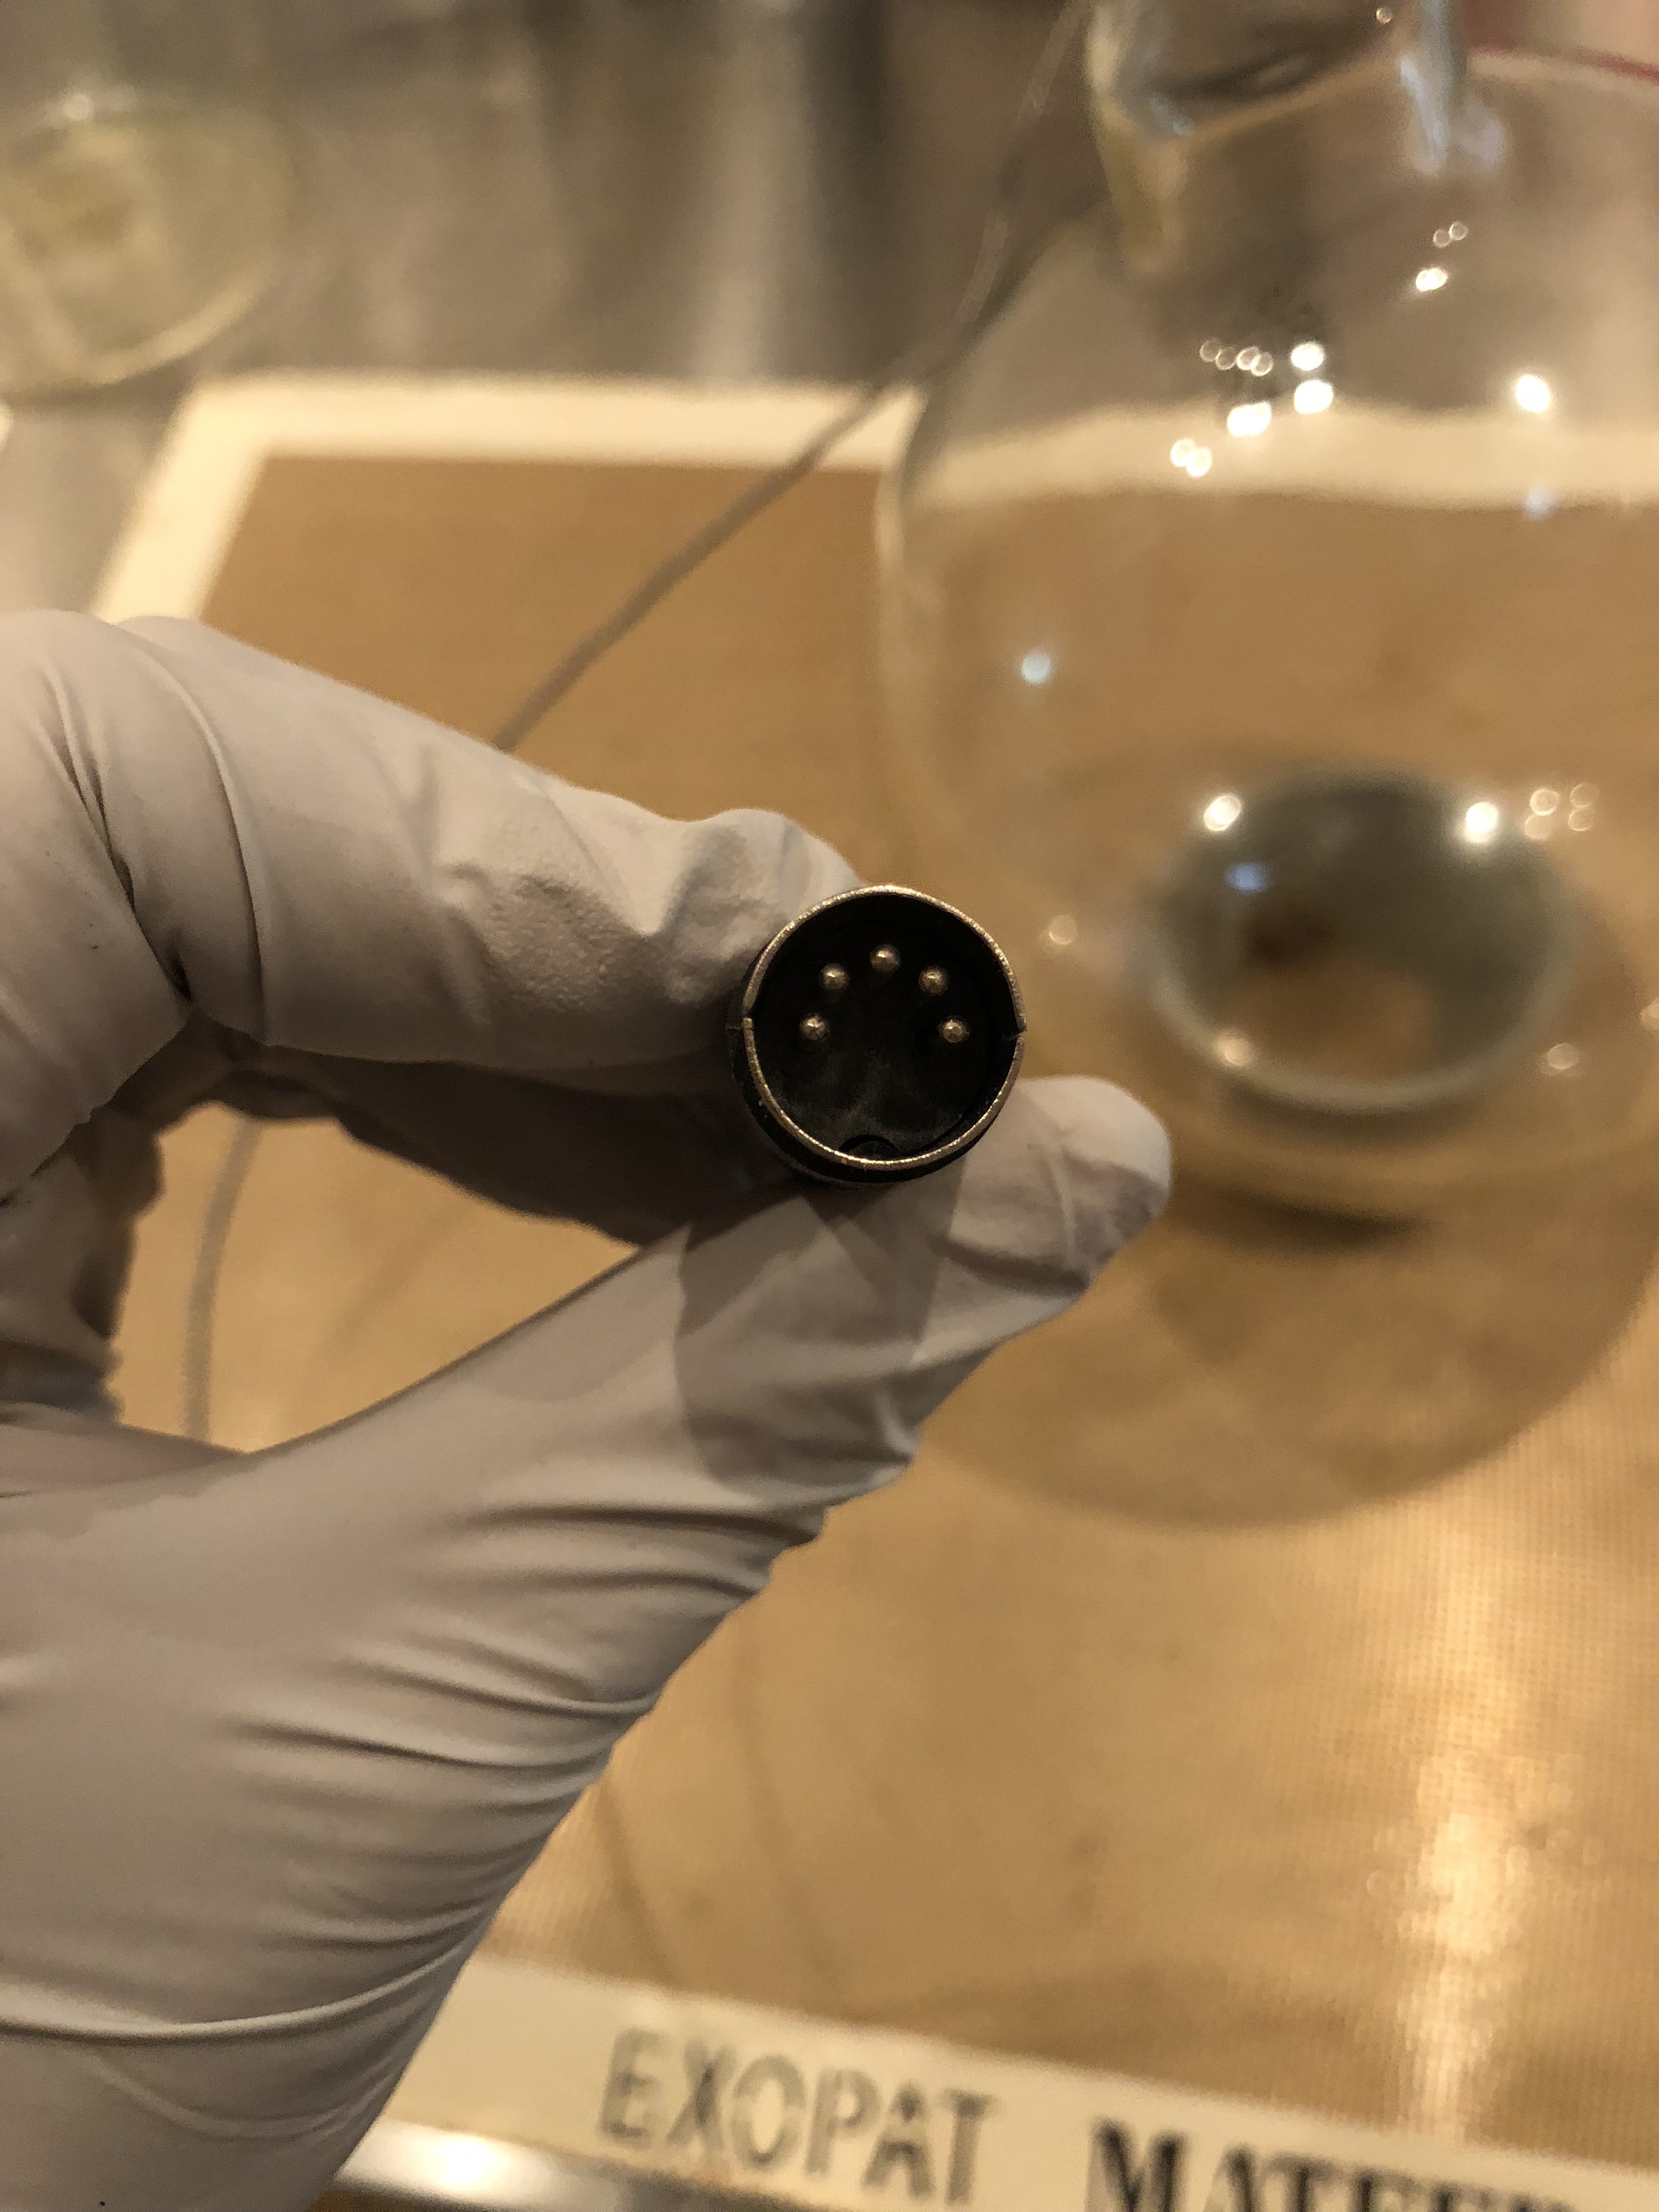
I believe the mantle OSS sells uses a 3 or 4 pin M12 connector. the grainger k-type thermocouple I linked to uses a connector that I can’t find any other name for than “mini thermocouple connector”. it it not “type specific”.
many controllers are universal, and can be told to work with whatever style probe you have (connector aside)…they simply store multiple lookup tables to convert millivolts or ohms to temperature. given that we can’t get at the logic in the mantle, we have to match the probe type. then we need to match the connector.
figuring out what style of temp sender came with the OSS mantle means hooking it up to a universal controller (or even meter) and going through those lookup tables one by one until you get accurate readings.
Aight, you are confusing me with the other dude who has the oss setup. I have lab soc and a k-type probe already. I’m just asking if i can switch my probe from inside the flask to between flask and my mantle.
me confused? I blame you or maybe the drugs I did as a child
are you sure it’s k-type. chances are if it has the flat two pin connector it is, but that isn’t a given.
if you’ve got this mantle (the one I have), then you should be able to plug the cap that came with it into the m12 connector to activate the internal (to the mantle) probe.
Yah, fo sho. I came in and hijacked it a bit, hehehe. It’s so funny you posted that mantle from ls, cause that is not the one they gave me. I’ve been wanting that one for the internal sensor. Alas, i have one that is controlled with a k-probe and a jkem controller, so it needs the probe to function. They brought than mantle in after the fact, cause when i talked to them about this exact issue 3 months ago they had no idea about that mantle or that possibility at all. I found out about it from summit.
I was an electrician on F4 Phantom jets whilst an active Marine. At least for a while. Thermocouples and a whole slew of other sensor types are an electricians responsibility. Oddly the final plug to be hooked to a detachable tactical nuclear weapon for which the Cold War Phantom was designed to carry was not the responsibility of Ordanance but the duty fell to the electricians. A somber moment indeed stepping back from a idling Phantom and giving the thumbs up on that one being ready to go… I will limit the discussion to thermocouples here…
Thermocouple is short for thermocouple pair. It simply means two wires of different metals twisted together at one end and left open at the other end of the pair to connect to a meter. When any two dissimilar metals are in physical contact with each other there is a difference of electrical energy potential between the two metals. As I recall the reason two metals do this was deemed by my Marine Corps instructor to be caused by FM (effing magic) and left it at that when asked.
The charge carried by the metal is directly related to the temperature of it in a linear fashion. When it gets hotter the charge is greater than when it is cooler. The metals will increase their charge they naturally hold (FM) but at different rates from one another as they get hotter. The difference of electrical potential is then measurable by a pretty simple circuit. The terms “voltage” and “difference in electrical potential” are 100% interchangeable.
The type of thermocouple like K just defines what two types of metal wire are twisted together so then a known circuit can be employed. Alumel and chromel were used I believe for a lot stuff like this. My point in explaining all this is that a “thermocouple” is maybe encased in something and maybe has a special plug at the open end but it is simply two dissimilar wires twisted together at the hot end.
When my thermocouples go bad because I bend them around or spill on the junction and such I have no problem at all chopping off the end and stripping and twisting the wires together. Presto. Thermocouple fixed lolz. The twisted wires will corrode at the junction and in fact rust is a direct result of two dissimilar metals in contact with each other but in the form of intergranular metal contamination contact that is unavoidable. Most often chopping off the end of thermocouple pairs and twisting them back will “fix” the pair of wires.
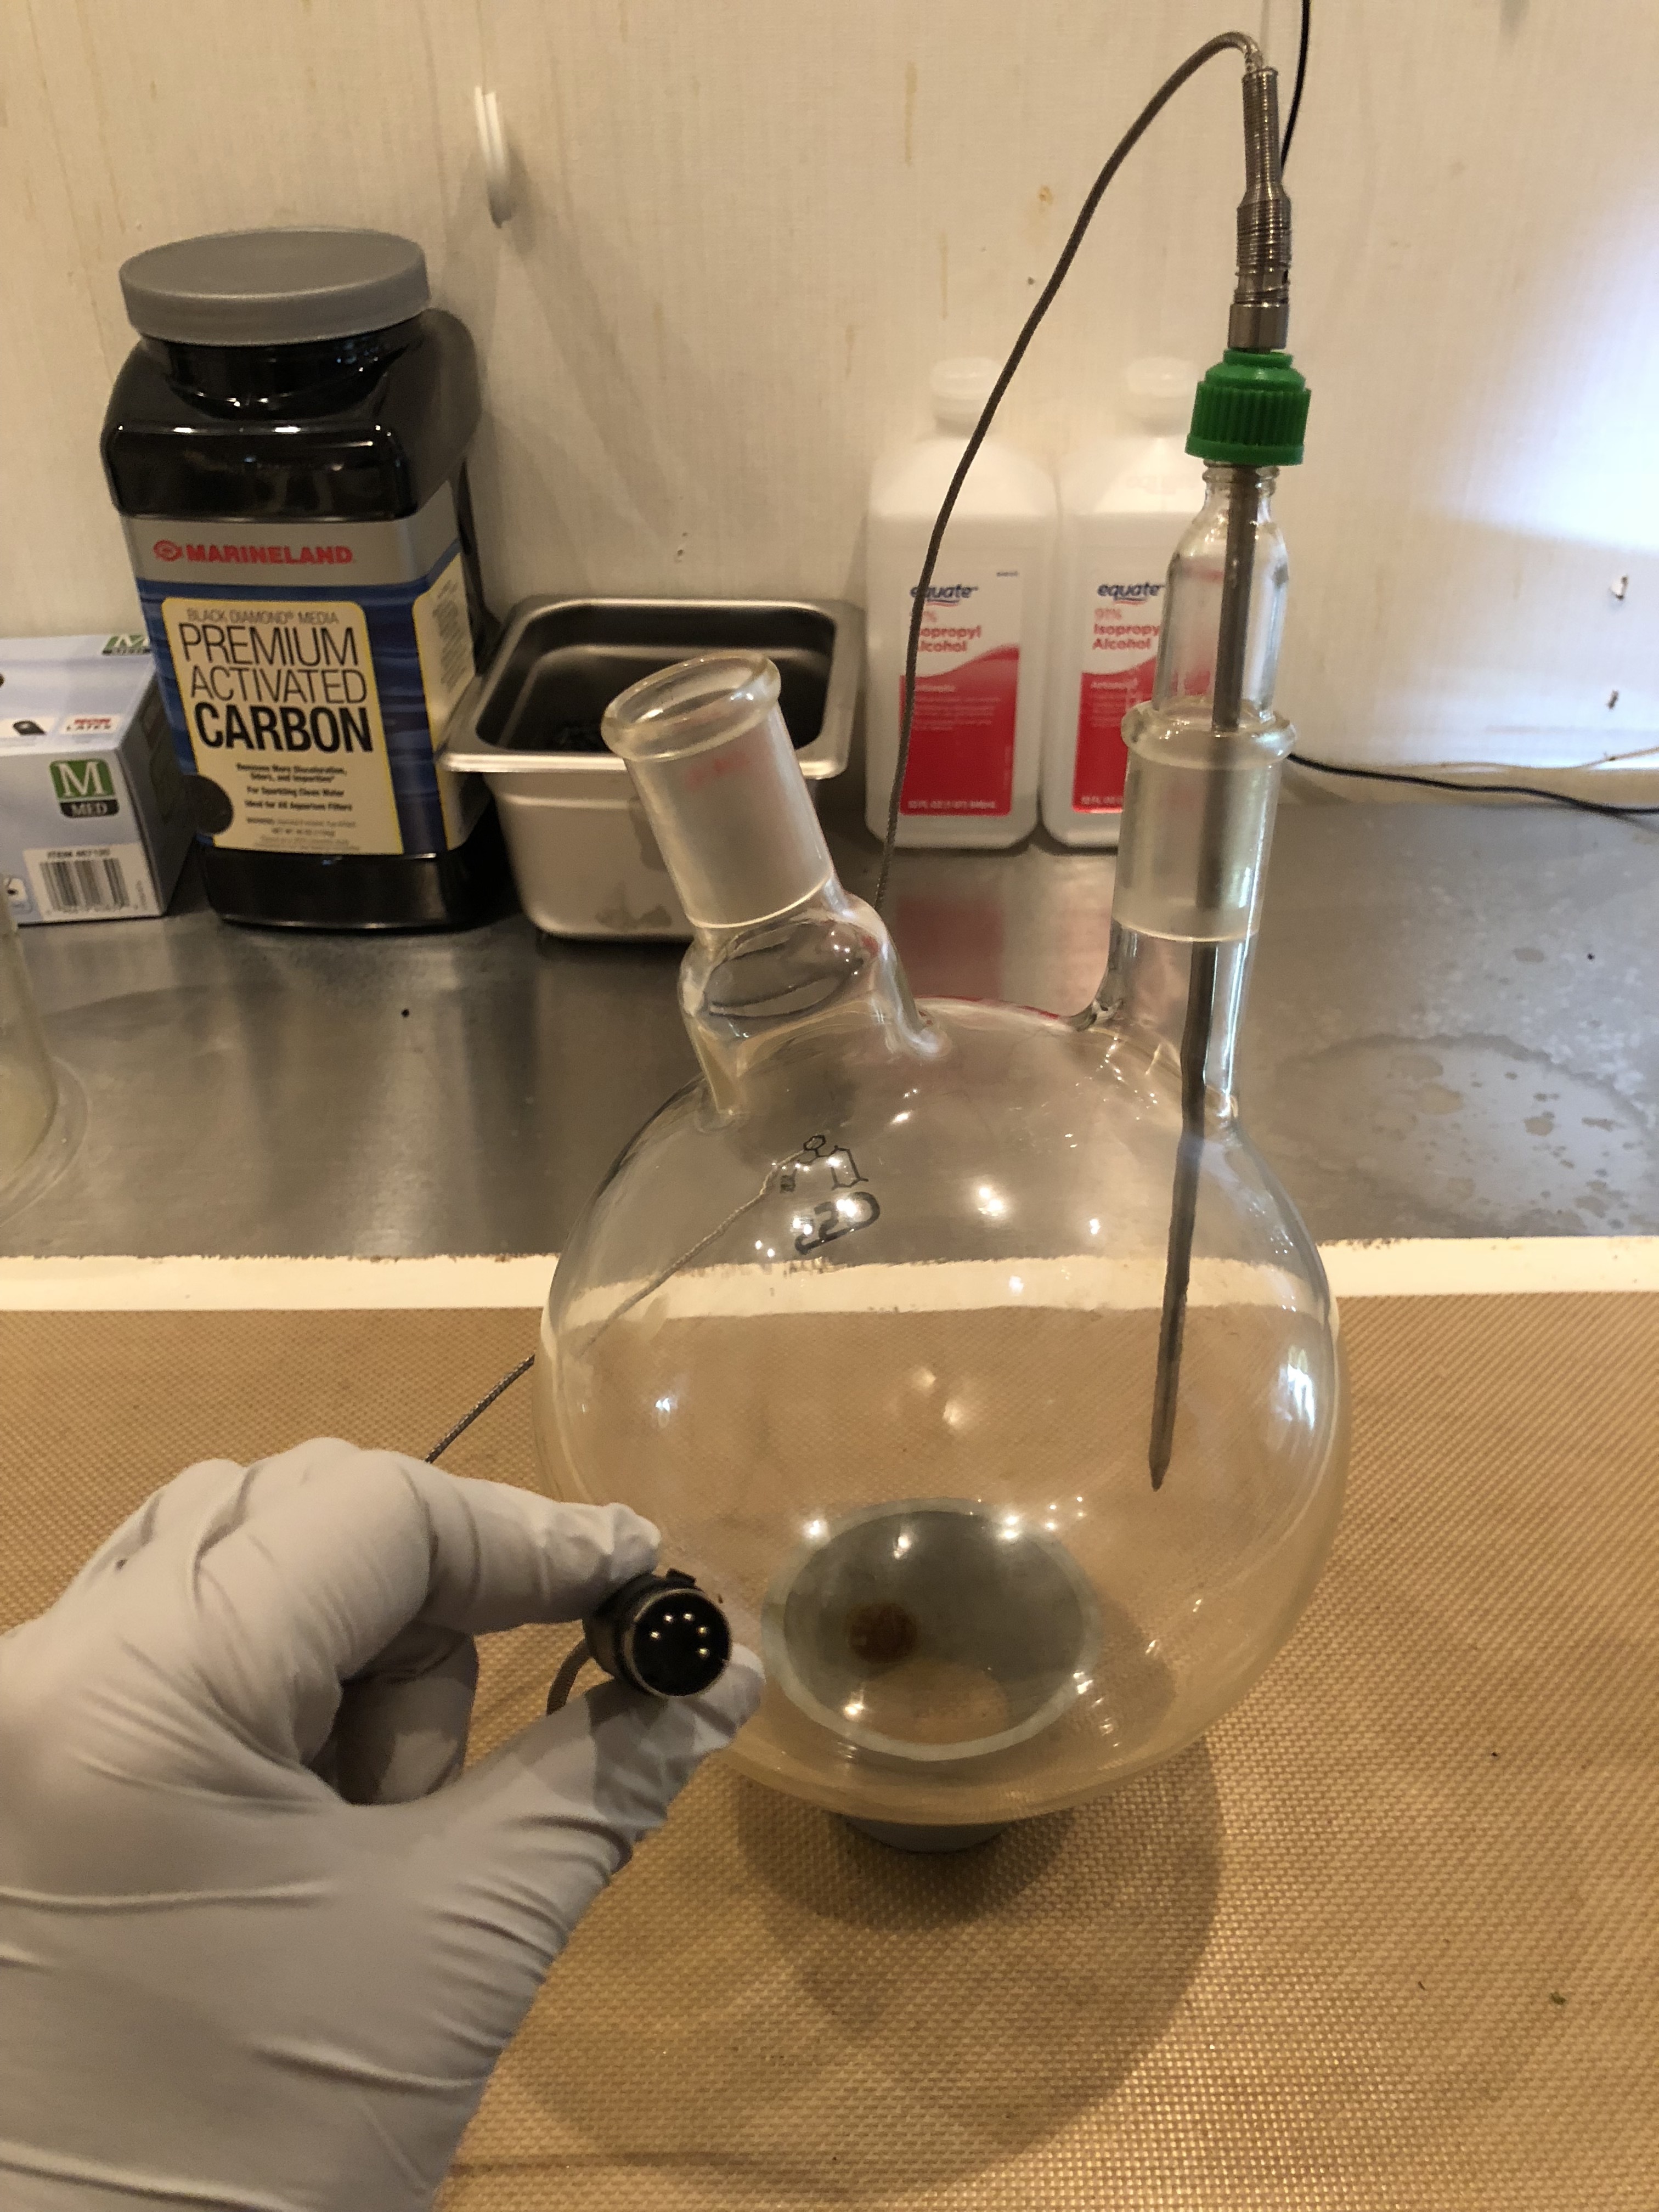
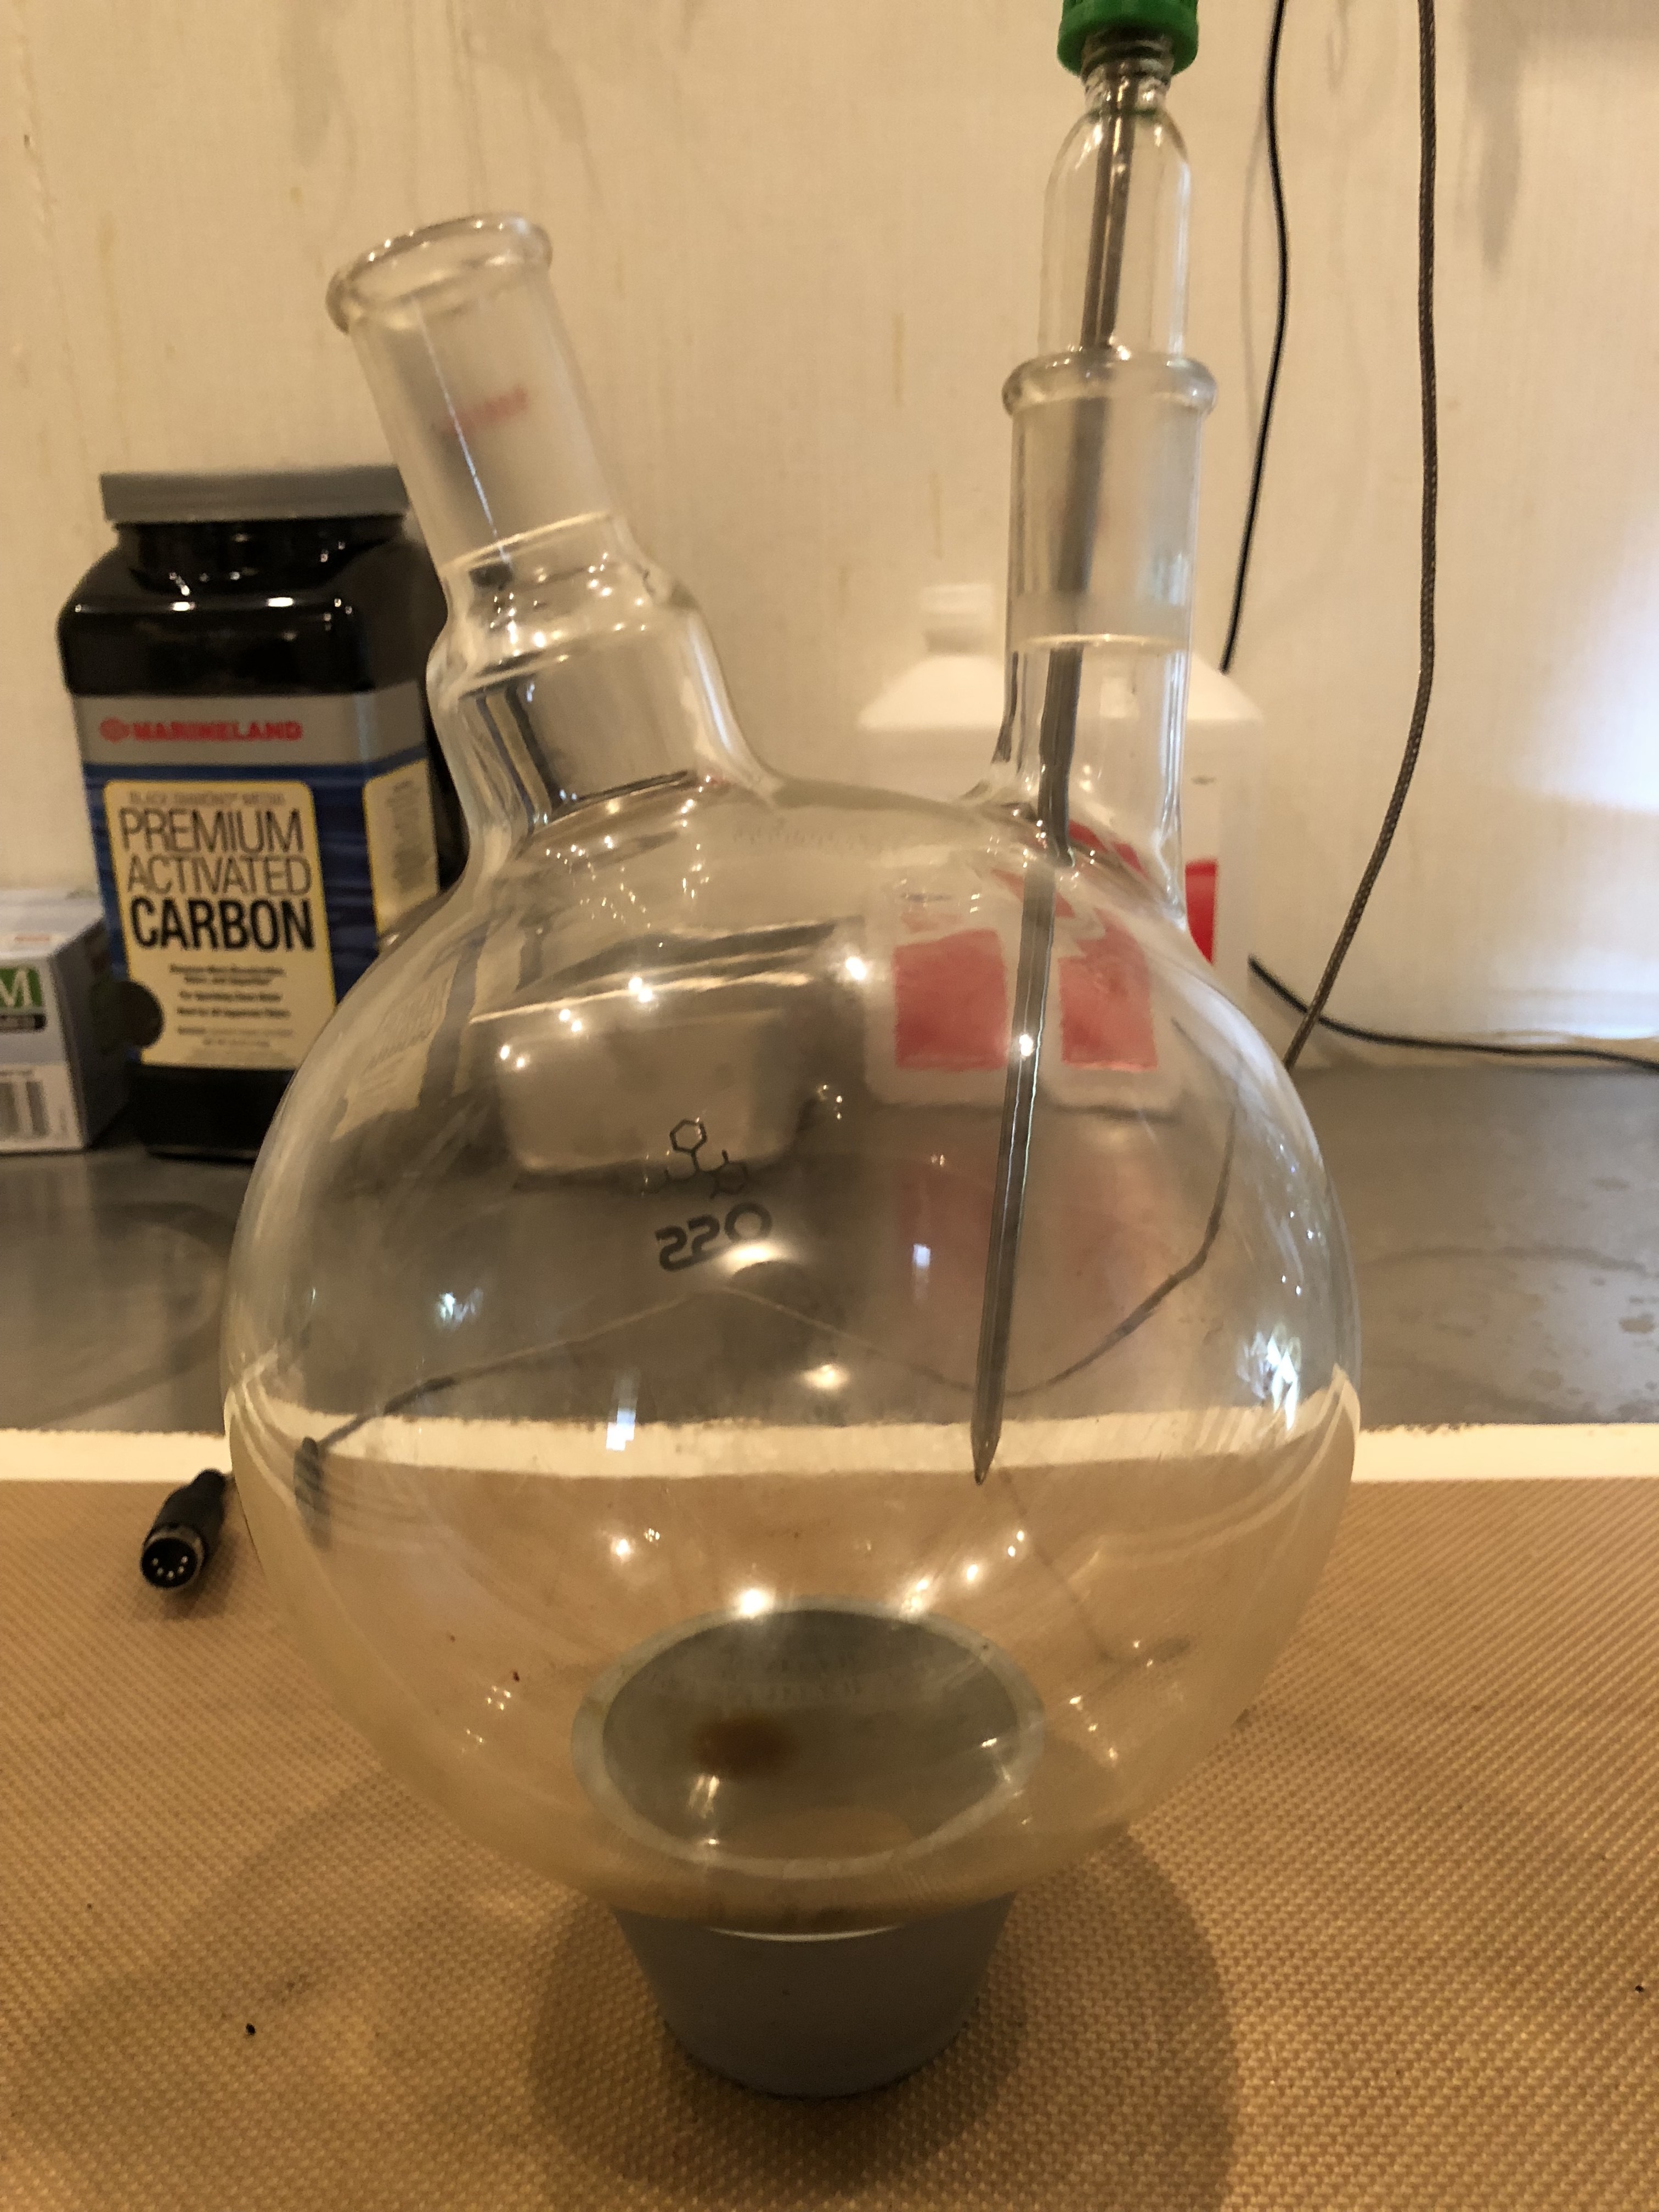
I can tape my thermocouple pair twisted like that to the outside glass at any point in my rig with aluminum heat tape from 3M but normally now just poke the wires between the mantle and the glass.
Do we get paid by the word on this blog?
NOTE: The metal shielding you see on thermocouples can cause hella big headaches and imo are for show only…ducking now… tomatoes fly overhead…
What that shielding actually does in reality is provide multiple opportunities for the worst of the worst of electrical trouble shooting nightmares called simply “ground loops” . I know how to wire to avoid ground loops but as a rule stripping that crap off is precisely what I would do for a fixed permanent install instead of my cobbed up protype lol.
Thanks your all your help, everyone. @Beaker when I was a wee man I used to dream of being an F4 pilot. VERY COOL!
They thermocouple that came with the mantel has 4 pin connector. I bought this mantel from them in 2016. It looks like they carry the correct probe now as a replacement? Looks like another trip down there to return another piece of shit. The stories I could tell…
Yeah buddy! Make sure to measure it to get the right length. Beware of your stirrer striking it and breaking it. I’m sure your o ring seal on your thermocouple was a pretty good vaccum leak. It helps to put some oil in the well to conduct heat better to the probe.
One has a common PID controller with adjustable parameters + adjustable power output knob to the heating wires, as well as a K-type thermocouple connection meaning easy & cheap wide range of replacements instead of the bullshit proprietary or otherwise hard to find.
cheap PIDs are awesome tools. @Beaker can tell you how they work. I just like to have them around to give shits & giggles something to keep them off the street.
I have a few Auber ramp/soak controllers with SESTOS (before it became INKBIRD) cycle timers as well, built into a Wiegmanm steel box. PITA to use vs standard PID unless you need the ramp/soak feature, and costs like 5x as much for the controller