Oh yeah no question it will take a large quantity to break even. I’m not super familiar with the different printers though and I imagine the one capable of printing engineering plastics are quite expensive, so if just doing that single part in decent volume you might have better cost buying the mold and doing a run than a special printer.
It’s an interesting time because there isn’t any one dominant manufacturing practice. You might only print a small portion and the cone is made from a rolled sheet and tack welded together. Each design will likely have a different mix of processes to meet an economic cost.
1 Like
So the skinny with printing exotic filaments is heat, and abrasion. Some cheaper printers don’t have a capable enough hot end, and the nozzle will wear at a expedited rate if your printing glass filled nylon or something similar. The commercial 3d printing services offer alot of value in the way of printing your object on a higher end machine with exotic filaments, this is much cheaper than ownership of the machine.
here is a model of the 6" ferrule if anyone wants to take a crack at a hybrid construction of the funnel:
2 Likes
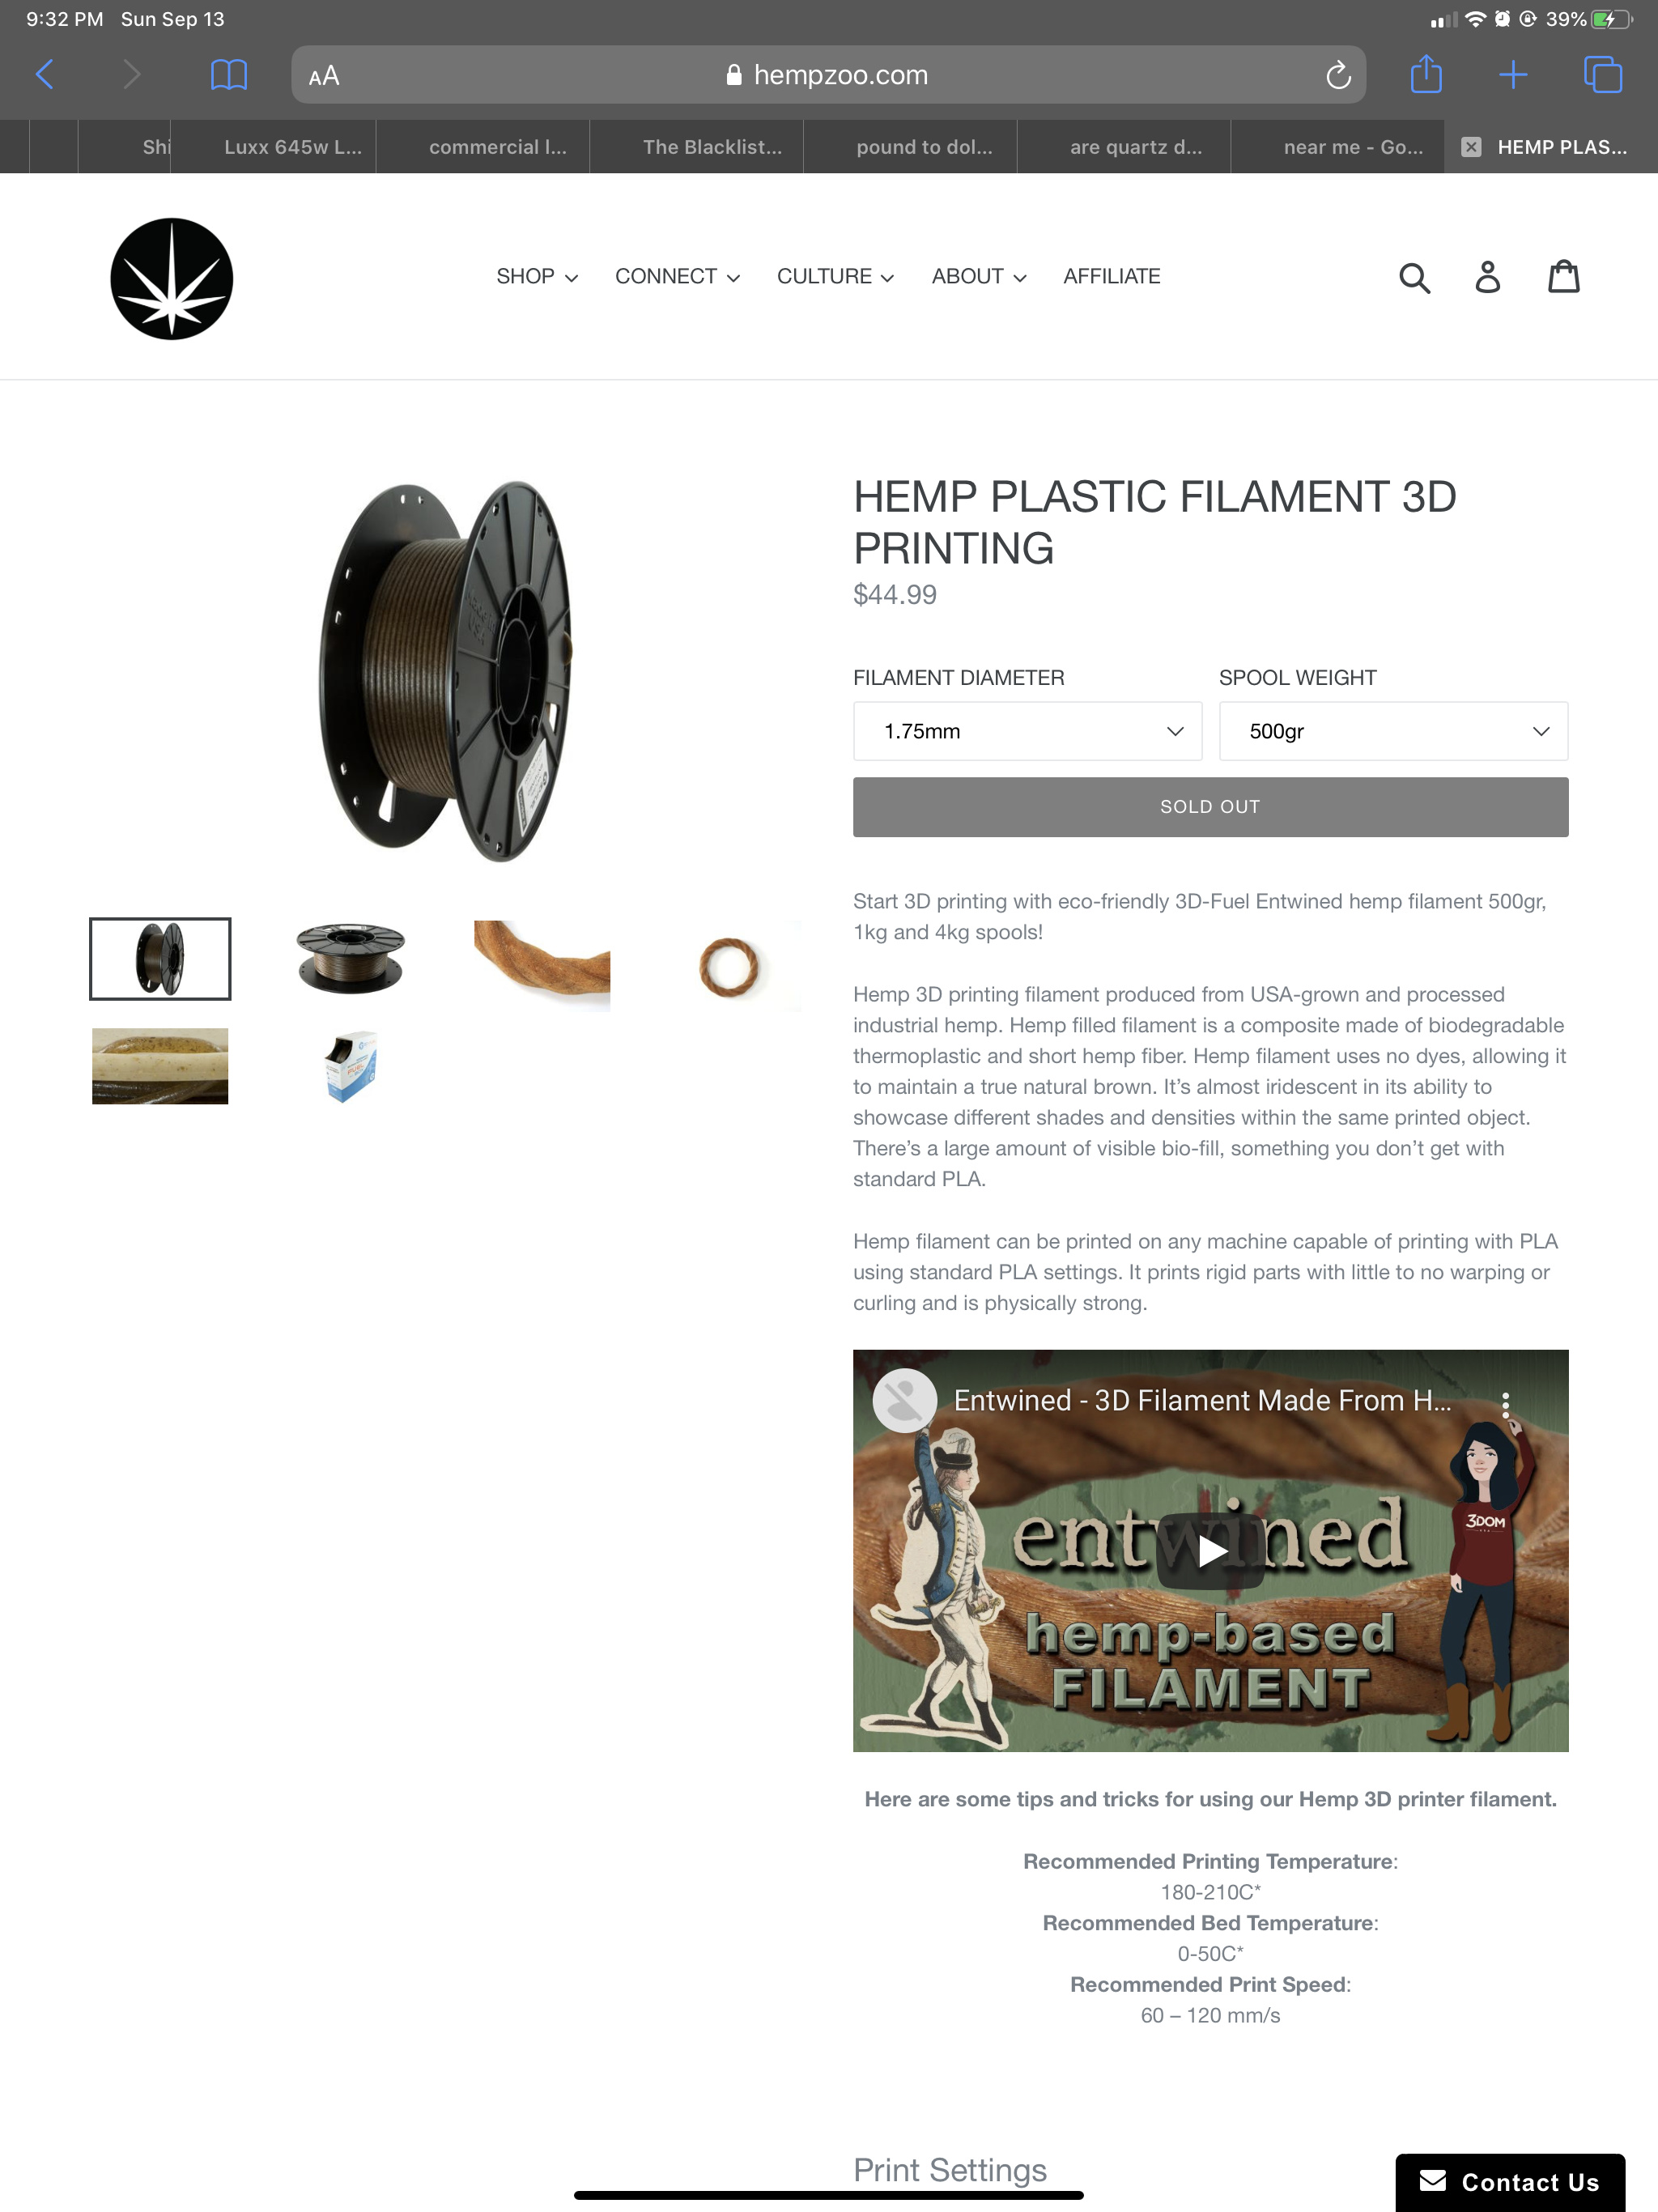
looks like most machines would extrude that, go with a bigger nozzle like .6 or so to avoid clogging. That filament is similar to the wood filament, you might want a direct drive extruder too for more oomph.
2 Likes
I don’t own a printer, looking for someone to do a prototype & possible partnership
@pdxcanna has seen the design so if you see it come out I haven’t heard back from him.
1 Like
There are SLA options for printing PTFE but it’s $$$. There was a more appropriate fluorocarbon that is more easily printed, maybe FEP? The all knowing one is the one to ask
1 Like
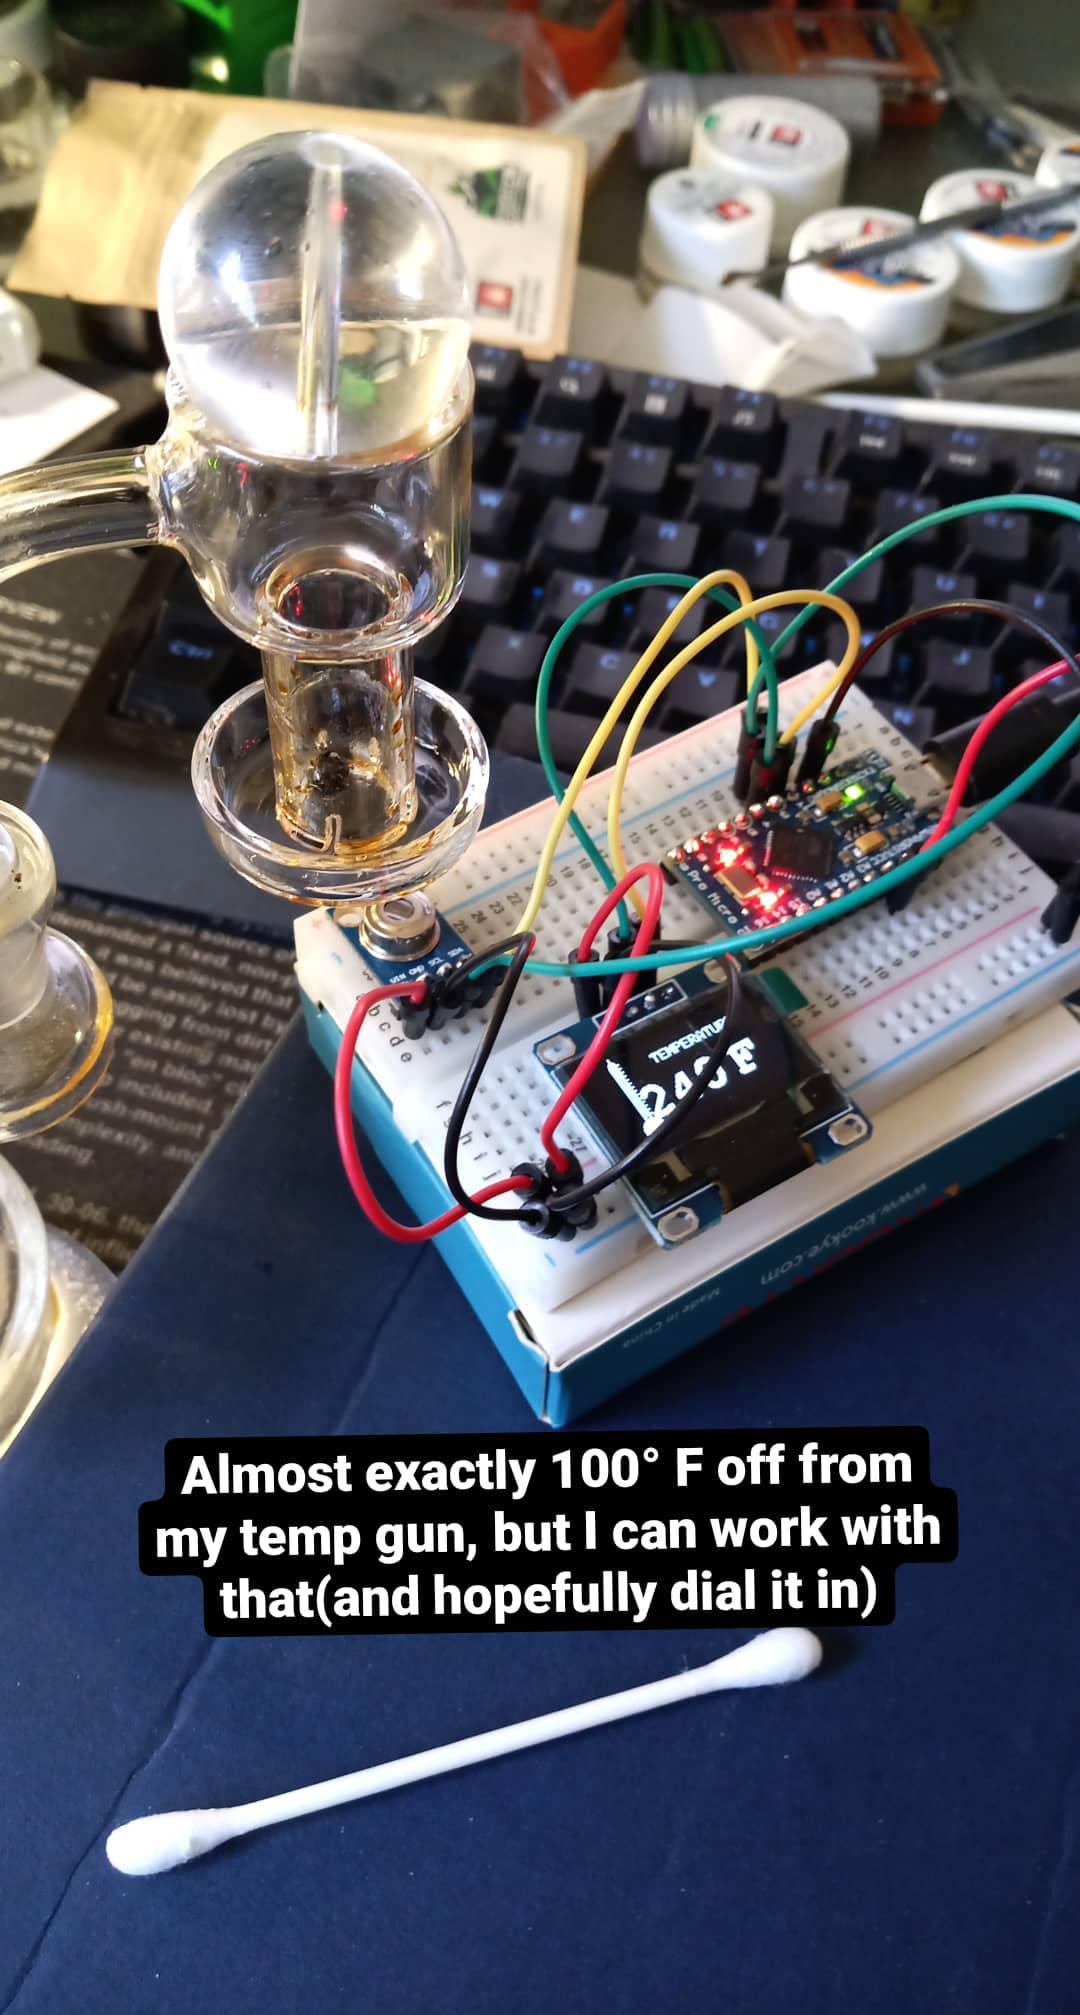
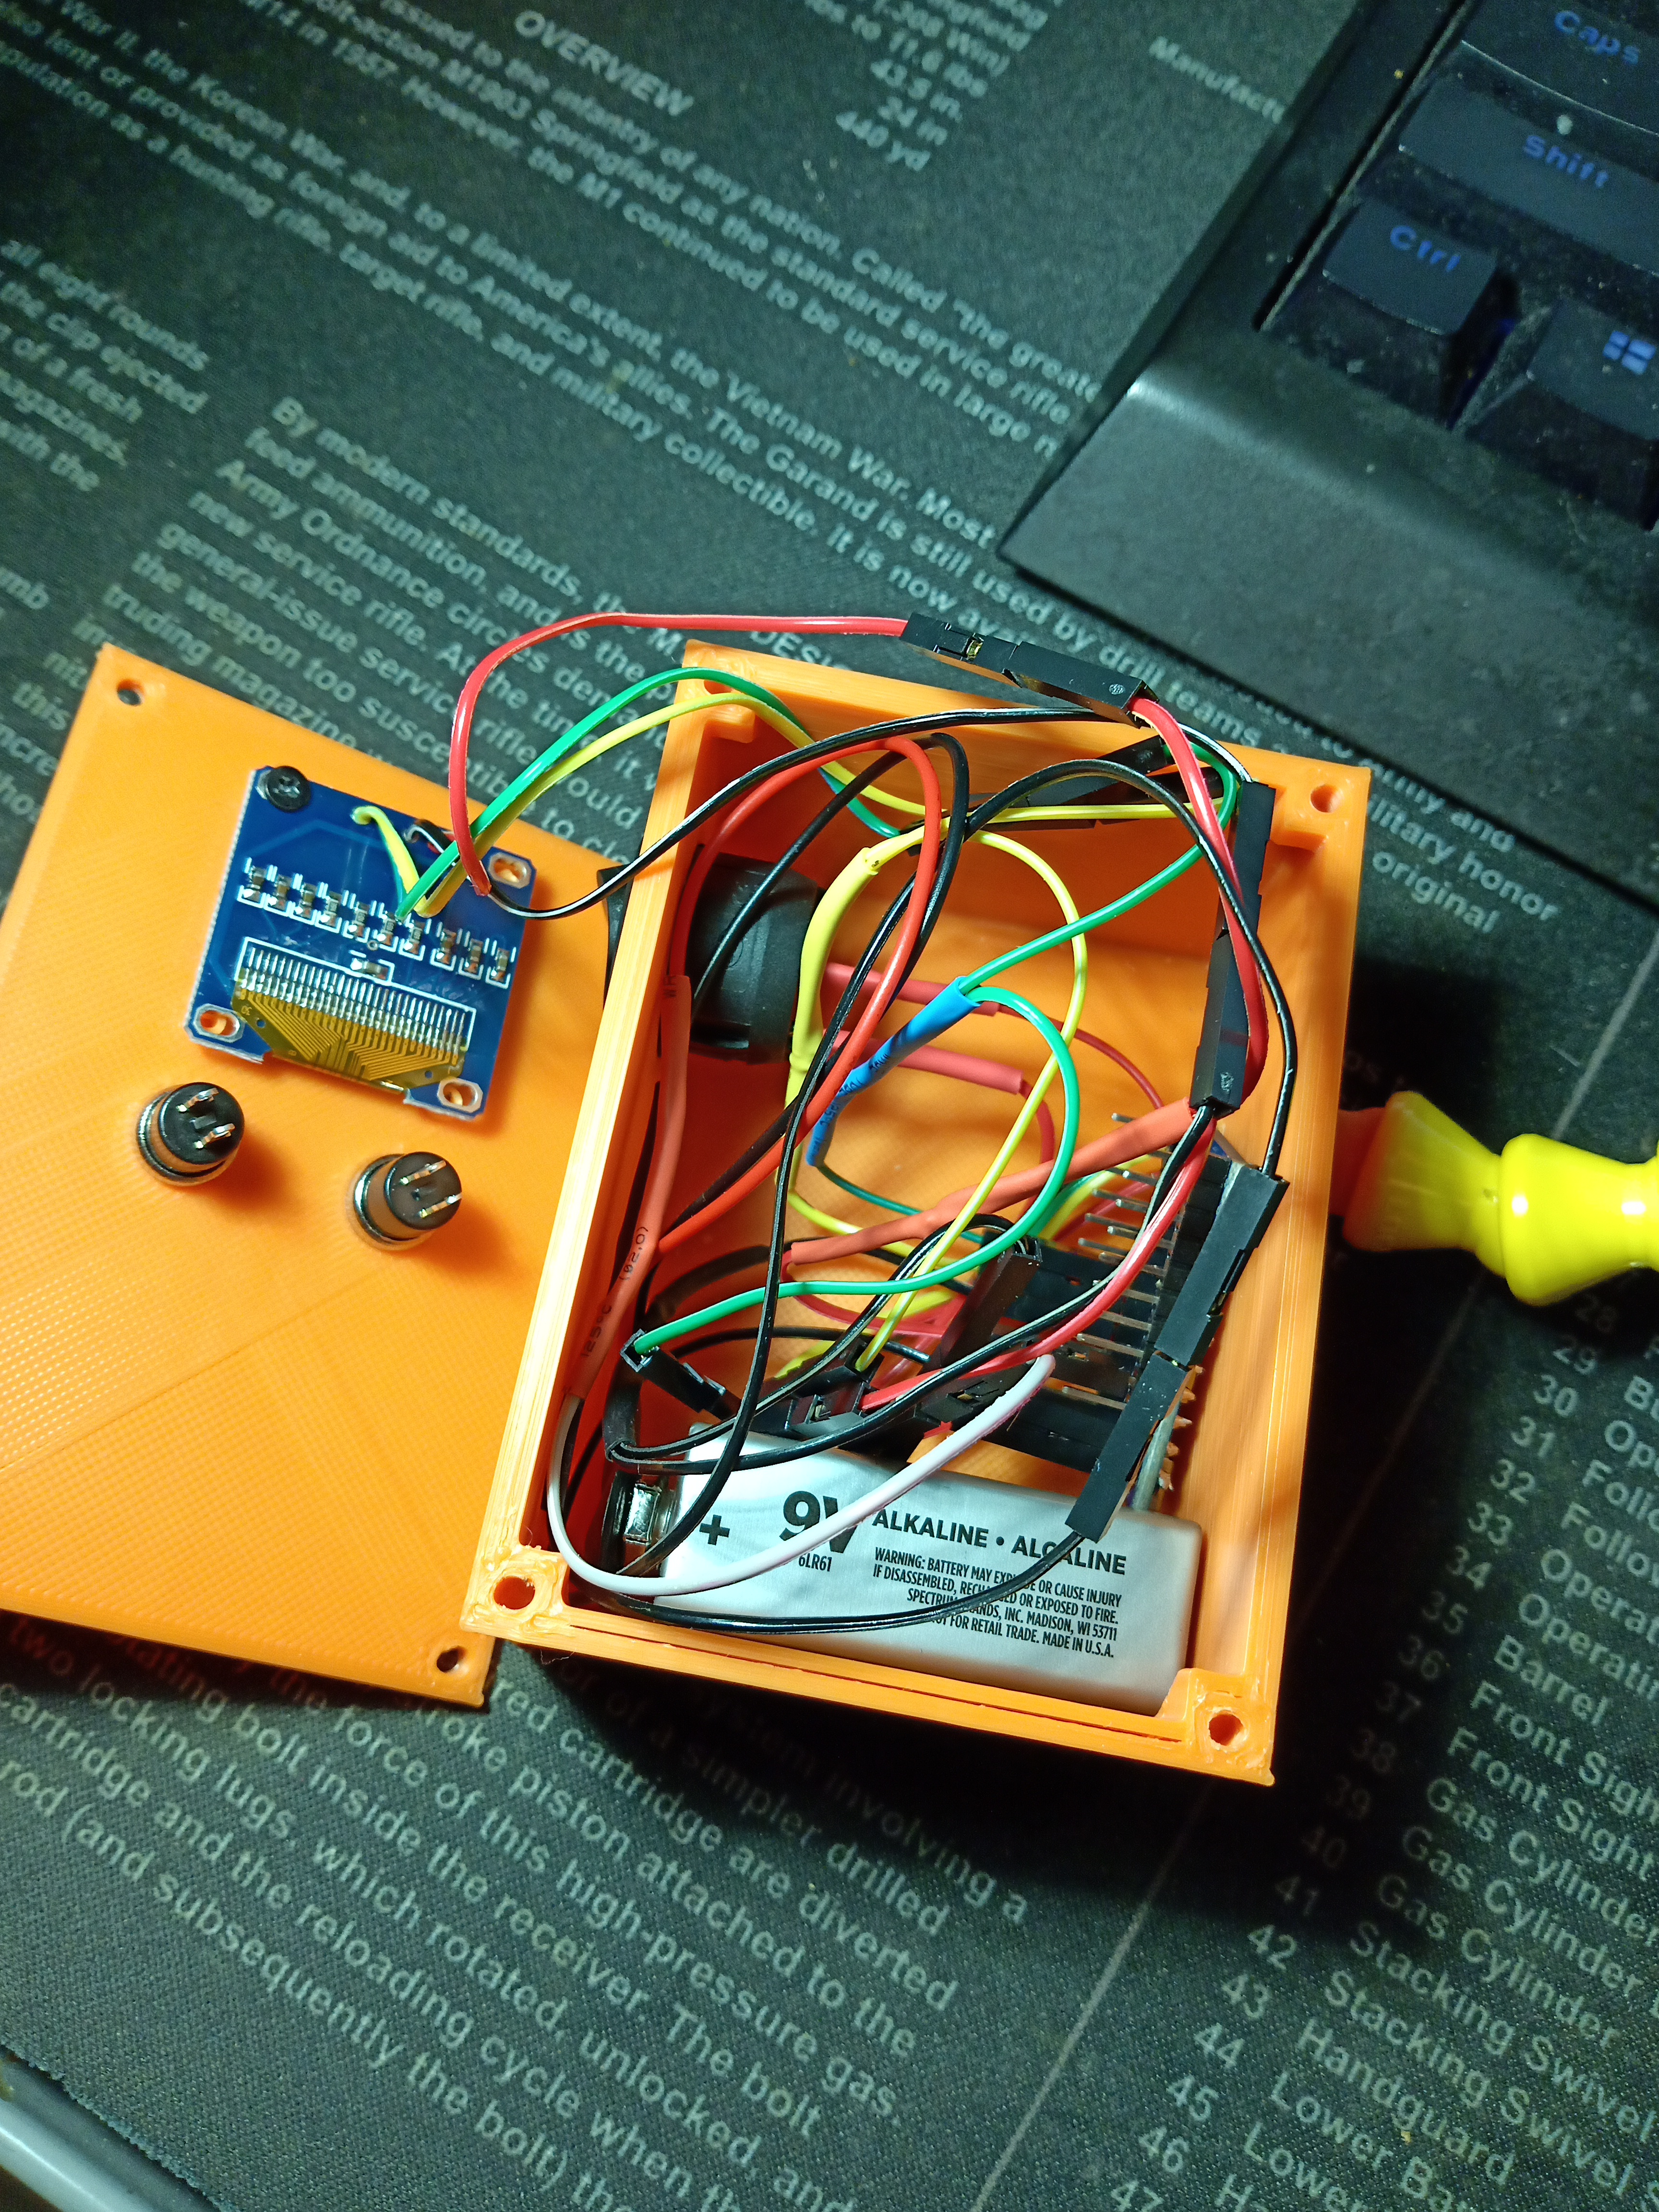
My project this weekend. Gonna work on a case for it, I’d like the ir sensor to be detached and height adjustable, I’m thinking 1/4" locline mounted to a little dab caddy like I posted earlier.
Still working on cheebachief’s clone shipper, I have to grab a couple things to measure but that looks like it might be an interesting project
7 Likes
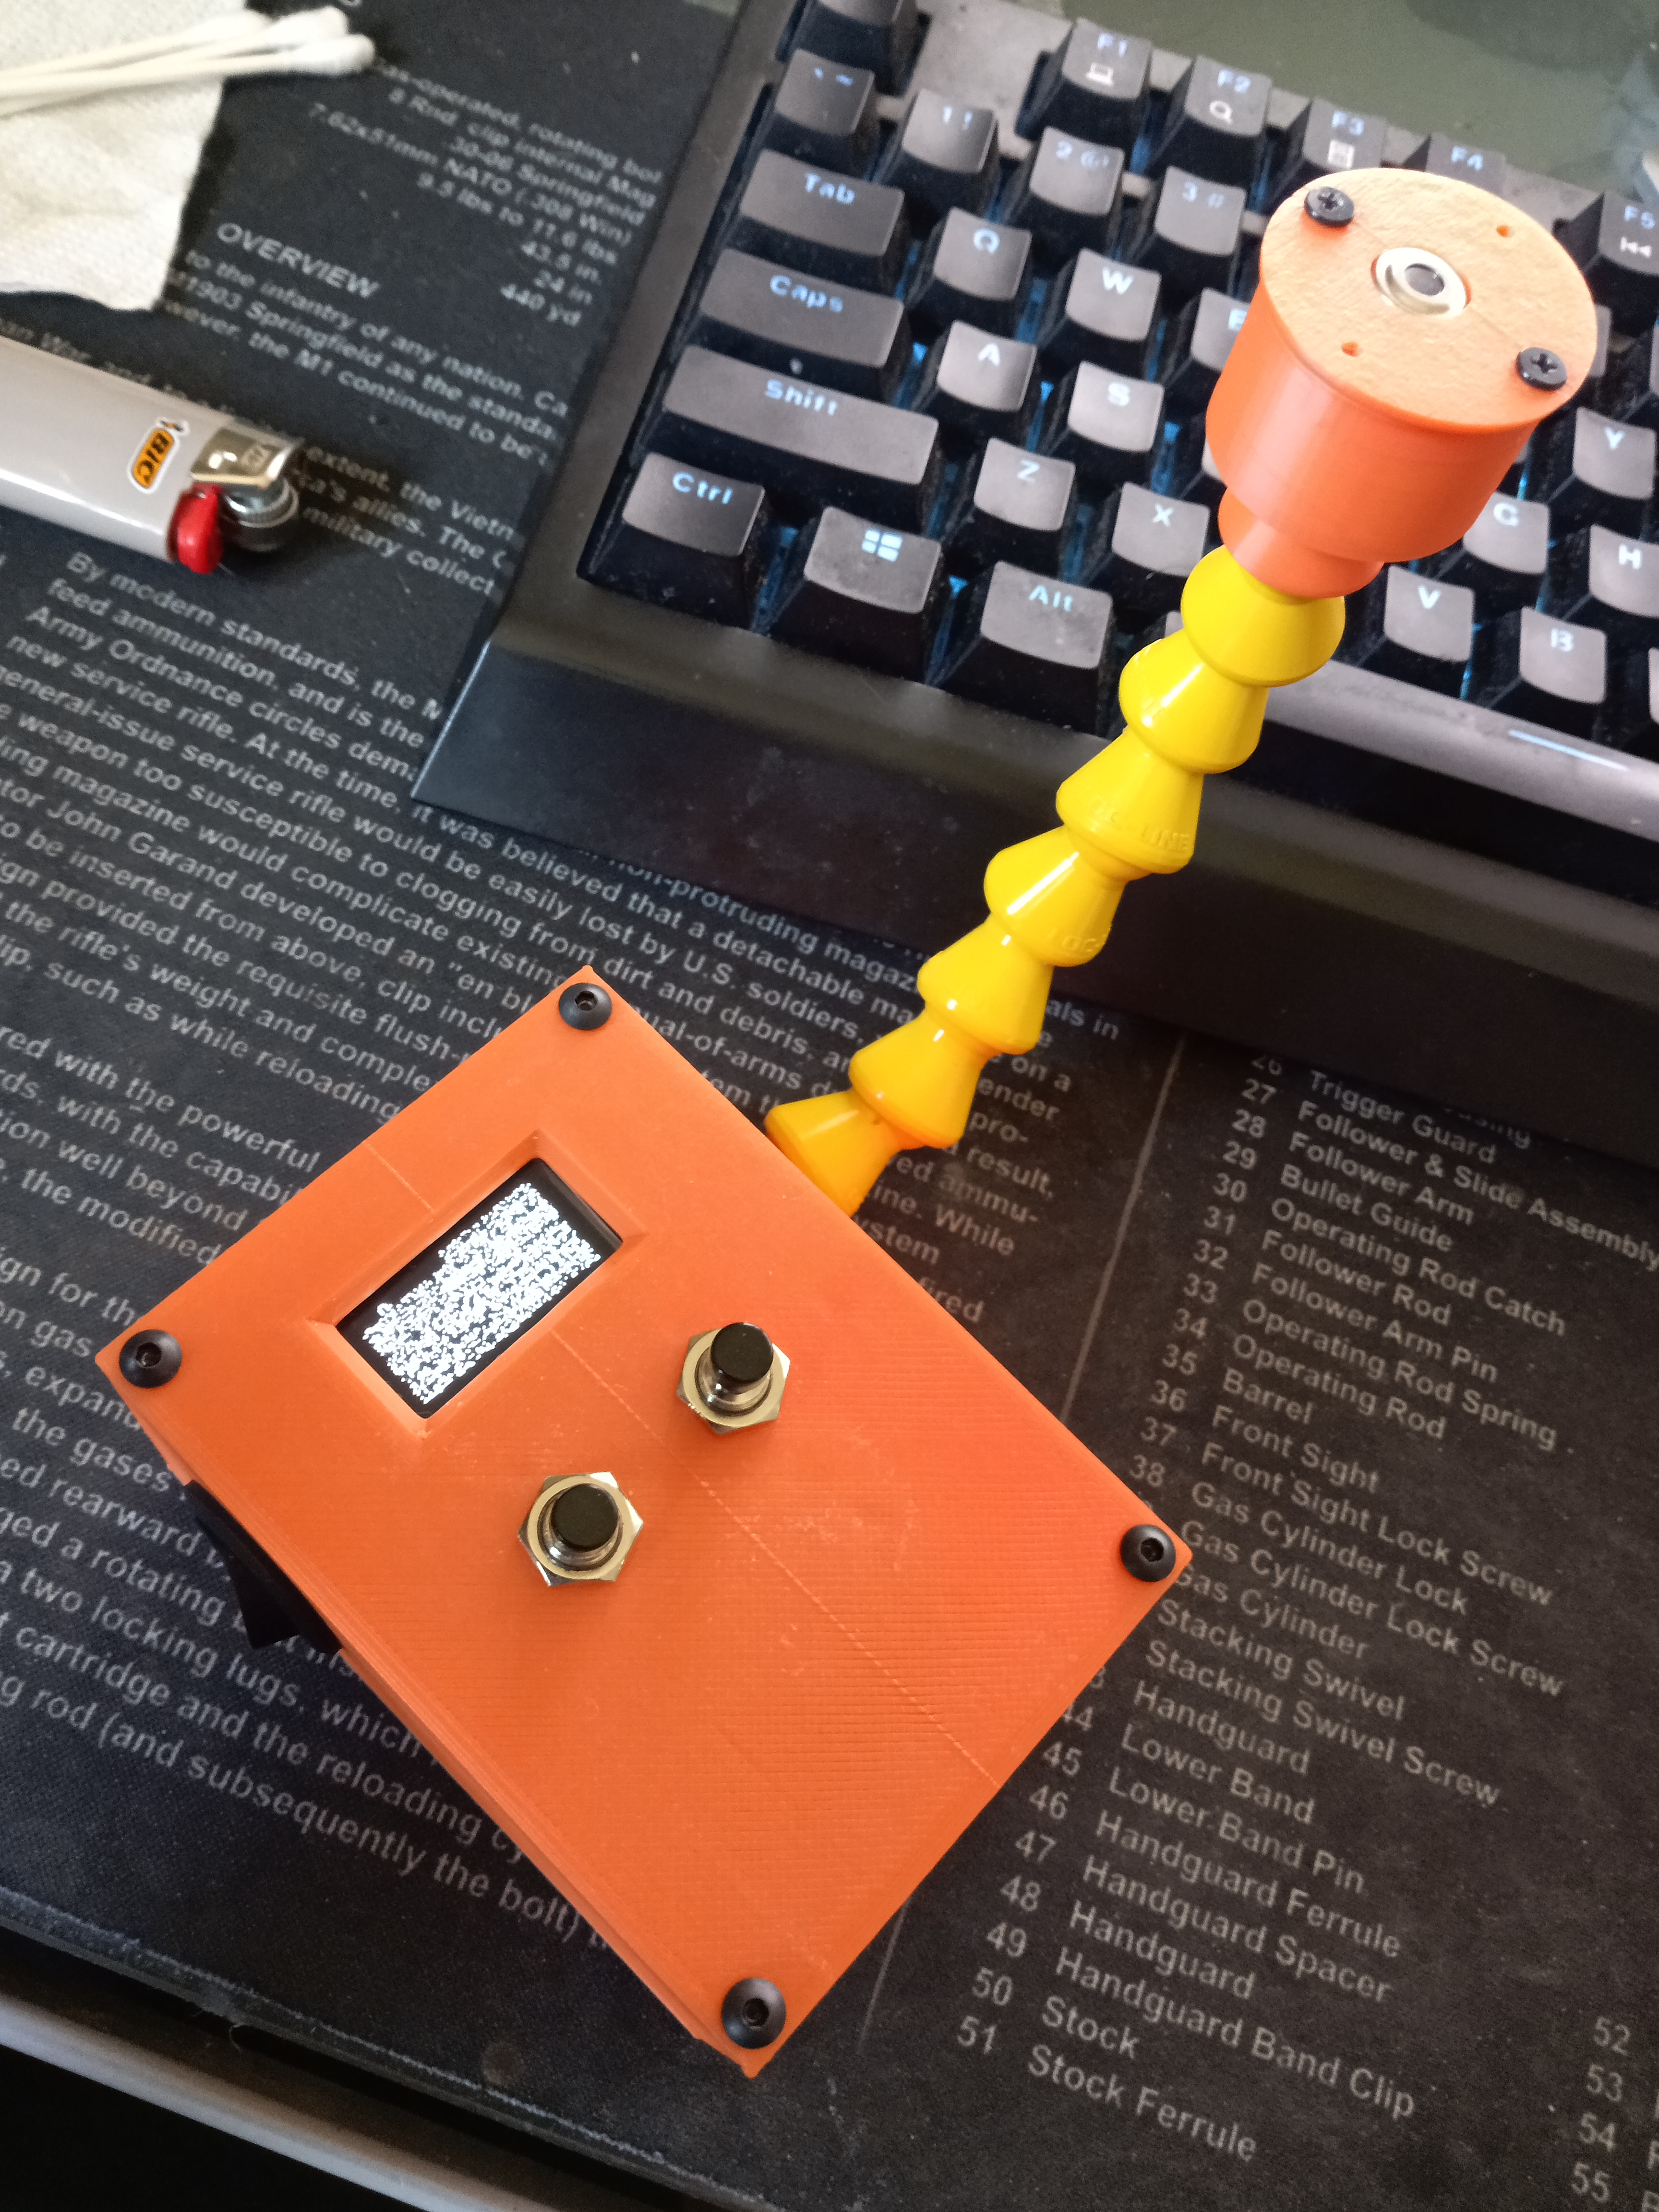
Test fitting components, my final design will be integrated into the dab caddy design I made previously. The loc-line is a great addition, I’m surprised originaldabtray didn’t think of it. Maybe it’s an IP issue?
I need to get some fasteners and change a few details, but I like this mini design a bit, I may make a second one as a spare, maybe I’ll do a giveaway or something to go along with the spirit of the thread
9 Likes
love that coolant line!
2 Likes

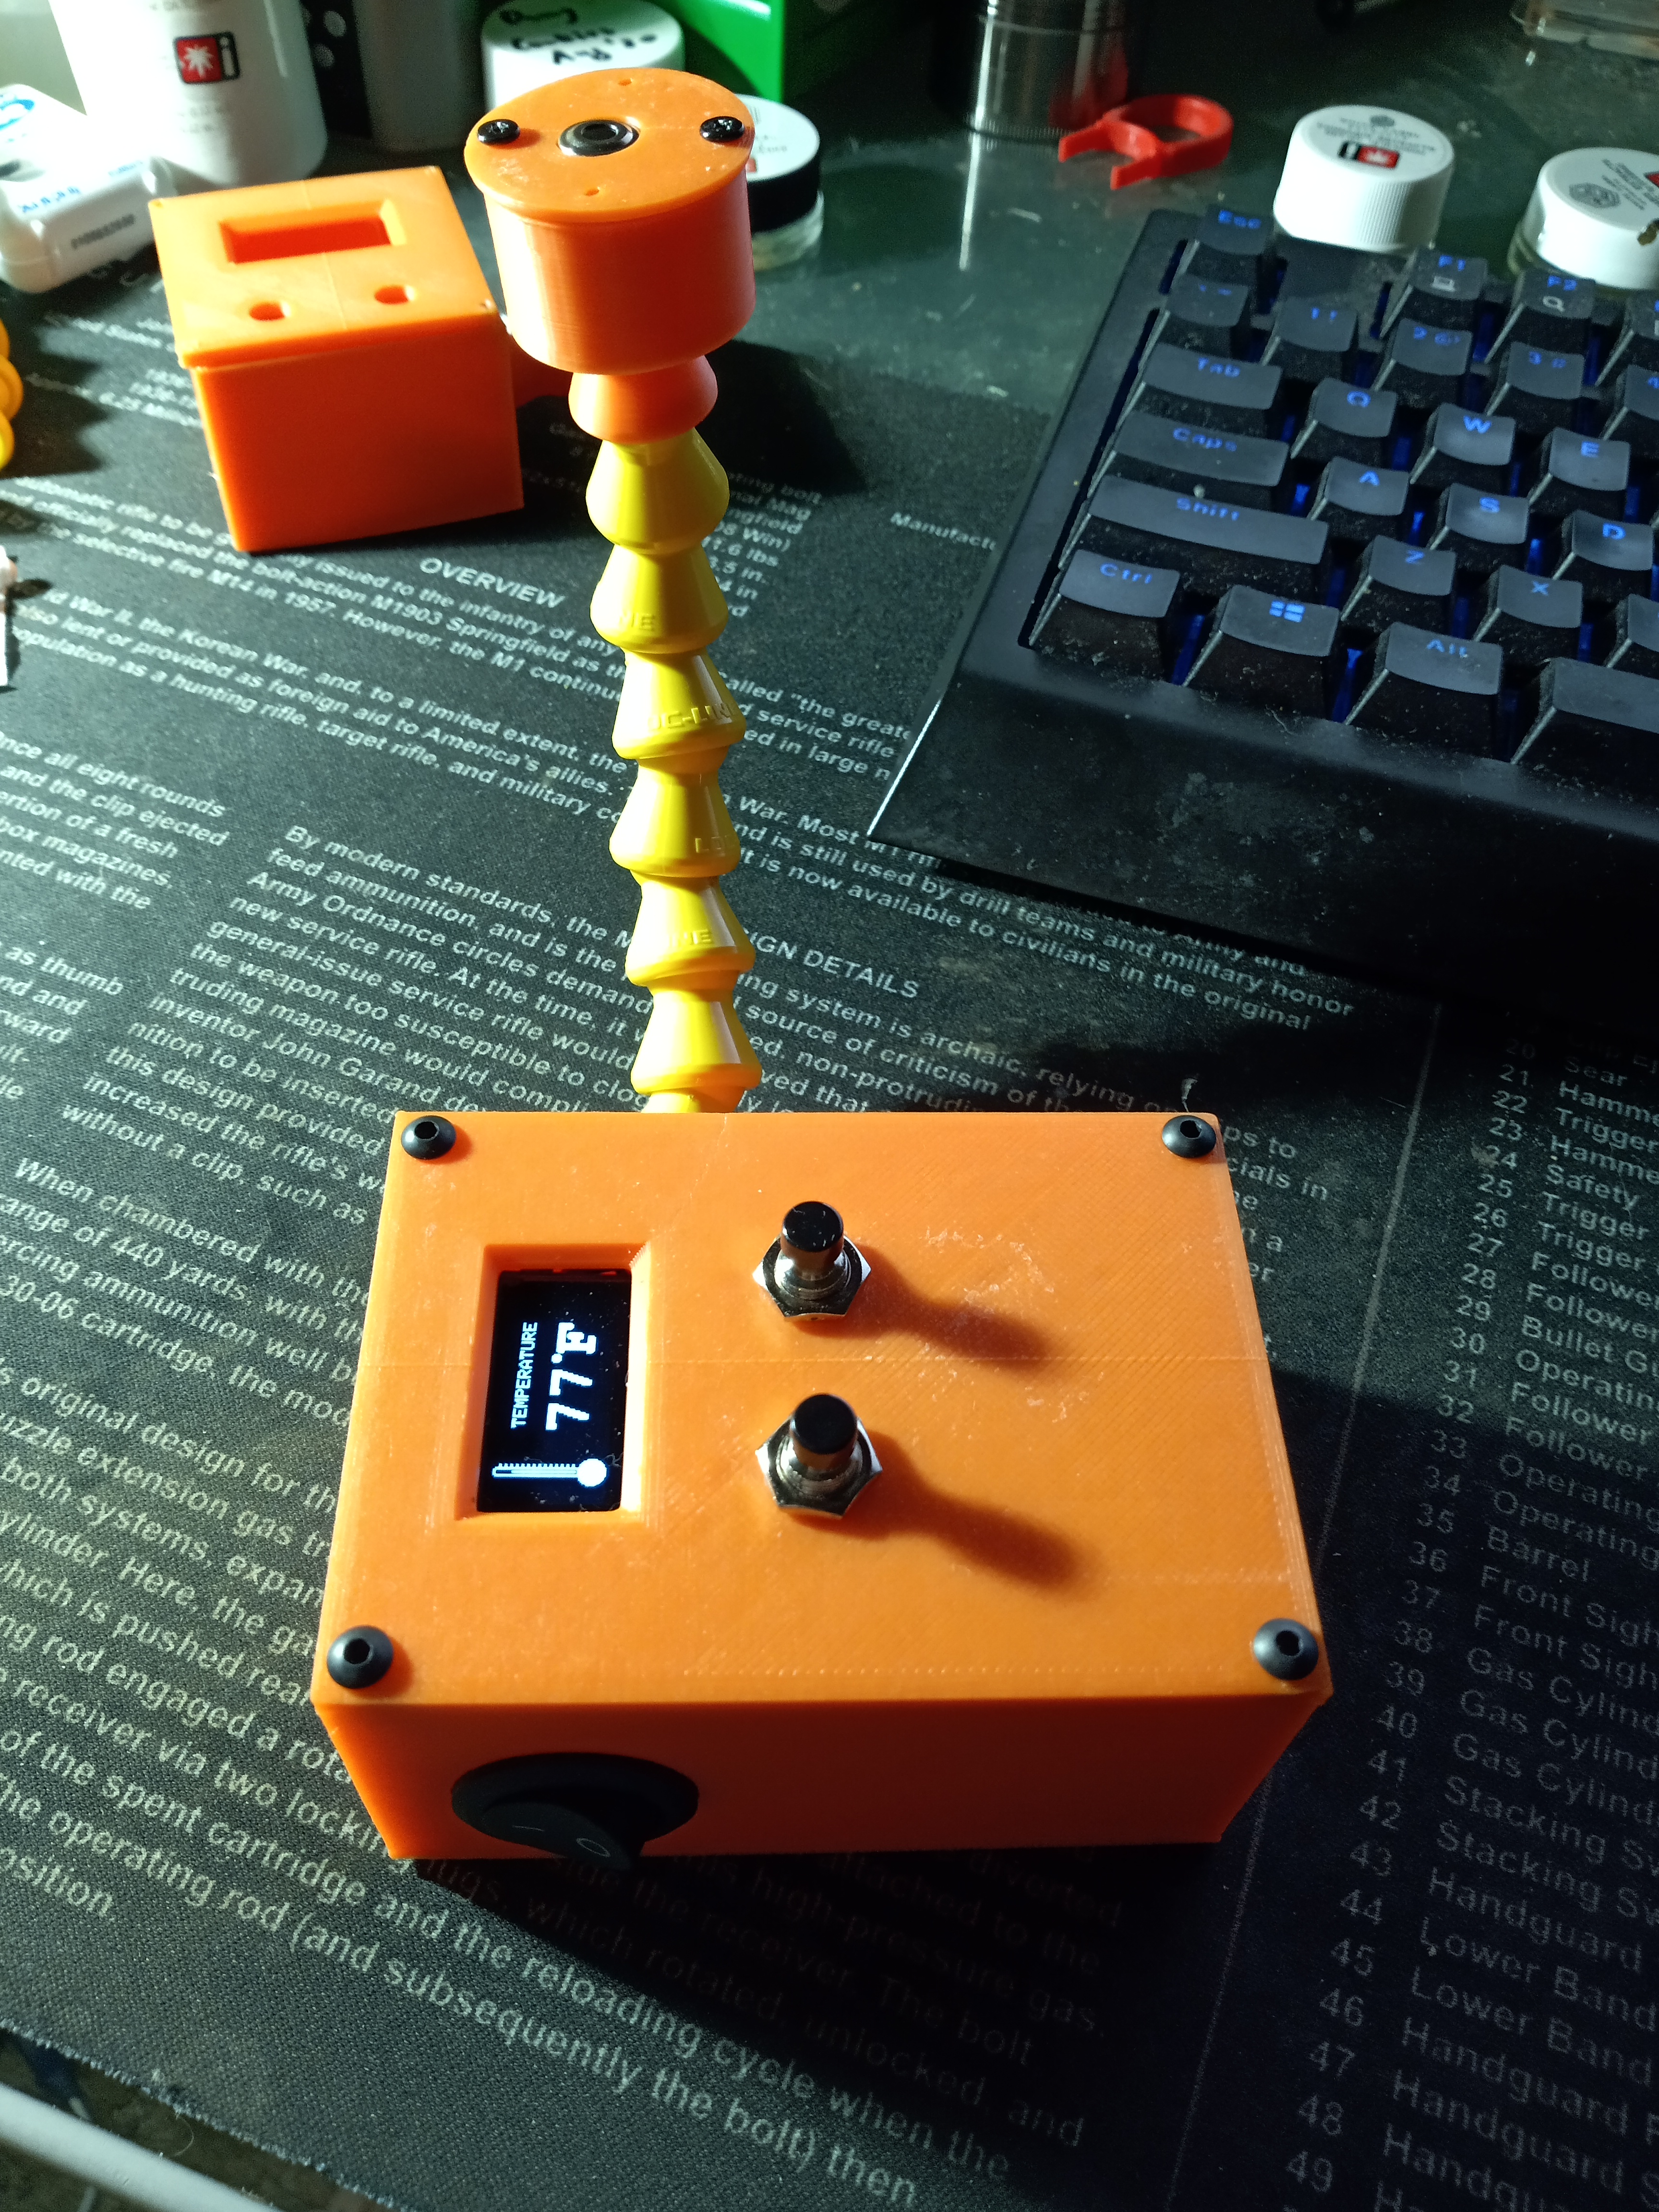
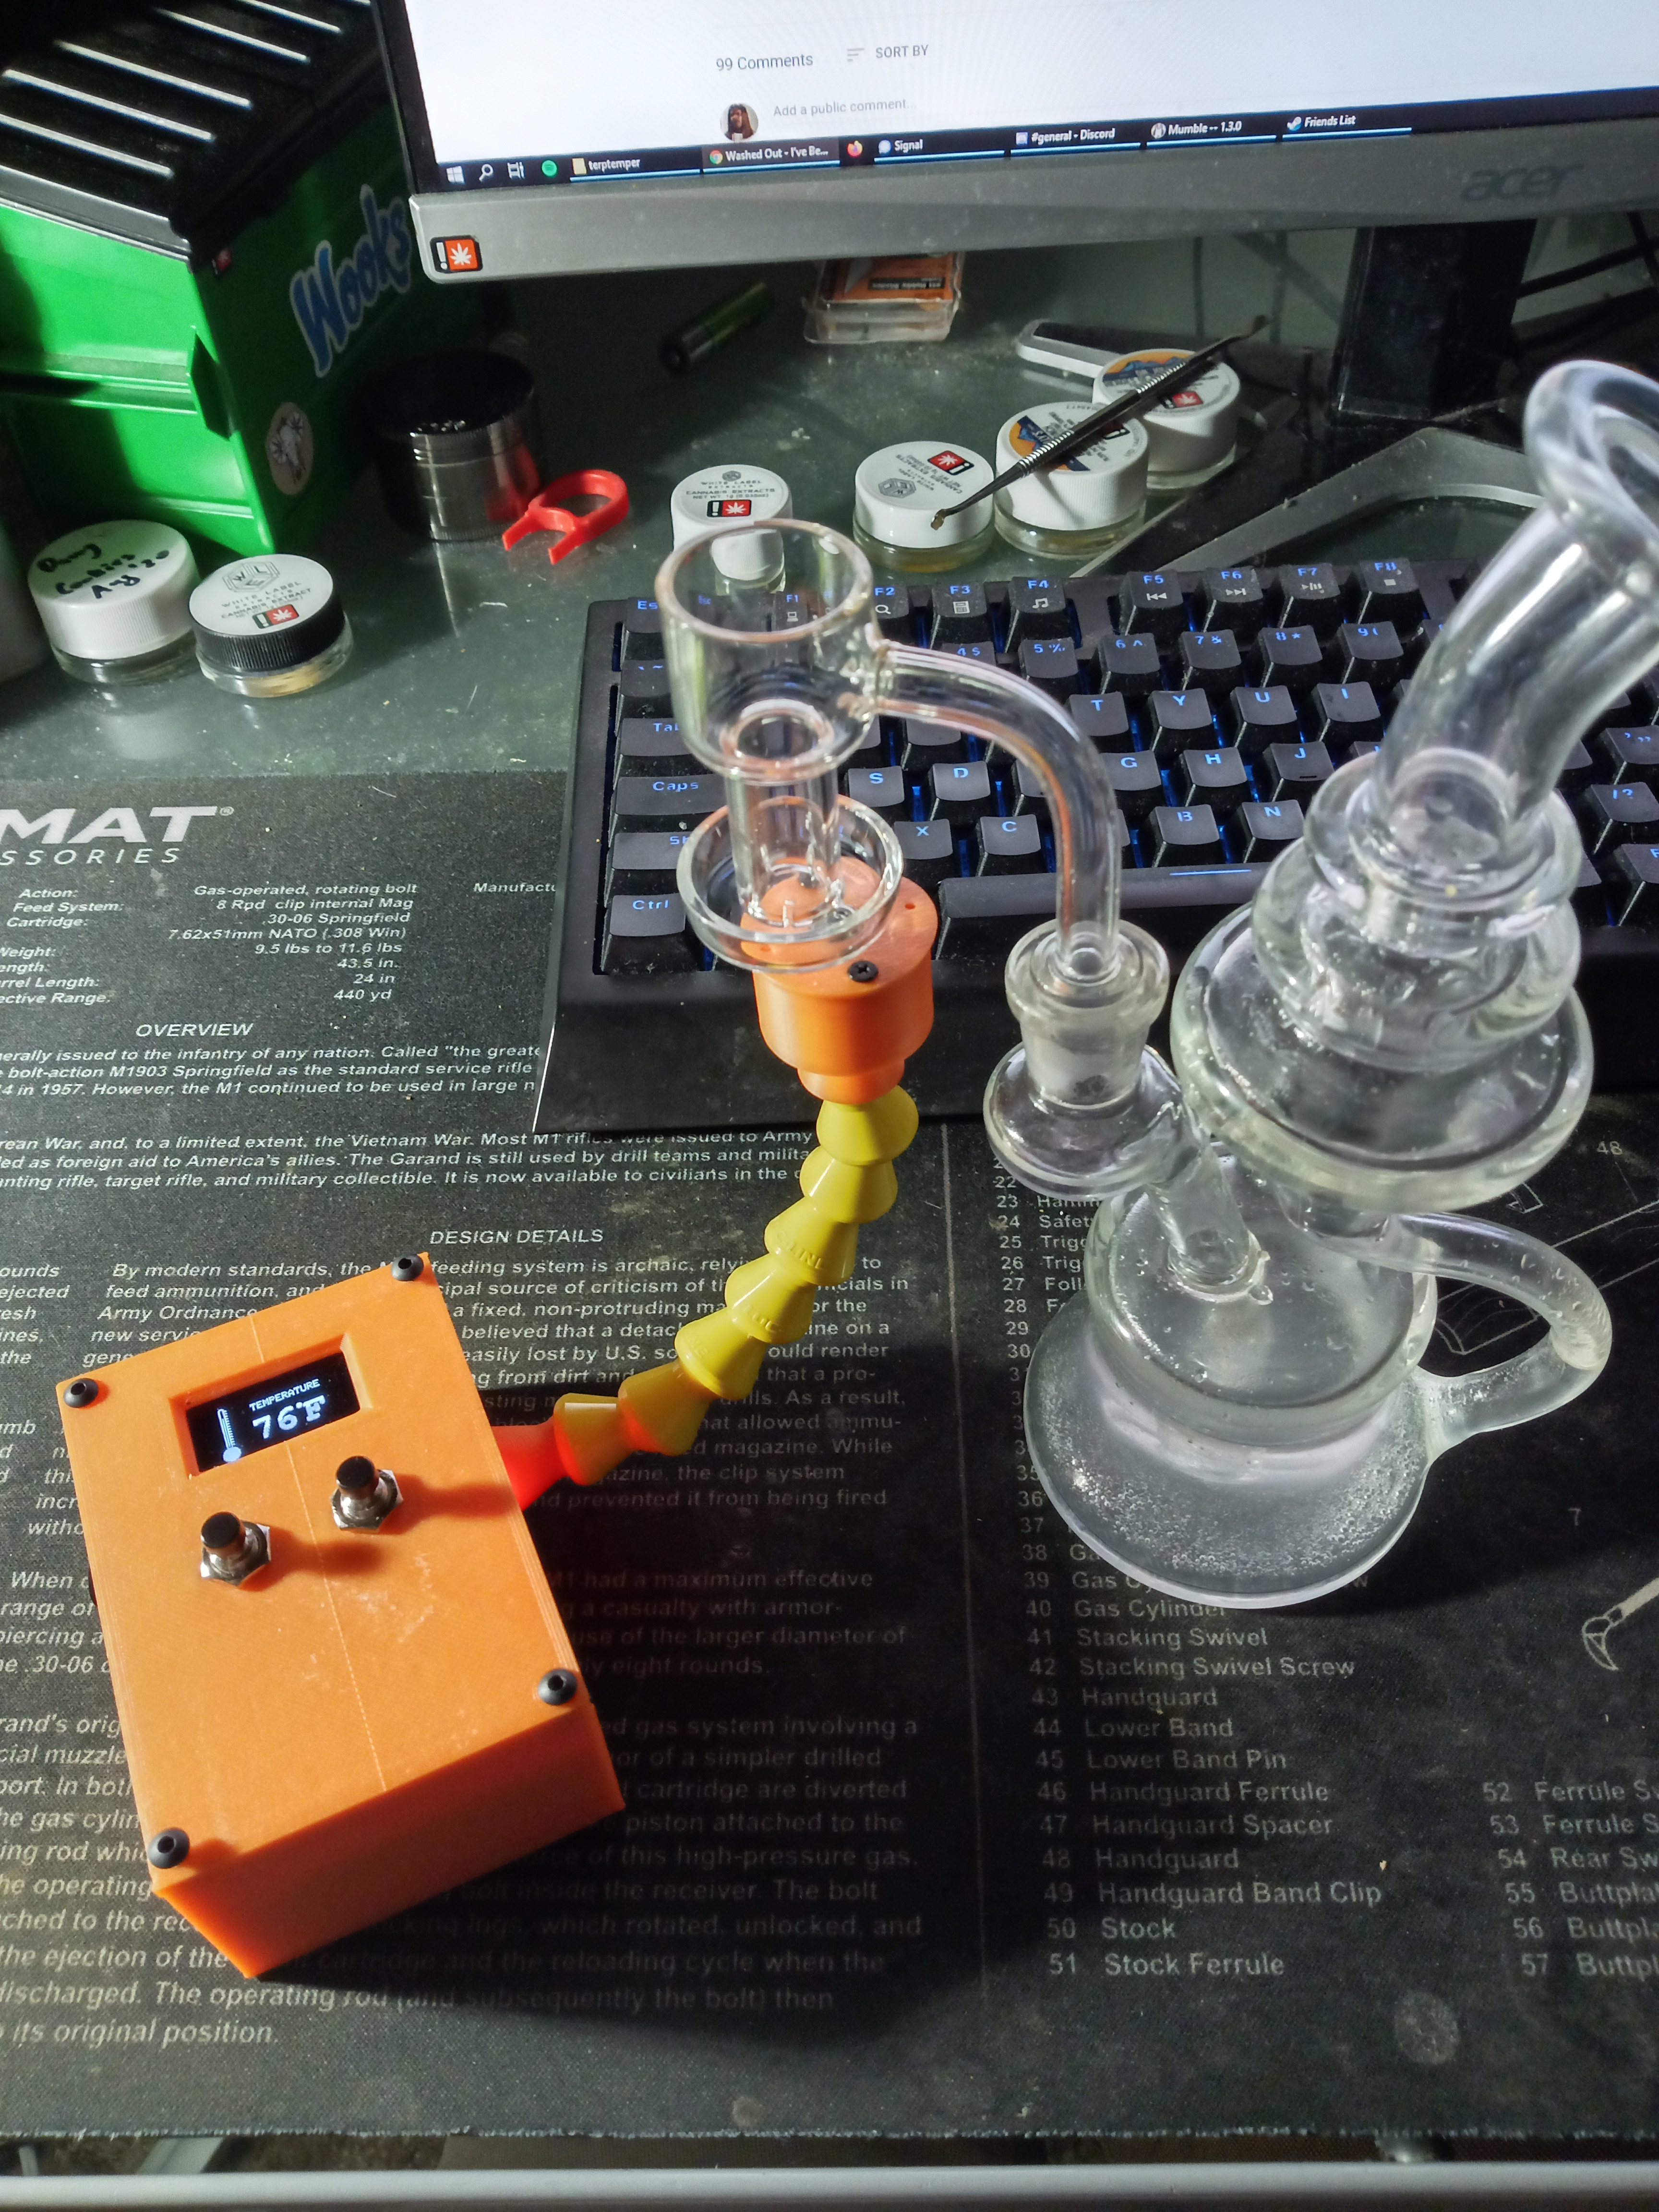
Waiting on some screws and a few parts, but the model for v1.0 is more or less done. I’d like to adjust the loc-line attachment on the sensor side, it’s a little looser than I’d like, but other than that it’s solid.
I’ll post a parts list and the .stls later(when it’s all assembled fully and tested) along with the code. There’s a couple features I’d like to add, but coding is where I’m weakest so I may need another member of the community to pitch in on that.
12 Likes
looking good, like the adjustment.
1 Like
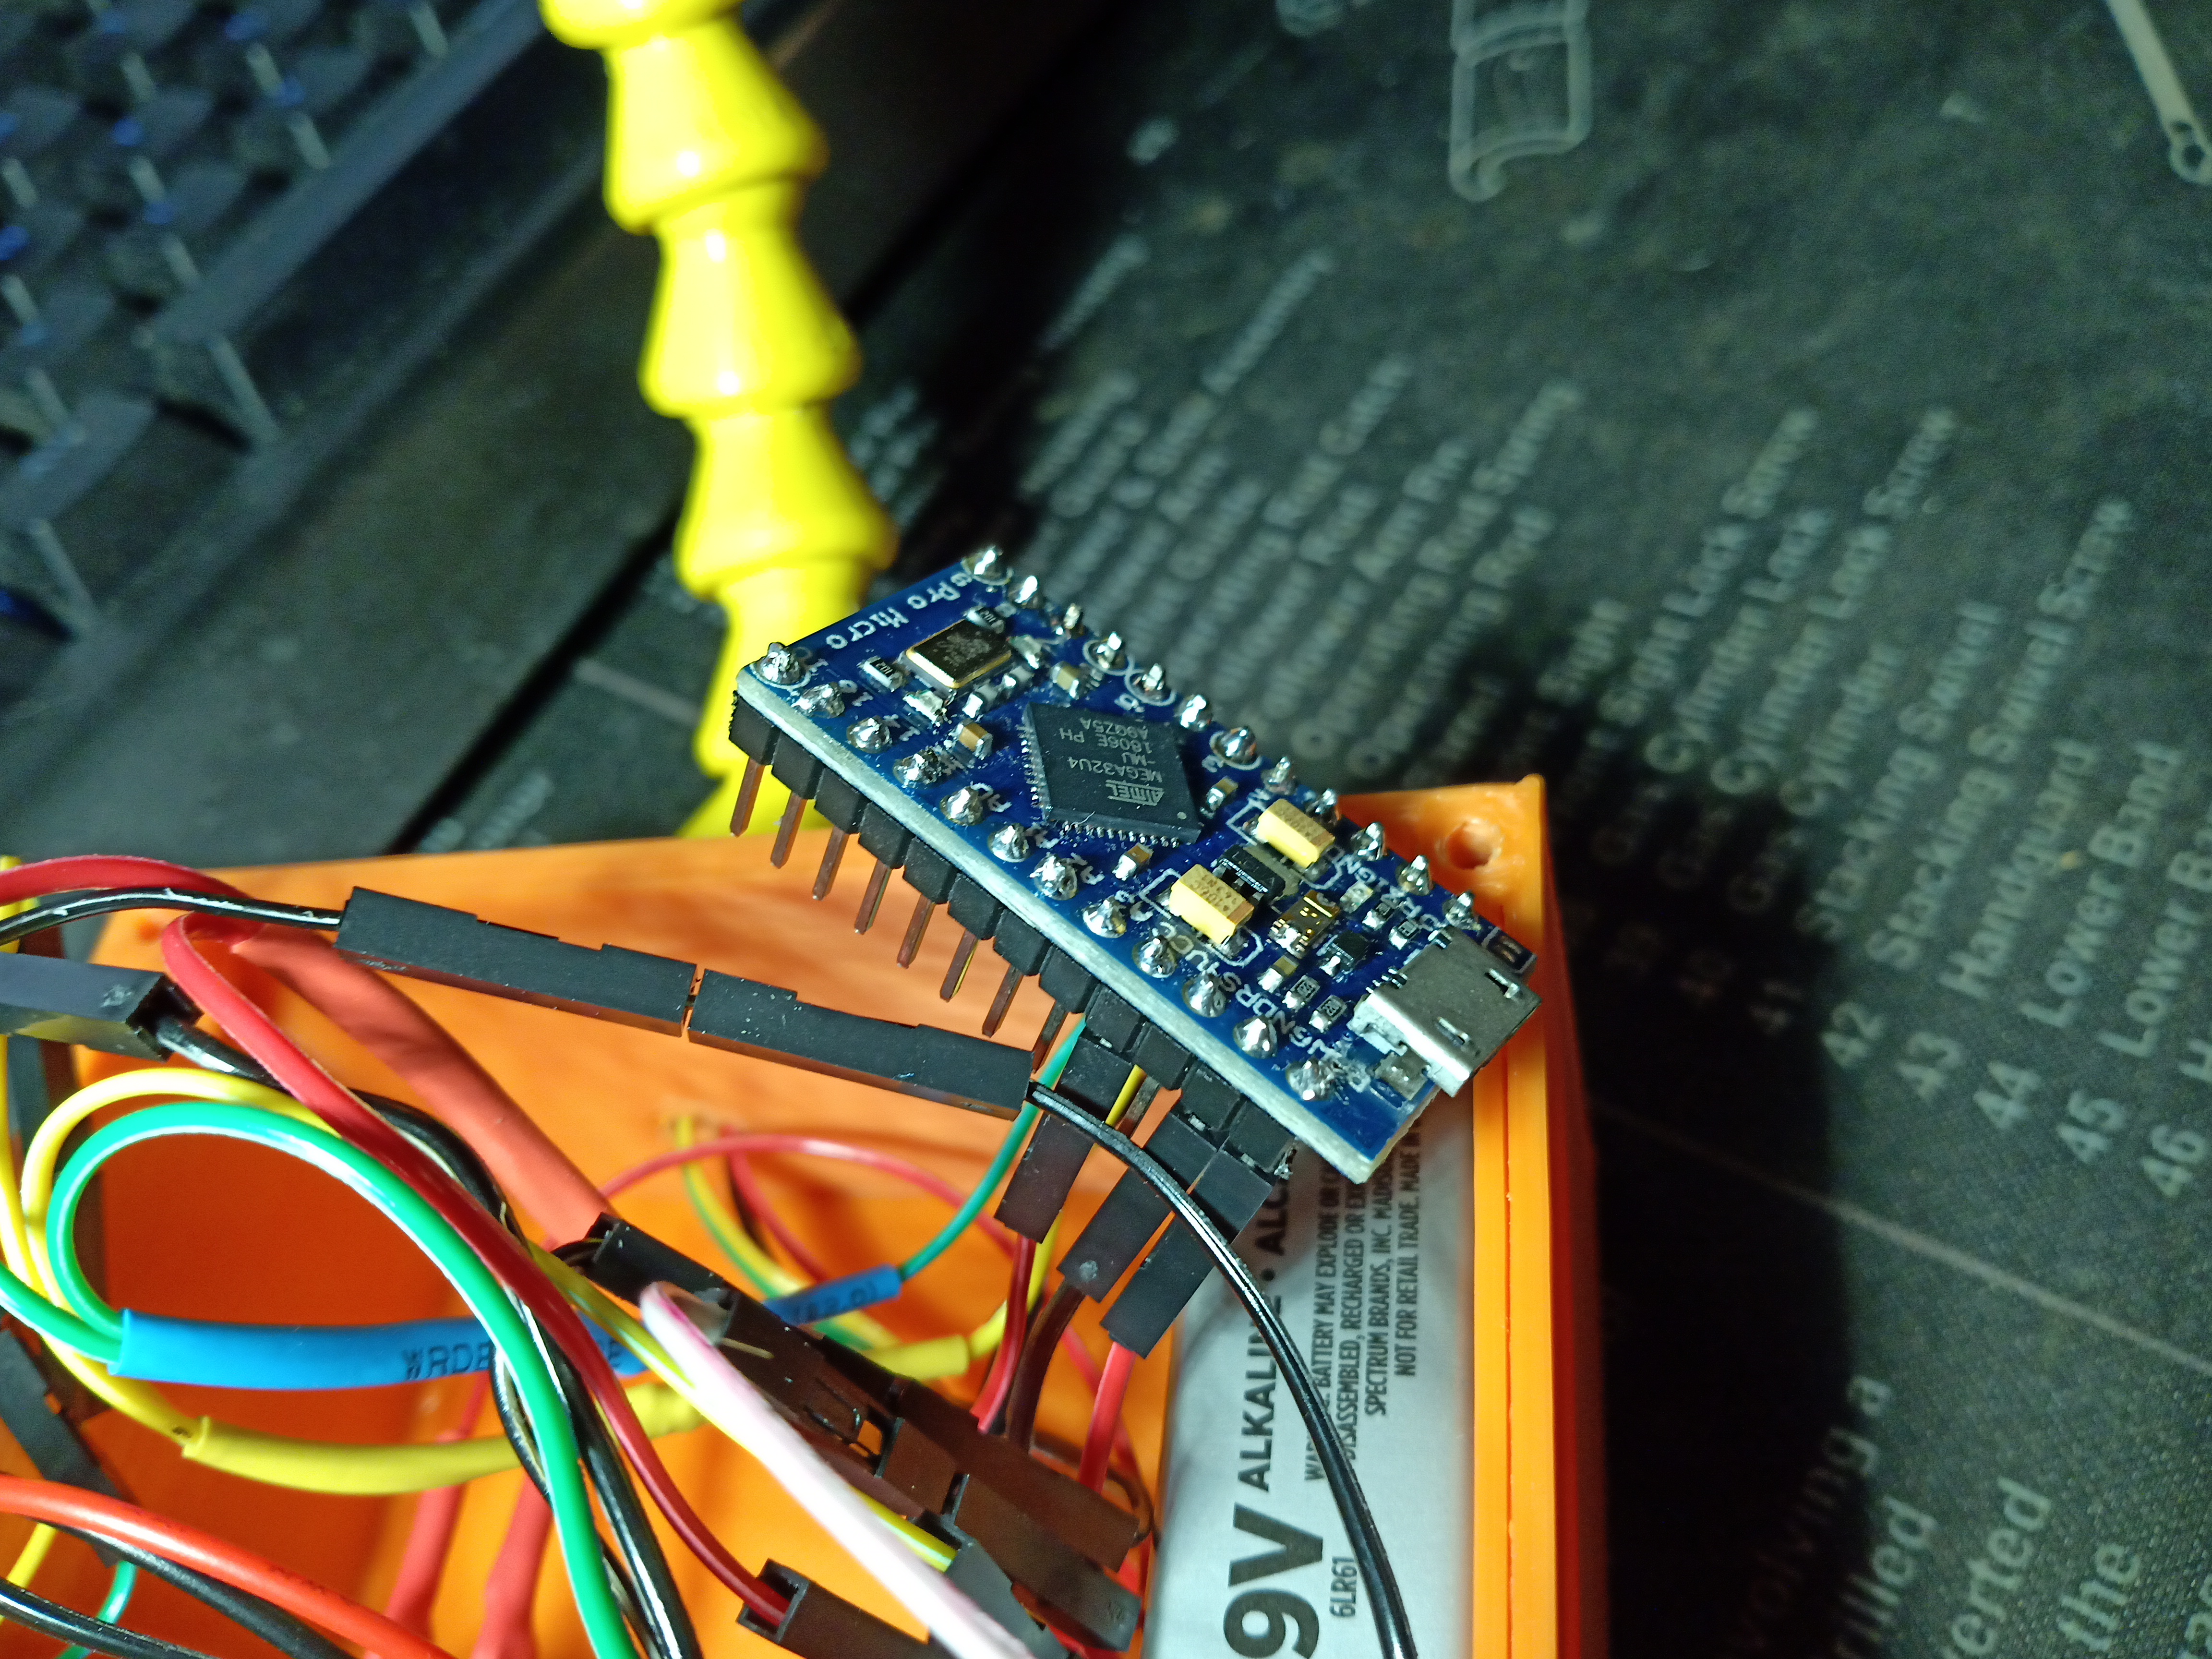
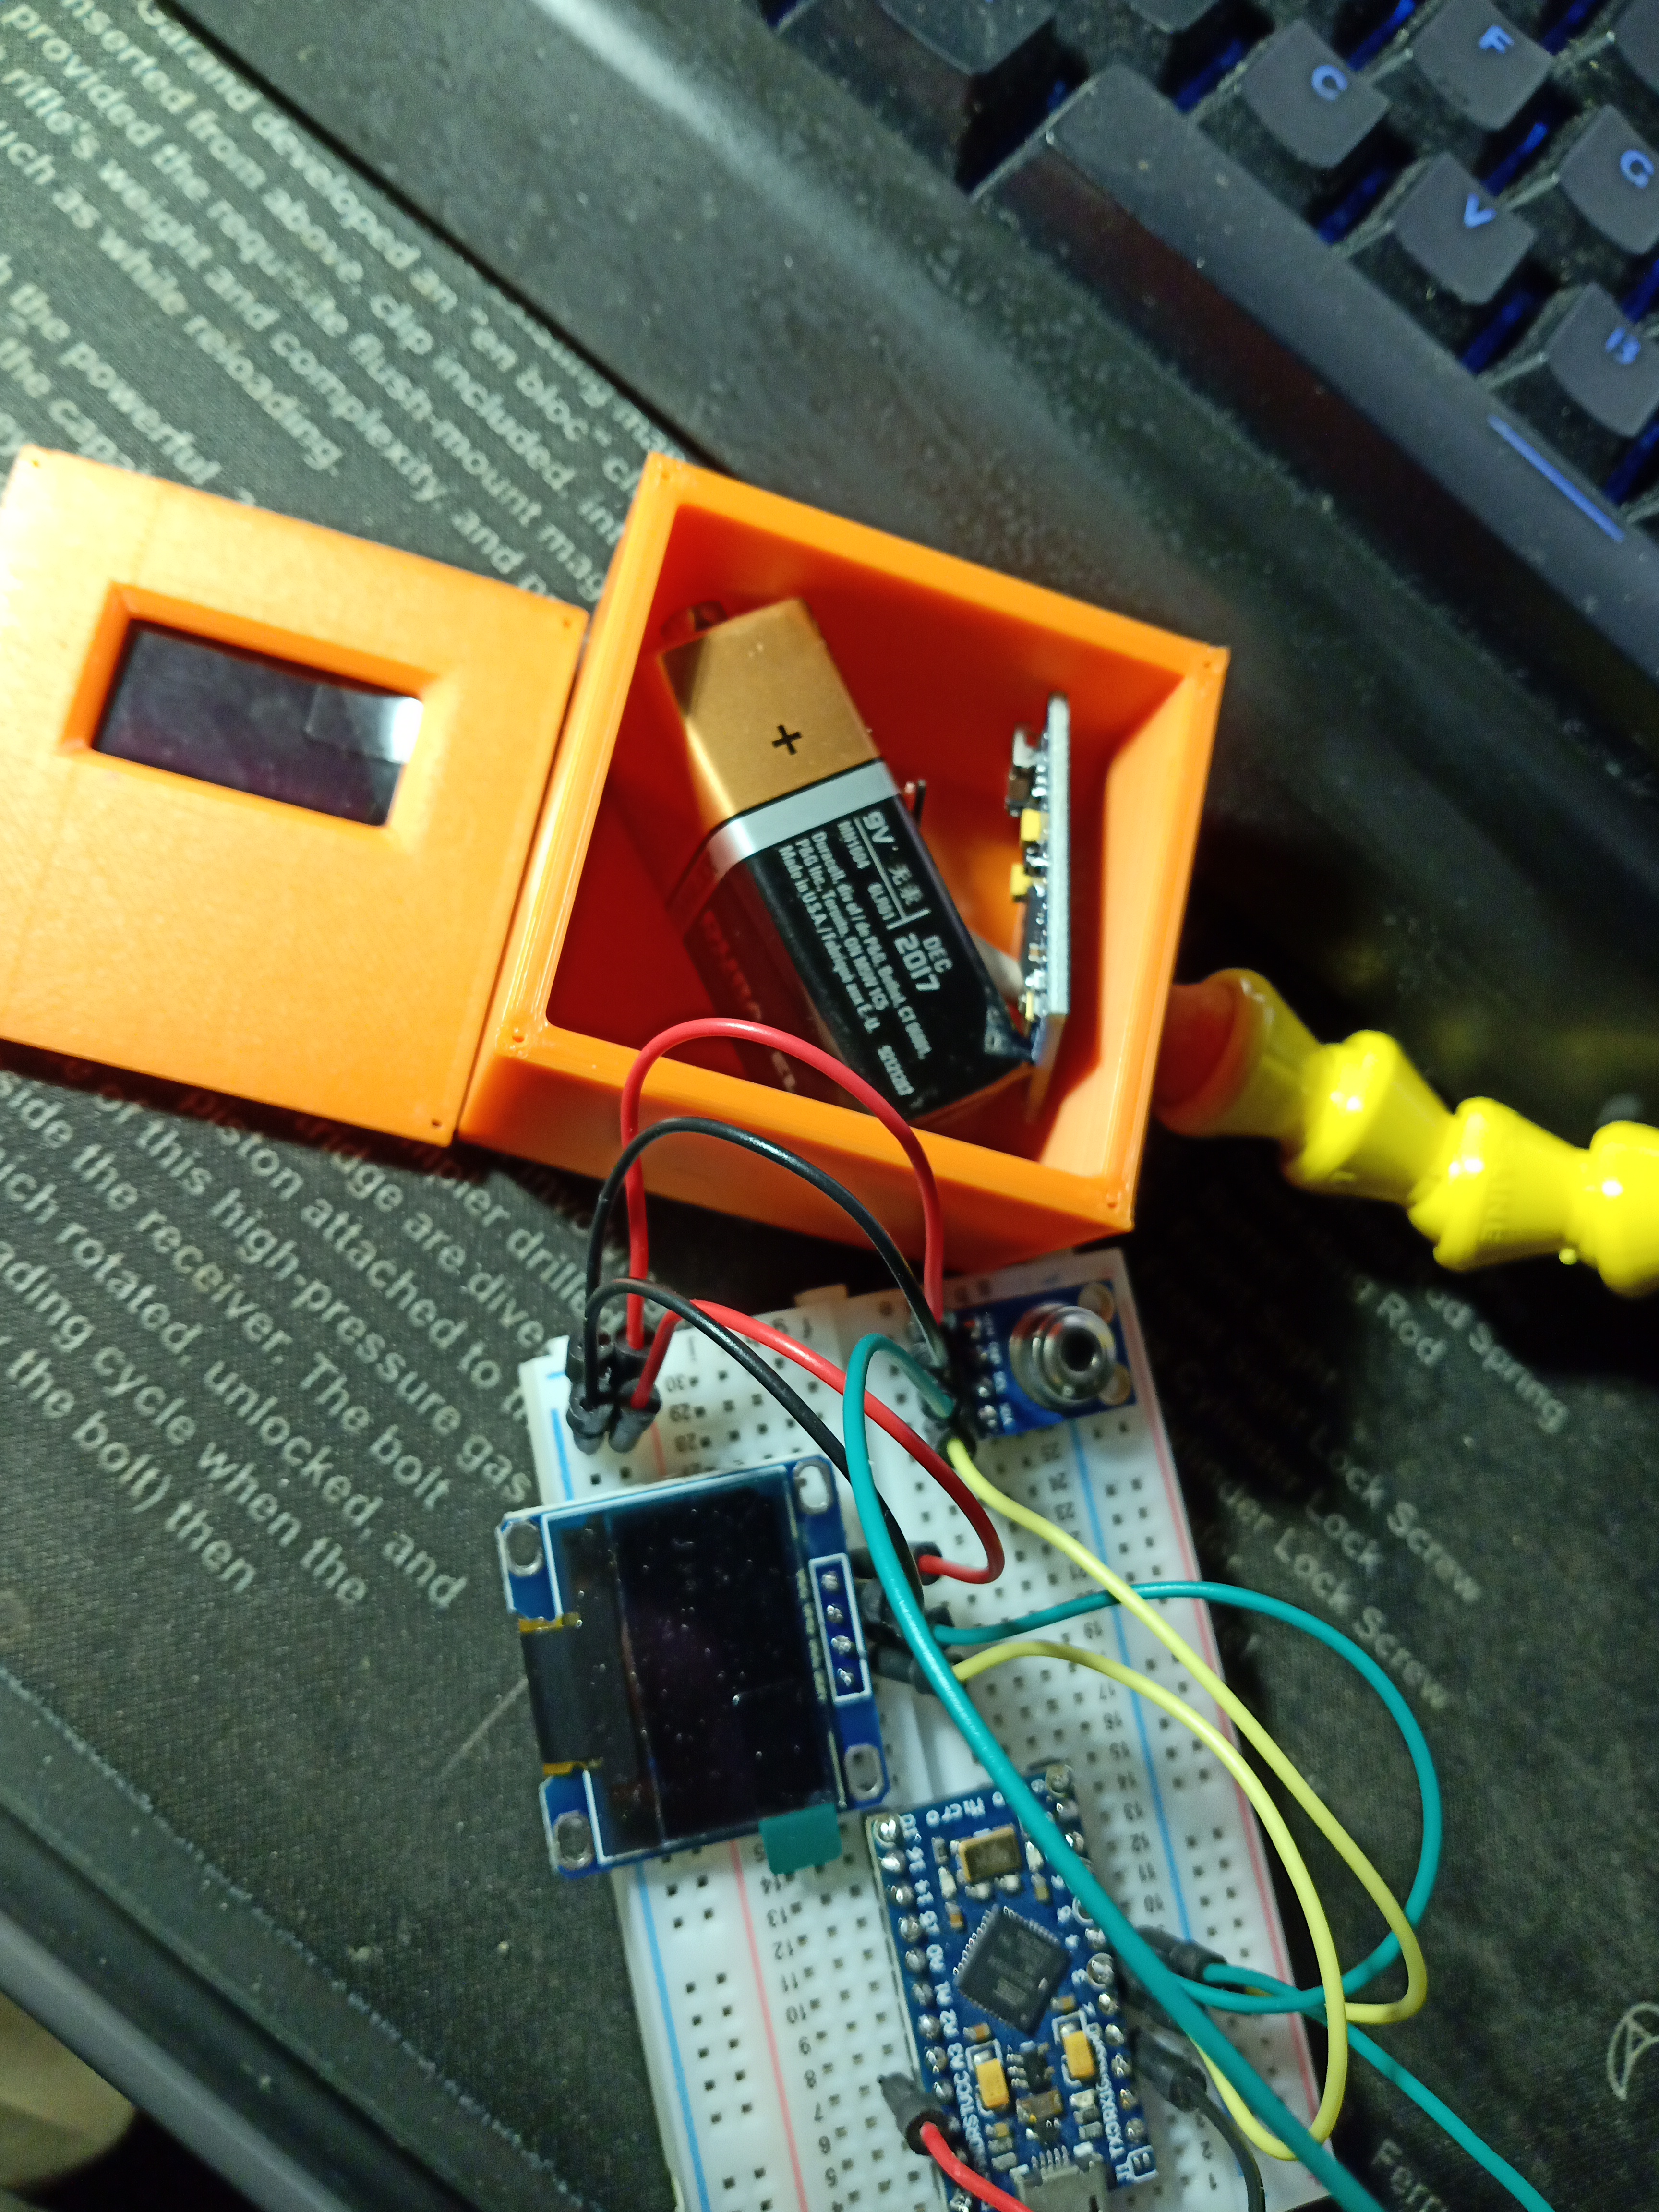
Got the model itself where I’d like it, the arduino doesn’t play very well with 9 volt input though it seems(this isn’t an authentic board, so who knows how good the components are). I ordered a buck converted to step it down to the native 5 volts, the case should be more than large enough to accomadate. Failing that, I might look into lipo packs, but that’s a headache I don’t feel like giving myself.
These are the .stl files for printing
print ready v1body.stl (128.5 KB) print ready v1lid.stl (73.1 KB) print ready v1sensorlid.stl (100.5 KB) sensorbody.stl (124.8 KB)
I’ll probably make small changes to it with time, a recharging port, for instance.
Parts required:
Arduino, I used a pro micro but whatever fits works
SSD1306 OLED screen
MLX90614 IR sensor - I need to come up with a lens or reflection tube, it has too wide of a FOV as is
2x 7mm panel mount momentary spst switches
1/4" loc-line
6x M2 x 4mm button head screws
4x M3 x 5mm button head screws
9v battery
9v battery connector
buck converter
dupont wires, but you can hard solder if you’re braver than I
21mm panel mount on/off switch
Code:
Came from this video, with the code changed to be in Fahrenheit instead of celcius
/* This code works with MLX90614 (GY906) and OLED screen
* It measures both ambient and object temperature in Fahrenheit and display it on the screen
* Please visit www.surtrtech.com for more details
*/

#include <Adafruit_GFX.h>
#include <Adafruit_SSD1306.h>
#include <Wire.h>
#include <Adafruit_MLX90614.h>

#define SCREEN_WIDTH 128 // OLED display width, in pixels
#define SCREEN_HEIGHT 64 // OLED display height, in pixels
#define OLED_RESET    -1 // Reset pin # (or -1 if sharing Arduino reset pin)

Adafruit_SSD1306 display(SCREEN_WIDTH, SCREEN_HEIGHT, &Wire, OLED_RESET);
//Declaring the display name (display)
Adafruit_MLX90614 mlx = Adafruit_MLX90614();

void setup() {
  mlx.begin();
  display.begin(SSD1306_SWITCHCAPVCC, 0x3C); //Start the OLED display
  display.clearDisplay();
  display.display();

}

void loop() {
  display.clearDisplay();

  display.setTextSize(1);
  display.setTextColor(WHITE);
  display.setCursor(0,4);
  display.println("Ambient");

  display.setTextSize(2);
  display.setCursor(50,0);
  display.println(mlx.readAmbientTempF(),1);

  display.setCursor(110,0);
  display.println("F");

  display.setTextSize(1);
  display.setTextColor(WHITE);
  display.setCursor(0,20);
  display.println("Target");

  display.setTextSize(2);
  display.setCursor(50,17);
  display.println(mlx.readObjectTempF(),1);

  display.setCursor(110,17);
  display.println("F");

  display.display();

  delay(1000);

}
btw, I don’t know if the summary feature will properly format code, @sidco @soxhlet, is there an option to allow for posting code? I know most forums have a feature
also, anyone who can improve the code will get a free body printed by me. I’d like to add a status indicator RGB led(red=hot, green=good kinda thing), and use the buttons to adjust target temperature
12 Likes
Its the </> button
Getting the led to do your bidding will be easy, you could practice with this code and adapting to a single multicolor led for simplicity.
Other ideas; a small speaker on top of the led to help indicate overheat / stop heating / ready, Automatic countdown timers, A 3rd button would go a long way for simple menu navigation. That IR sensor has a ~4cm area at 5cm distance, so you could likely get away with keeping it a little farther away, these guys are really made to be accurate at the 60c range (140f) and can be damaged if you overheat. High temp thermocouples can be had for fairly cheap and wouldnt need to be moved between heat ups with a torch espcially if you put the thermocouple under the bowl and not directly in the torches path.
4 Likes
I’ve had issues with the sensor reading properly, it only seems to be accurate ~1 cm away when checked against my other temp guns. I’ve seen fresnel lenses suggested as an option, but that doesn’t seem to be available in consumer quantities. I’ve also seen a polished tube used, there’s a ratio that has to be preserved for that to work correctly. There seem to be some subtle differences among the mlx90614 series, a few different varieties, the long distance ones are all either sold out or 60 bucks.
I’d like to add a speaker eventually, the third button is probably a good idea as well, but I don’t have anything in the way of menu options now, it’s just a basic temperature readout as it is
I’ve tried the thermocouple approach with my multimeter and it never seemed to get a good reading, it has to be in contact to work well ime
2 Likes
I realized I made your project sound a lot more complicated. To keep it simple, 2 buttons solely used for desired ready temp. Define a hard standby(low) temp and an overtemp so timers know when to start and stop. You could display something akin to a loading bar or countdown based on the rate of temp decline to ready temp, then a hit zone timer. Speaker is just as complicated/easy as the led. I am not at my computer but ill toss together an example that should work with your setup, at least getting the rgb led going.
Just because this is a learning project I would do 3 seperate LEDs to play around with the idea. Also printing to the screen not just the sensor temp but display a status like “Too hot” “ready” “too cold” is trivial / same thing the LEDs would be used for.
https://create.arduino.cc/projecthub/luca-mcloughlin/arduino-led-temperature-indicator-6874d9
1 Like
I’ve got a second setup on a prototyping board still, it’s not a big deal to play around with new features, just gotta get a few parts first
Found a new issue, likes to freeze up on me when it measures high temps for a while, but only when using an external power source(aside from the USB in). This is after I got the buck converter in, dropped from 9v to 5.7
I ordered a variety pack of small IR fresnel lenses from China to try and work something else out, I think being that close in proximity to the heat source isn’t helping as you suggested @sidco
2 Likes

Seems to be working fine now, someone gave me the right spoon
Still need to add the fresnel lens, the aliexpress seller sent the wrong ones. Also to do is model in a battery holder/charge port, I used a micro usb charging 9v to power it this time.
I’m gonna work on maybe putting together a pcb, but I’ll have to get the button function added first
4 Likes
Nice, looking good. I dig that coolant line on there!
2 Likes
Didn’t know where else to post this
3 Likes