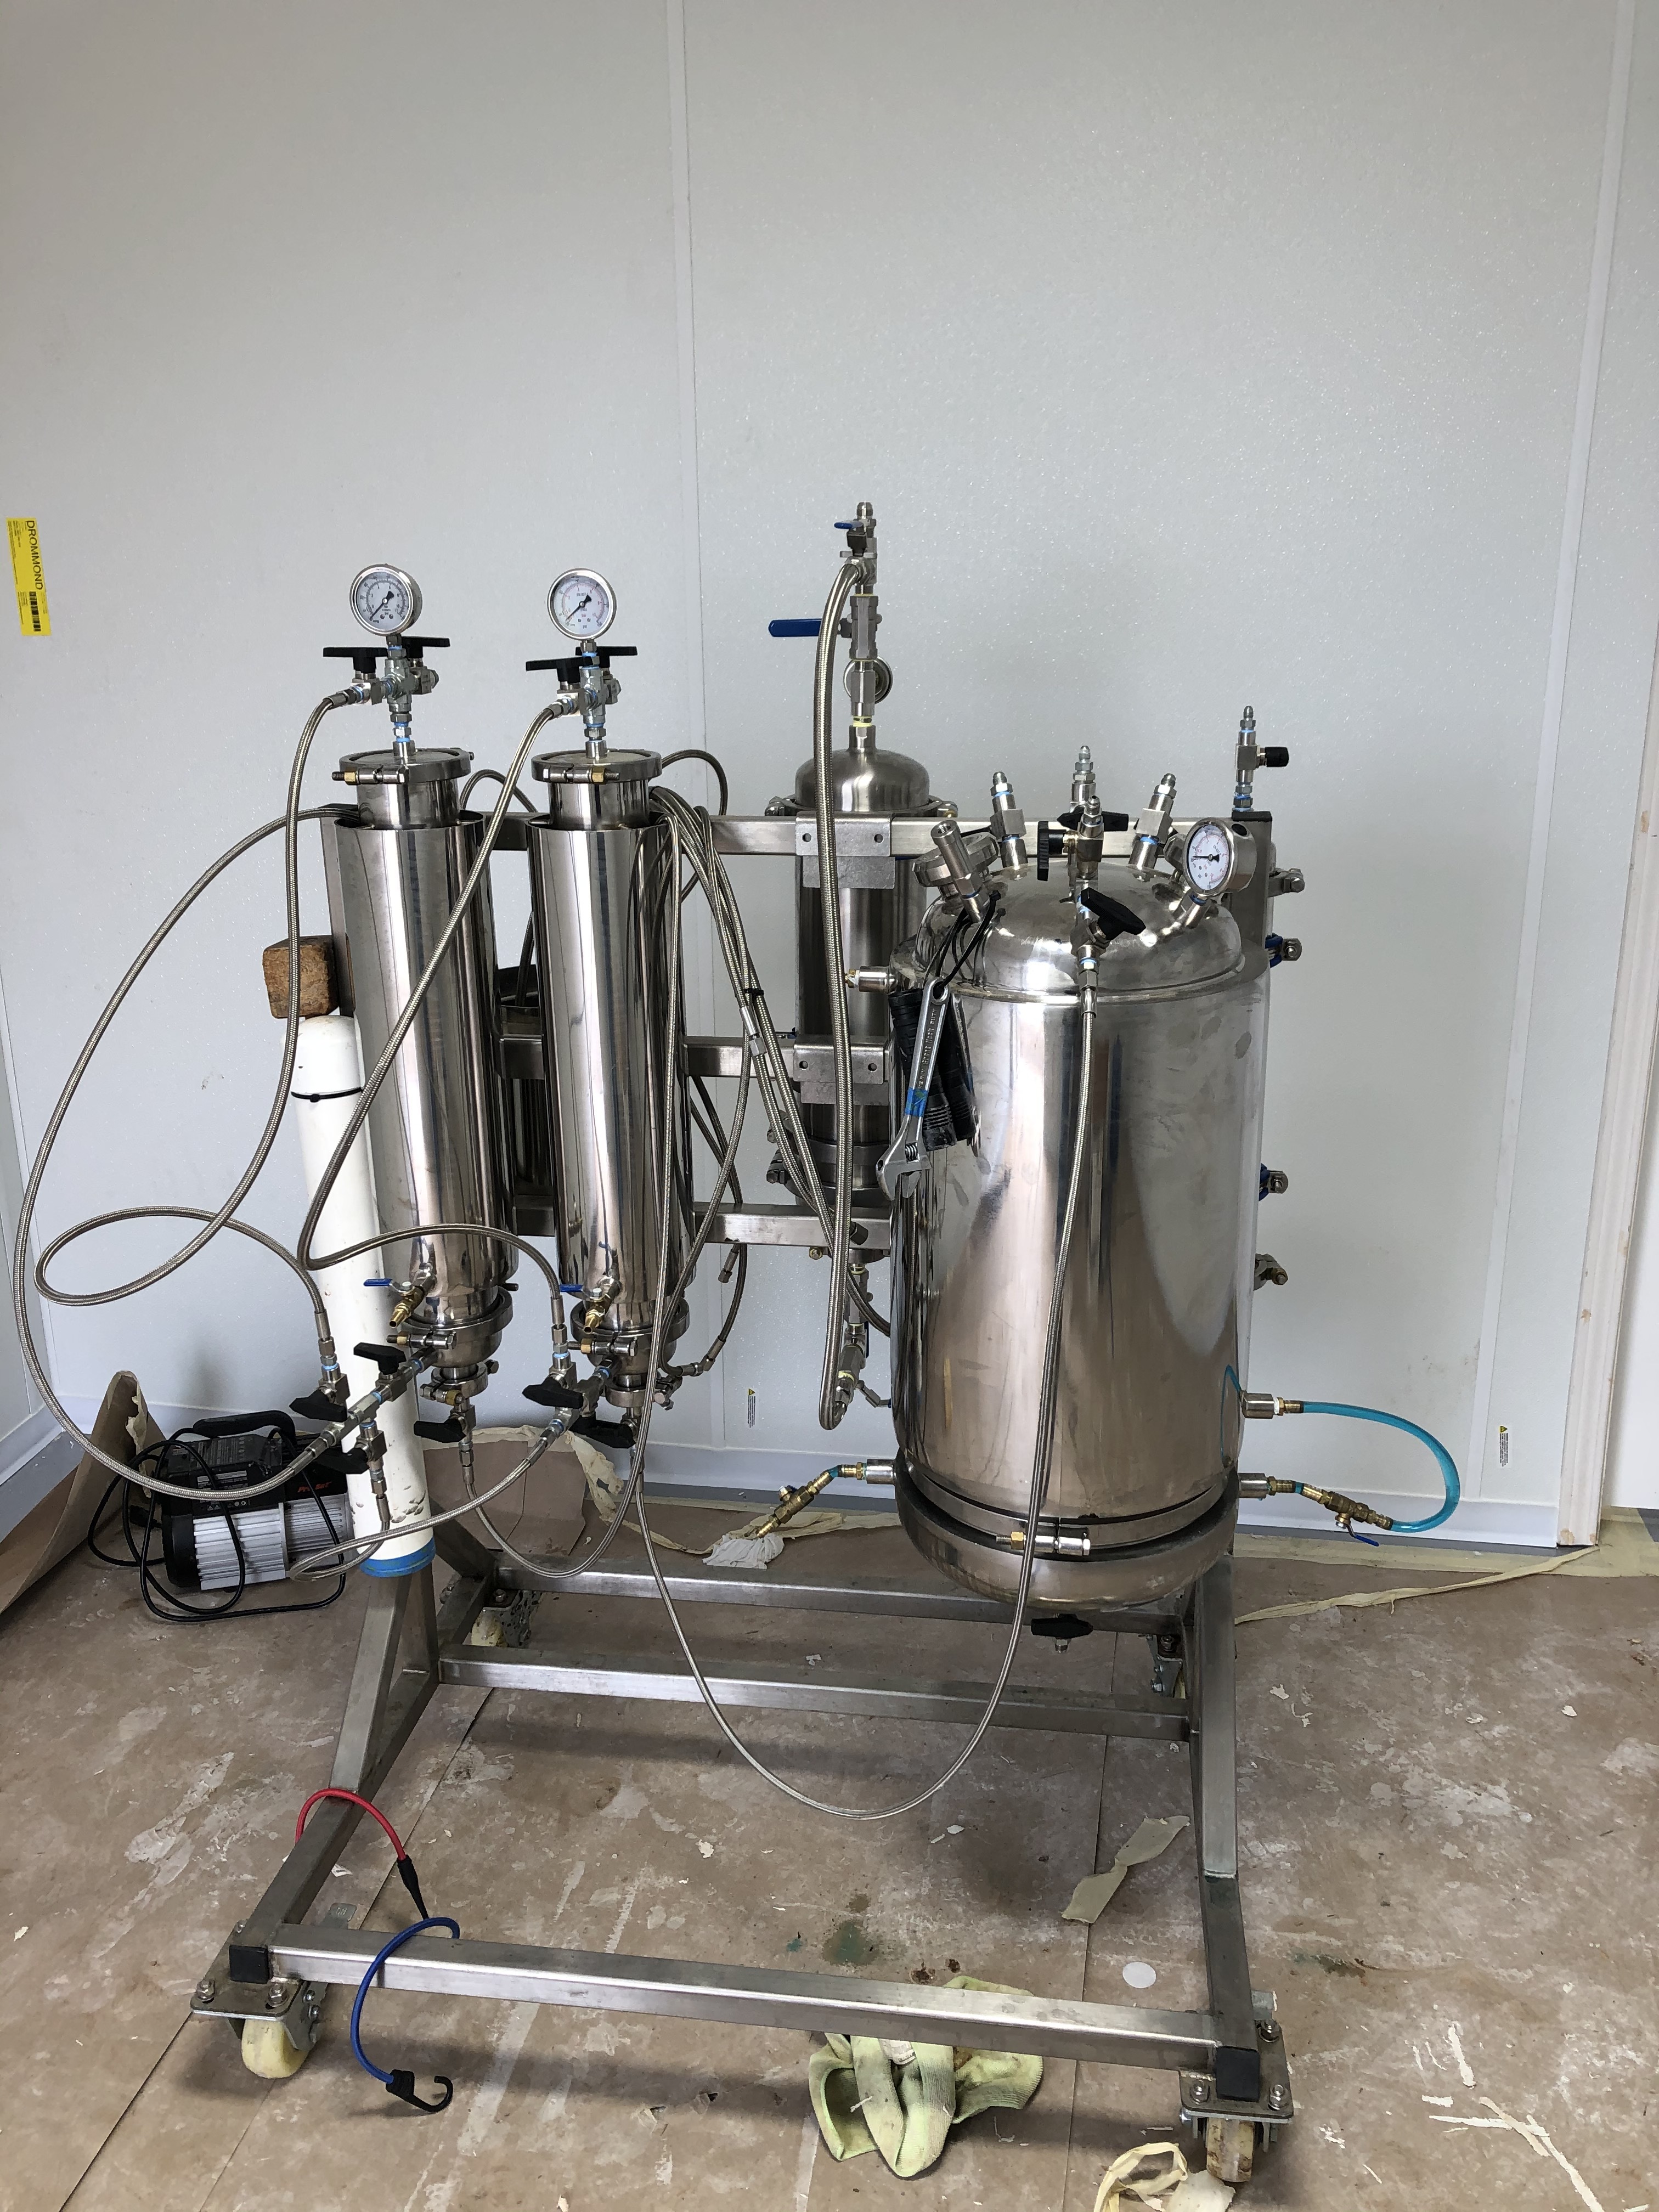
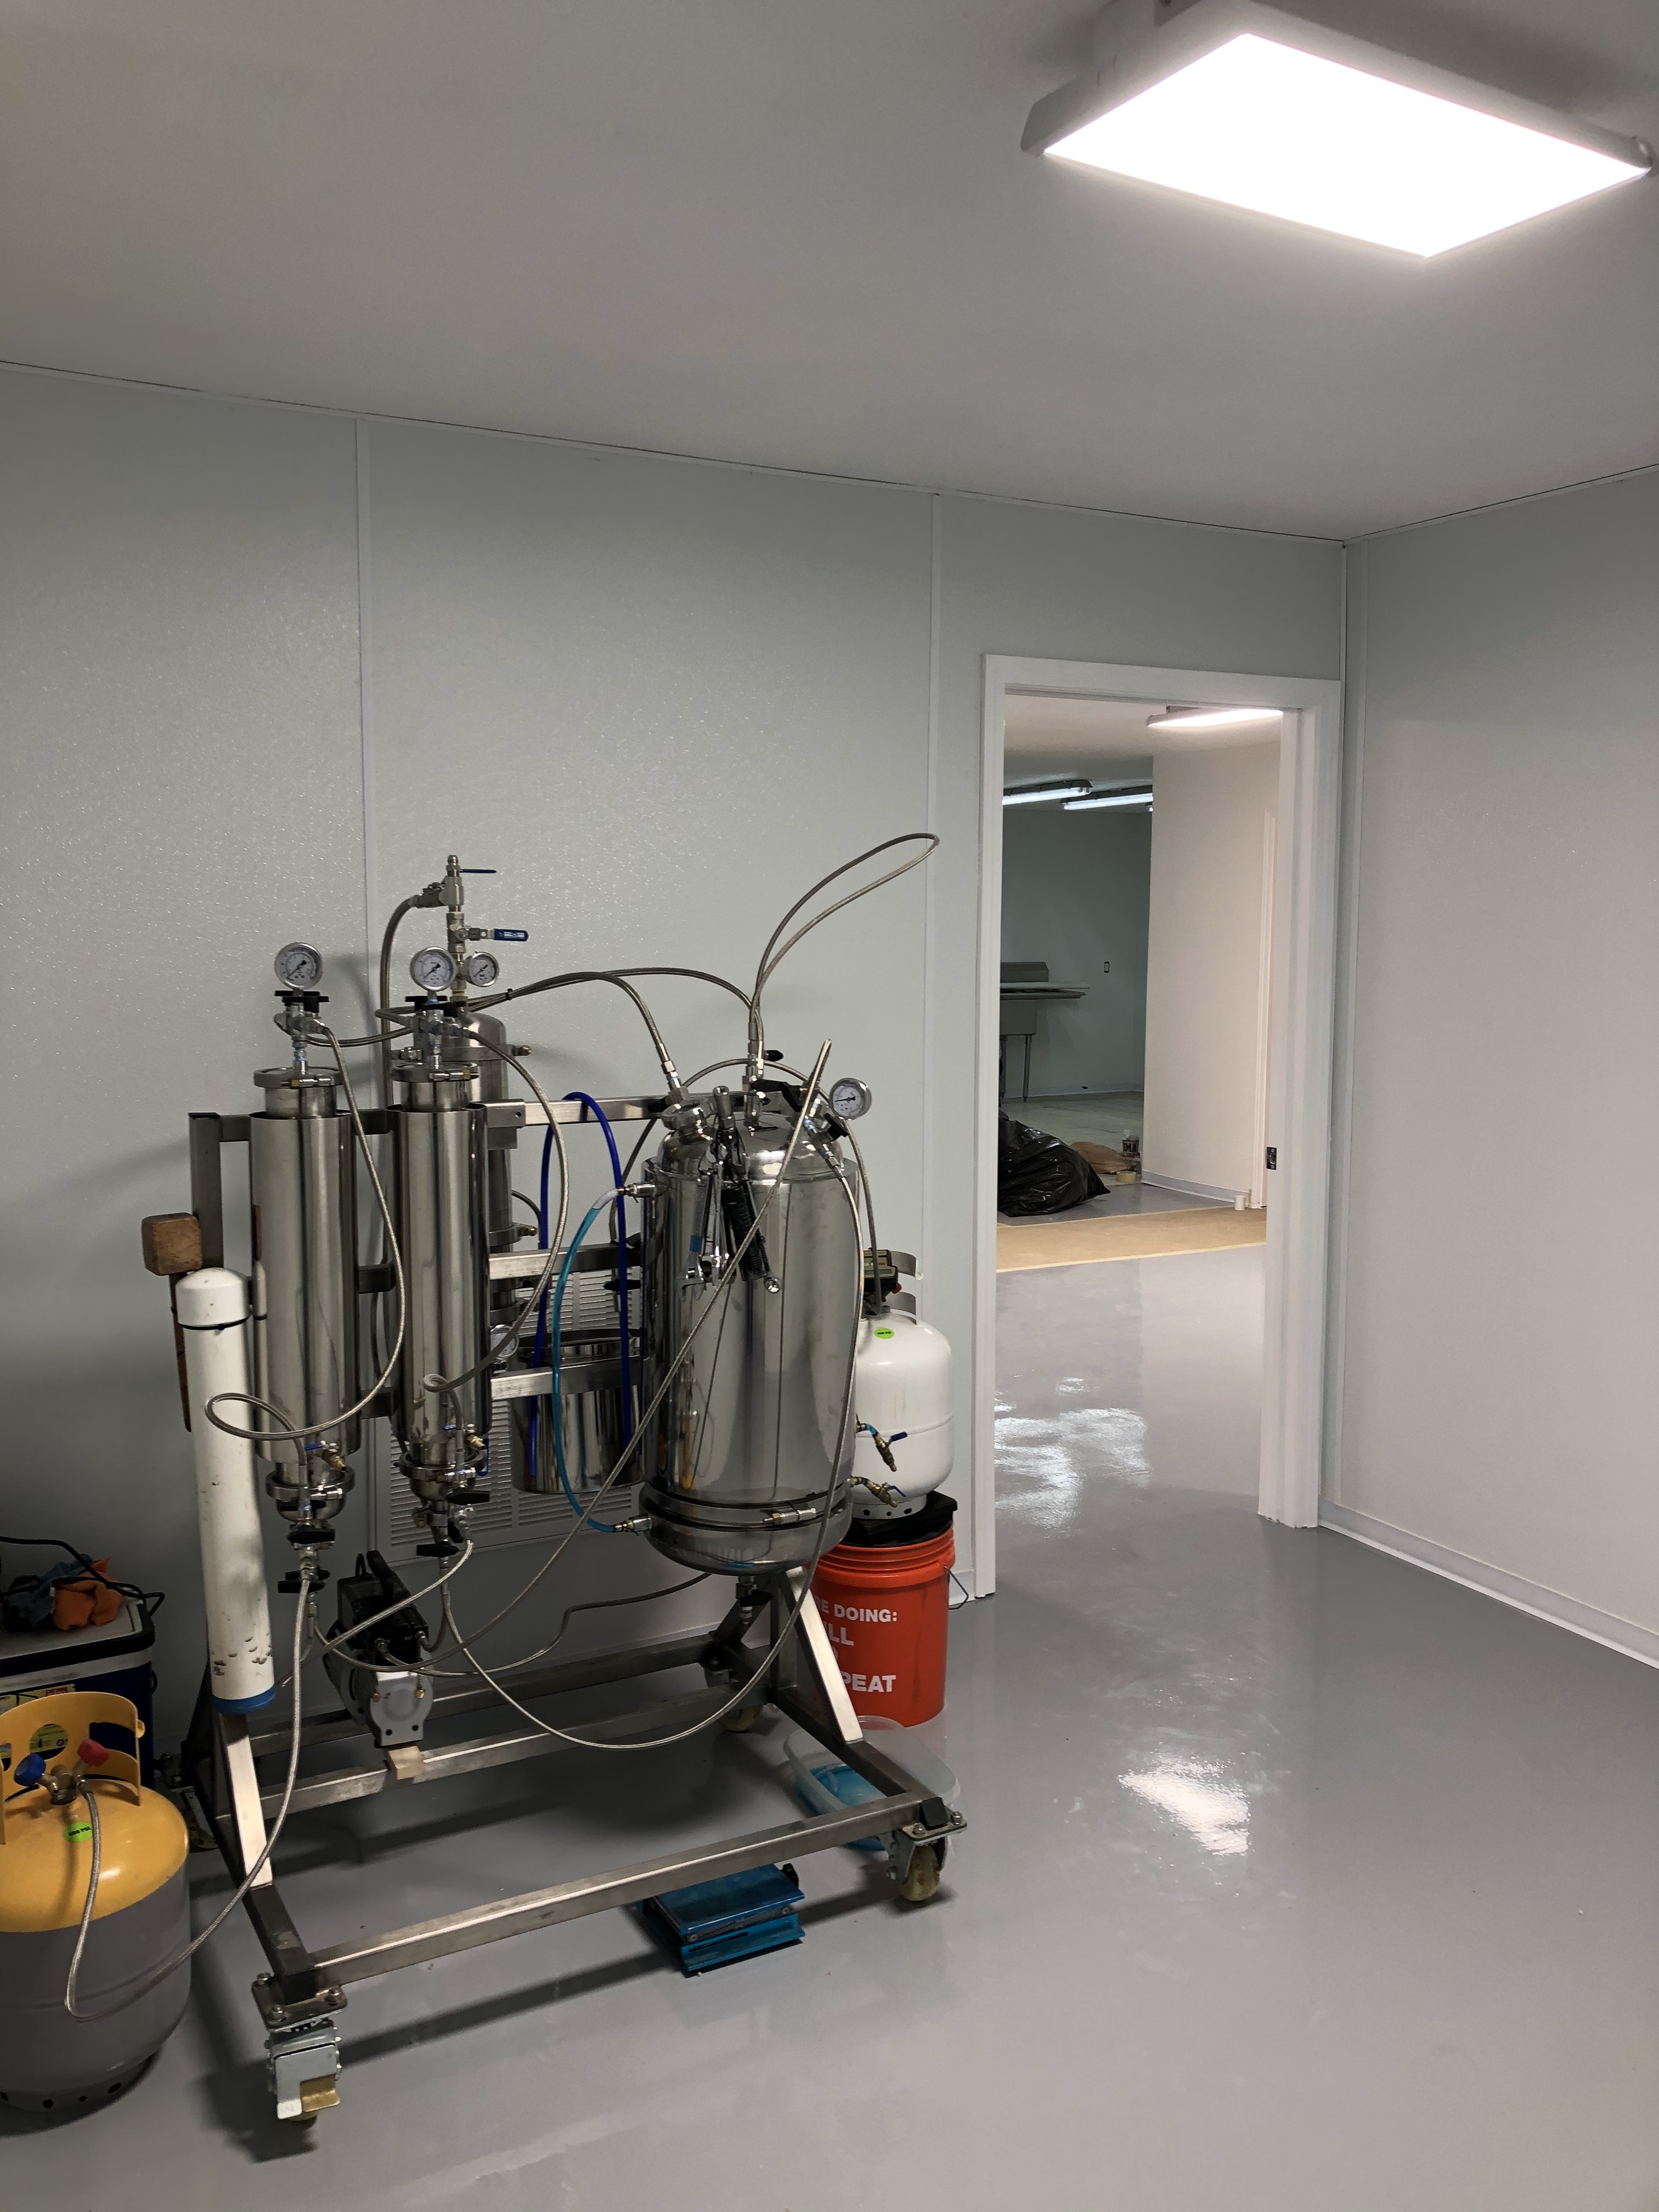
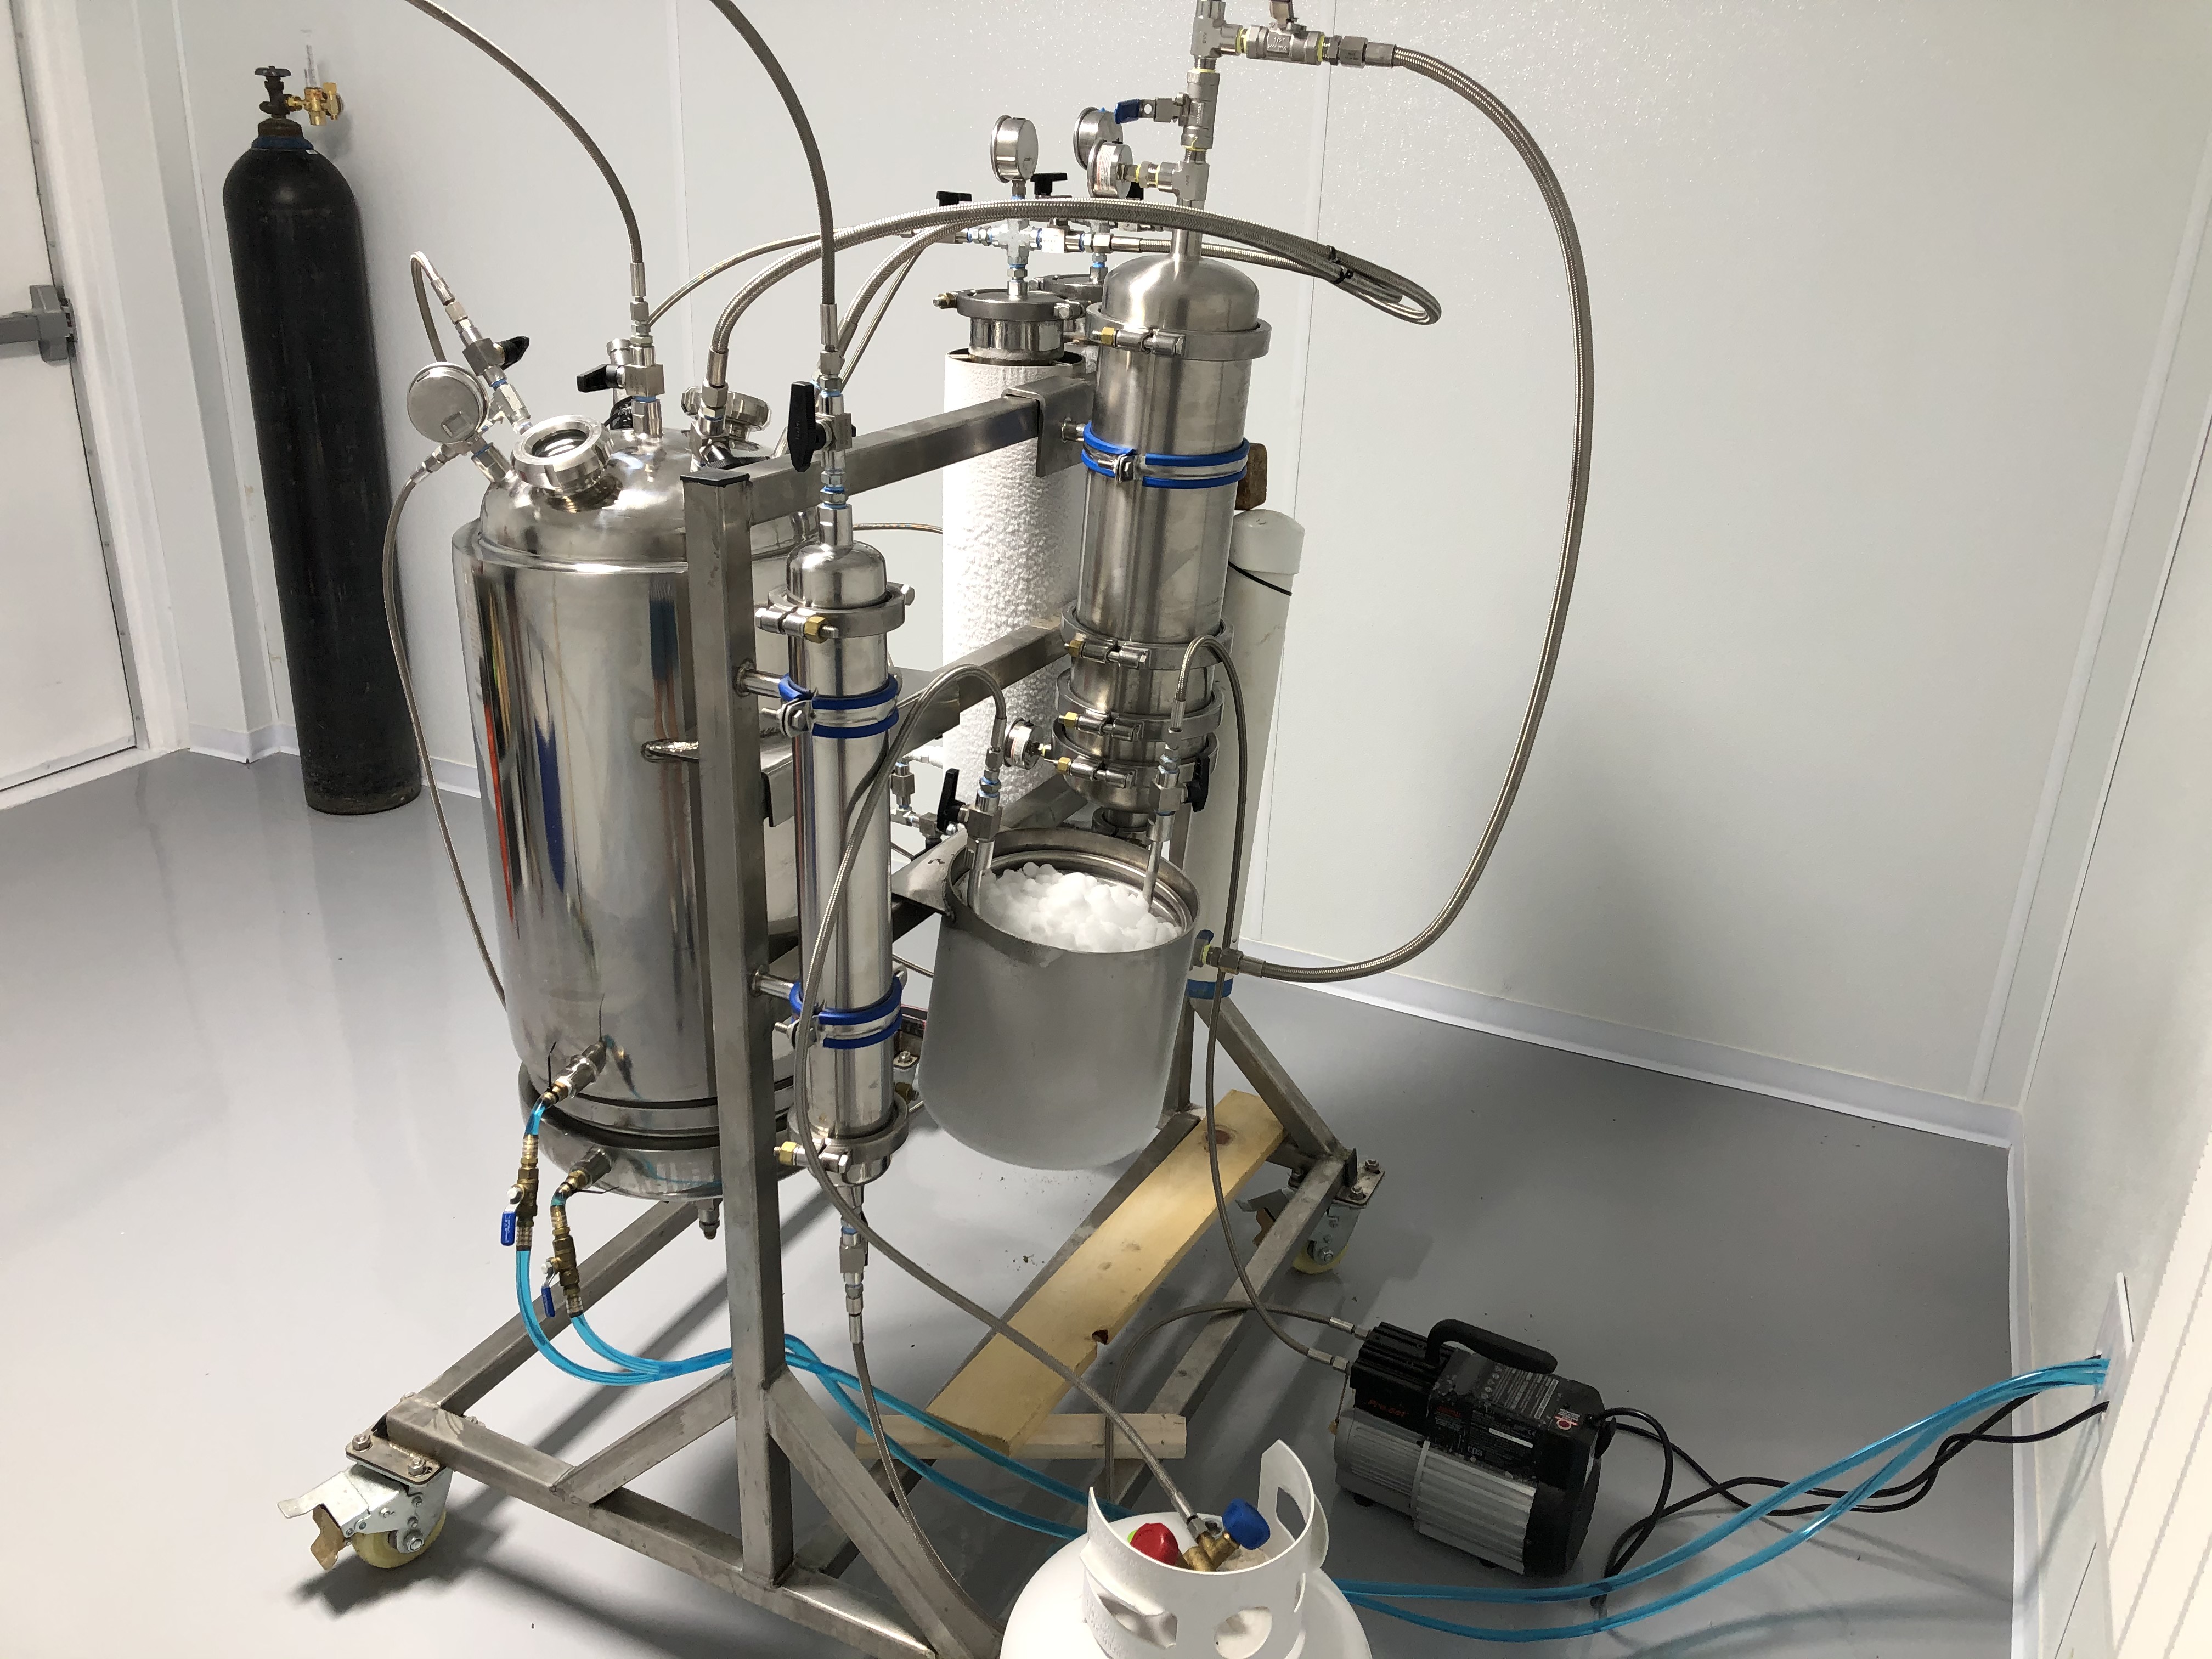
I bought a system that was supposed to be a 5 lb. machine. When it arrived, it had the collection vessel for the 10 lb., which was a fully-jacketed 12-in monster. When I asked, they said oops, loaded the wrong one on your rack. My plans are to add columns, so I’m thinking it’s a win. They send me the right tees and valves, all good.
I’ve made several runs now. Running one column leaves a third of it on the walls and a shallow puddle in that giant bowl (170-210g). It feels like I’m leaving a lot on the sidewalls. No sense in running less than 4 tubes, before tapping it at the bottom. That means mixing strains during R&D. I want a little more flexibility. I can add tubes, it’s small-batch runs that are robbed by the monster.
Then comes the wrestling match to break it down and clean it. It’s a fine film, but its everywhere inside a vessel that’s bigger than my head and almost too deep to reach all the way up inside to clean. It seems like using a backhoe to plant tulips.
Is there any reason I can’t swap in a smaller 6-8-inch diameter collection pot? Ideas or ones that work well for you? It’s a rack system with each of the columns feeding over to the collection pot. Would a smaller pot recover faster, waste less, and be easier to clean? I can’t see why not.
1 Like
Just leave a lil gas in there and let the heat run the vapor will clean the sides. Rhats how i clean my big one like that. Who did you order that from
3 Likes
I ordered it from Extractor Solutions about 6 months ago. Nice folks. Other than the oversized collection pot, I like it a lot. I’ve had some great results and good yields. I’m adding a 6" BVV CRC to the chain once the new lines arrive. I’ve finally moved into my facility. 500# dry ice bunker, Nitro and Butane on delivery for Wednesday. Things are starting to move quickly. I need to maximize every run and I don’t want to leave any on the cleaning rags.
1 Like
Do you run a chiller on your collection or room temp till recovery? I have the same collection an it takes too long to dump the columns completely even with nitro
Any collection vessel with jacketed walls will adhere oil to the warm walls. It’s less than ideal as your oil is sitting there baking during recovery
To wash the oil back into the bottom, near run’s end while you still have a couple pounds of solvent left to recover, turn off the upper jacket, then close the collection vessel outlet valve and turn off the pump for a few minutes and allow the solvent to boil and reflux inside the collection vessel. If your tank is mounted vertically solvent will recondense at the top lid and flow back down the walls washing them clean.
Once rinsed, open valve and continue recovery until ready to dispense.
5 Likes
I’ve done it both ways. I need to add another chiller to do it properly. Too much time to warm back up from 1C to 20C, so the last few have been room temp, then warm to recover.
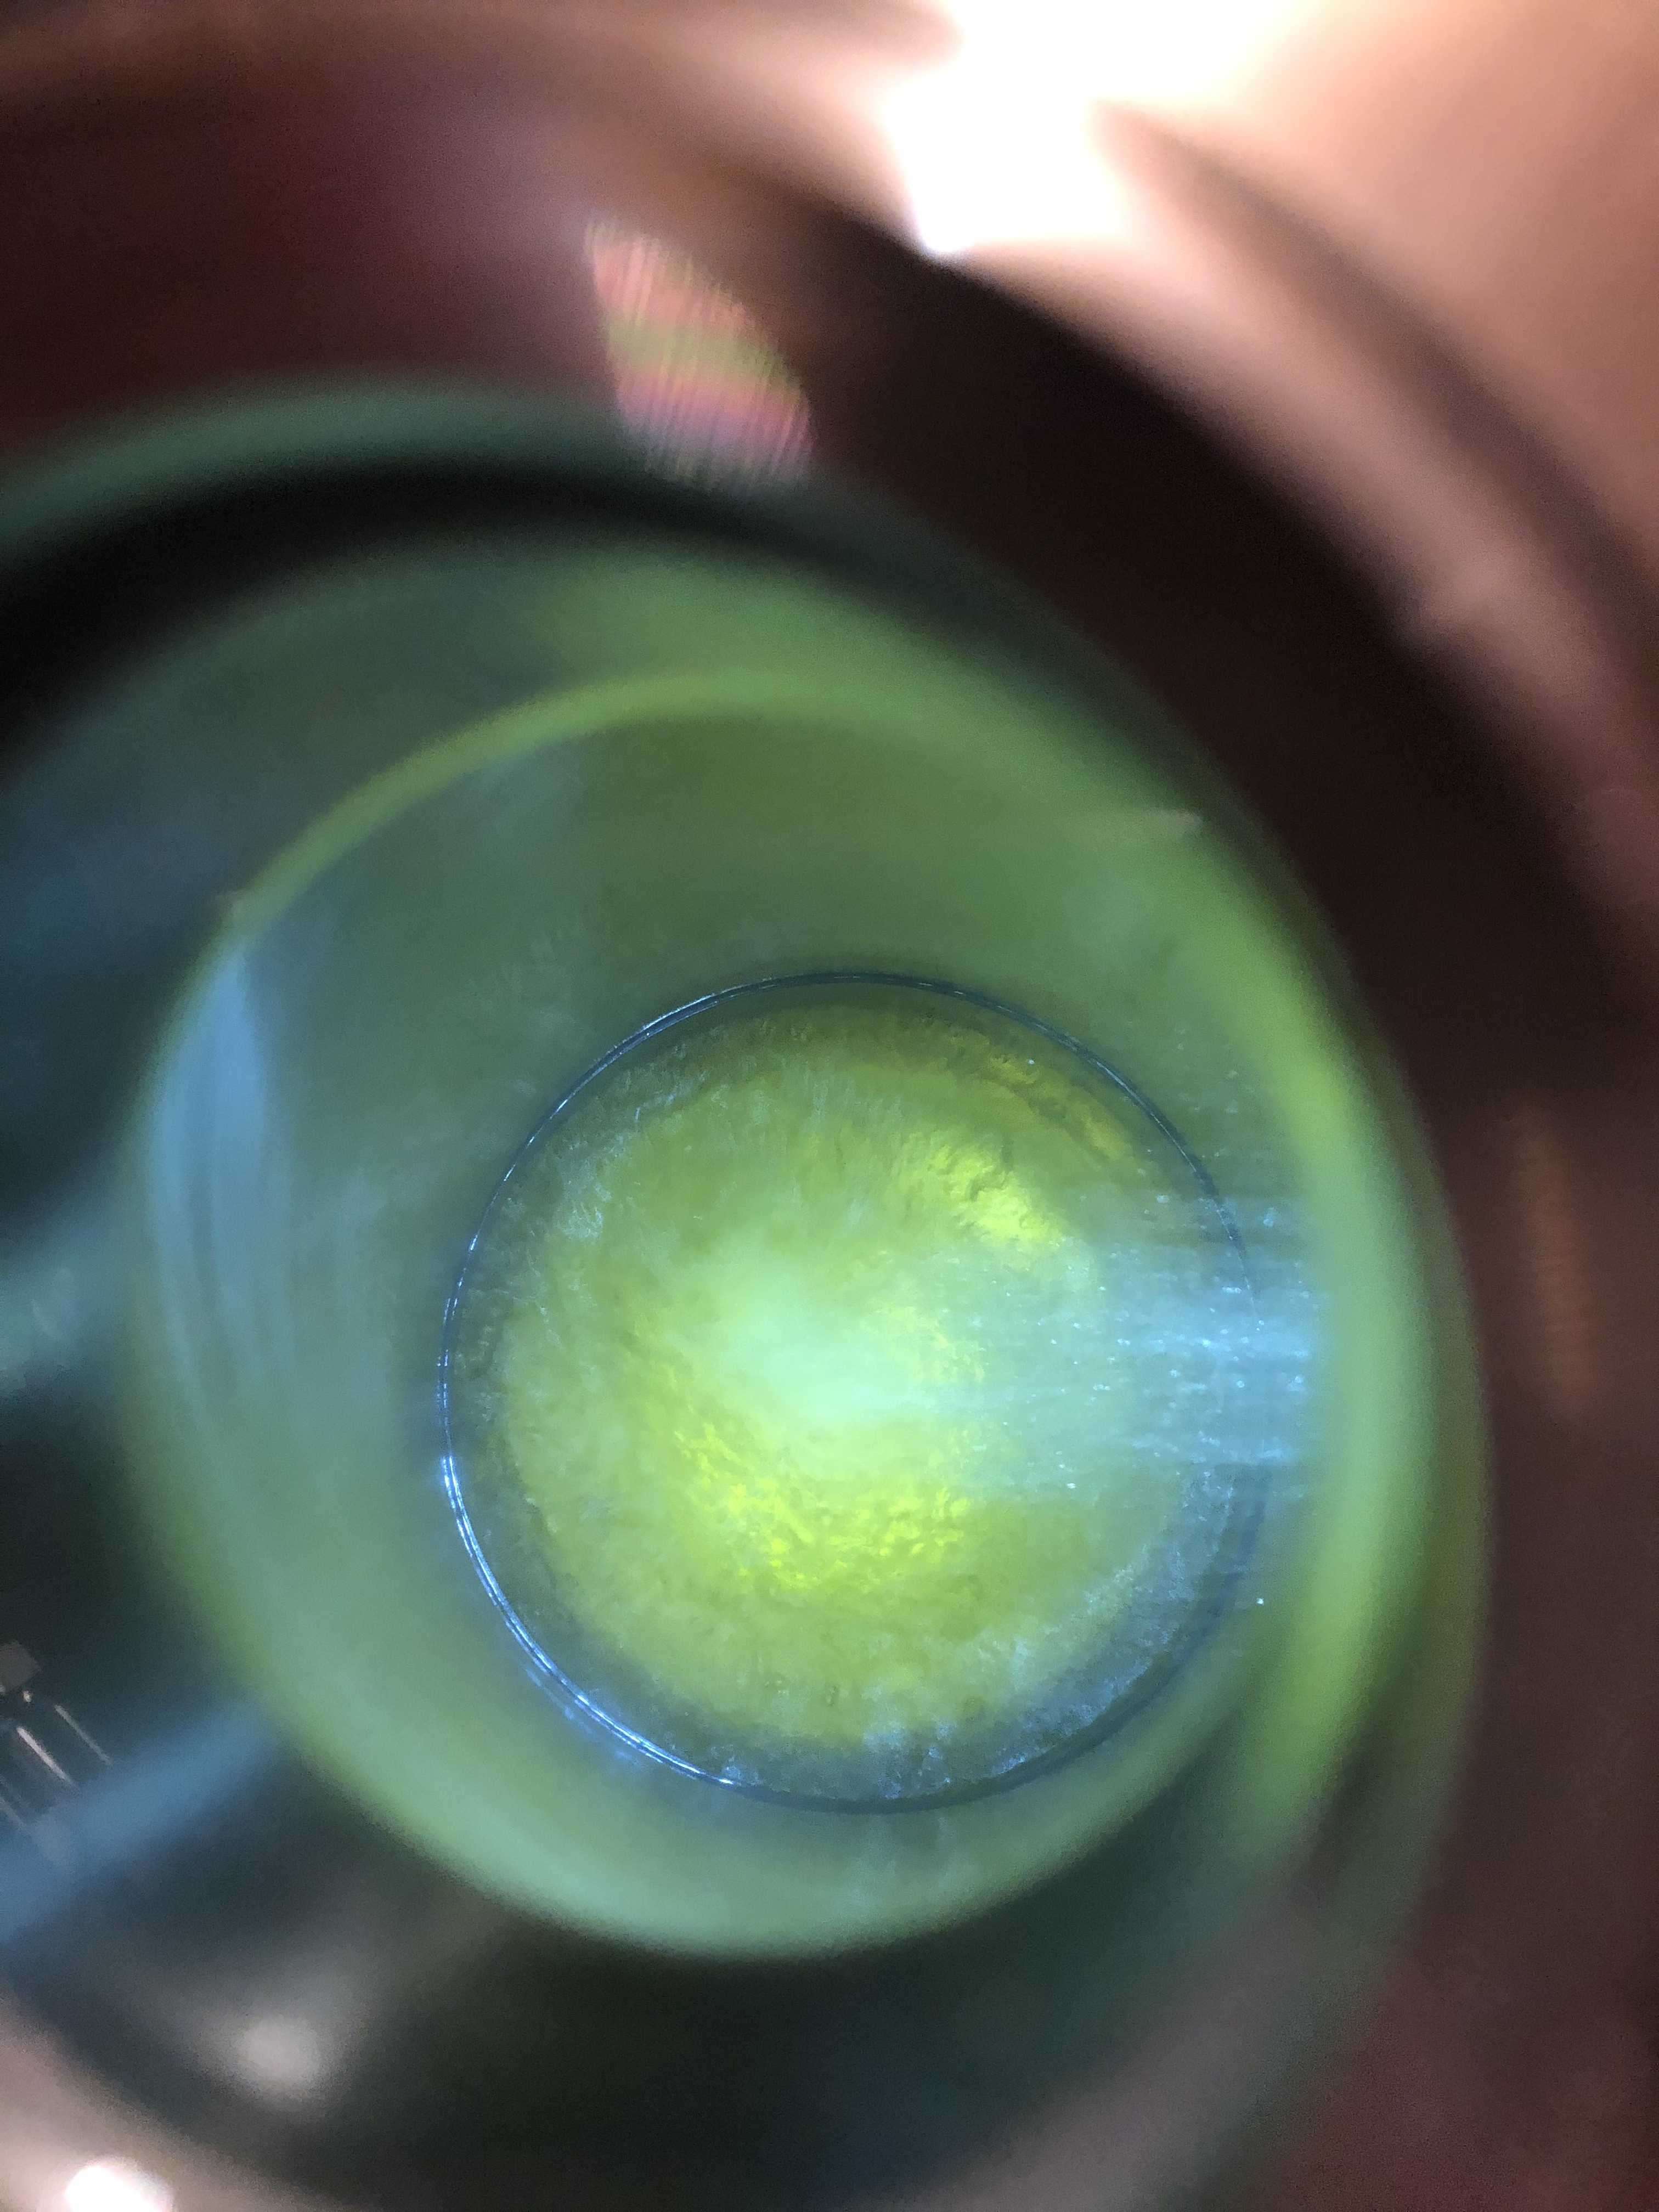
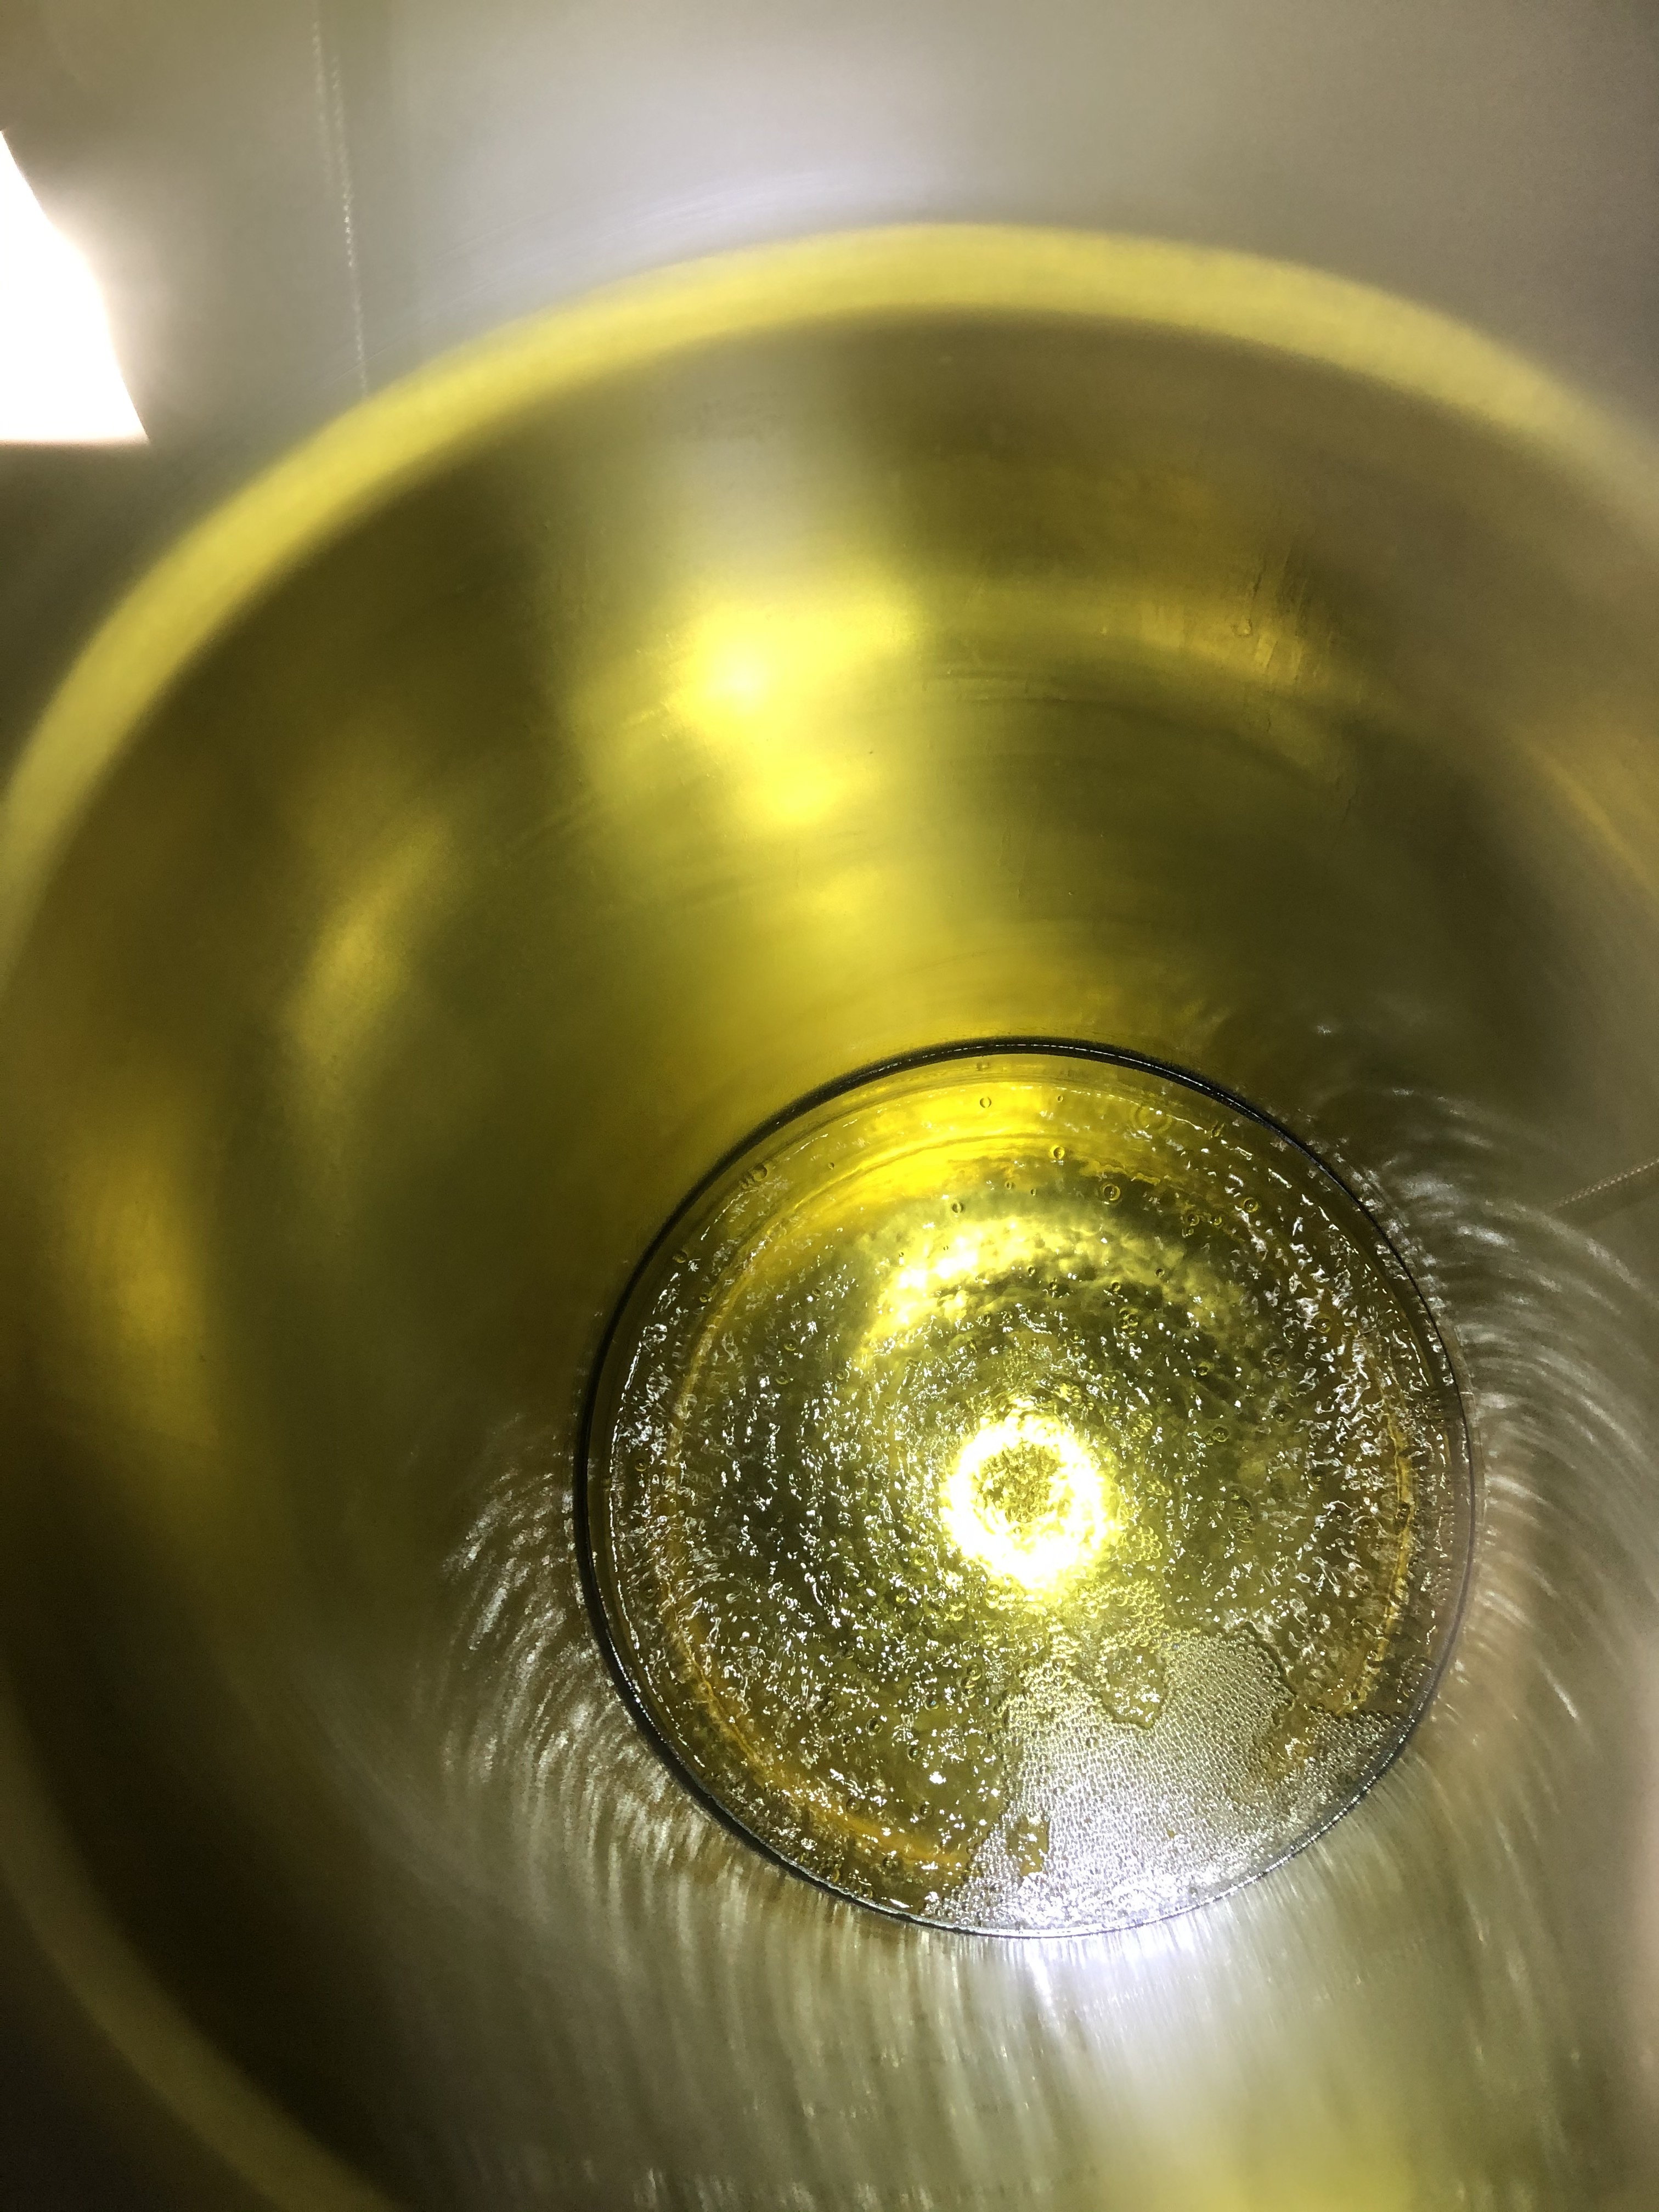
I like that. The last run left almost enough at the top near the inlet to do a scrape. In the photo above you can see the spray pattern at full tilt. It’s when it slows to a trickle that the oil starts to gather. Should close off the inlet valve while there’s still a bit more pressure and not let it dribble?
1 Like
Just an fyi, you don’t need to add another chiller to do this, just simply get another HEATER. Like an immersion heater. A sous vide/ water pump MIGHT be able to handle that ginormous base, but I haven’t found a water pump that can handle the fluids i use yet. But this route should be waaay less expensive. I’m going through a similar upgrade right now, and here is what I did:
Keep the chiller they sent with the machine but only use it for chilling and keep it at -10 or colder if you can at all times (assuming you got the complete package not just the stainless). Buy a cheap used immersion heater - It doesn’t have to be a big one, even a older model of a techne tempette would do the job. I personally found a used vrw immersion heater for a great deal at my local lab supply shop and got a tank it fits in for an extra 15 bucks. Keep the heater at recovery temps at all times. Additionally you will need two coolers that are plumbed in the bottom so you can hook up an out-port to return back to the heater and chiller, as well as drill a hole in the top so you can drop a hose in. The coolers hold the additional fluid that is normally in the jackets of the collection chamber, but would overflow the smaller chiller/heater capacity.
Add three way valves at in input and output connections of your heater, chiller, and at the top AND bottom of your collection pot. So six in total.
This way, when you are done with the hot fluid for recovery, you can drain it through the three way valve leading back to the dedicated “heat” cooler and keep it cycling hot fluid through the heater. Once drained completely, open the three way valve leading from the chiller to the collection base to flood it with already chilled liquid that was cycling through the dedicated “cold” cooler and the chiller.
This upgrade shouldn’t cost you more than $300-500 depending upon how complex you wanna make it or how many heating watts you want to add.
Use a fluid that can handle both temperatures. Nutherm PF has been working well for me, but i don’t feel great recommending any product sold exclusively through BVV at the moment. I’m a little disgruntled with them but I will get over it eventually as I do try to support my “local” suppliers as much as possible. If you have any questions you can DM me, I’ve still got my diagrams I
drew up around somewhere on my desk.
3 Likes
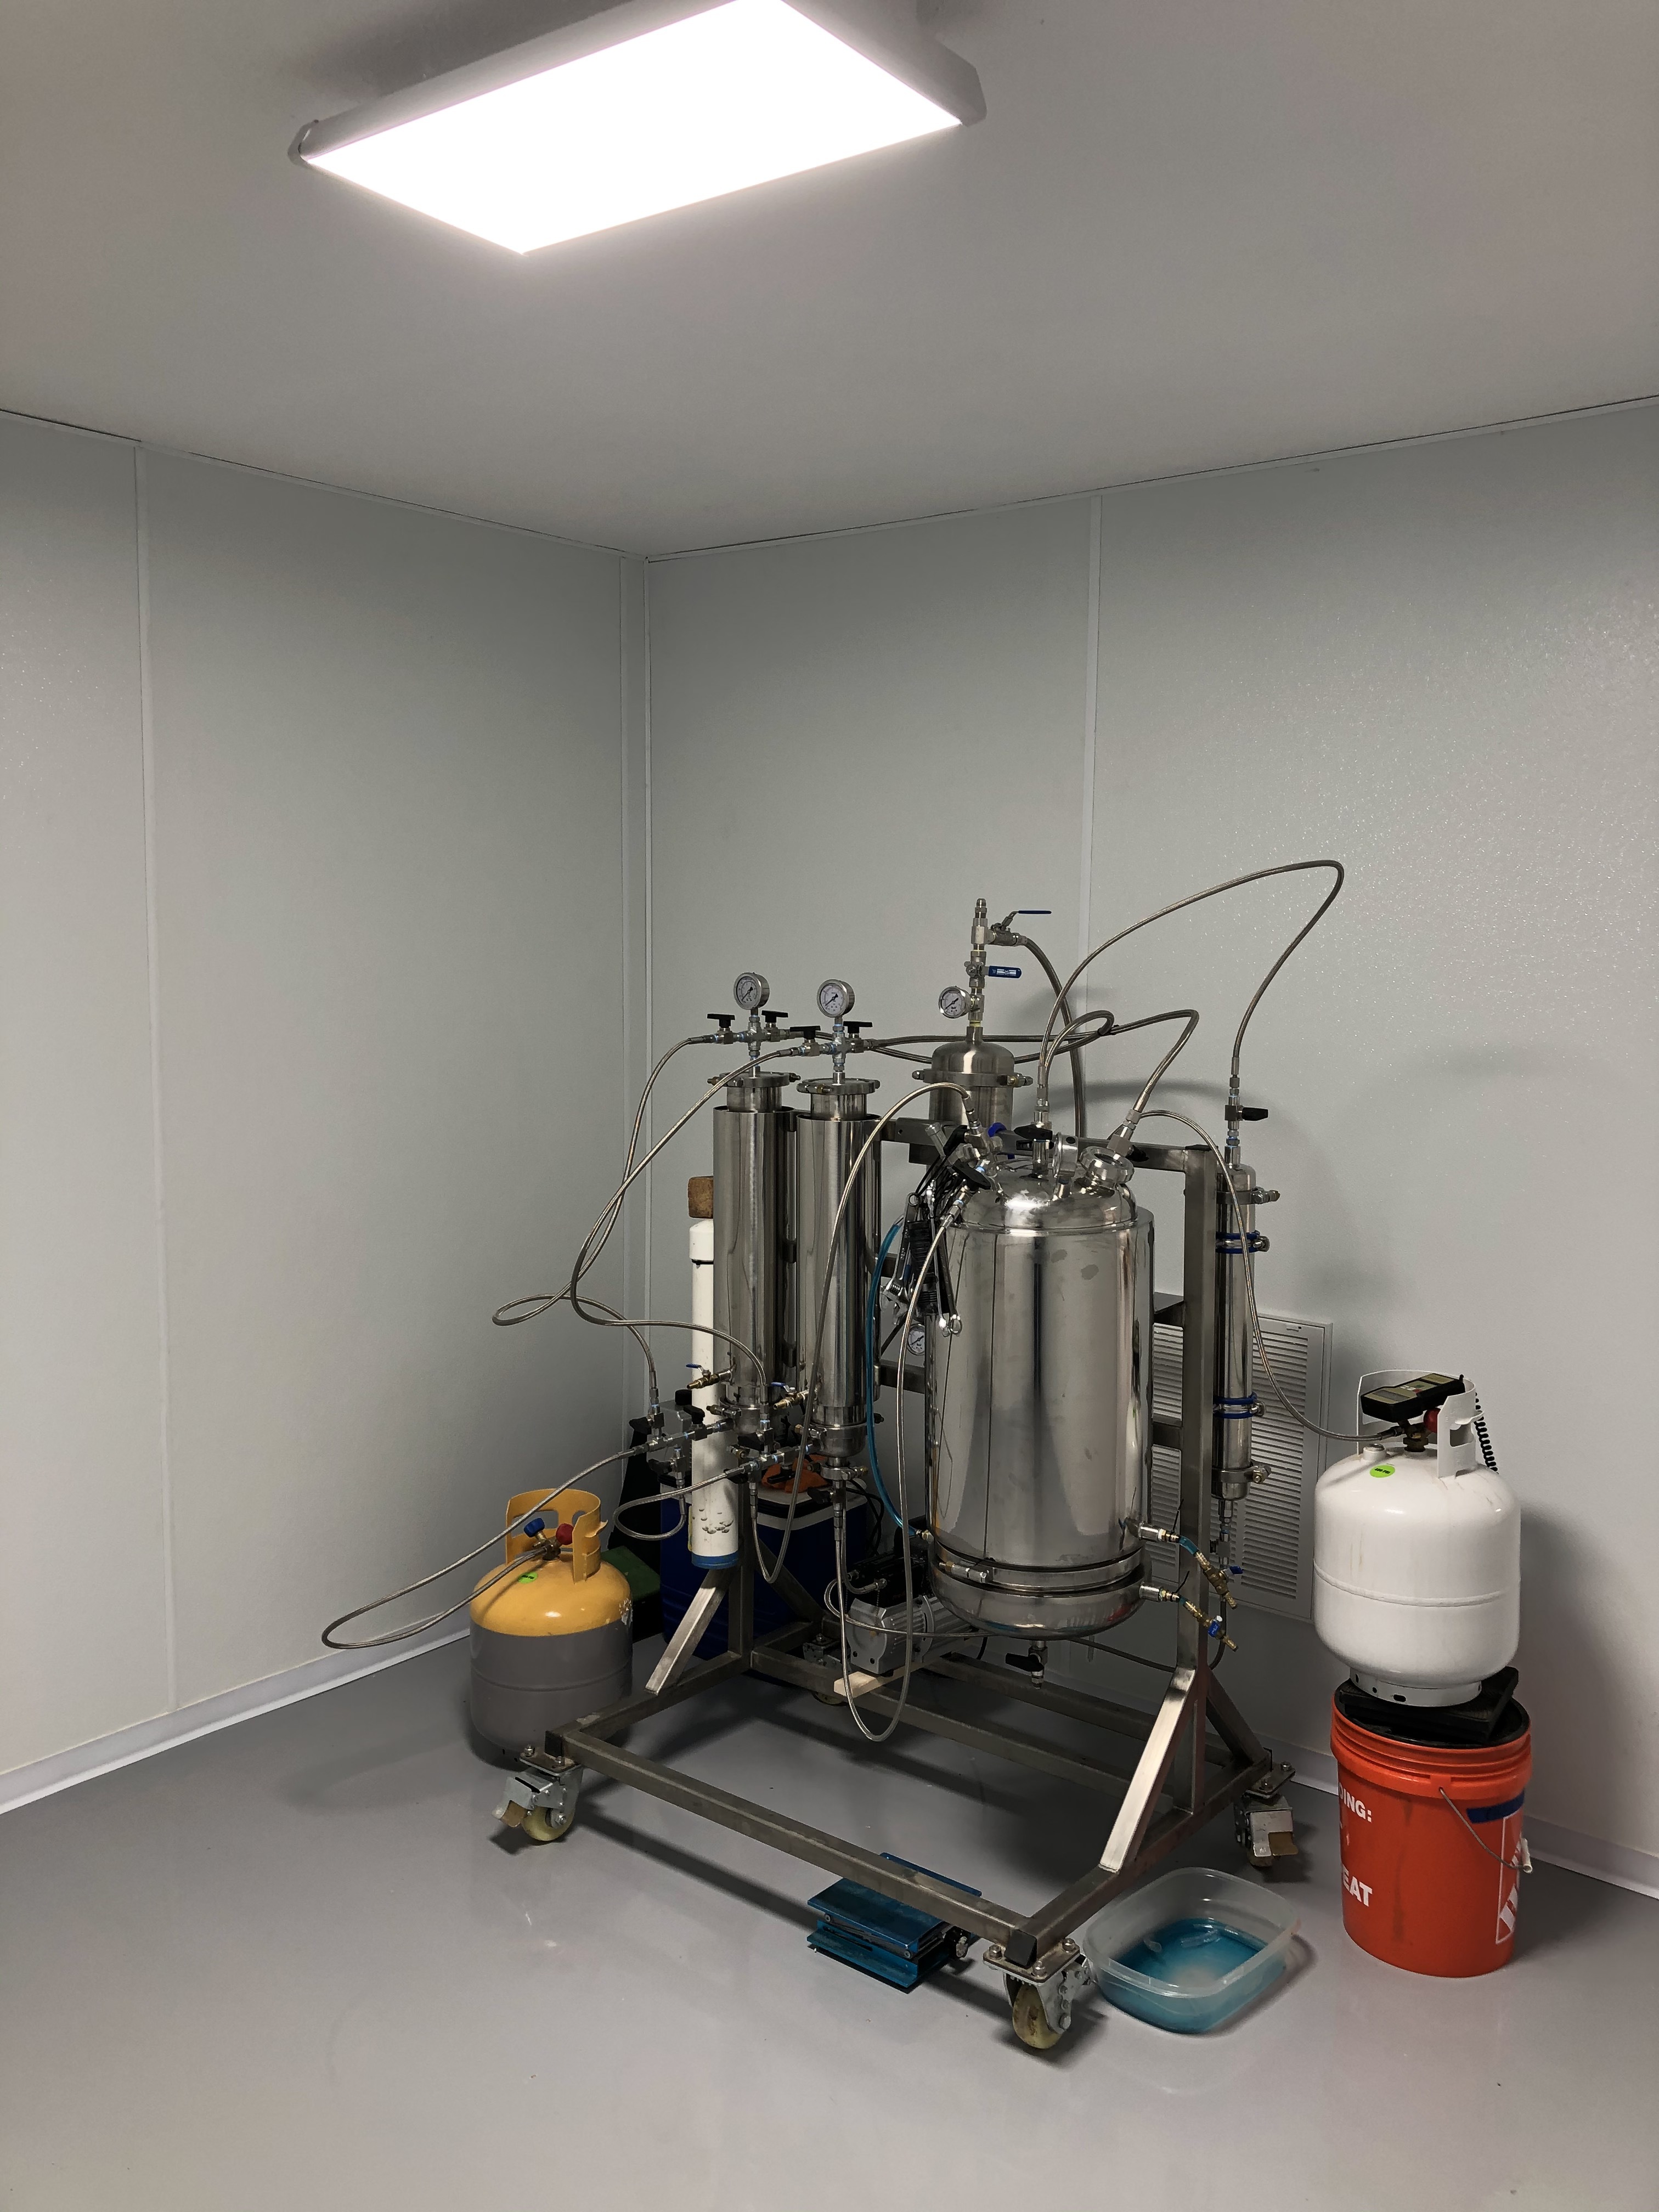
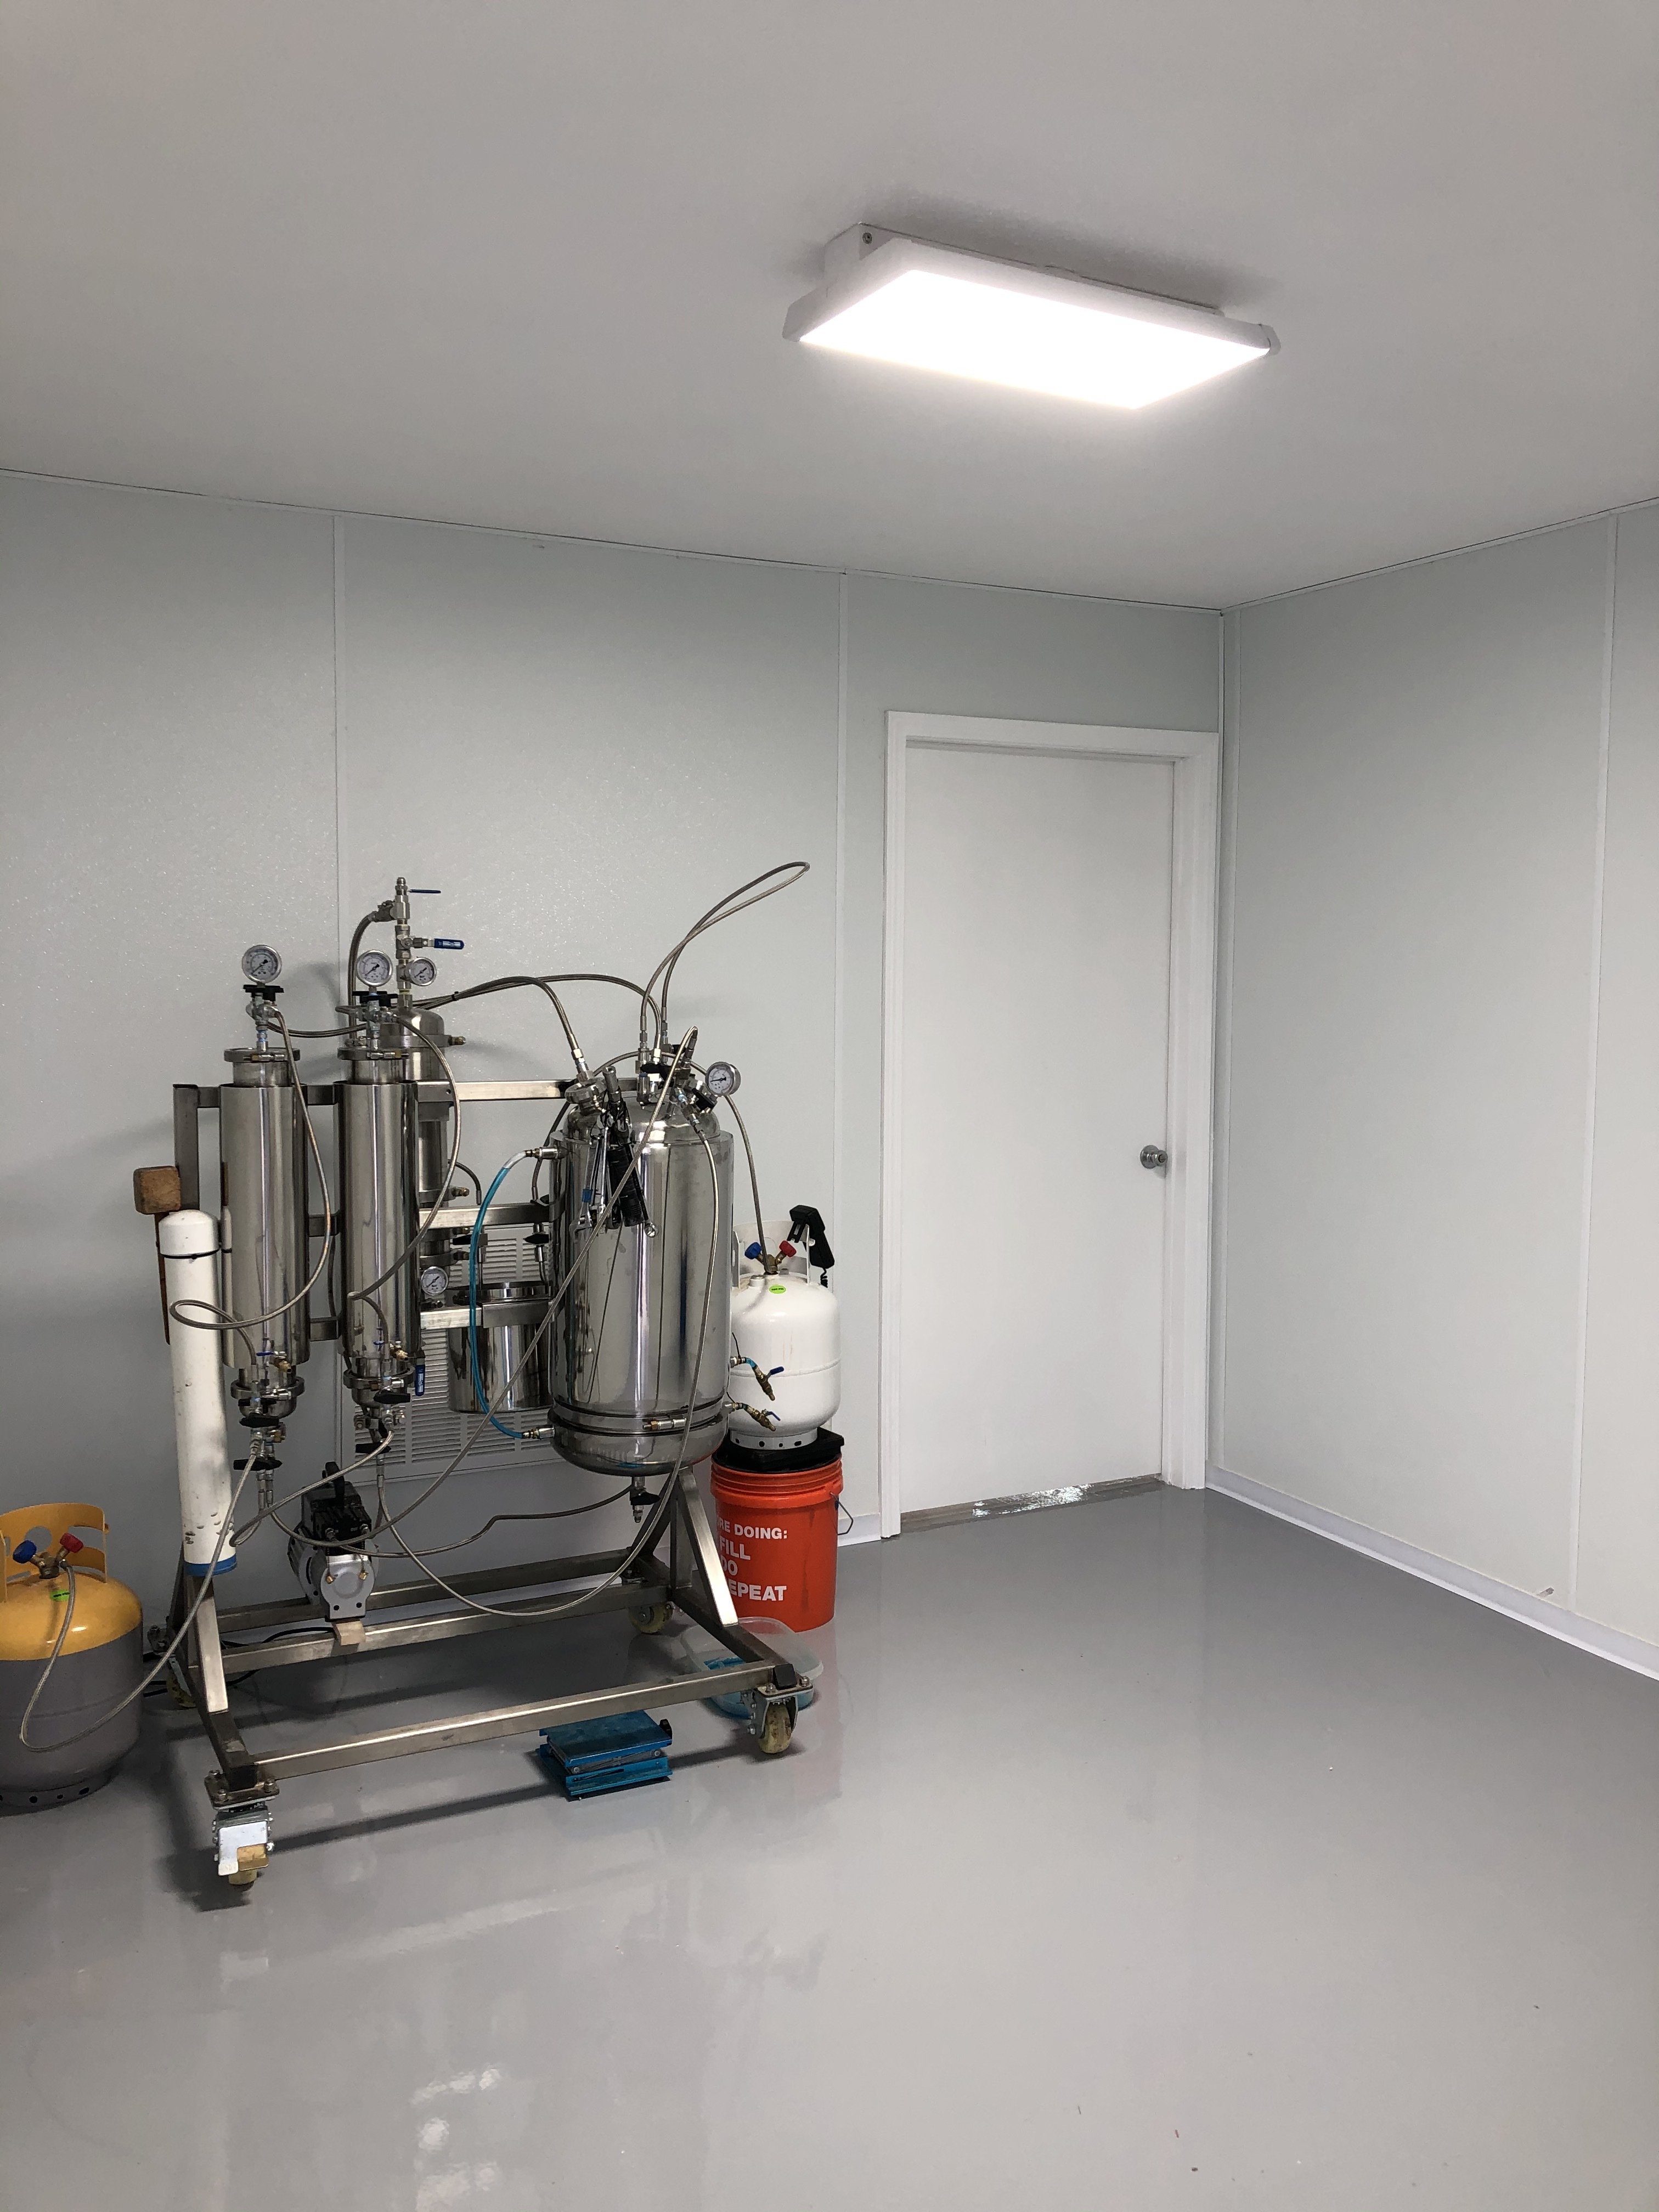
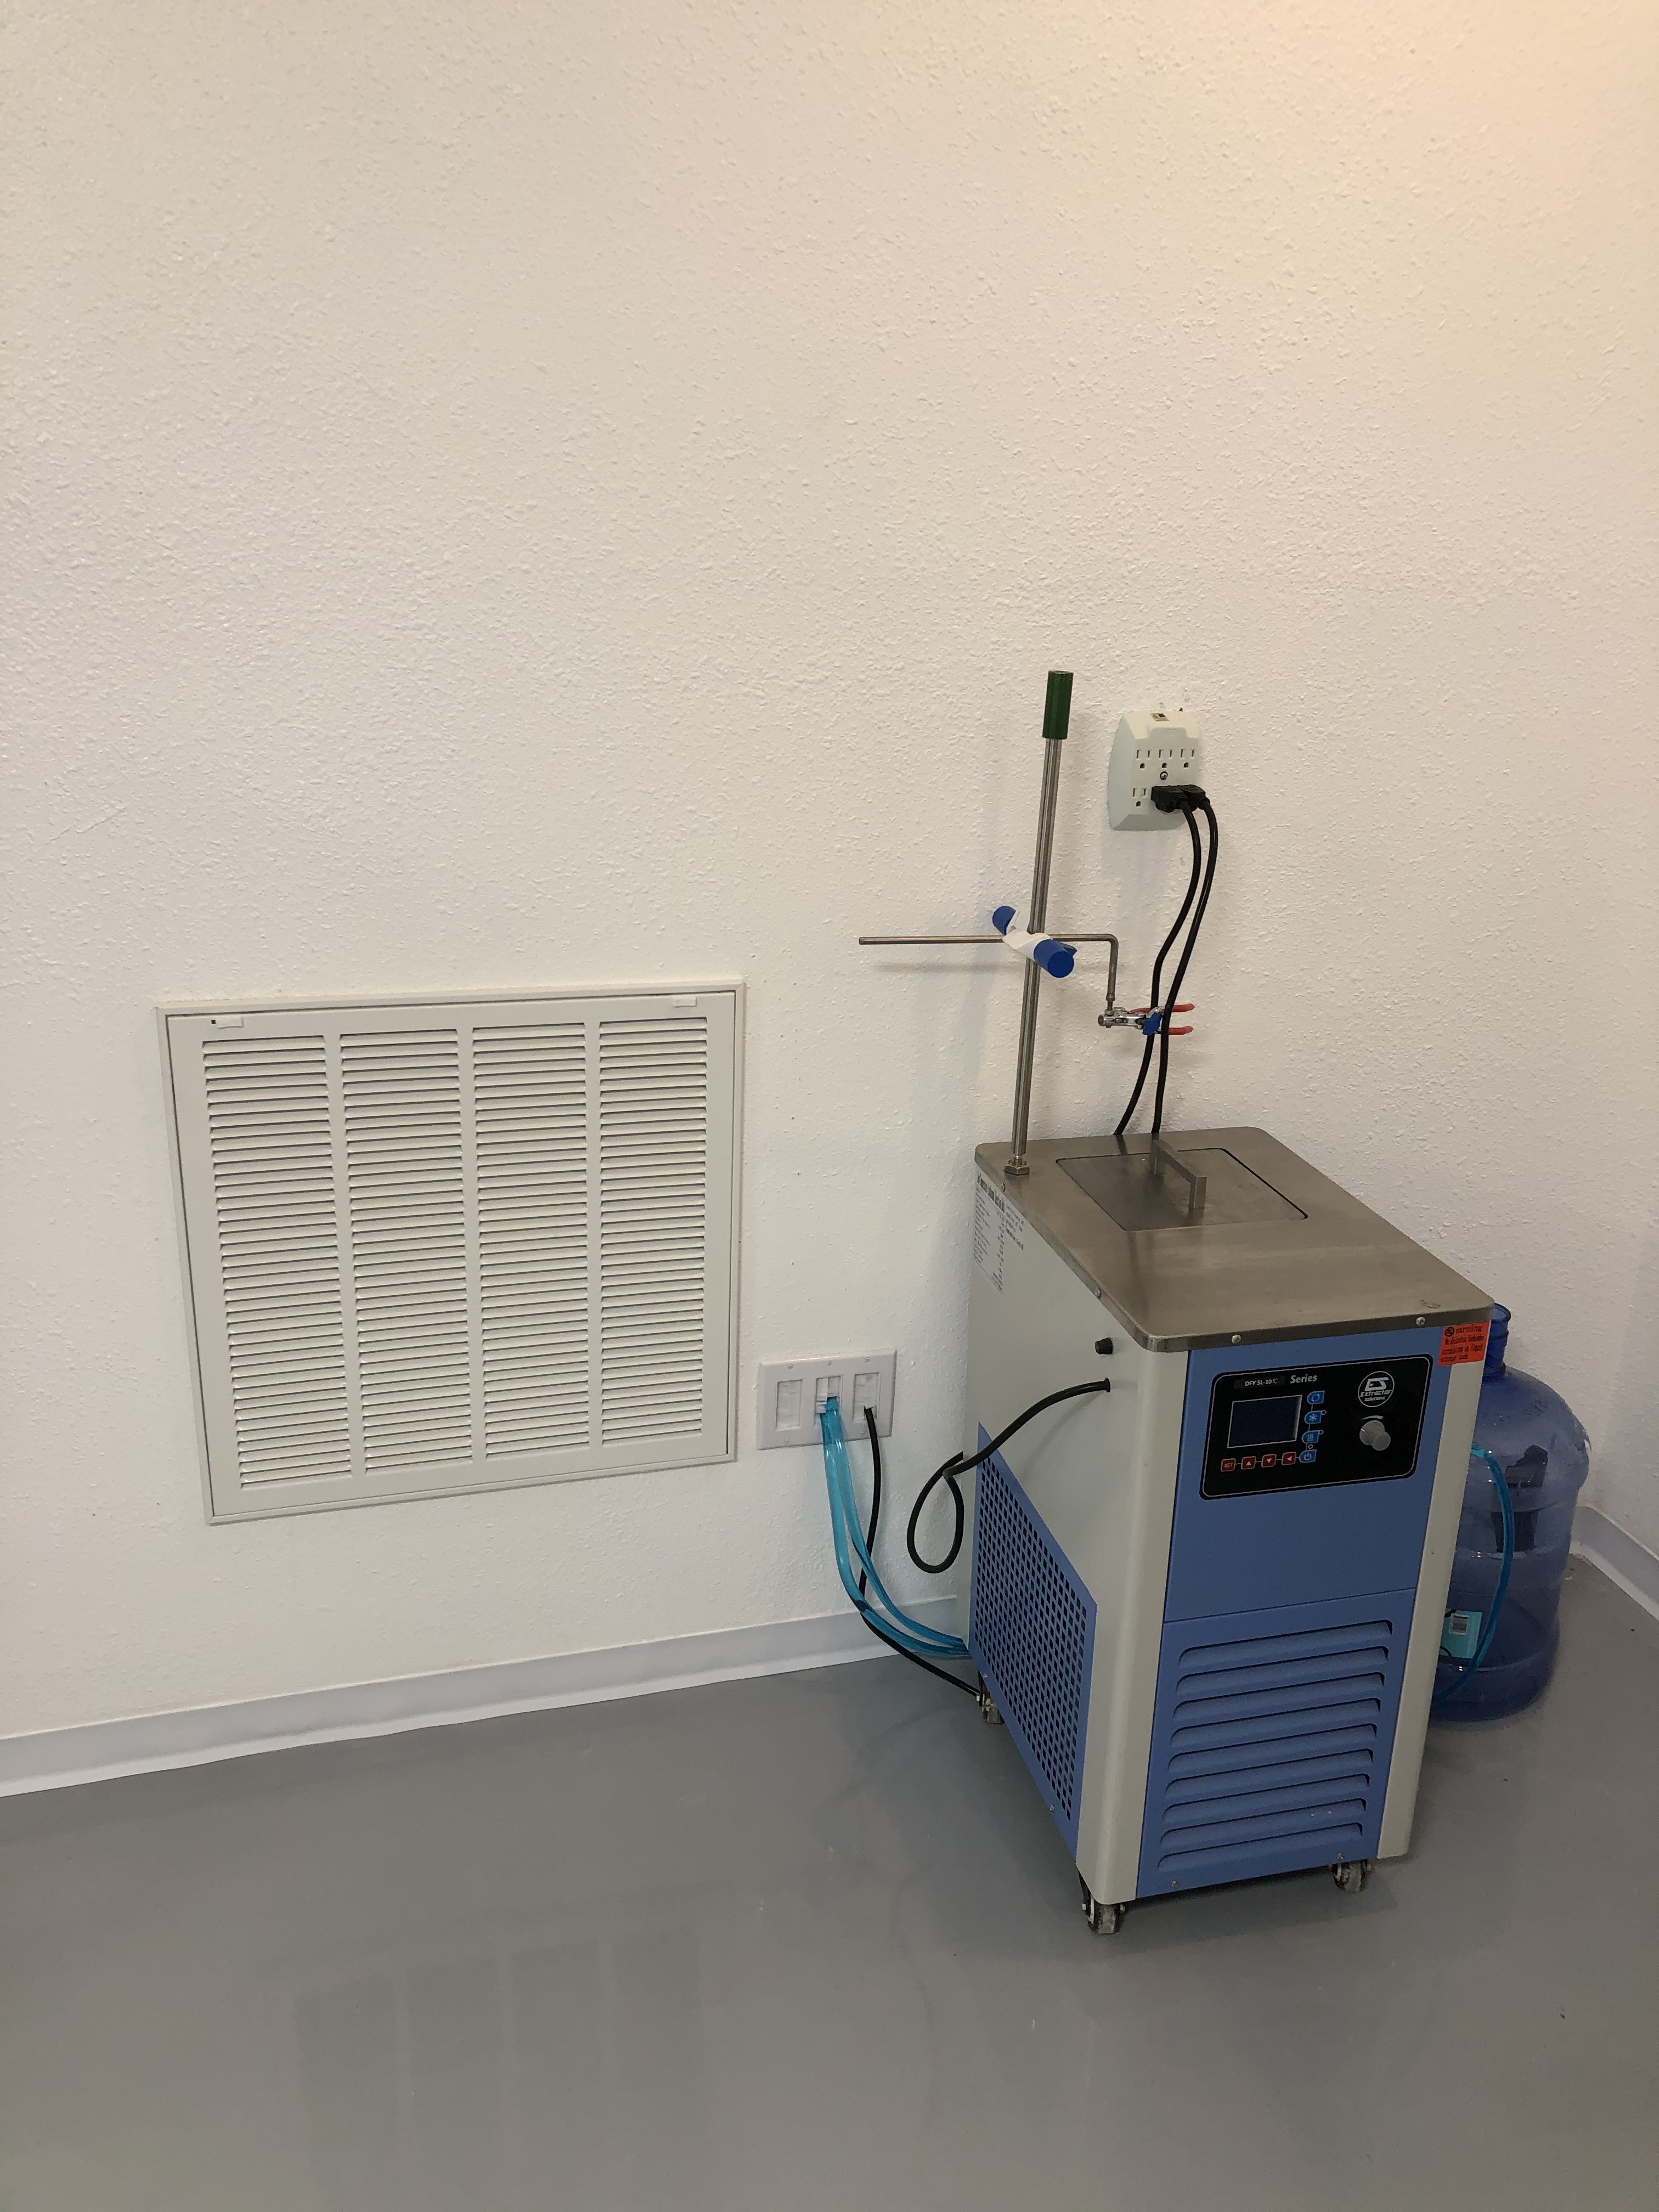
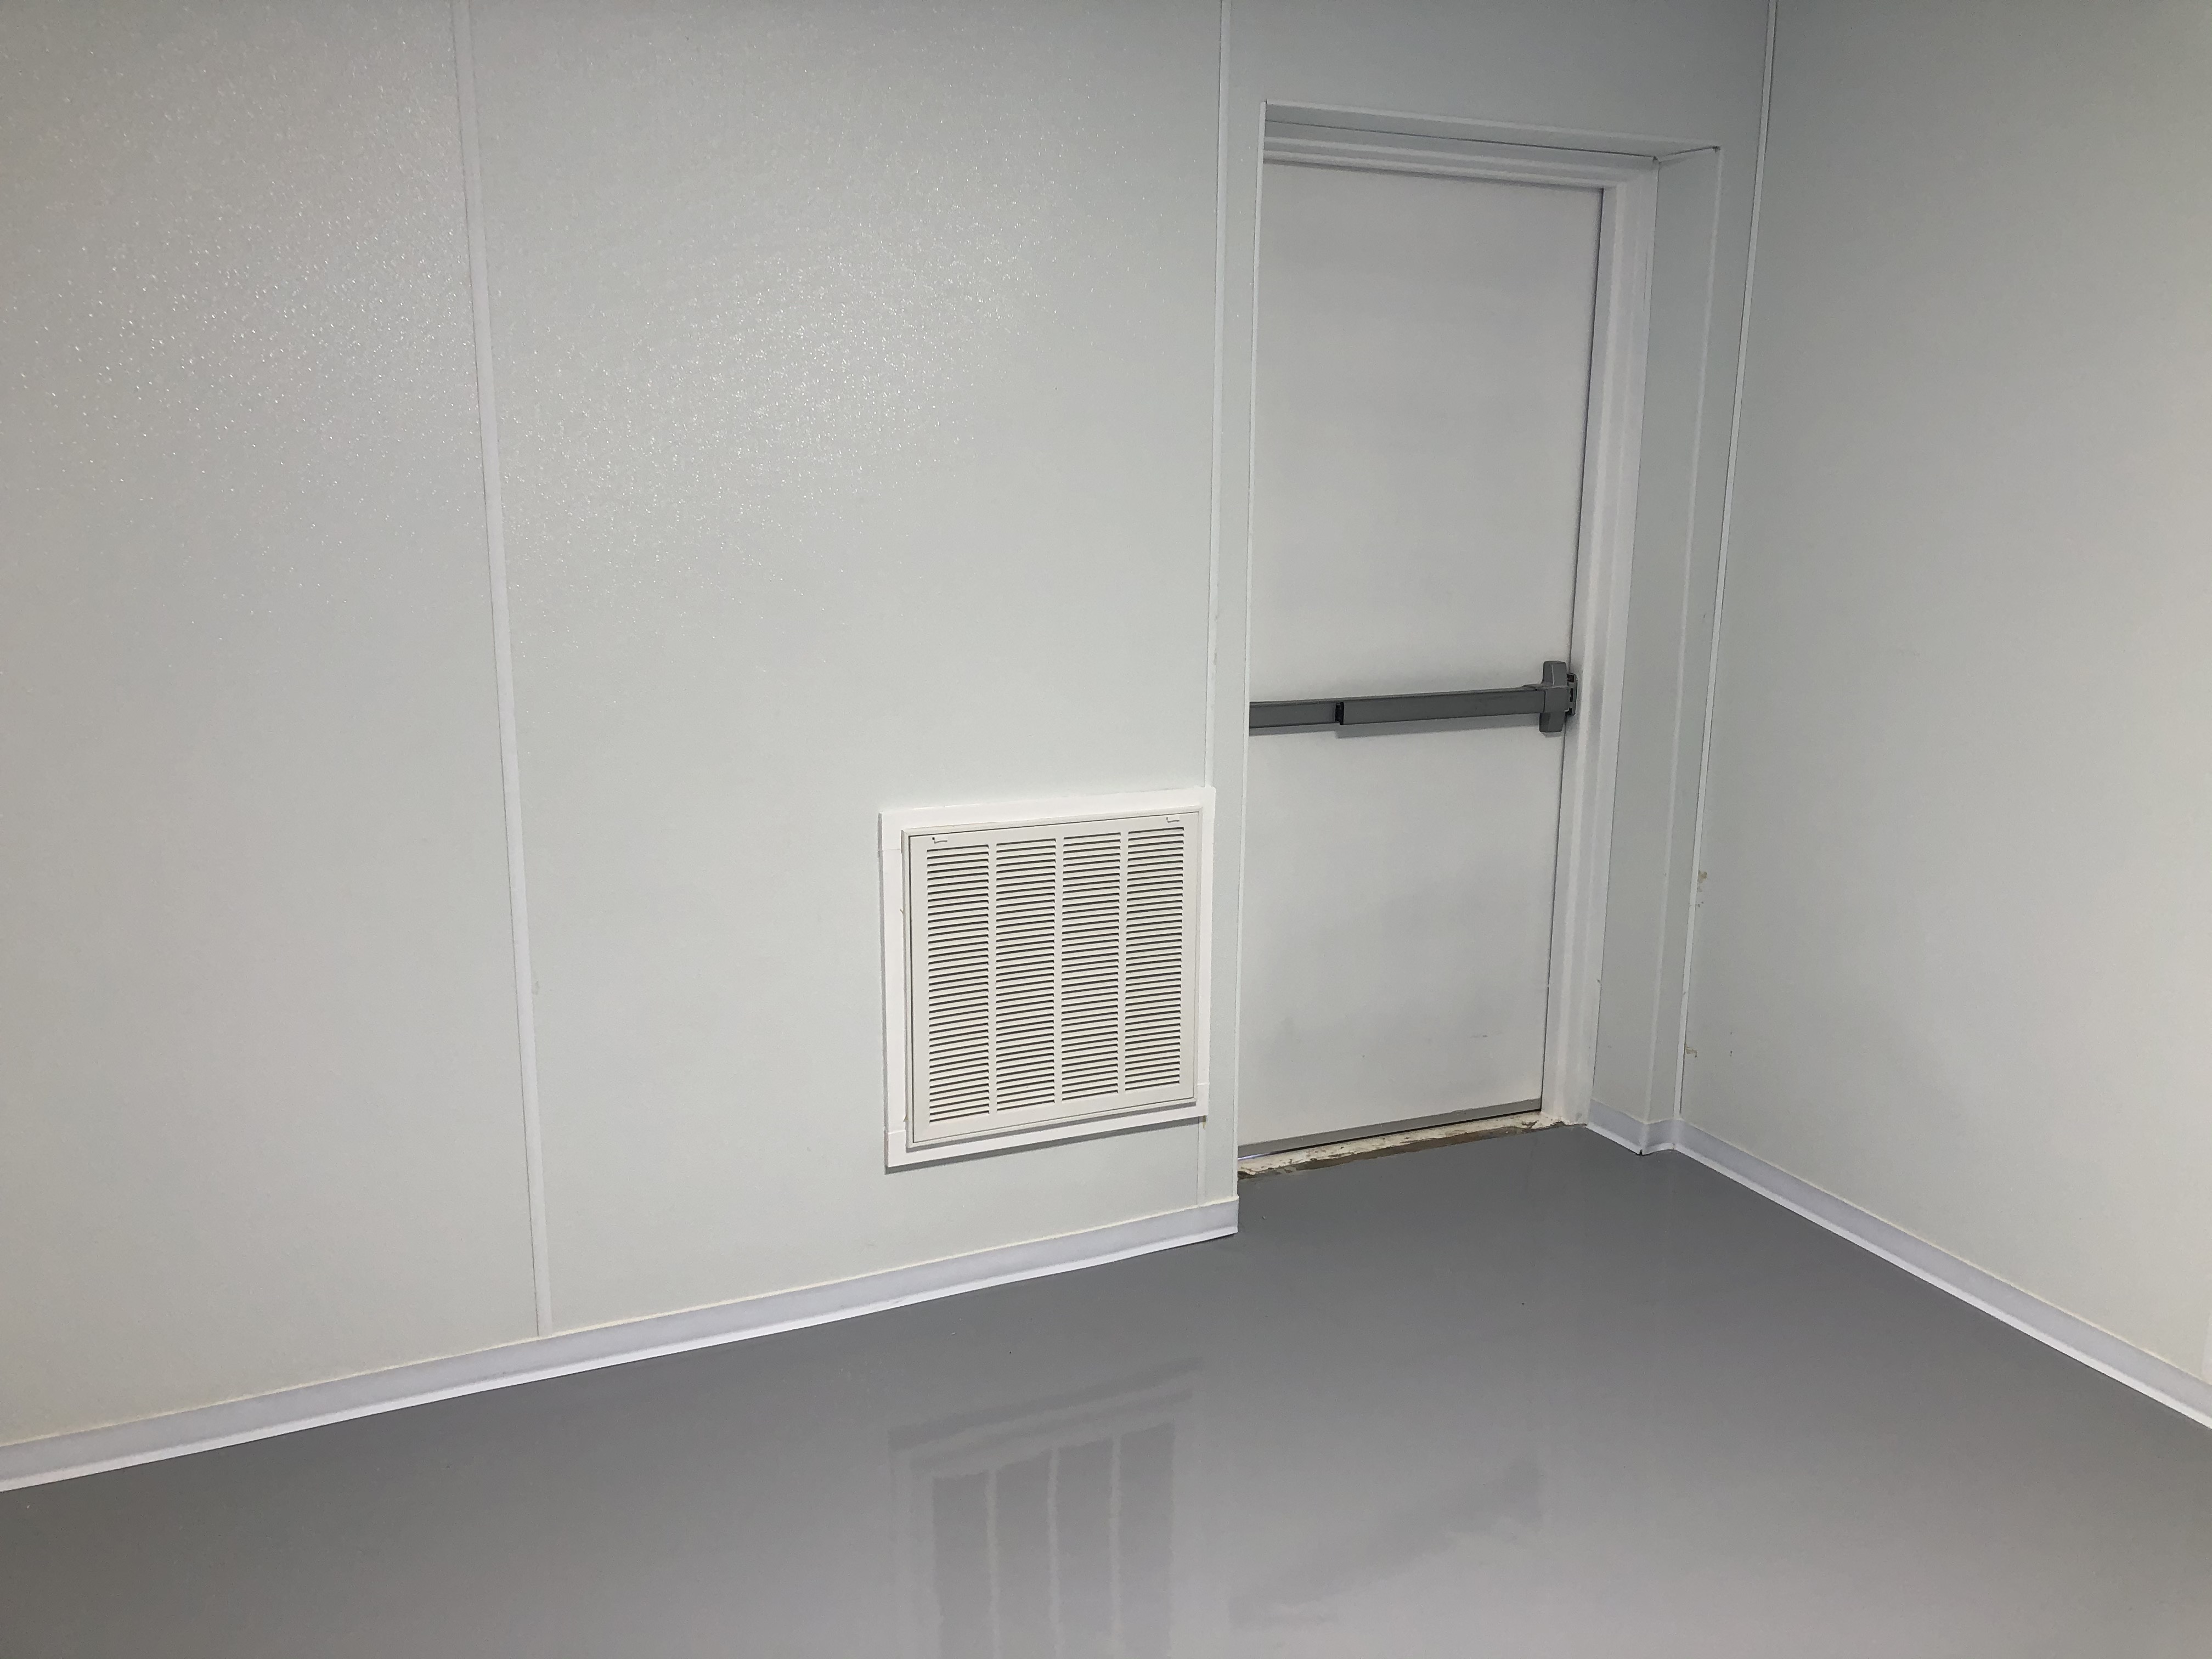
I did get the full-meal deal. Today was move-in day.
3 Likes
Let me know how you like it , id like to het rid of this px1
The hose between your cow and cold trap is way too long
I’ll shorten it up. It was left long while I had it set up at another lab for learning. All my stainless steel tables (15) are being delivered tomorrow and the rest of my equipment is trickling in from vendors. I’ll now officially set everything up in it’s new home and work out those details. I’m using smart plugs and switches so Alexa can help with fans and pumps, etc. So I don’t lay awake at night wondering if I turned everything off. The lab is about 30 minutes from the house. I’m setting all that up today. Should be a fun exercise. Thanks for noticing and saying something.
2 Likes
So excited for you @tdrommond. Everything looks great good luck!
1 Like
Alexa will be listening, that whole thing freaks me out. Im gonna get pop ups just from typing her name
2 Likes
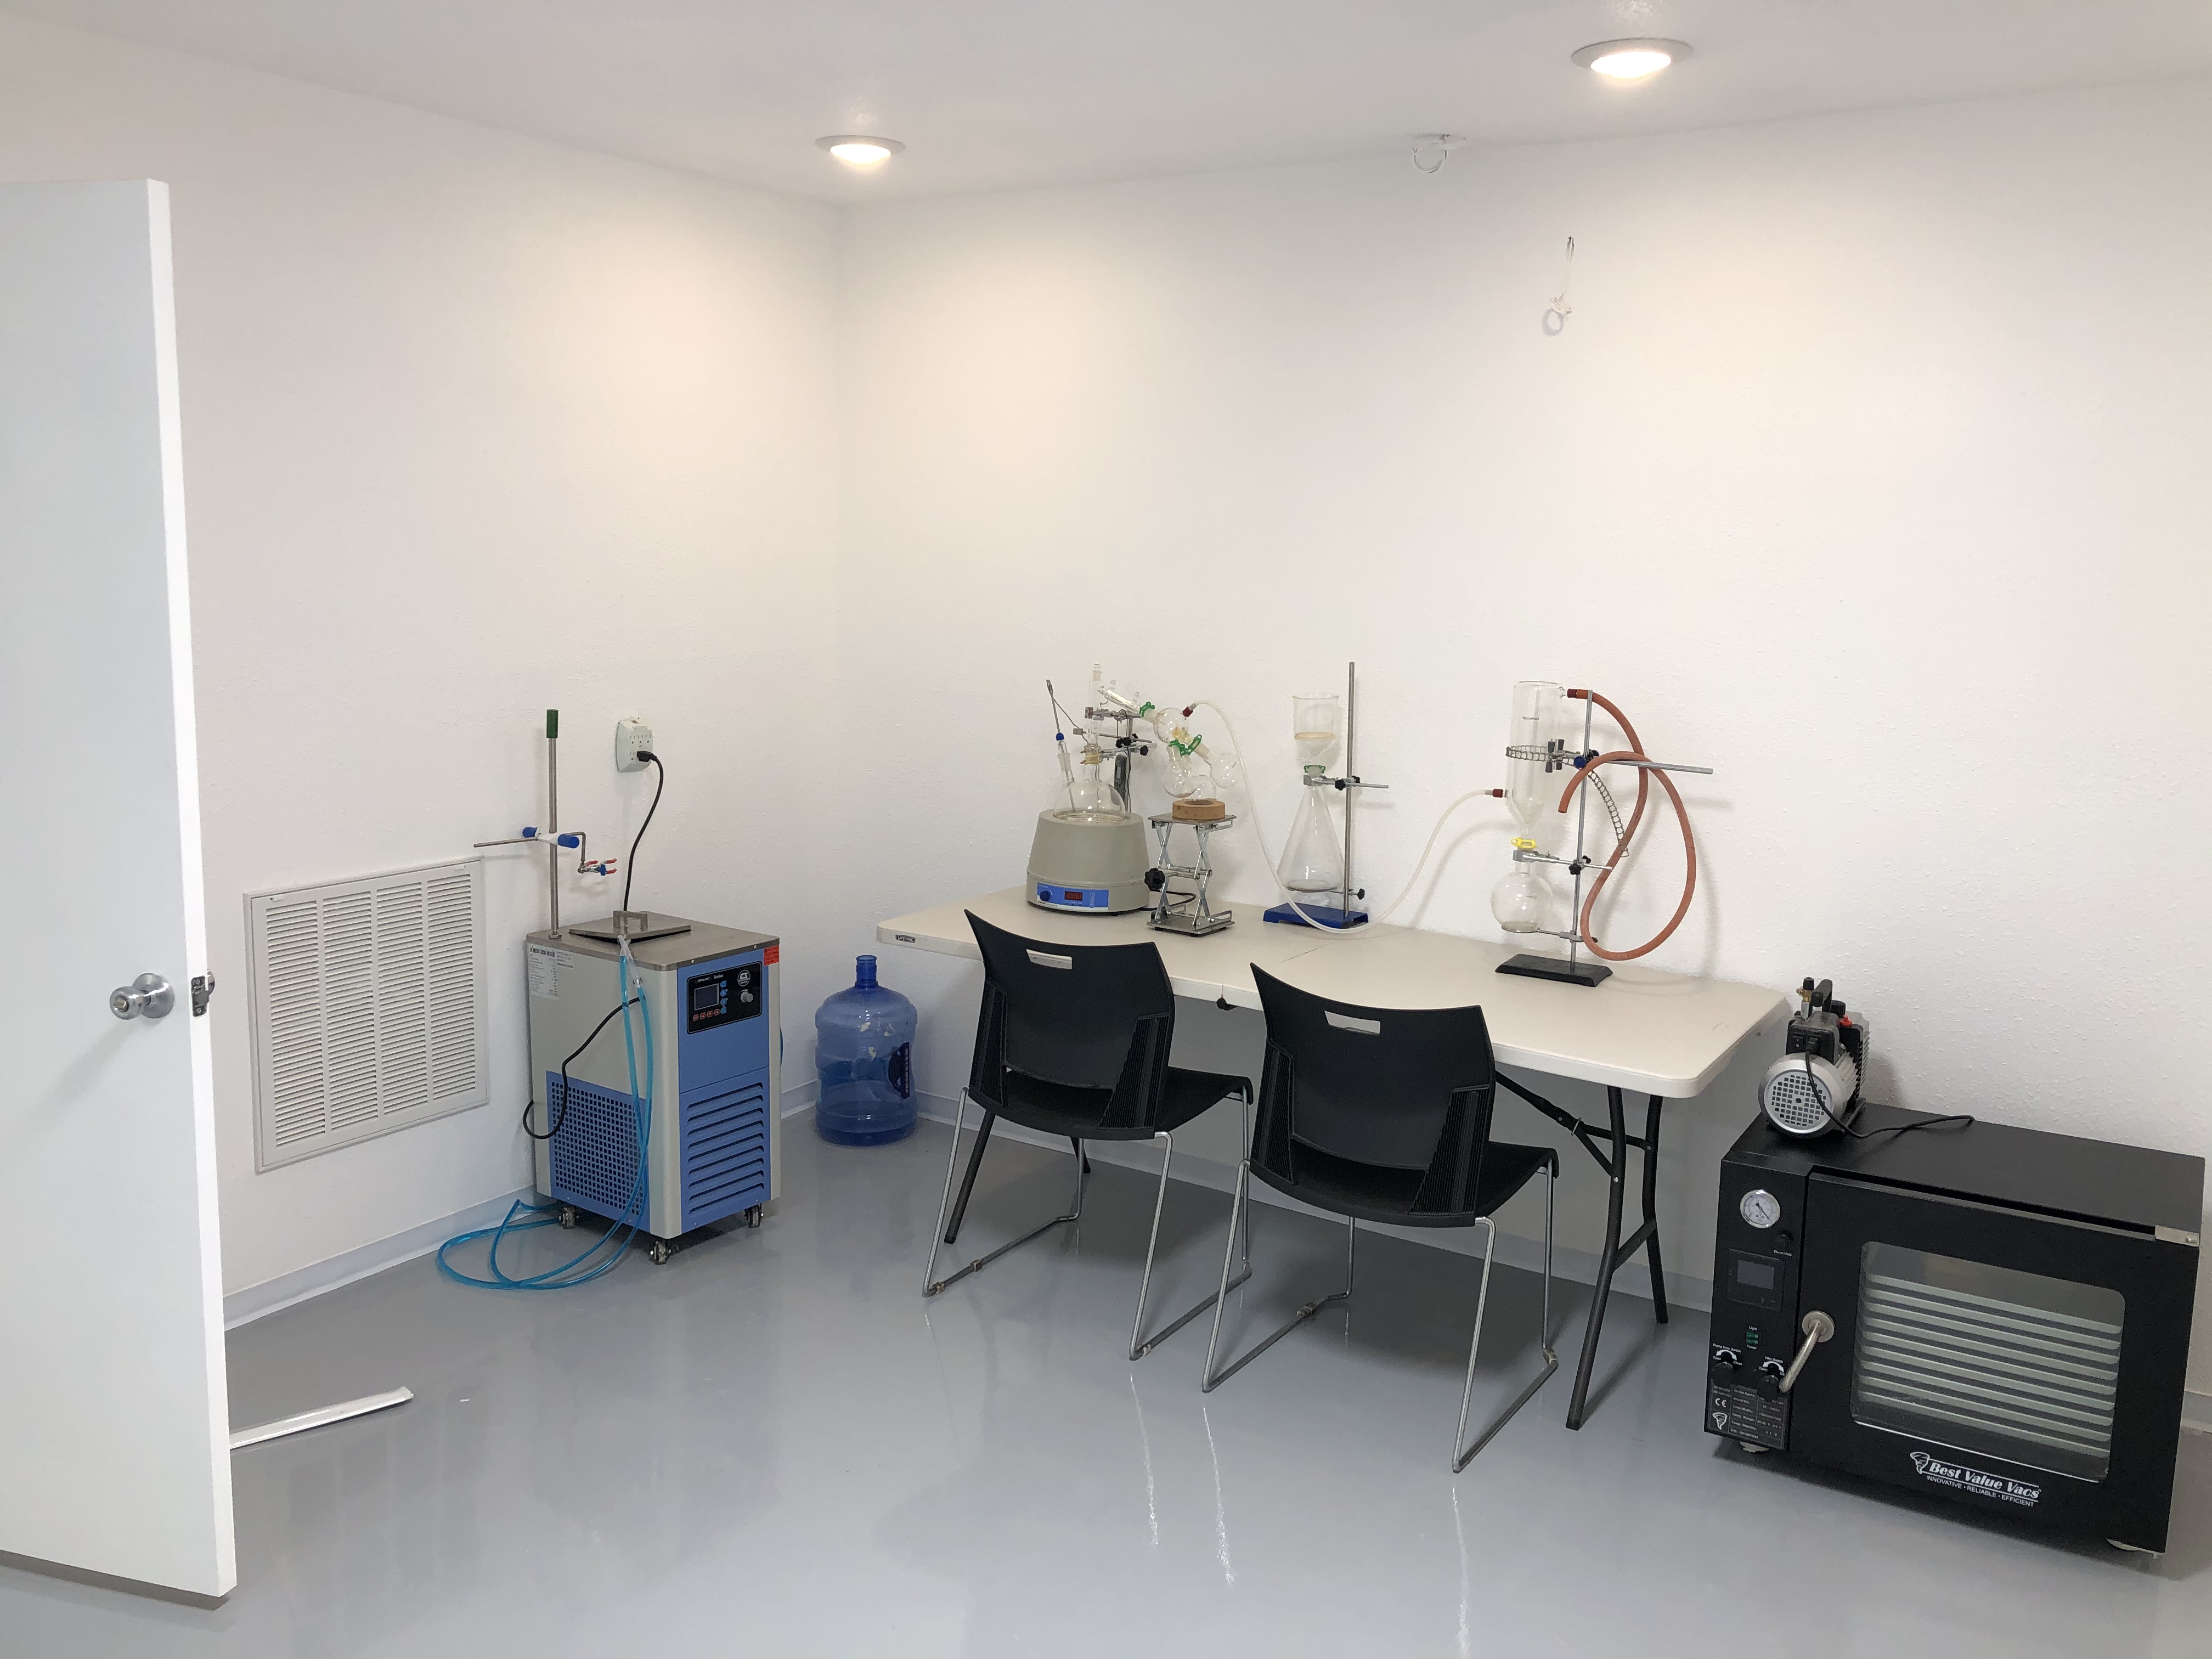
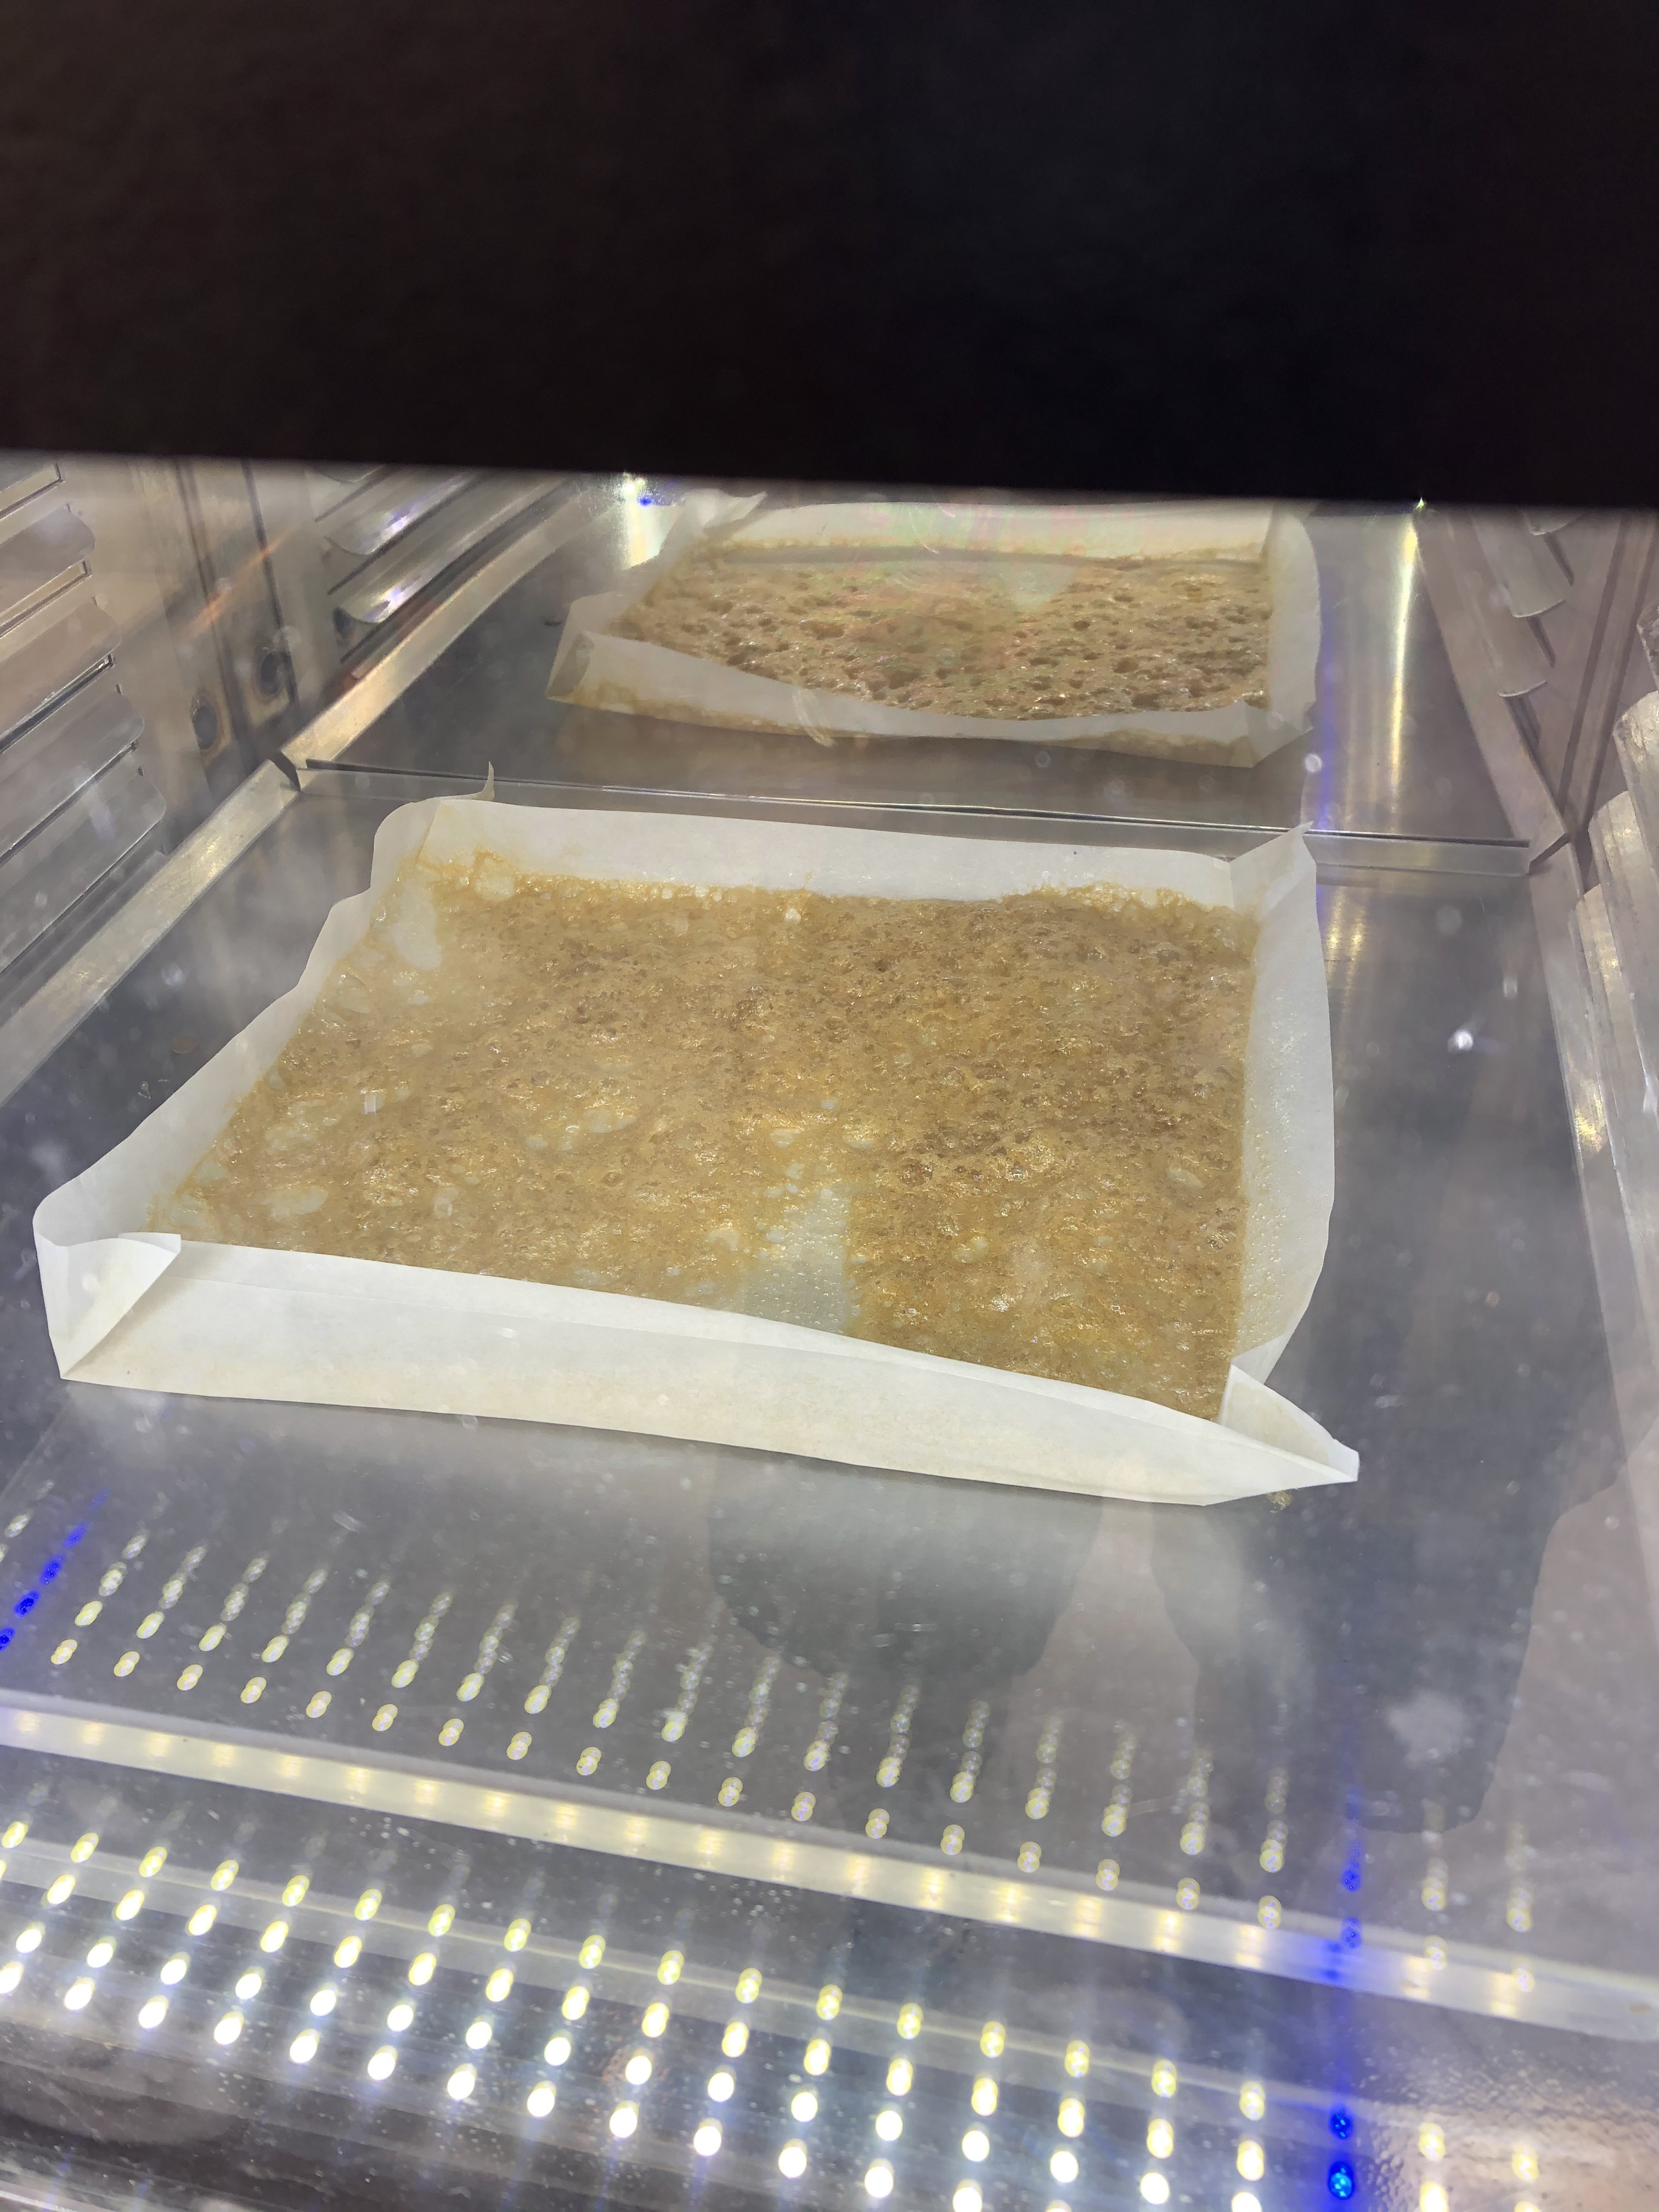
First shake-down run complete. Some fresh frozen that’s been waiting patiently. It’ll be a few more days of Tetris as I get things set.
I’ve got the same vessel and same issue.
I’m going to add a falling film on the injection into the collection vessel. I added a 2” ferrule to the center.
I’m using a 52 kw heater set to 85 and am still having a bitch of a time getting enough vapor pressure.
Falling film evap on the top
1 Like
I’m telling you this because I love you. More ventilation.
4 Likes
I didn’t understand your comment. Could you be a little more clear? A photo might help.
Jeez, your place is so clean your pics almost look like a 3d rendering
1 Like