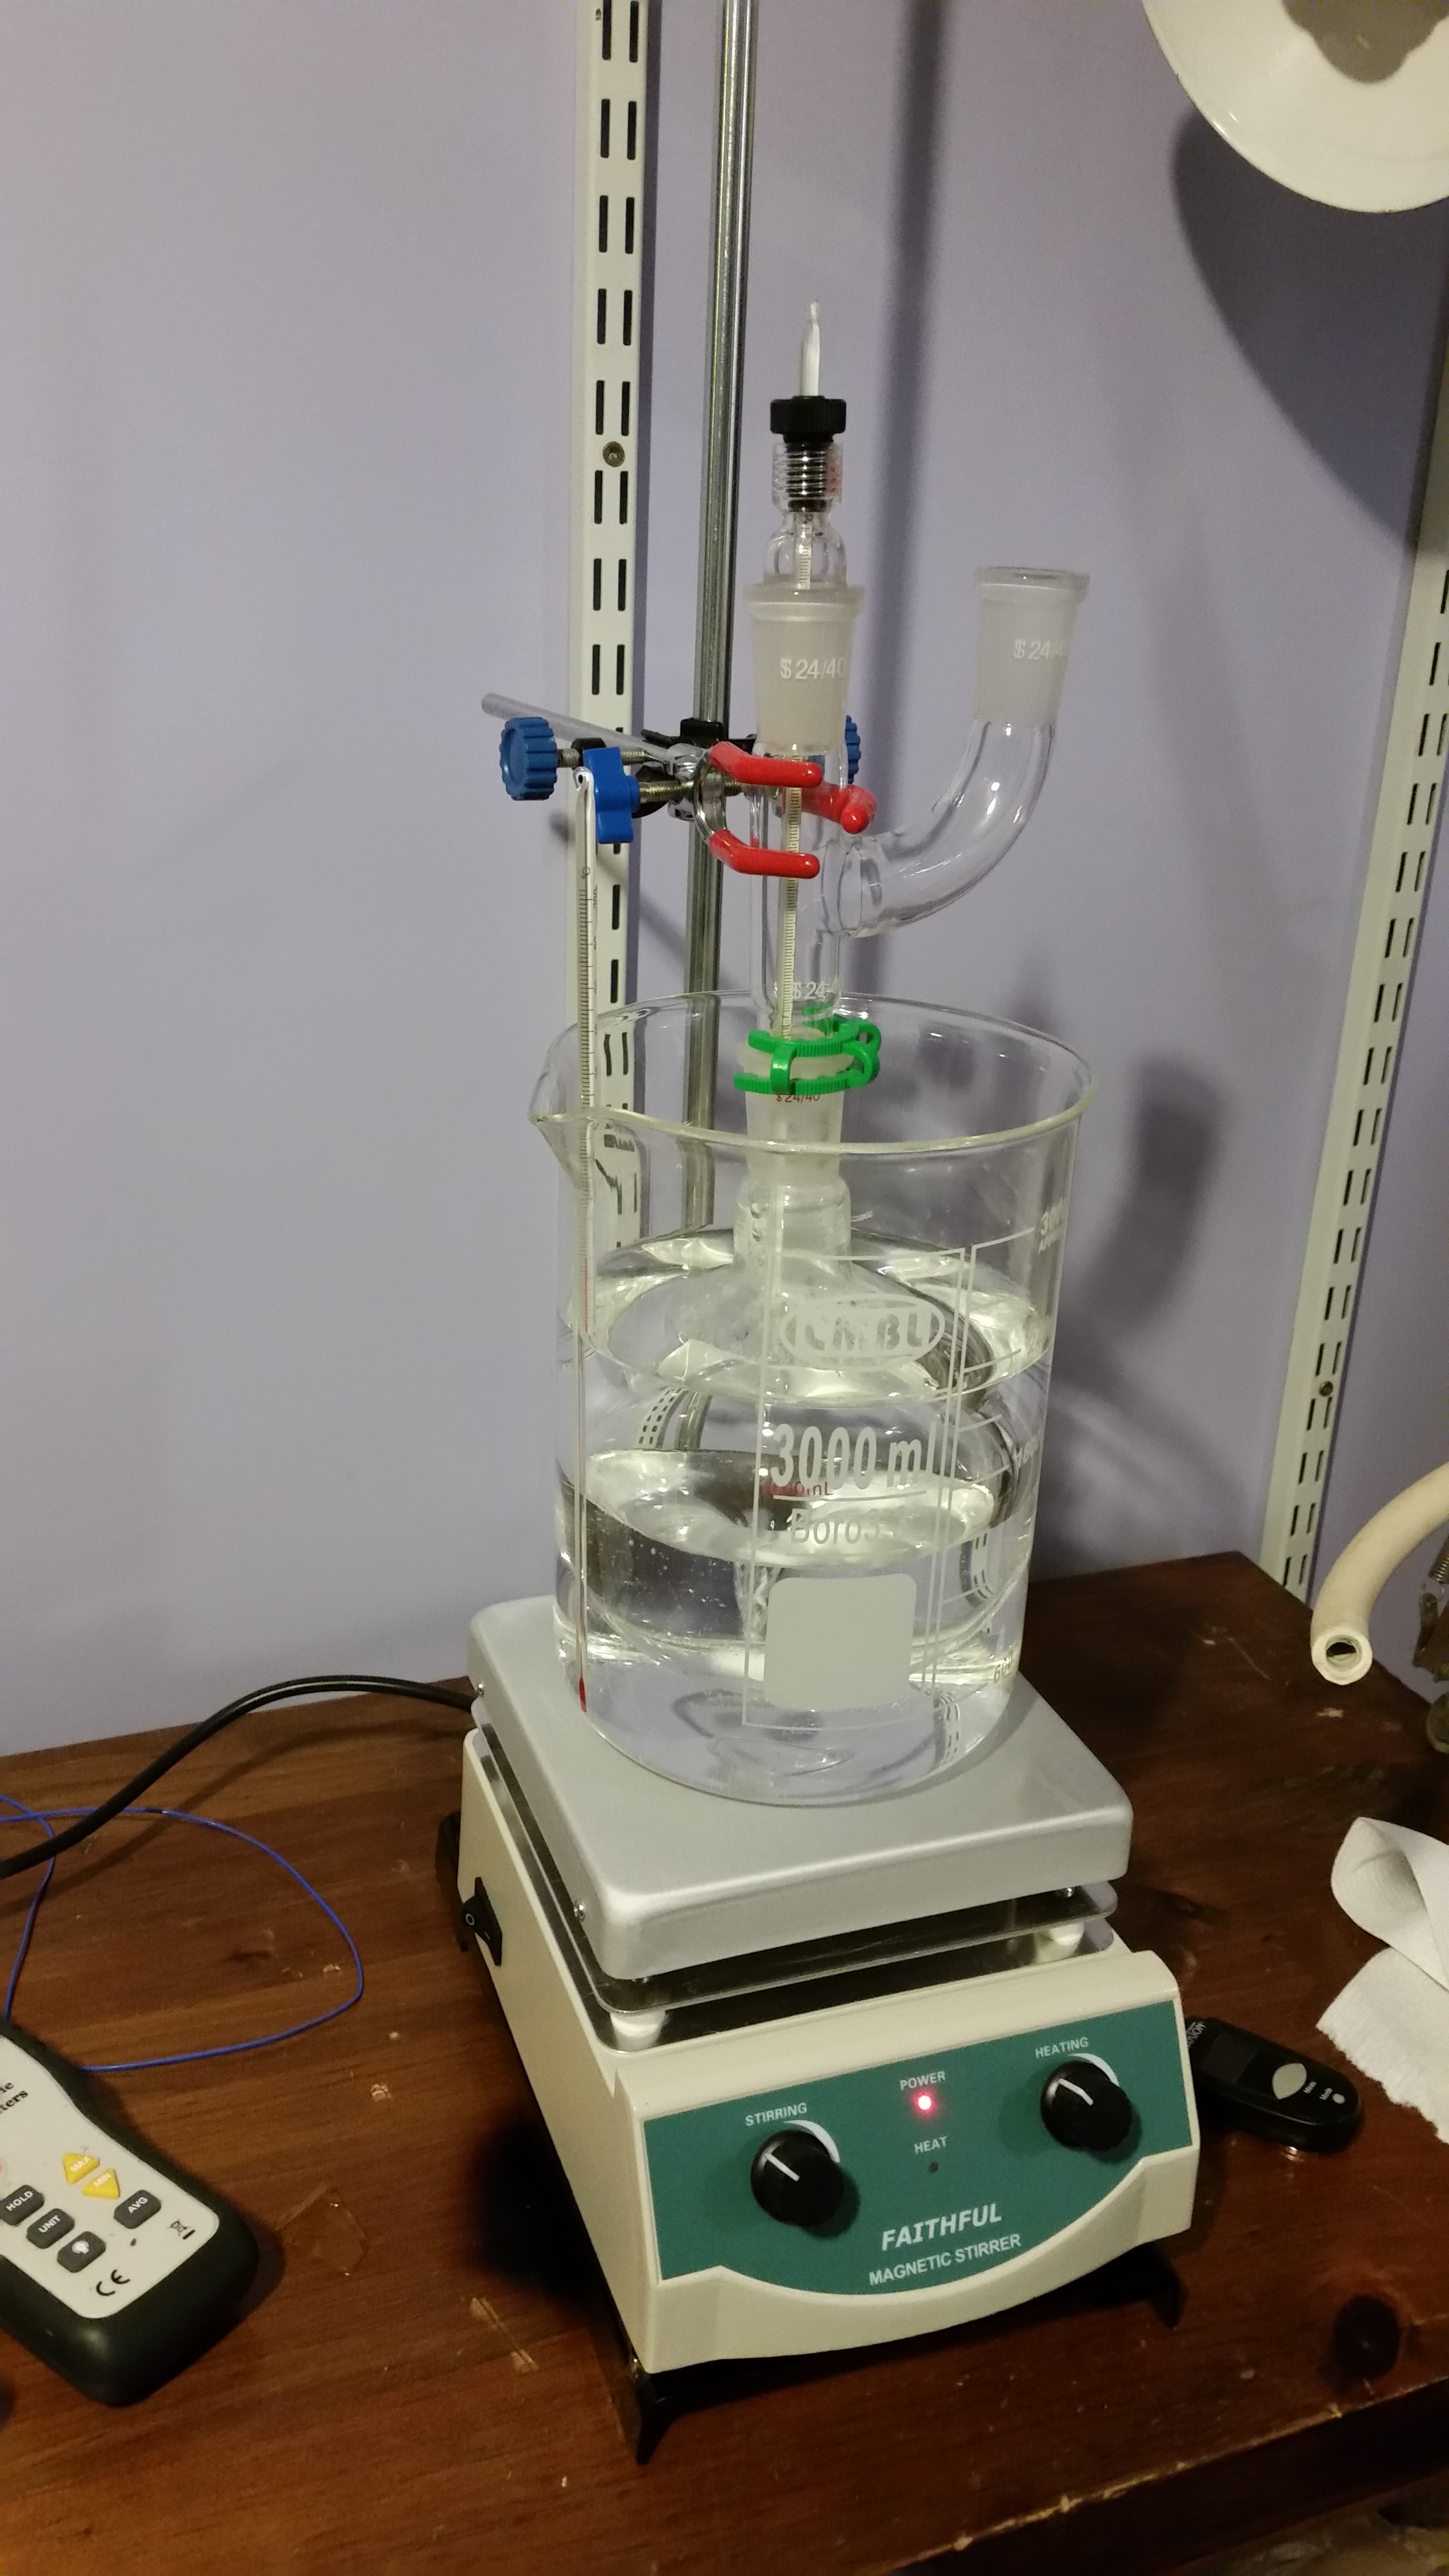
Ok, ok, I’ve been waiting for my glass to test this out but it seems to be pretty good. This is my initial mock-up, tonight I’m going to try running it.
I tried using a stirbar both in the beaker and the flask but I must not have the right sizes to work properly in that fashion, with just a stirbar in the flask it works great and the temp of the water only differs by 2 deg F from the bottom of the flask to a few mm below the water surface.
The temps were easy to keep consistent and I think it will be a step up over using a heating mantle. With a heating mantle I always get inconsistent recovery times. Lately I have been using heating tapes attached to the boiling flask with kapton tape (which has been better than the heating mantle…).
If you ever recovered before you had a 50 liter roto you might have used a heating mantle with a boiling flask. Using a heating mantle sort of sucks. It heats the bottom of the flask up and unevenly at that.
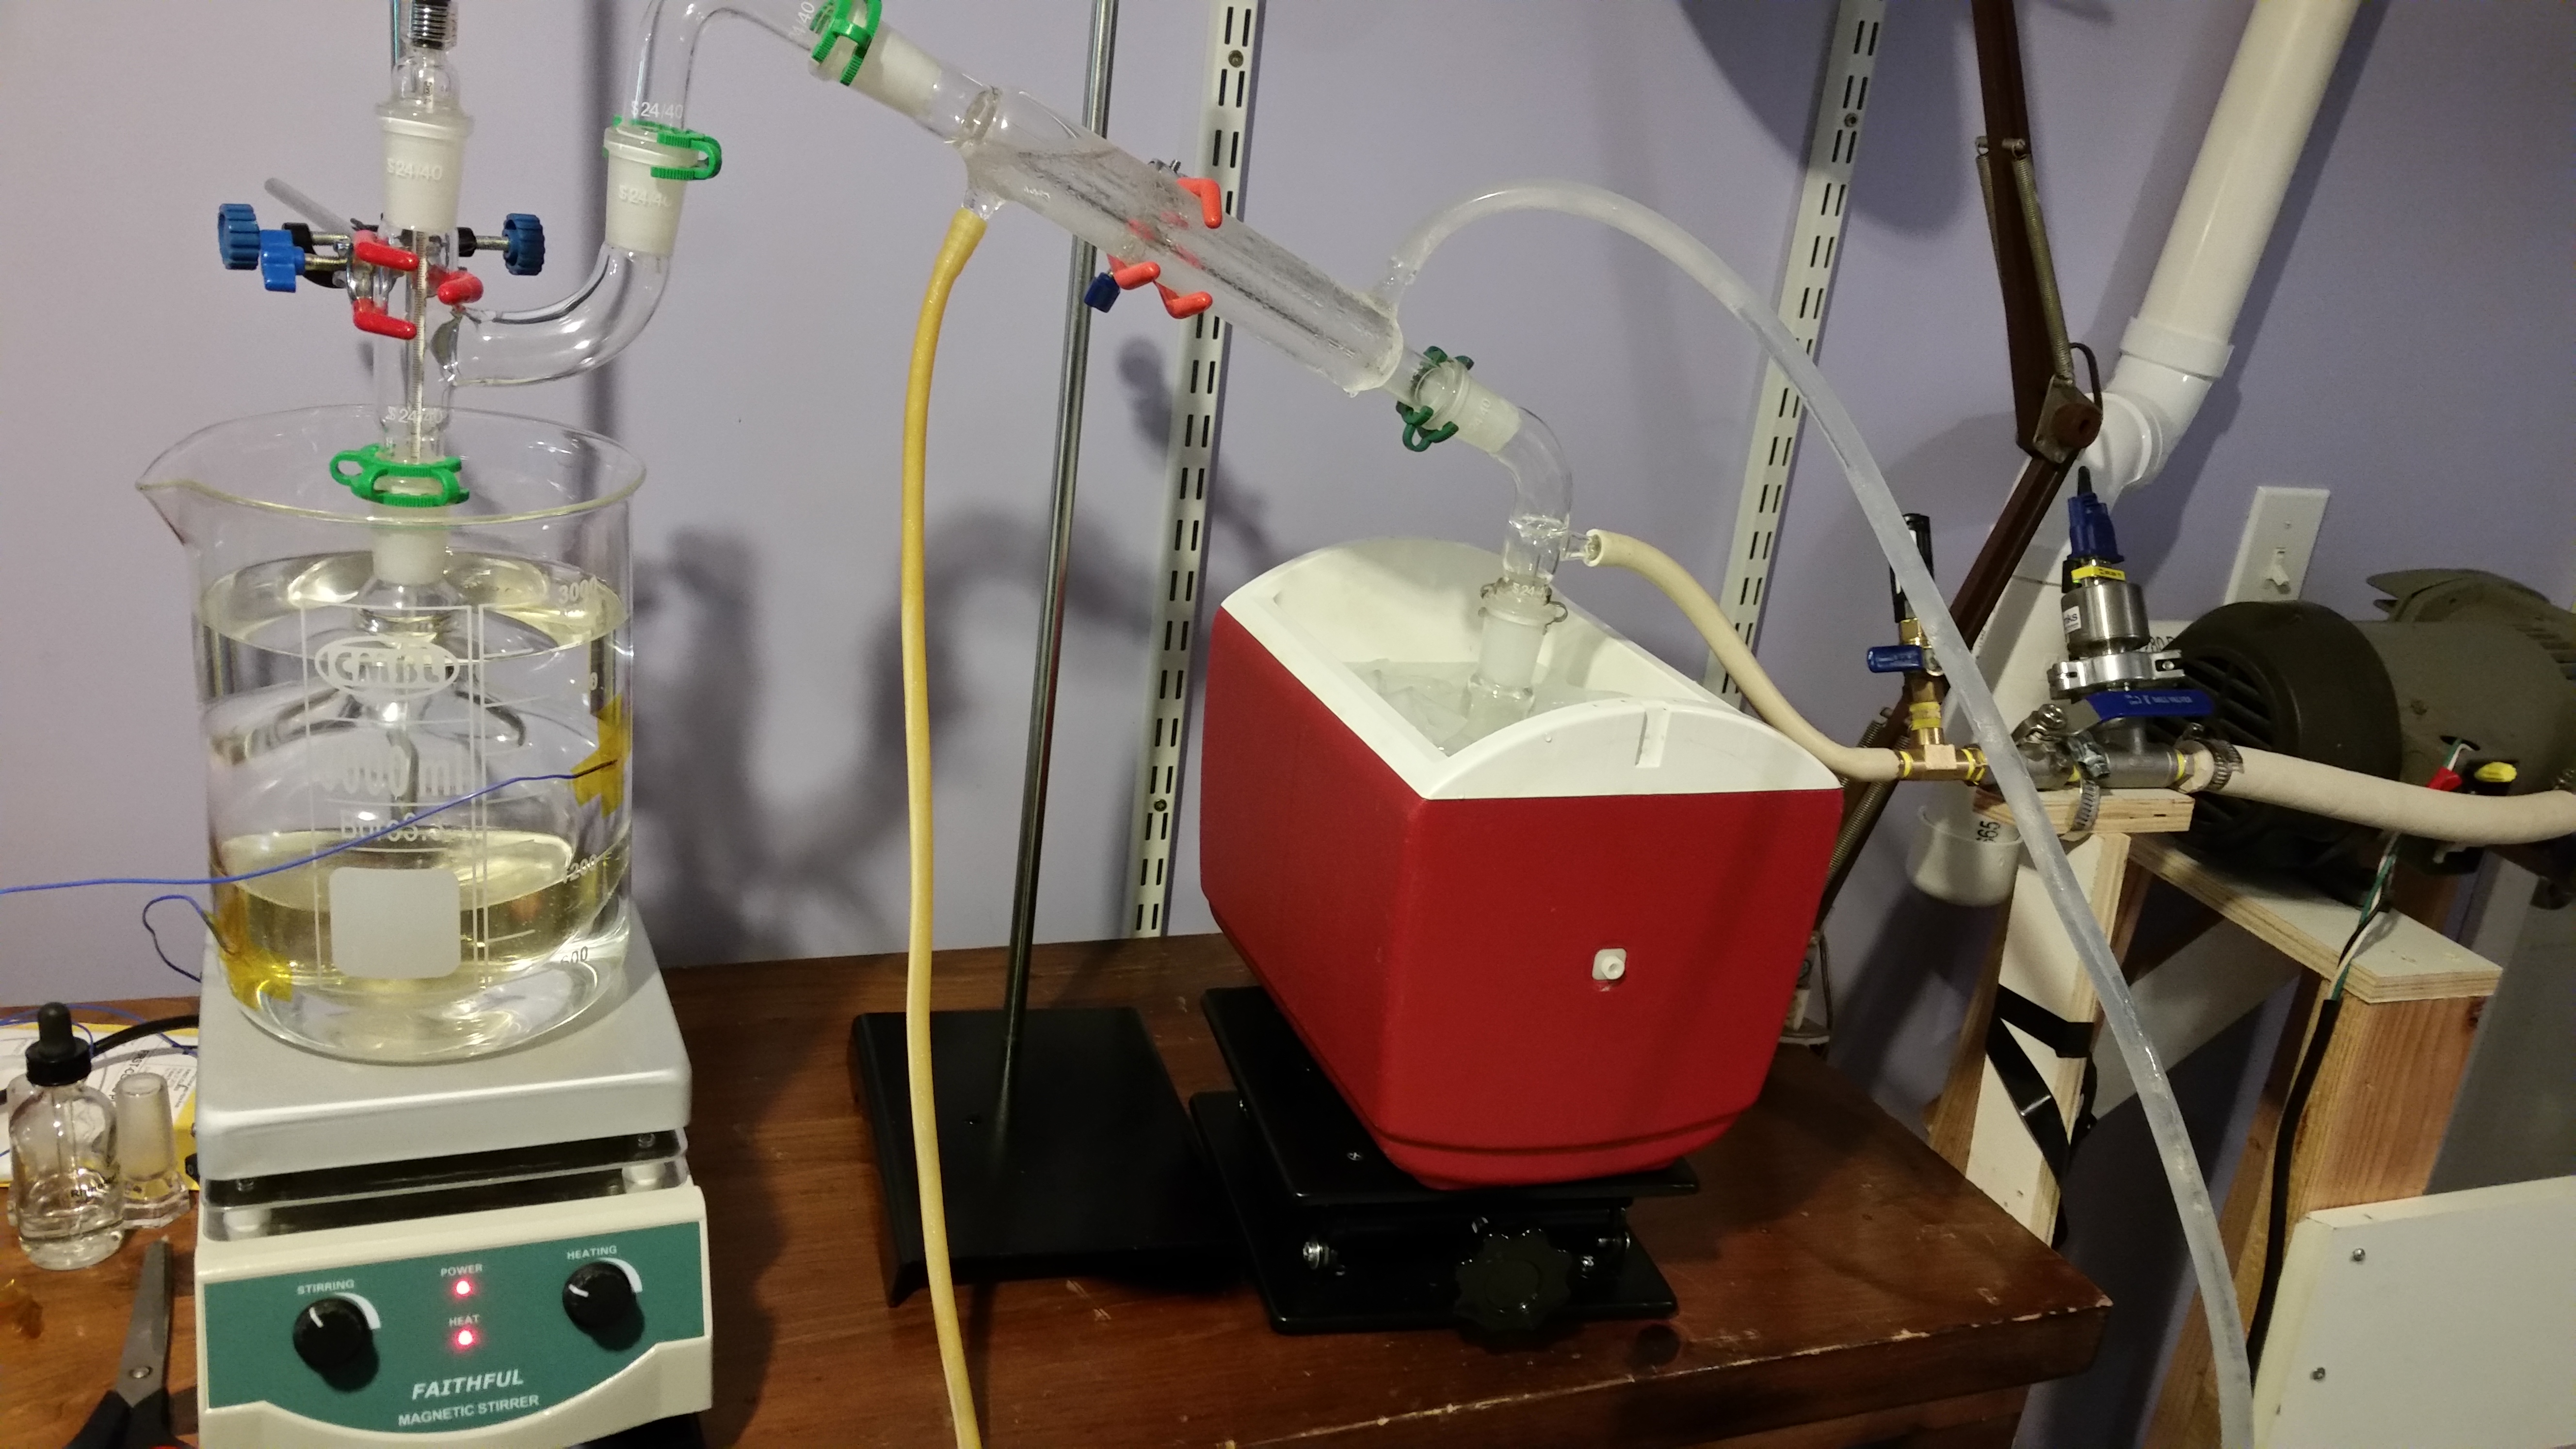
I am going to hook this up to my condenser and use it for recovery. This is my mockup with distilled water to test out how the temps work (I like to do a test run with new procedures). I was checking to see if anybody had any comments or tips before I give it a whirl.
I had thought about using some type of oil but didn’t want my lab area smelling like vegetable oil. Just did some digging and it looks like silicone oil is what fisher scientific has… Doing some more it looks like ‘silicone oil’ is super generic and refers to a wide variety of different oils. Going by Fisher’s prices I’d be better off getting a real roto
Any ideas about a good replacement liquid? I usually run between 85-110 deg F.
@Shadownaught AKA Carbon Chemistry has a heat transfer oil that is great for this purpose, not overpriced either, I believe @Killa12345 is a distributor for them so @ him if you need anything
I am also now set up as a distributor for CC but I’m not tryina compete for sales on this website, I am setting up a brick and mortar location for Wisconsin and midwest extractors and the folks I consult for.
I did something similar, but even more rudimentary.
I use a magnetic stirrer with a pot of recirculating hot water on top of it with dowels for spacing in it and a vacuum chamber placed on the dowels with the stir bar located in the vacuum chamber. That is then drawn to a large ss cold trap(bvv) that has been filled with ss scrubbers, with its second ‘interior’ pot filled with di/iso and the whole unit submerged halfway in another large pot of di/iso. Finally there is a smaller glass 500ml cold trap connected between the large cold trap and vacuum pump and covered in di as a check for proper evap.
I immediately noted while recovery was going rather well, the issue was the size of the opening and tubing that runs between the vacuum chamber and ss cold trap. Without a larger opening my evaporation process was greatly restricted by building pressures within the vacuum chamber regardless of the level of vacuum within the cold trap.
Something in my process, or product, also resulted in a pretty terrible odor of burnt rubber or sulphur that might’ve been related to using temps that were too high in relation to the recovery speed of 1L an hour. Also I experienced some points where condensation would form on the roof of my chamber, so some amount of refluxing might’ve been occurring due to the restricted opening.
I’ve recently realized how important all of the steps are, at first I imagined that the bottleneck was just on the heating side (which mine was at first), but lately I see how the condensing side is just as important for recovery speed. I wonder where you could have gotten the burnt rubber smell even with high temps.
@Roguelab I remember reading at tip to put floating balls or whatnot in your heat bath to reduce the surface area for evaporation. That might go a long way in this type of setup.
It might have been due to the polyurethane lid reacting with the ethanol vapors. It definitely showed signs of damage, detailed in another thread. That slight damage coupled with the refluxing taking place on the lid could have ultimately contaminated my product.
I didn’t really understand what he meant by ‘burning’ my terps and still think had I treated the solution with copper I may have discovered the presence of sulphur left over from the grow.
Not ruling out the ‘burnt’ Terps concept though. I’ve heard guys talk about disty having that odor/flavor and the member in question is fairly knowledgeable as a chemist.
I really like that floating balls tip as reduced surface area should also help with heat retention.
There are some guys around here who know how to calculate exactly how much evap you should be able to achieve and how much condensing power you’ll need to compliment it evenly. I personally went the excessive cooling method, my cold trap was at something like -60°C on the outside of the container, but the addition of completely reusable isopropyl to the already required dry ice wasn’t a big deal because everything is made out of SS. I don’t know if I’d have tried to go that cold with glass which is why I just pack dry ice around the smaller one.
With the calculations you could probably calculate at what point the size of your opening becomes the limiting factor.
I did have to get rid of the thermometer in the claisen adapter as the vacuum pump was sucking it in. If I hadn’t noticed it almost slipped all the way in and if it broke that would have been really bad.
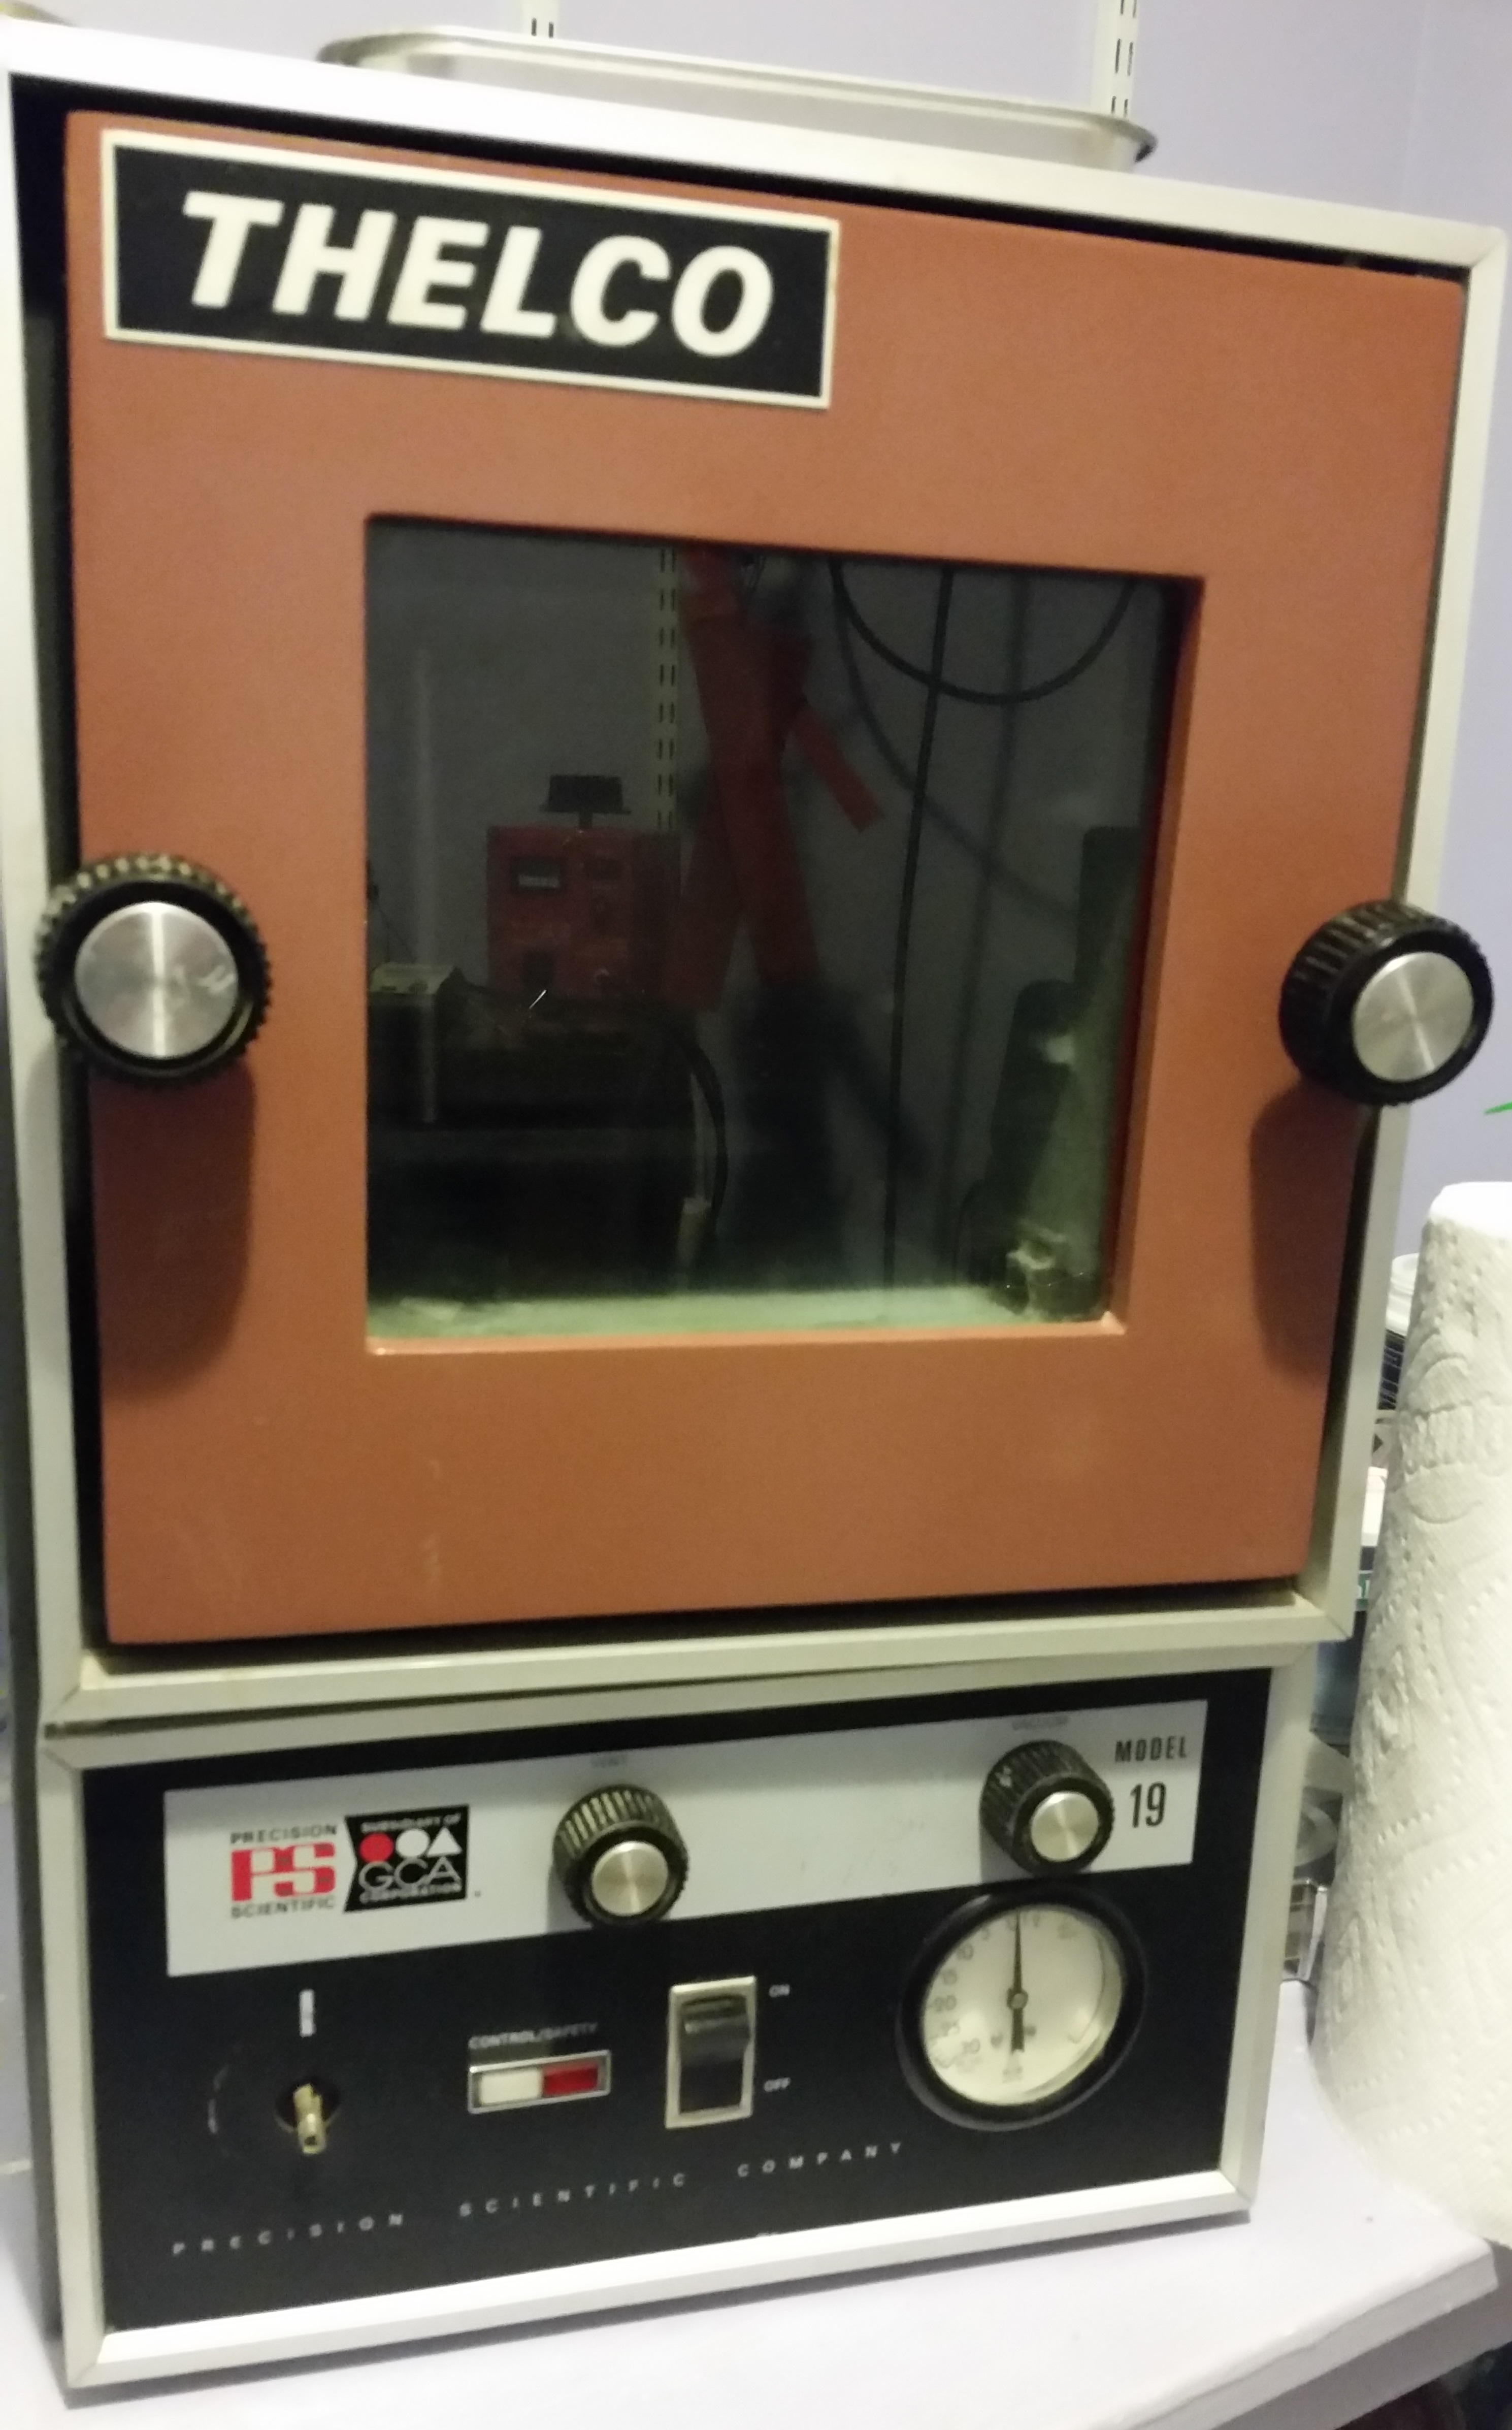
It ran so fast I recovered until the stir bar couldn’t move anymore. Since the temps were 85 F it was no problem I just cut it all down and now time to finish prepping my new-to-me vacuum oven. My wife told me it looks like its from the 1950’s. “Why would you spend 200$ on something that looks like it’s from 1940!?”
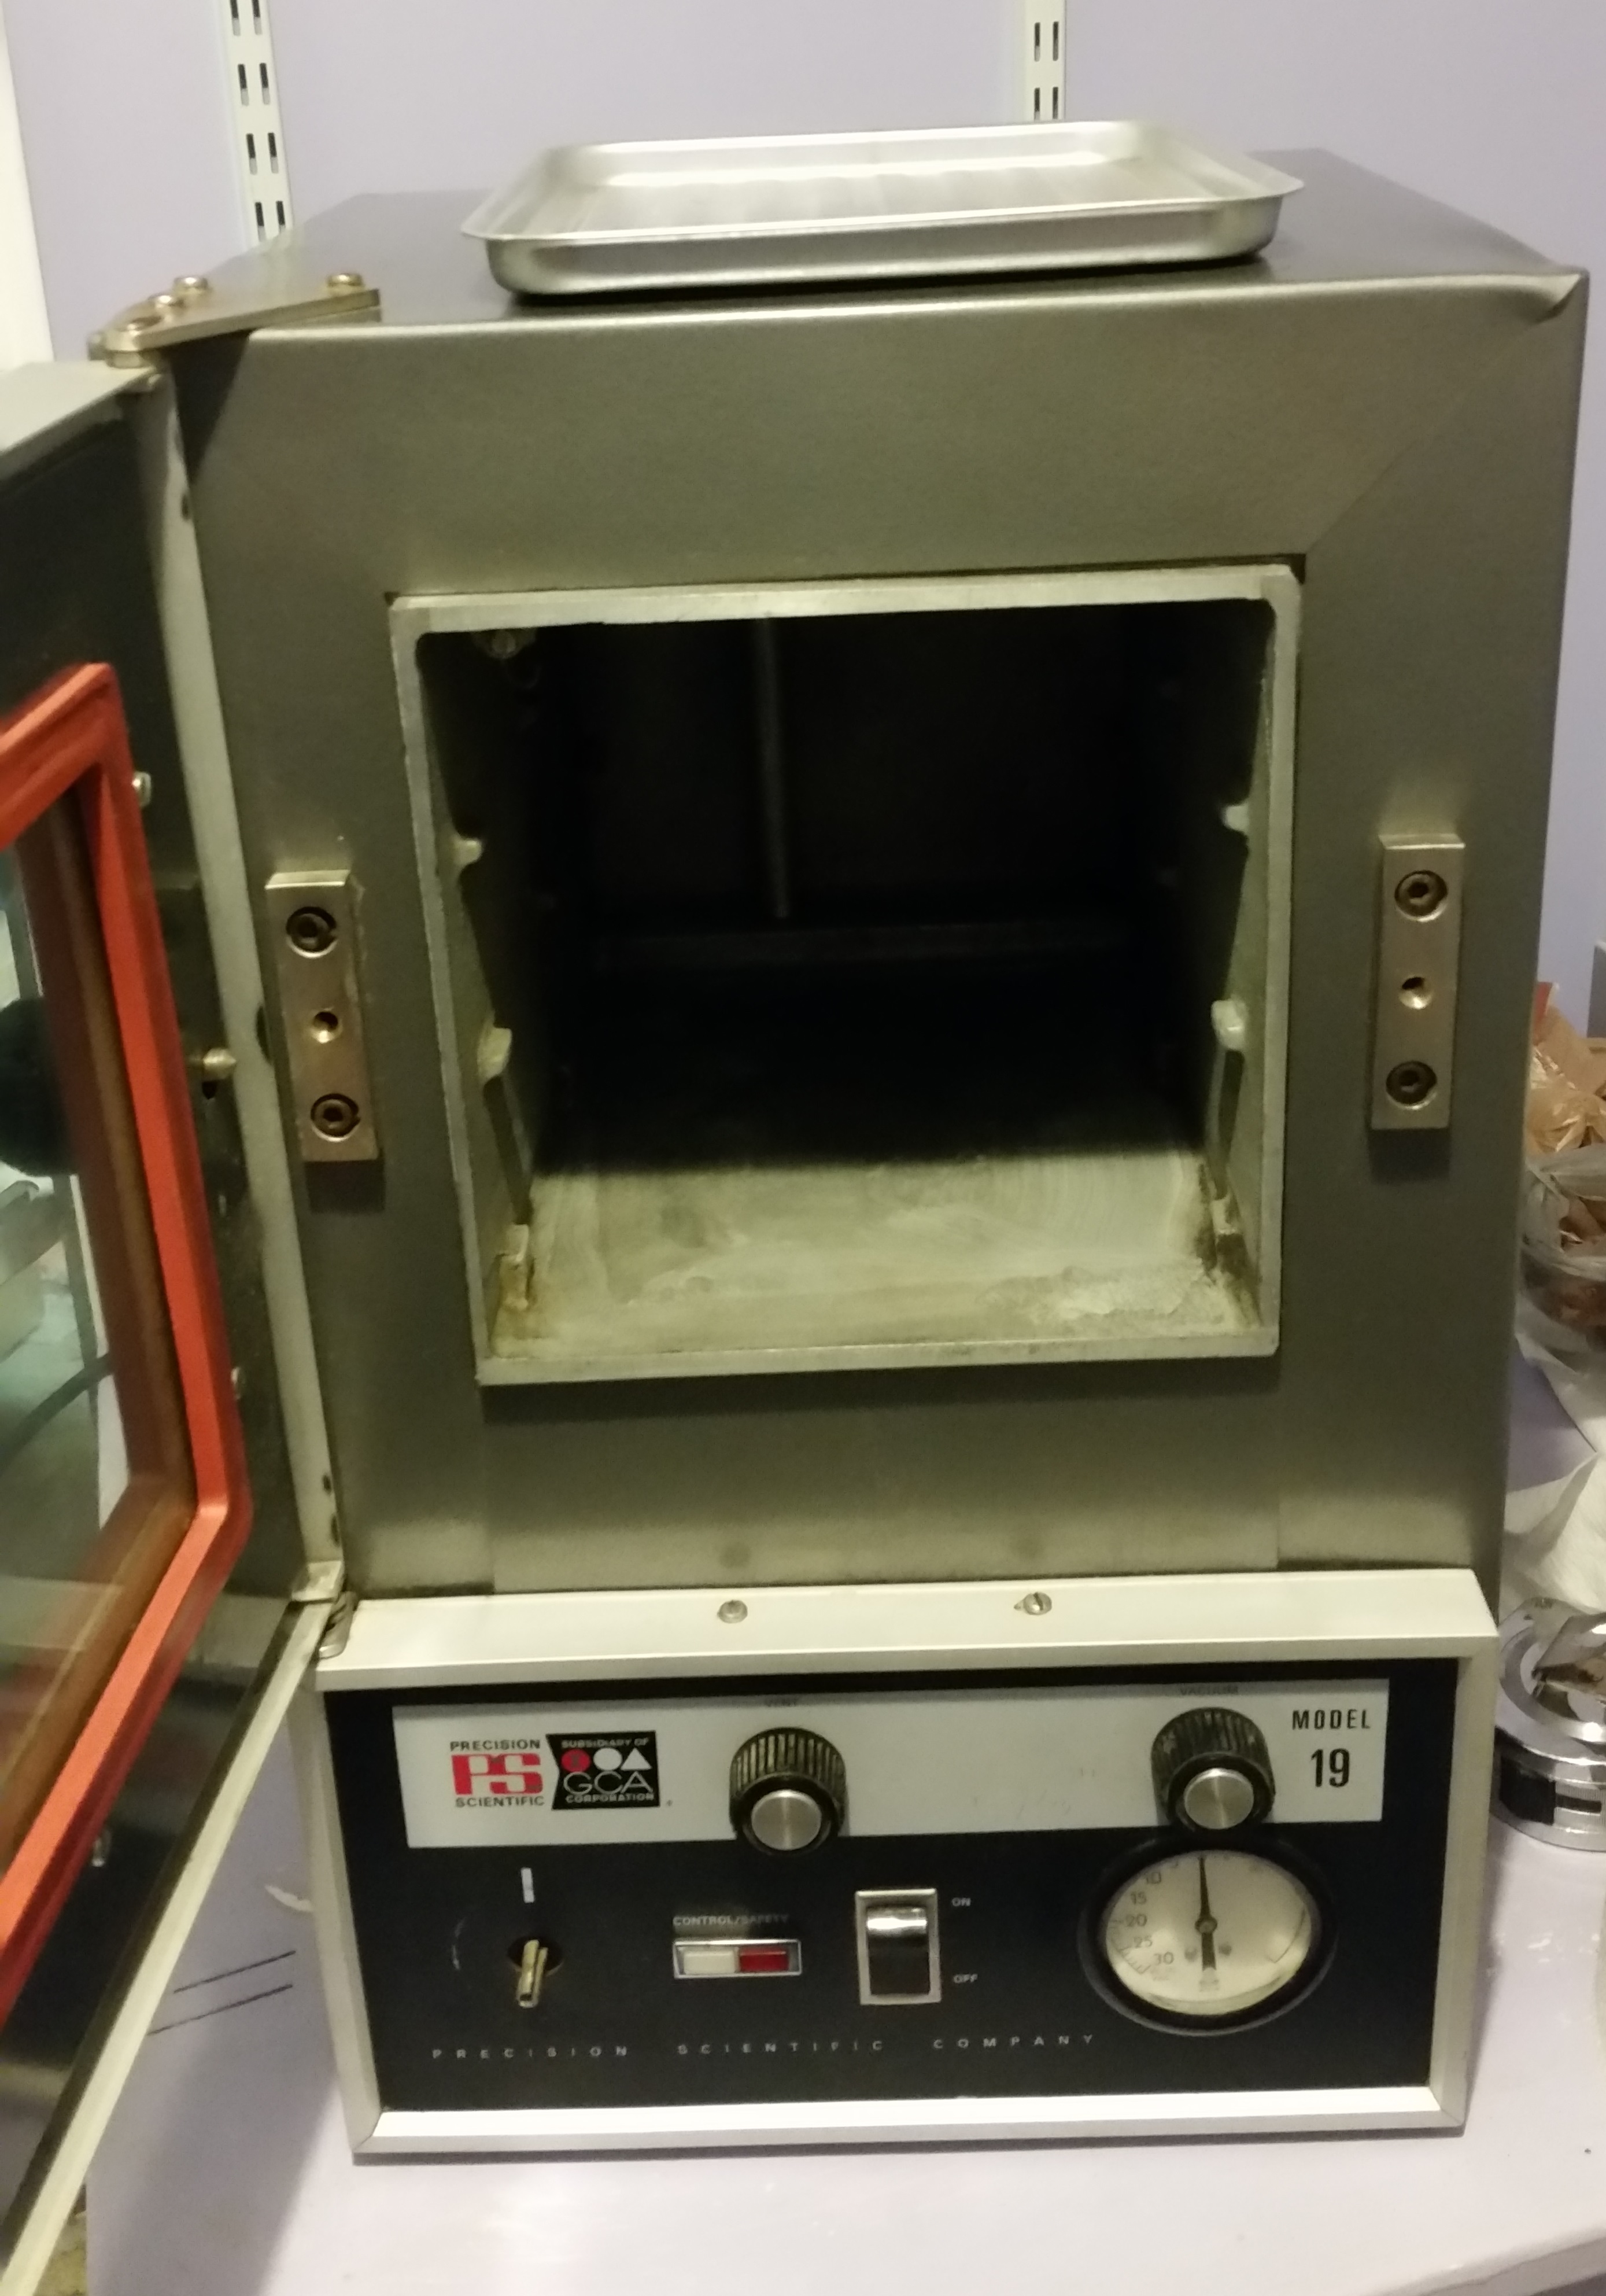
I have the heat control dial, just needs some TLC. Gonna scrub down the inside real good it smells a little ‘industrially.’ After that I’ll need to test out the temperatures. I already made sure it held vacuum and all was good there and the gauge is actually quite accurate for analog I was impressed.
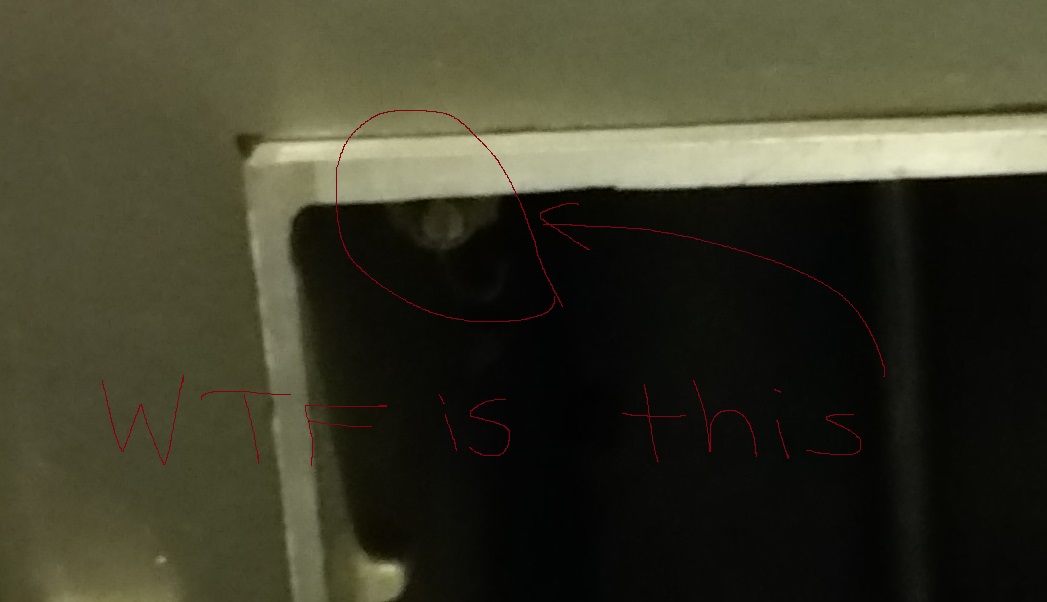
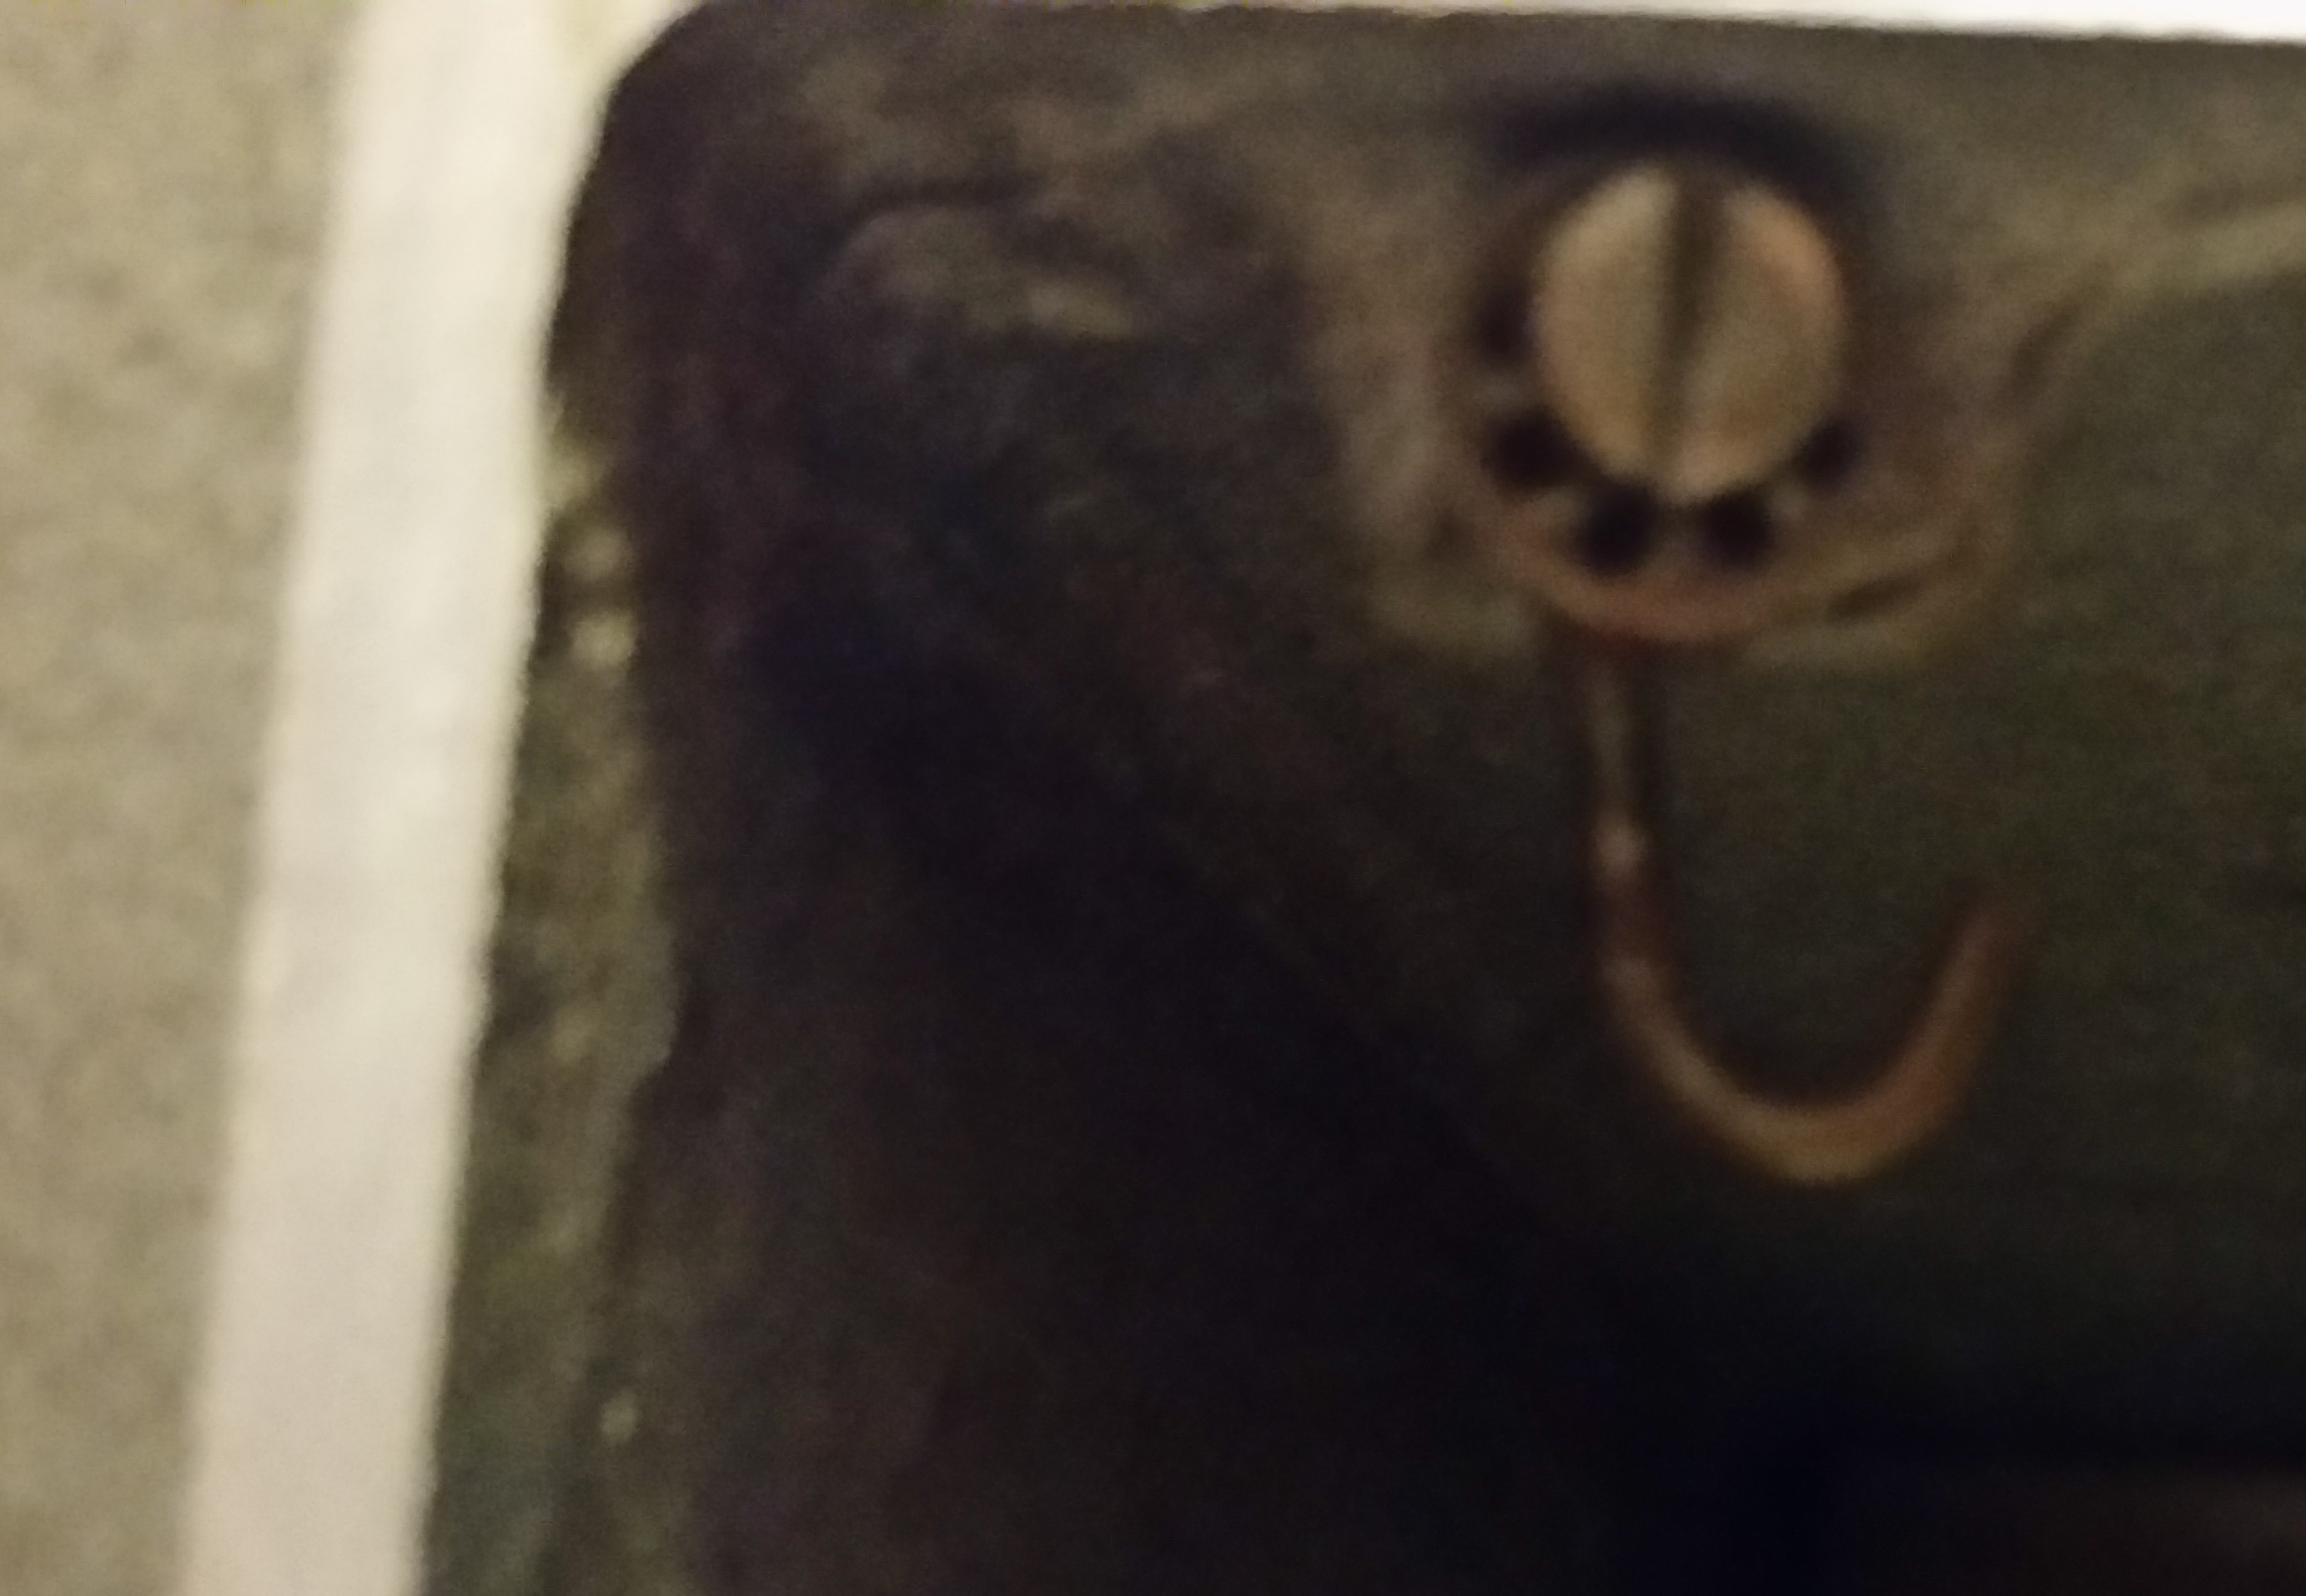
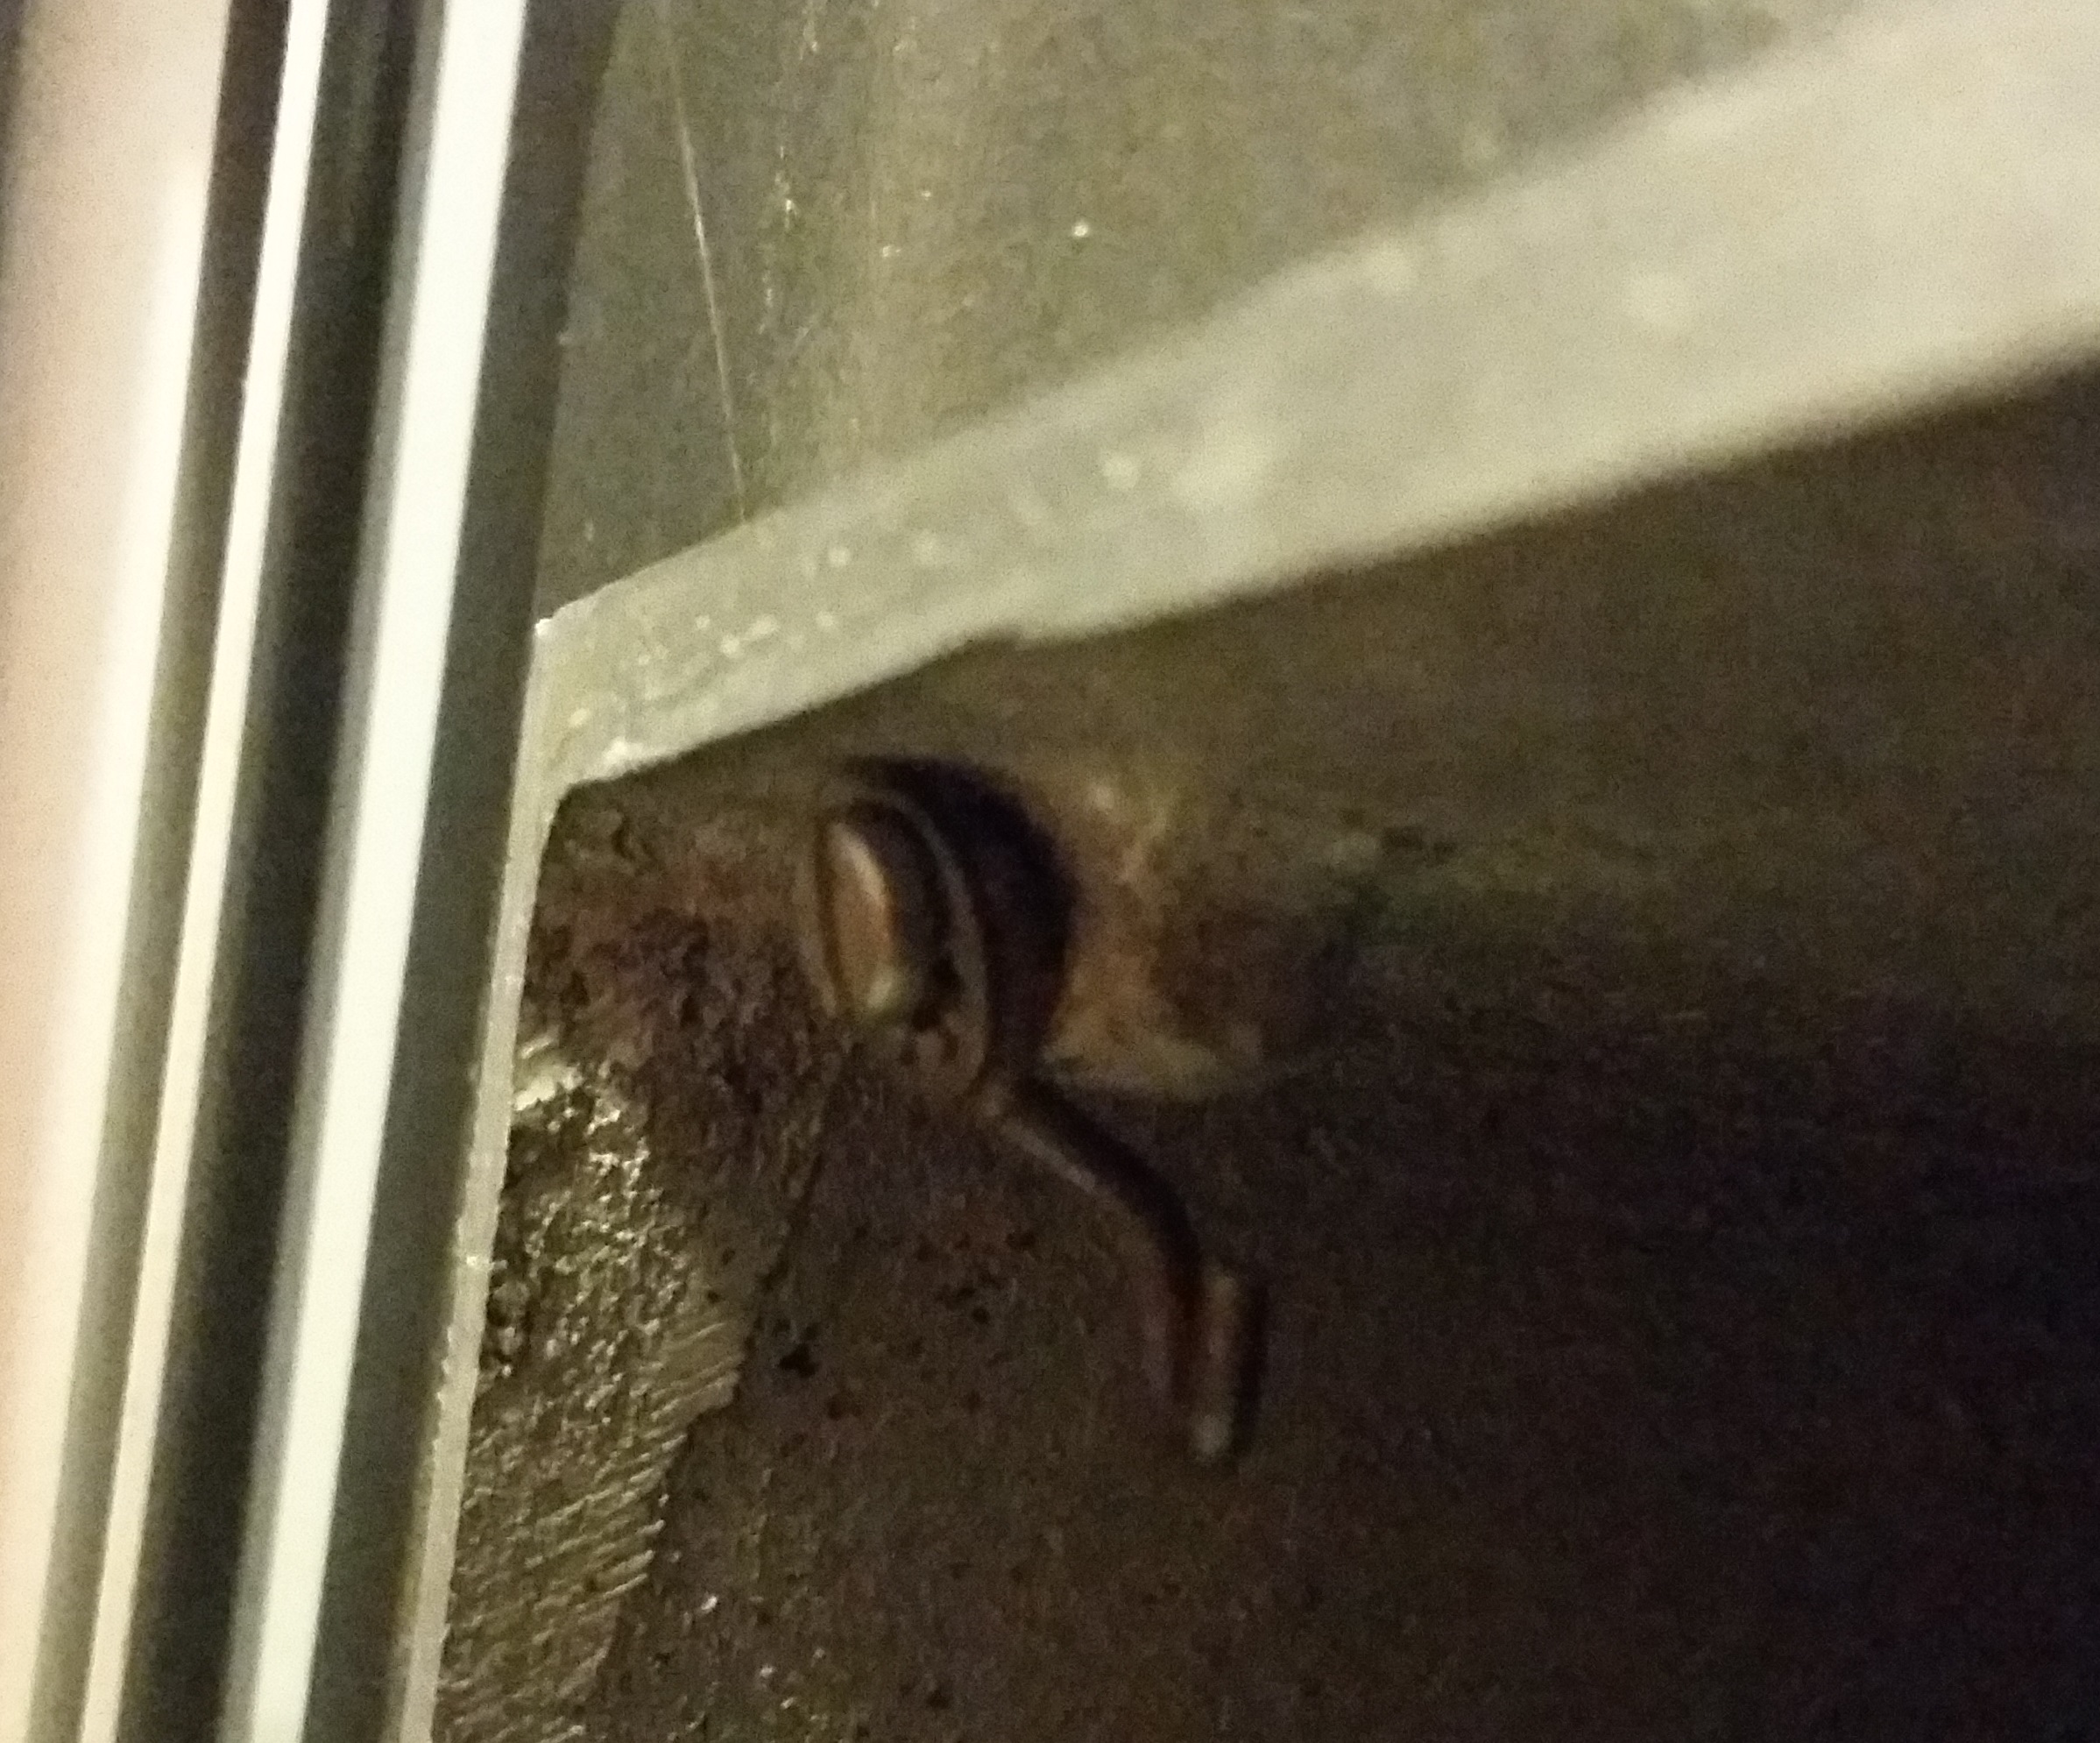
[edit] Does anybody know what the little screw thing is for on the top left inside the oven chamber? I wondered if it was some type of thermocouple or I dunno… I’ll take a closer pic of that and post it later on.
Could be a probe for the temperature sensor. Can you take a better picture of it? Or maybe it’s just a screw that connects the actual oven to the frame or shell?
So, points for creativity but I guess I just don’t see the point. This does not rotate nor does it appear to be under vacuum nor does it appear to recover solvent. It seems like you are just boiling off the solvent with extra steps. What would be the difference between this and just boiling it in the beaker straight on the hotplate?