Yeah and if its welded just buy a female adapter. The opposing end is typically NPT or can be ordered/ purchased as such. The connection is likely the overflow tube for bottom filling? You should have the “air compressor fitting” on a valve that goes to a female NPT that is on the collection lid. You should be able to just swap the connection from “air compressor” to MJIC at the NPT thread at that point
I already have a valve and fitting. All i need is a fjic to fnpt adapter.
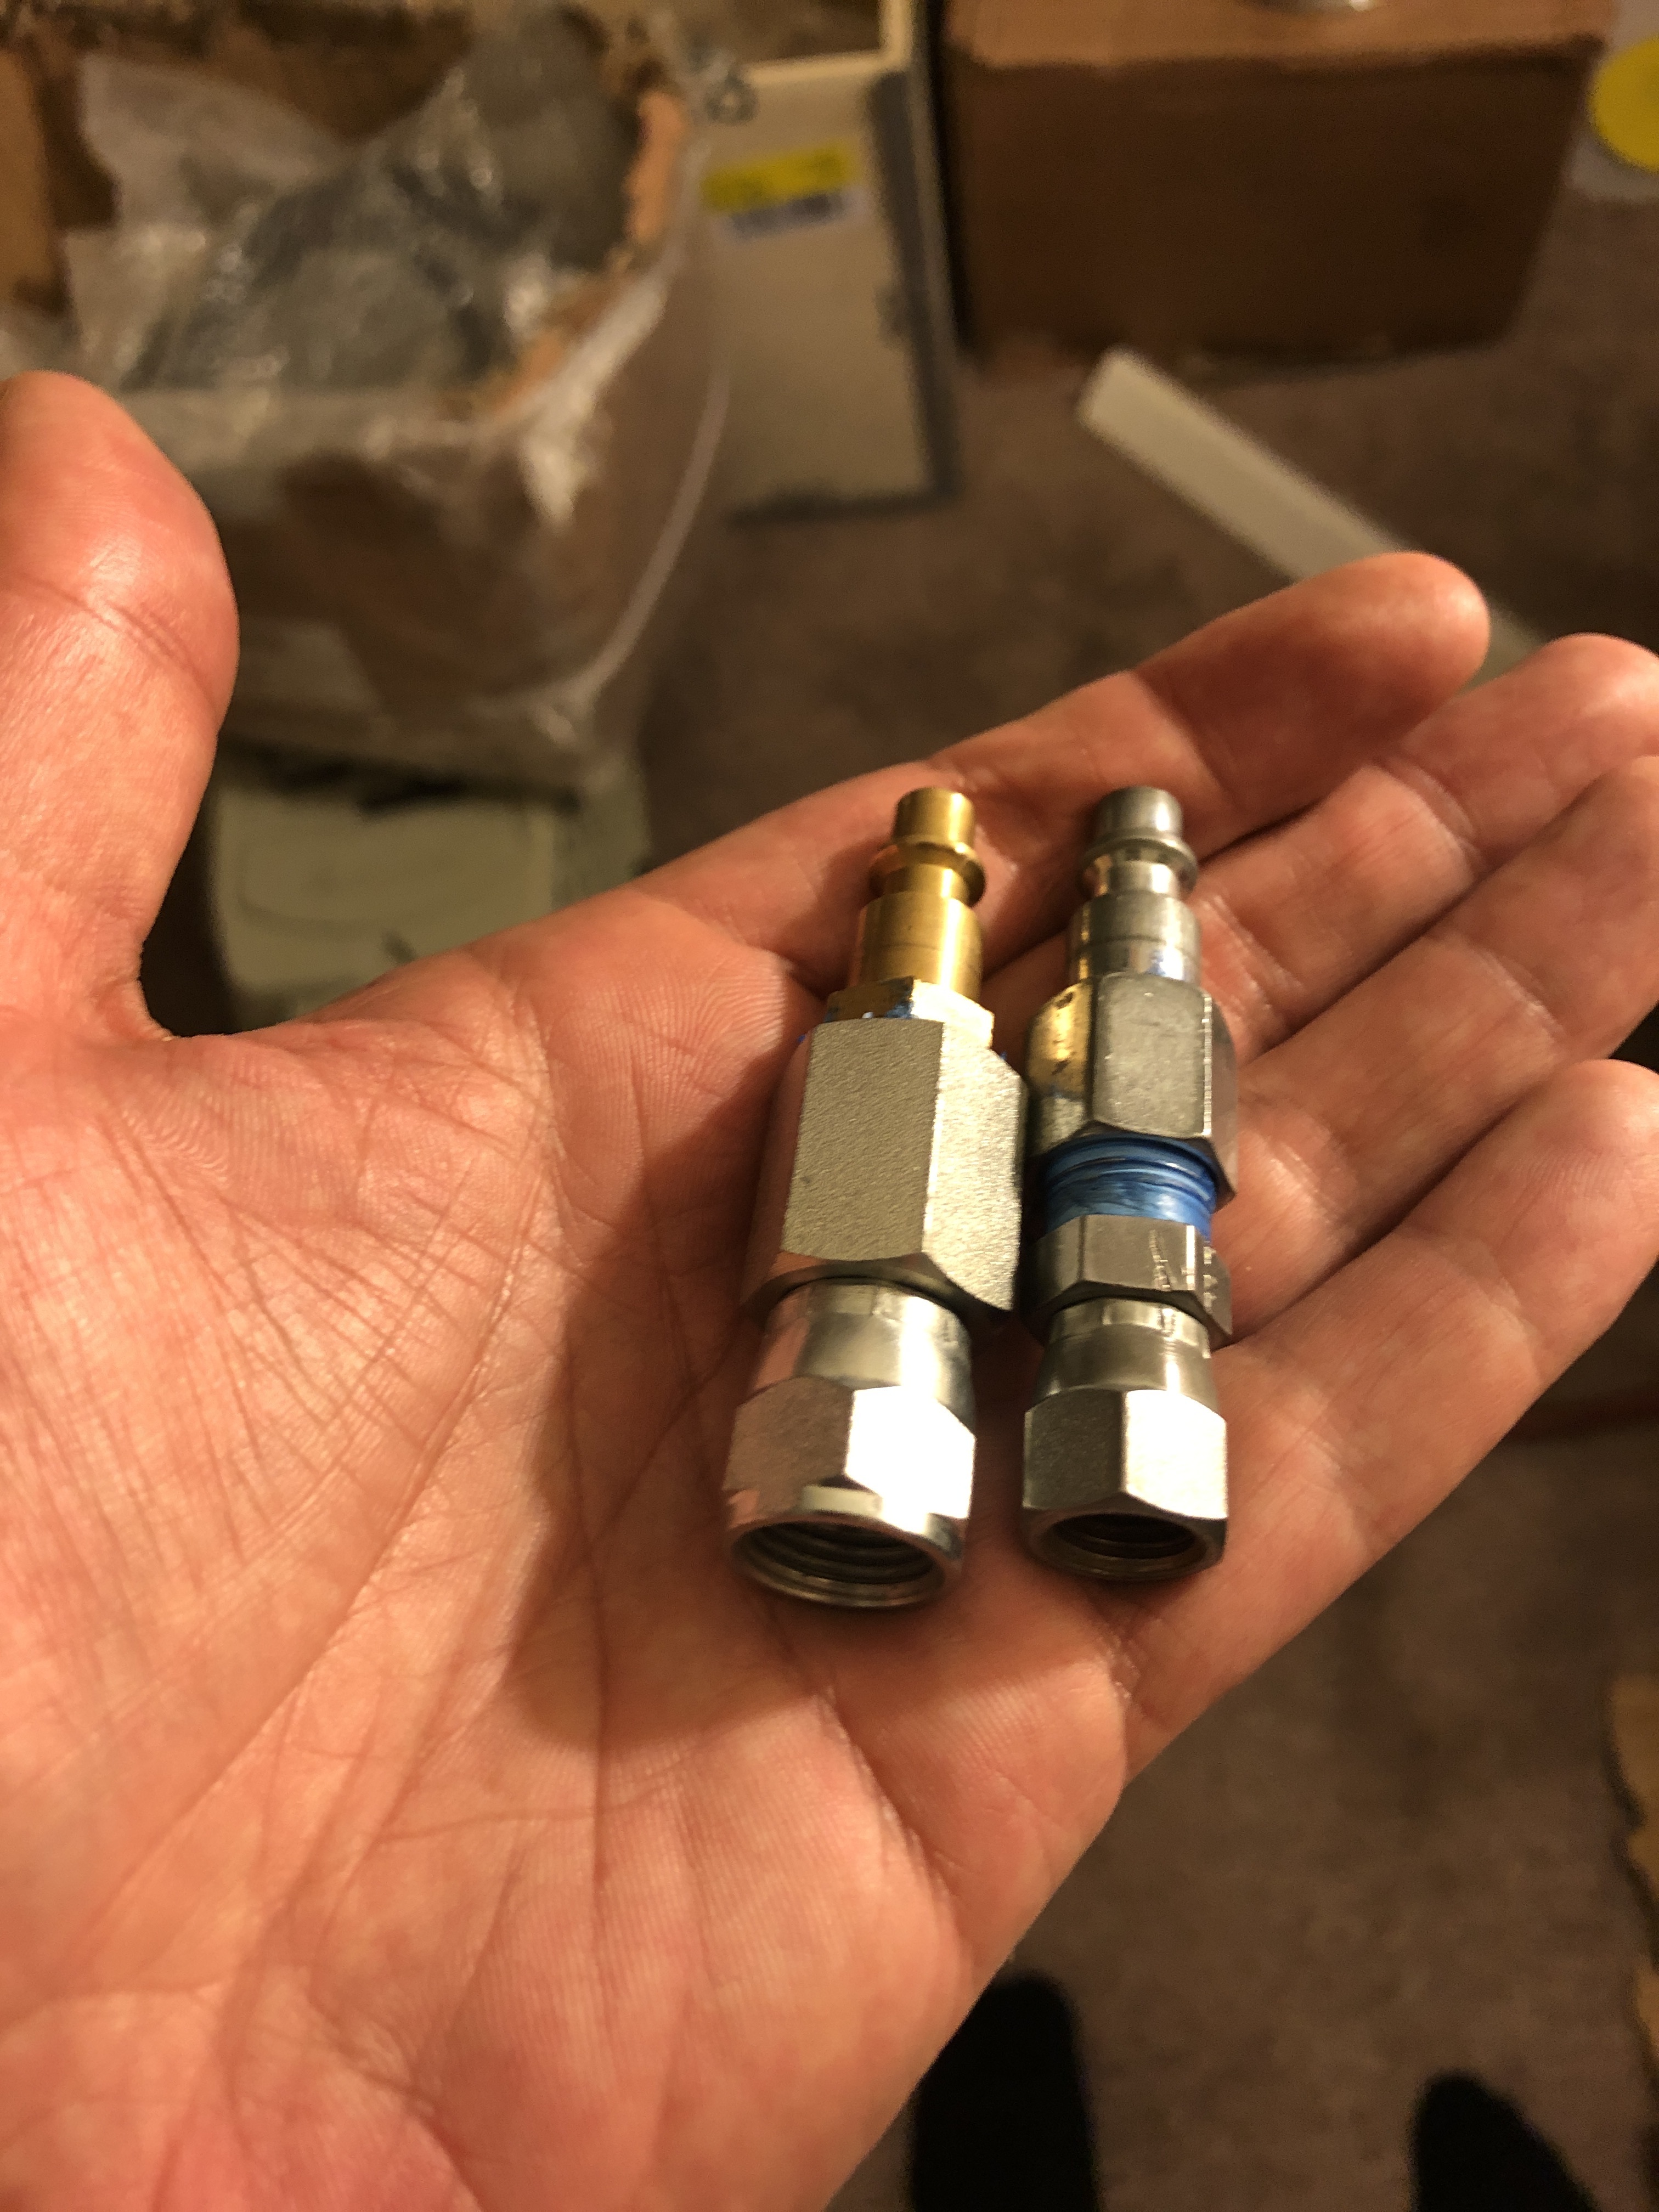
Collection pot lid > valve> jic > fjic to fnpt adpter > air compressor fitting.
The valve is npt. I want jic coming off it but need npt for when i want to pressure test it. And remove it and connect a hose for recovery the rest of the time
The way i said makes sense
@Killa12345 Can you share some tips for pressure testing please. Should i ramp to a specific PSI or just go to set PSI? how long should I hold at x PSI? and foamy spray or full submerge test for leaks?
step 1. First i build everything fully as how it would be. If i can fit it in the tub i will completely submerge it. If i dont see any bubbles then i go to step 2.
If the extractor or parts are too big to fit. I try to build it to the point where all the taped joints are submerged. Most of the time. (99.8% of the time the leaks are from poor taping and not from a weld).
so now ive checked all my taping.
step 2 is to build the extractor again and connect the hose to the recovery tank if there is one. Now i pressurize the extractor with an air compressor to 100 psi. I use a digital ashcroft compound gauge and set it to 100. psi exact to the tenth of a psi. i will leave them pressurized for 24 hrs at 100 psi. if anything loses even a point i start over. Ive had leaks sooo small it only leaks .1 psi over 24 hours. this still goes back to step 1.
step 3. is complelty vacuum test at -29.8 for 24 hrs too. Usually if it passes the pressure test. It will pass this test but ive had 2-3 that have failed at this point too. Only then it is safe to use.
if its too big to fit in the tub after a leak…I spray soapy water on the sights, valves, and taping to see if i can find the leak. sometimes you cant and have to retape everything to find its a bad valve. sometimes it can be a weld. These are the rare occasions that someone that builds 30-60 extractors a months gets to see.
Buy blank end caps so you can test individual components. Pressure used to test should be higher than the pressures you plan to reach during operation.
The largest connection on my system is a 6" triclamp and I use high pressure clamps, so I test to 150 psi in water thats 100F degrees.