Thanks Reading is fundamental
6 Likes
Special thanks to @Concentrated_humbold for supplying me with seeds for life and passing the legacy. I will carry where you left off and continue building and expanding the collection.
10 Likes
Those are some killer genetics. Solid plug for sure.
2 Likes
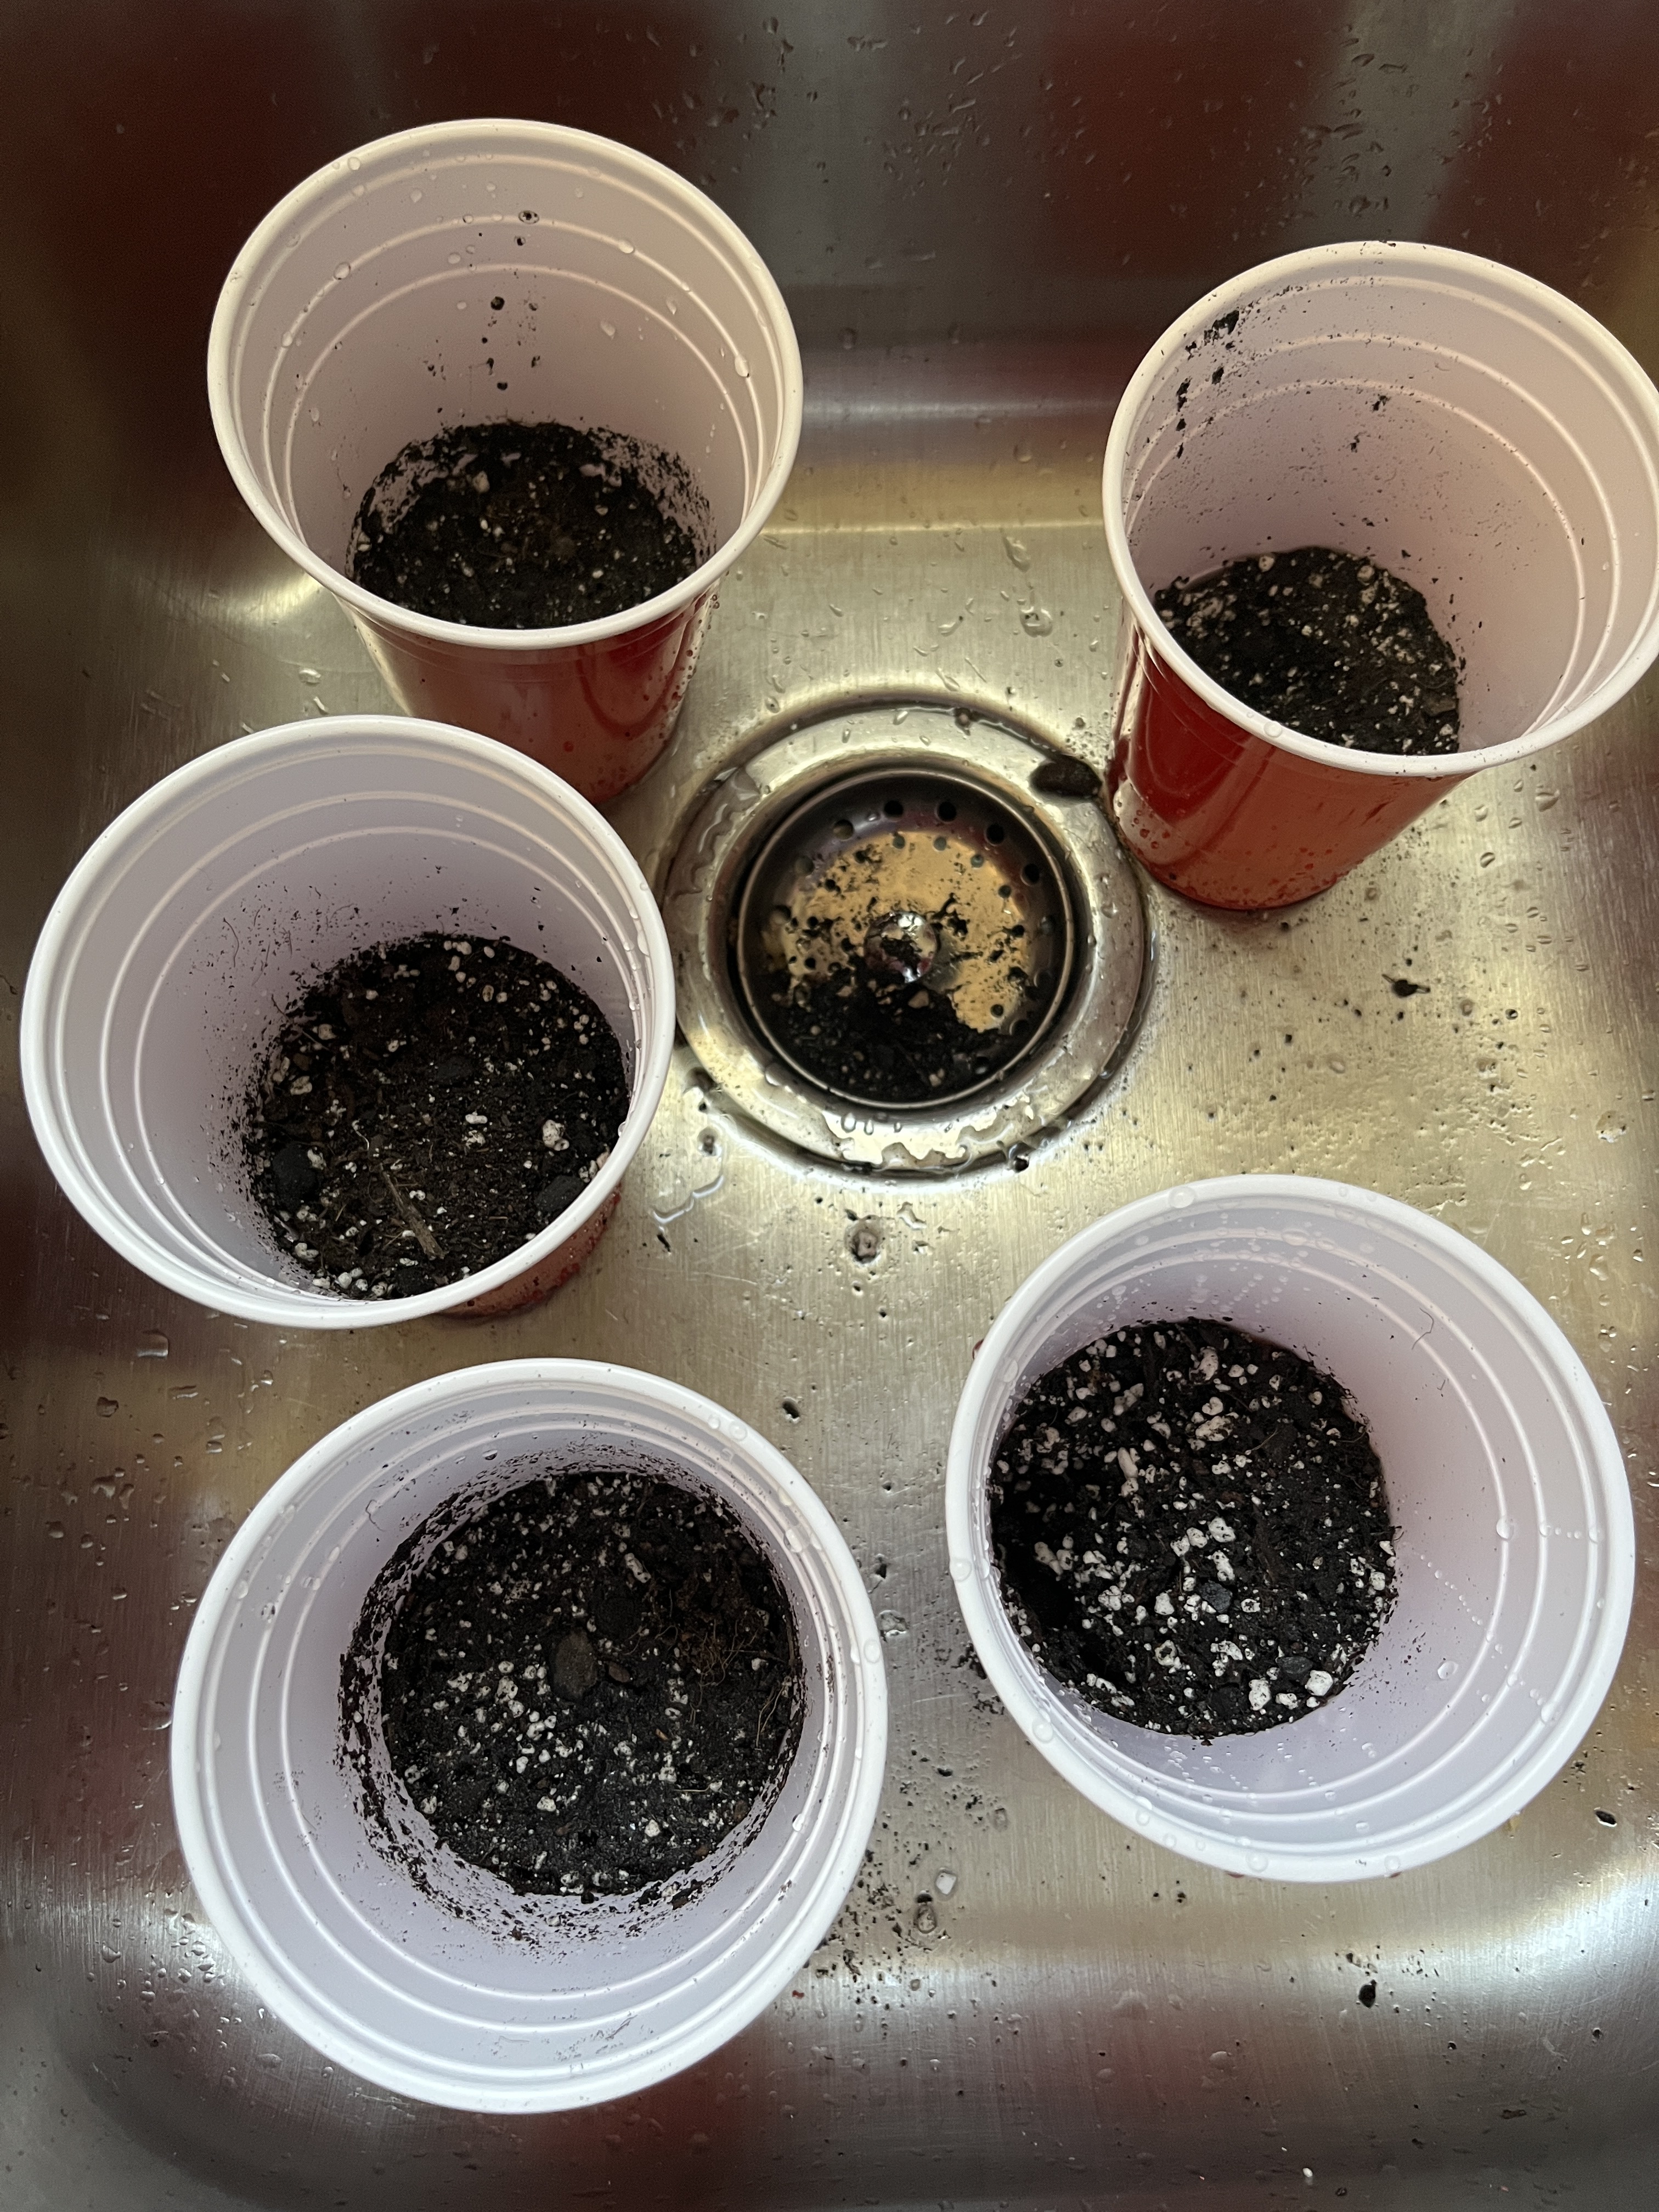
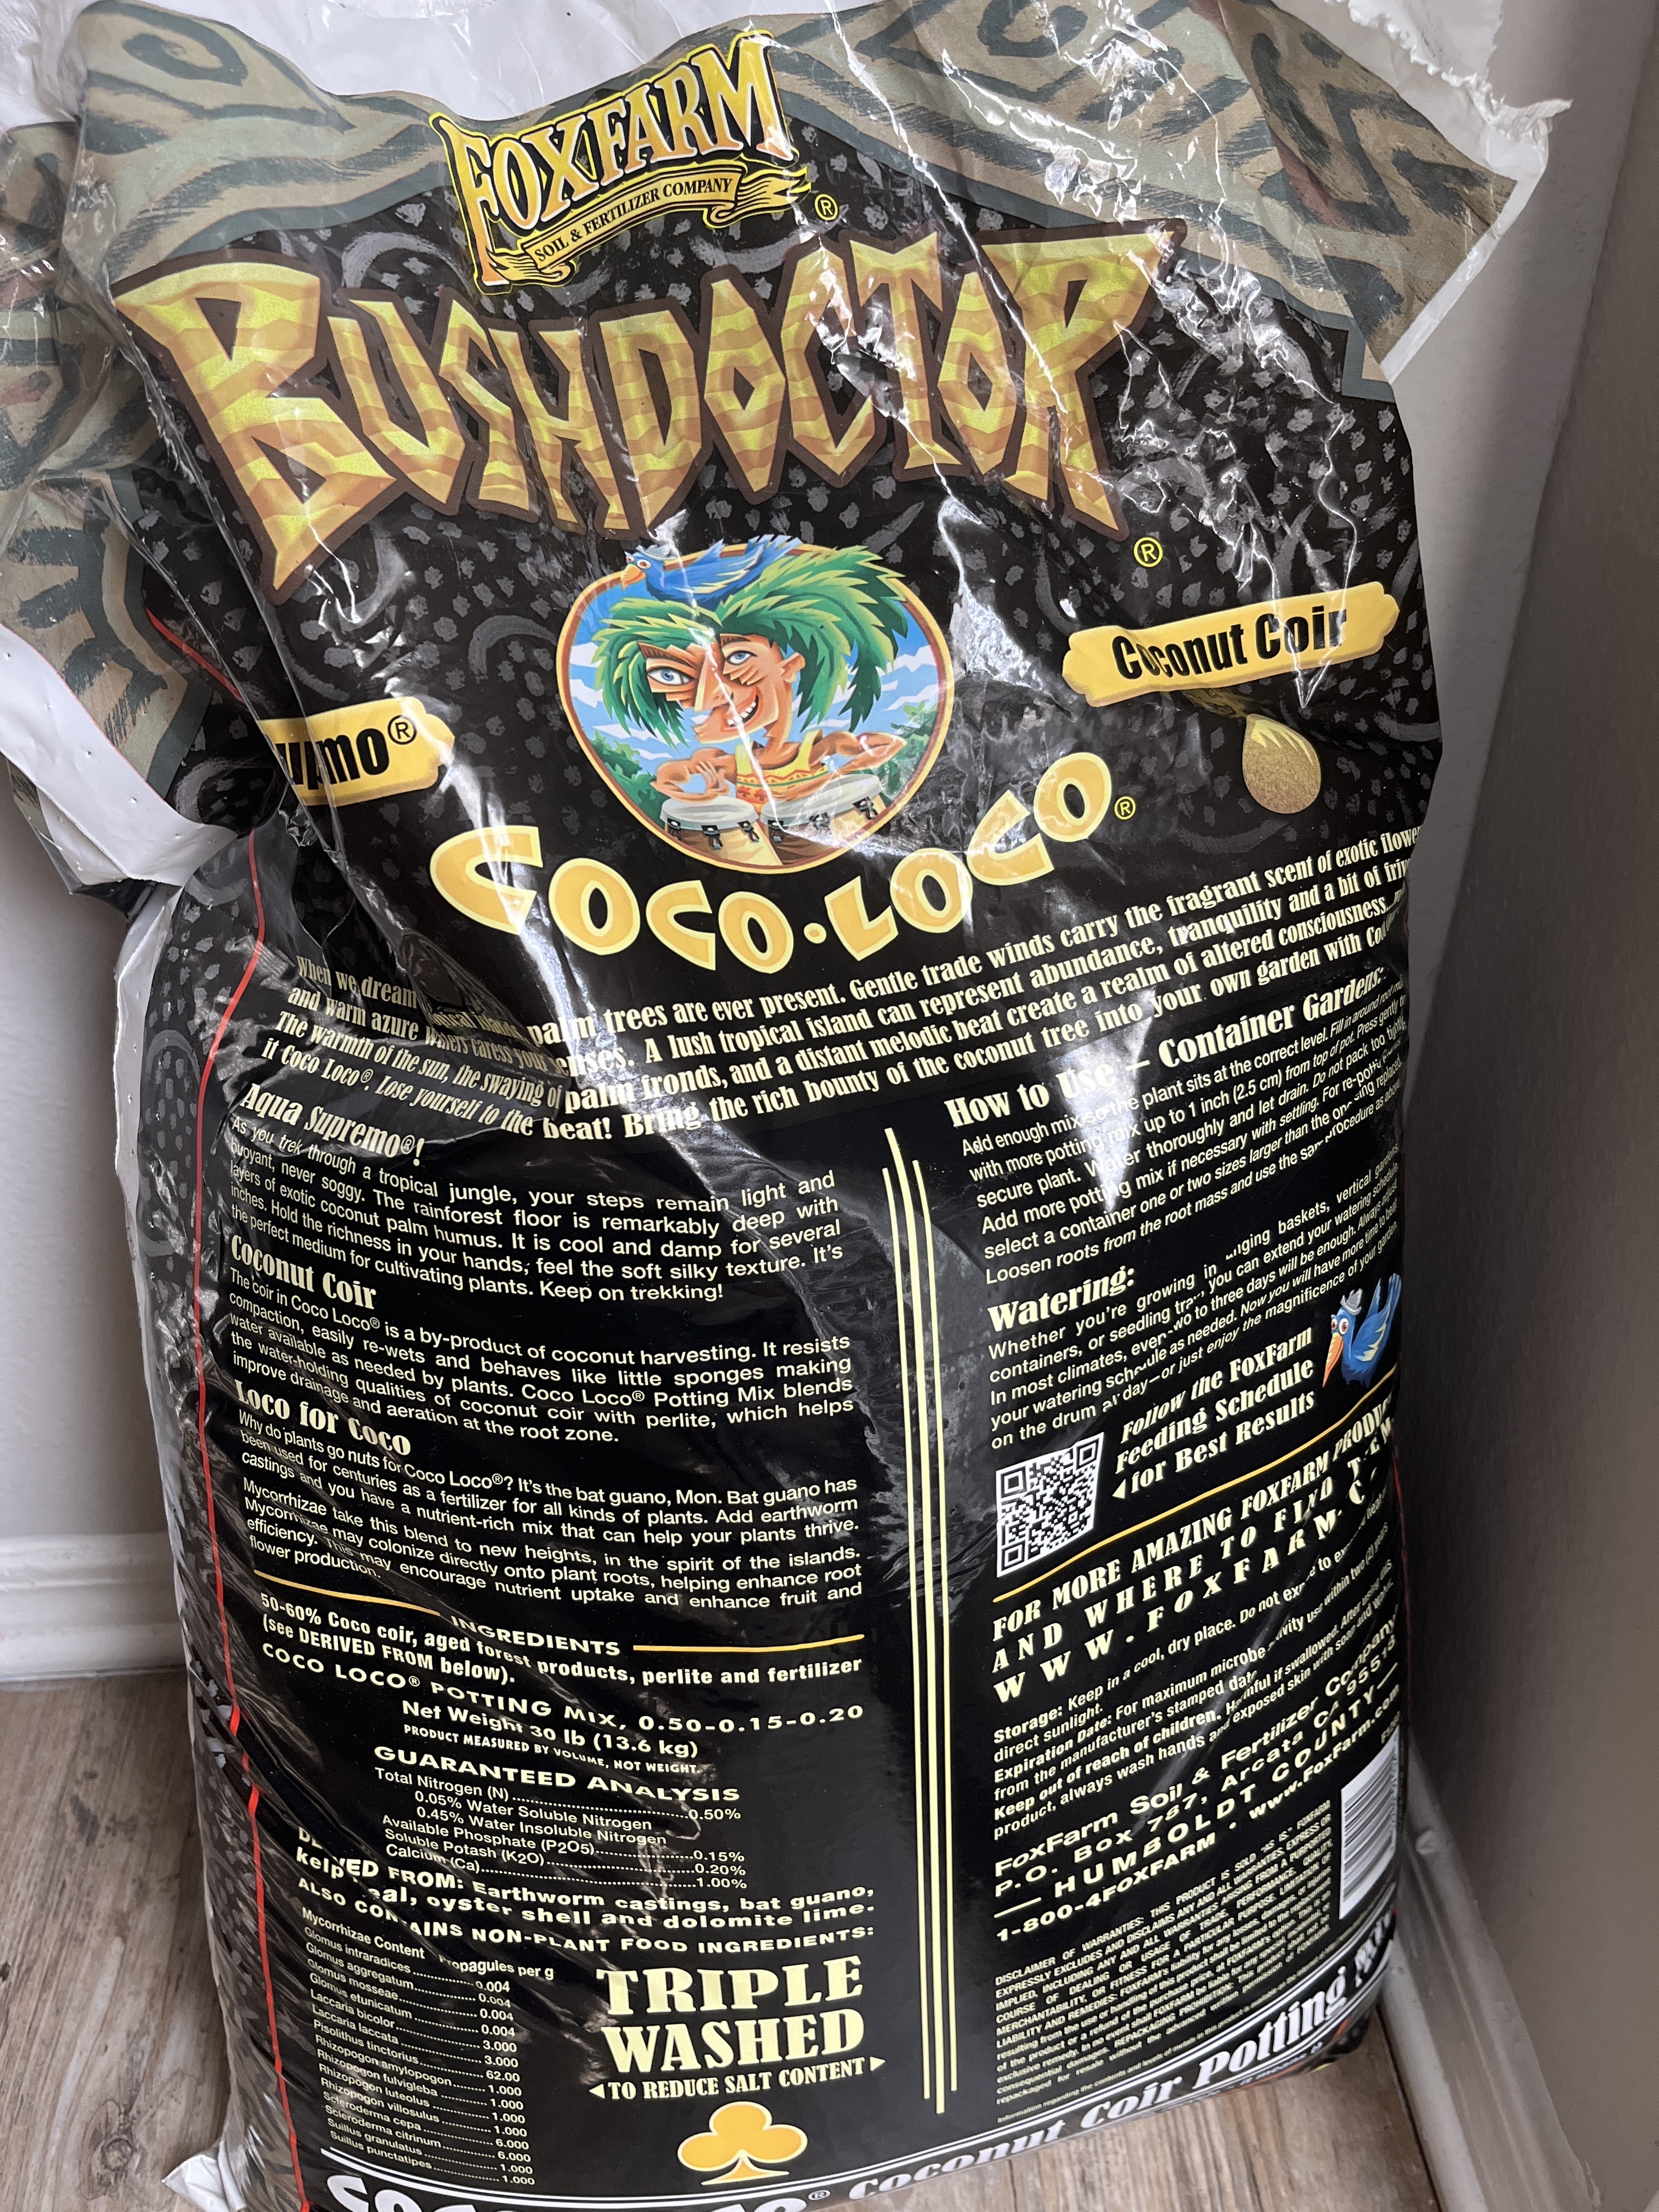
Popping these bad boys in, growing in fox farm coco loco.
Any tips for growing in coco I have experienced with soil. I’m wondering if there are issues I should be mindful of moving forward.
Ps. What heating pads are y’all using for germination?
1 Like
Cheaper options are available, but you might consider something like this:
These can double as means to heat a vacuum chamber for purging if you get into extracting. Extraction and processing science is what this forum is mostly geared toward so you can find a lot of great info here to get you started.
A pad like this is useful for sandwiching several labeled paper towels for germination, set a plate on top upside down as a lid with mat underneath.
I like where this is headed.
1 Like
i would suggest… when using tap water, put 5 gallons in a bucket with a few air stones in the bottom to off gas that chlorine and keep your water nice and oxygenated.
heating pads: these cheap bad boys right here do magic bro
5 Likes
Anyone got a lab I can get my plants sexed? I really want to know if these bag seeds are females or males. Whats the budget for something like this
Check here (search bar is your friend):
Otherwise I think @Tom had a spot he recommended, but I could be misremembering.
4 Likes
Yup he’s good he’s been doing it a long time too
4 Likes
Thank you, Ill be making this post a one-stop shop to record my journey
2 Likes
Where would I store the 5-gallon bucket? I don’t have much room, wouldn’t the water go back sitting in the bucket let that?
I have a coworker that bubbles water in buckets in his shower. You just pull them out when you have to shower.
I use an R/O setup with just the sediment and 2x carbon filters, running into a 13gal kitchen trash can with a float valve. No waste line. Every other weekend I’ll shut off the supply water, empty the reservoir, and scrub it clean so it doesn’t grow nasty bacteria without the chlorine. I have 10gal clean filtered water on tap at all times for my plants and animals and it takes up the space of a trashcan in my kitchen. Just don’t throw your trash in it on accident!
2 Likes

My seeds are not germinating I’m not sure what I’m doing wrong…
These are my steps
I soak them in water - put in a dark warm environment for 1-2 days till they sink to the bottom
Secondly - I wet paper towels and fold them into it
Thirdly - I place the wet paper towel into the cabinet and wait for germination- 1-2 days
Am I not giving them the proper environment?
Are the paper towels are inside a plastic bag?
If so are you giving it a sufficient enough opening for oxygen? it needs some, but not a lot.
Also also how clean is the environment this is going into. Sometimes bacteria can impede progress if everything isn’t spic and span. Even having dirty hands when starting this process can potentially give you some nasty smells and bacteria growth.
Personally - I never really soaked seeds although some people swear by it. I like to pop them in the moist (not wet, if you’re having many drops of water fall off the paper towel before you bag it chances are it’s TOO wet and might not do you any favors in germination time/success) paper towel. I like to give the towel a fold like 5-6 times so there’s some fatness to it and it holds moisture welll. If they’re older seeds i’ve had luck with making a ‘seed tube’ to weaken the outer walls of the seed itself by taking a preroll tube (any tube works that can be sealed at both ends) and lining the inner walls of it with a high grit sandpaper to score the sides and allow moisture in easier. Don’t do it by hand, just put the seeds in the tube which is now lined with sandpaper and just shake it for a little bit until you feel your seeds are sufficiently scratched to shit (in a good way).
9 Likes
spot on with the sandpaper. I originally tried making a tube and it didn’t seem to work well for me. I now actually take some fine grit sand paper (120)… the type that has a cloth back for “hook and loop” sanders. Cut a couple of 3 or 4 inch squares, one top and one bottom… and then gently (emphasis on gently) roll the seed around until there is sufficient scarring.
Do I occasionally end up with nothing left of the seed… yes. But they are usually the dried out or hollow ones that wouldn’t have popped anyway.
I am gifted 5 or 10 seeds from different sources all the time and many of them are old. I have given up trying to figure out which ones might need scarring and just made that part of my process for all seeds.
I also drop some moist coco into a container put in the seeds and then drop additional coco on top along with a spritz of distilled water. Open it after 24 hours to allow some fresh air and usually after an additional 24 hours I have sprouted seeds ready to go
5 Likes
K.I.S.S.
Fill a seed start tray with soil and drop the seeds in soil. water it and walk away for 5 days. When you come back they should be popping through the surface.
10 Likes
this ^^
Fill a keg cup 2/3 with coco, cut drain holes. water it, plant seed 1/2" deep. cover top leave in 75F area, walk away for 5 days
5 Likes
Mini altoid can makes a great shaker. Glue a small piece of sand paper on one wall and you’re good to go.
I Deff always have better luck in soil instead of a paper towel though. More forgiving on the moisture, vs a paper towel that could over dry if you don’t look at it for 3-4 hours.
3 Likes