These are highlights of the med run this month. The starting concentrate was medical dispensary grade concentrate testing nominally at 65%. The steps were
-
Soaking overnight in rubbing alcohol. 70% isopropyl alcohol/30% water. No heat. Room temp.
This is what it looks like next morning. Stirring but no heat is needed to completely disolve crude on the bottom. More rubbing alcohol is added until all is dissolved. Then this was pulled through a Büchner funnel containing 220 grit alumina pre-wetted with tap water as a filtration method. A thick layer of biomass is stopped at the top of a prewetted alumina column but dissolved cannabinoids pass easily. Purging rubbing alcohol is challenging but the benefits of the method outweigh the downsides. It is my least favorite part of all the steps.
-
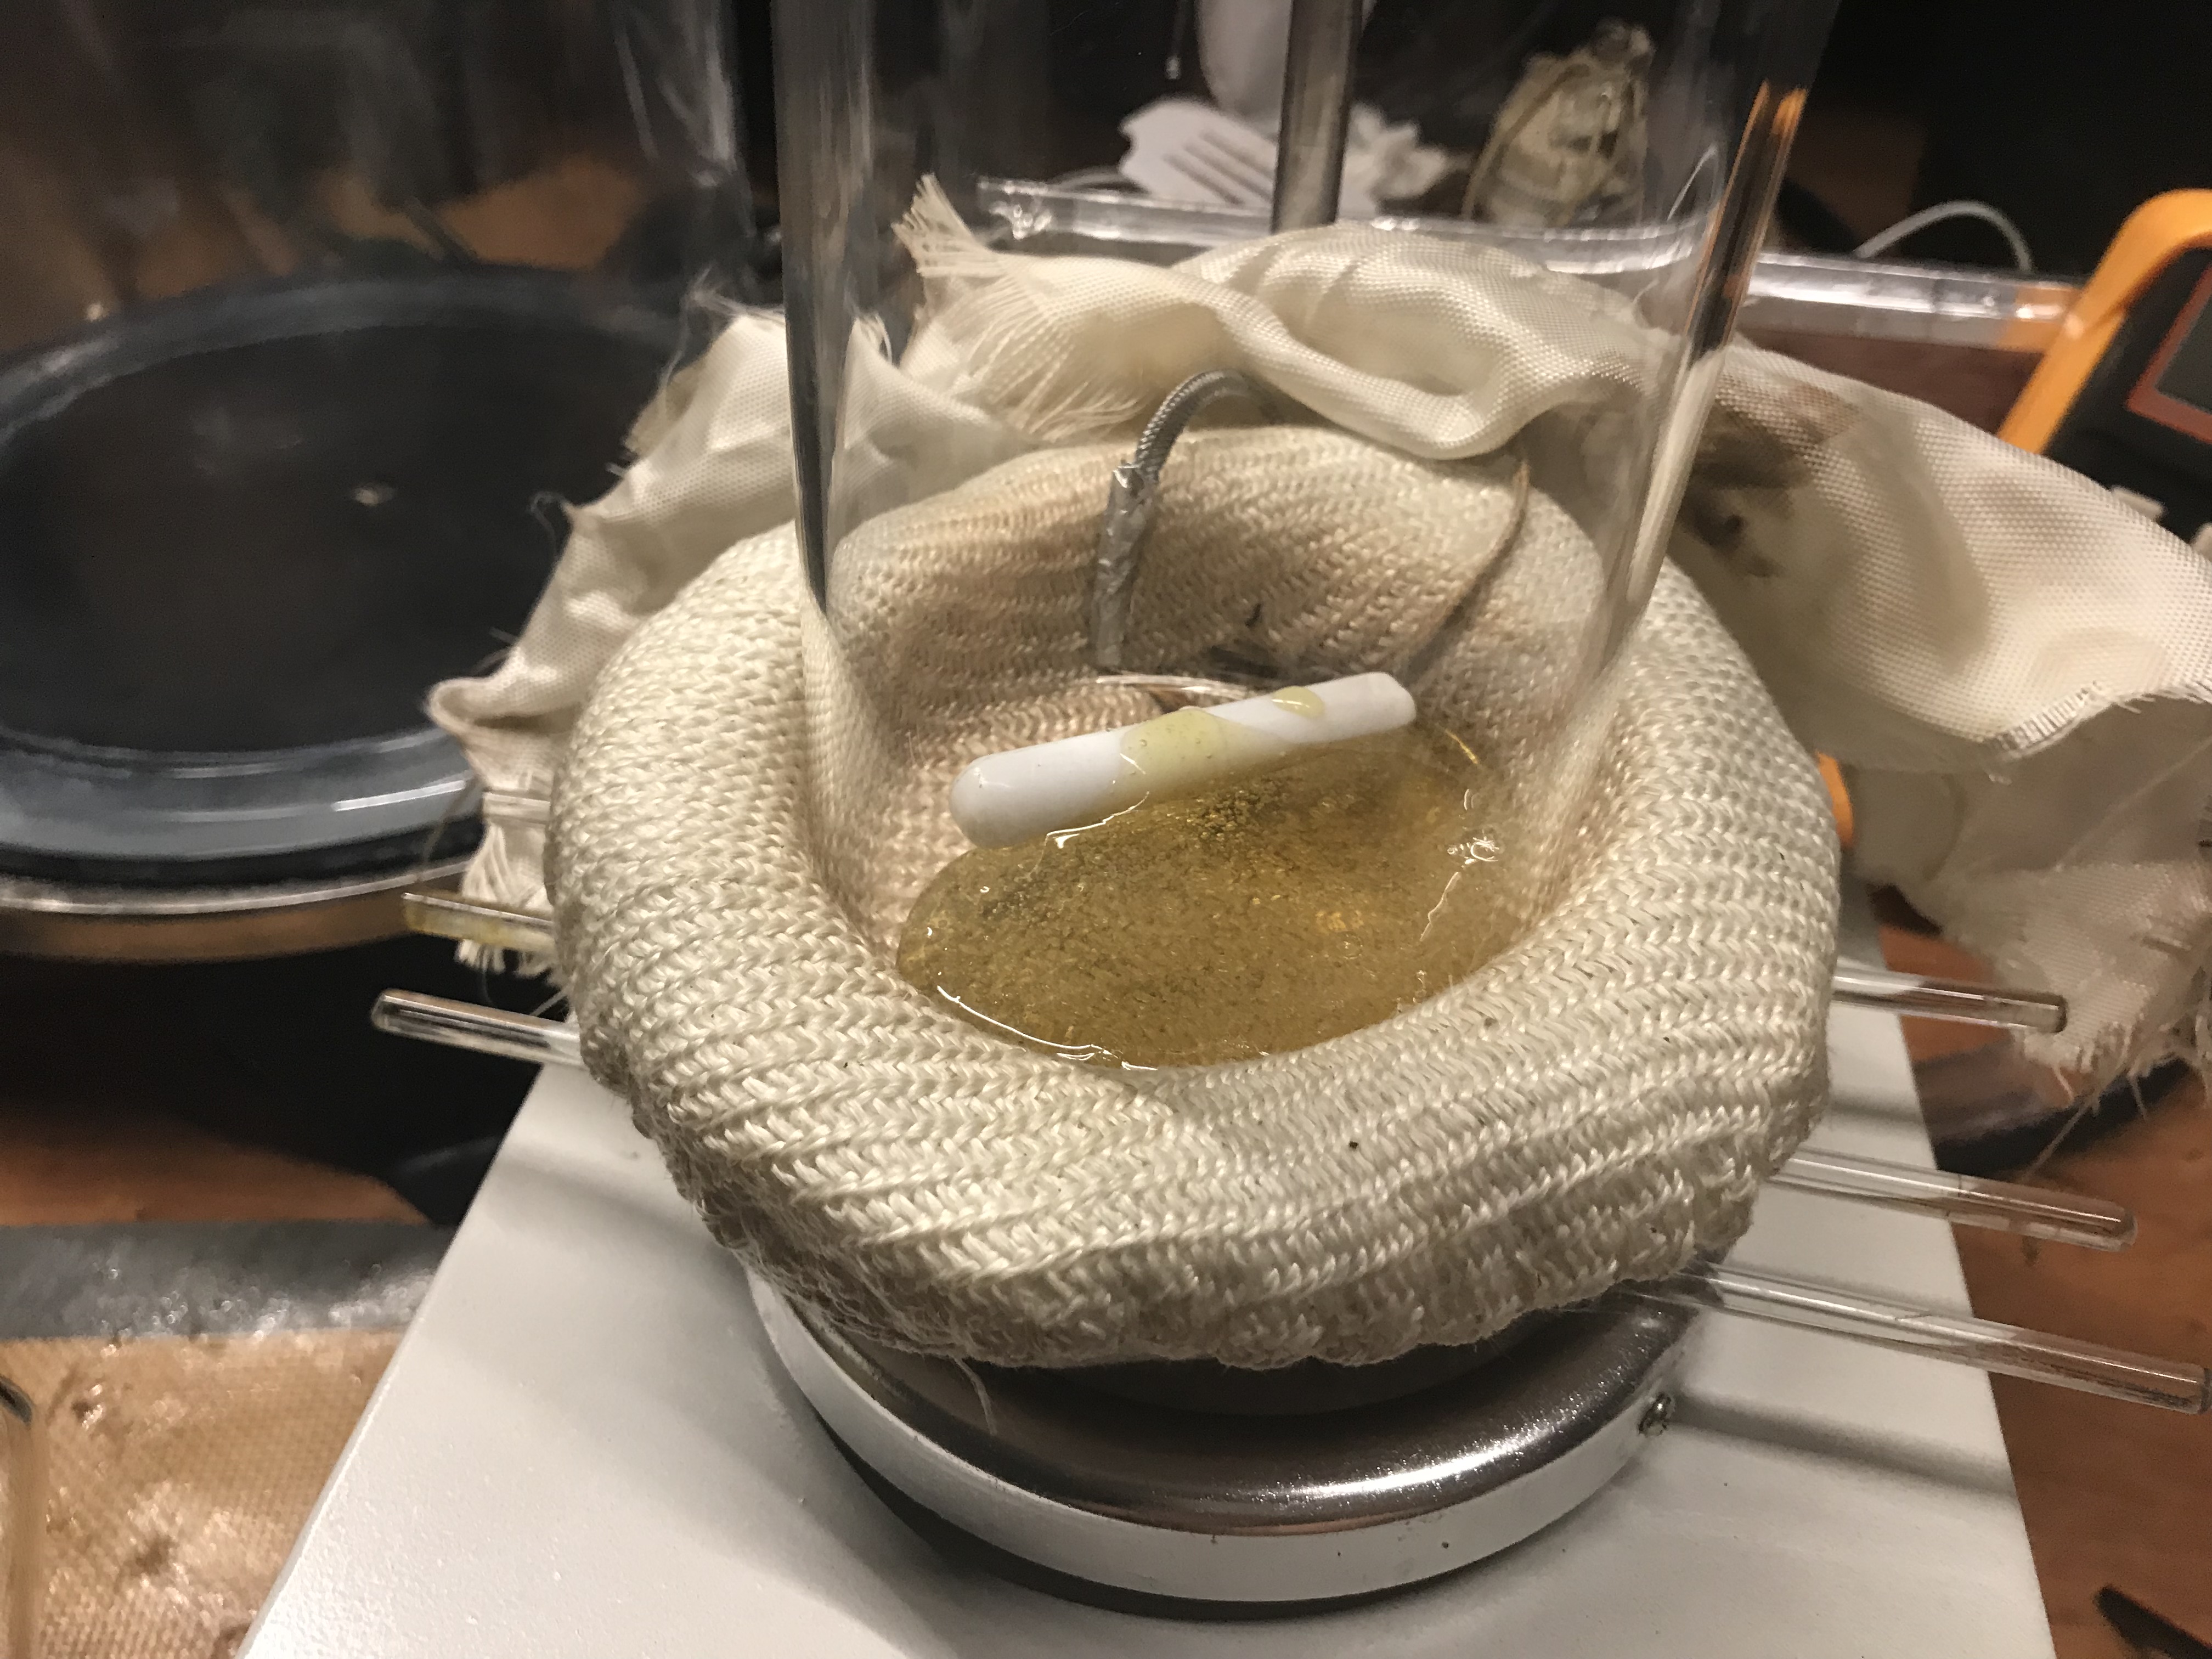
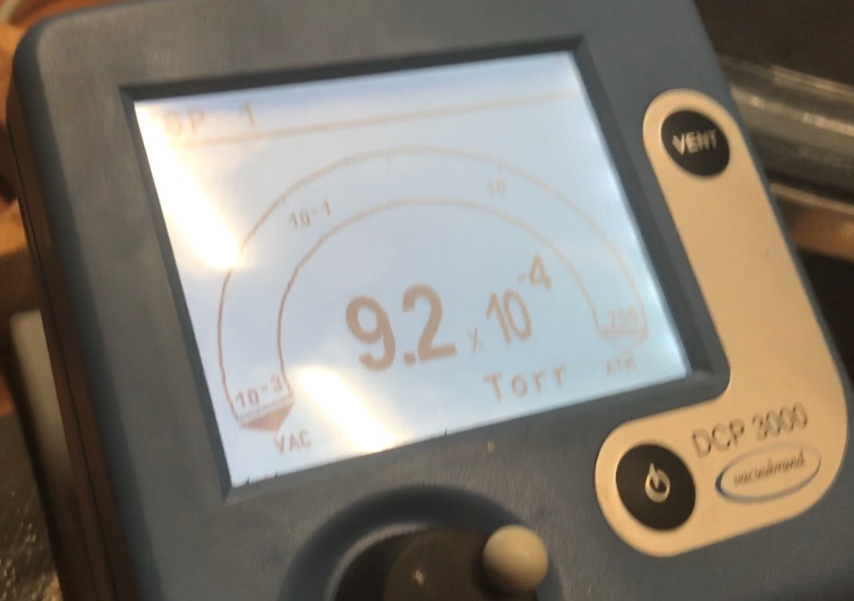
The lower boiling components like terpenes were removed using a horizontal distillation rig. Mantle temp is set at 190C nominal for starting crude. The vacuum reading is completely dependent upon the remaining terpenes in the boiling flask. When the vacuum slowly drops as terpenes cross over into the catch bulb it will eventually drop to levels below five microns. This indicates that all possible terpenes have been removed from the boiling flask. This step also produces thermal degredation products.
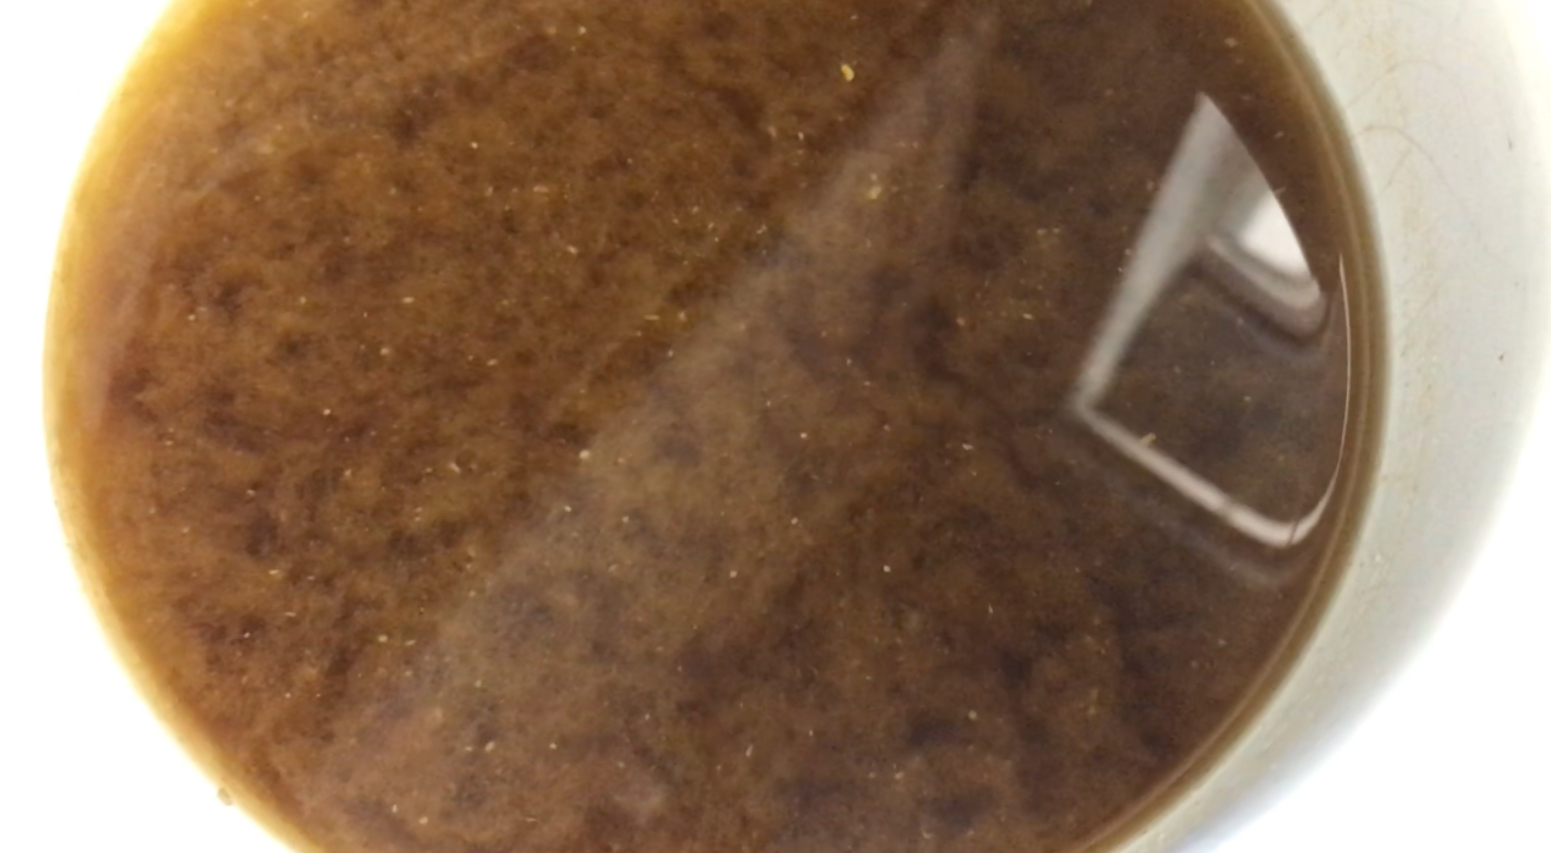
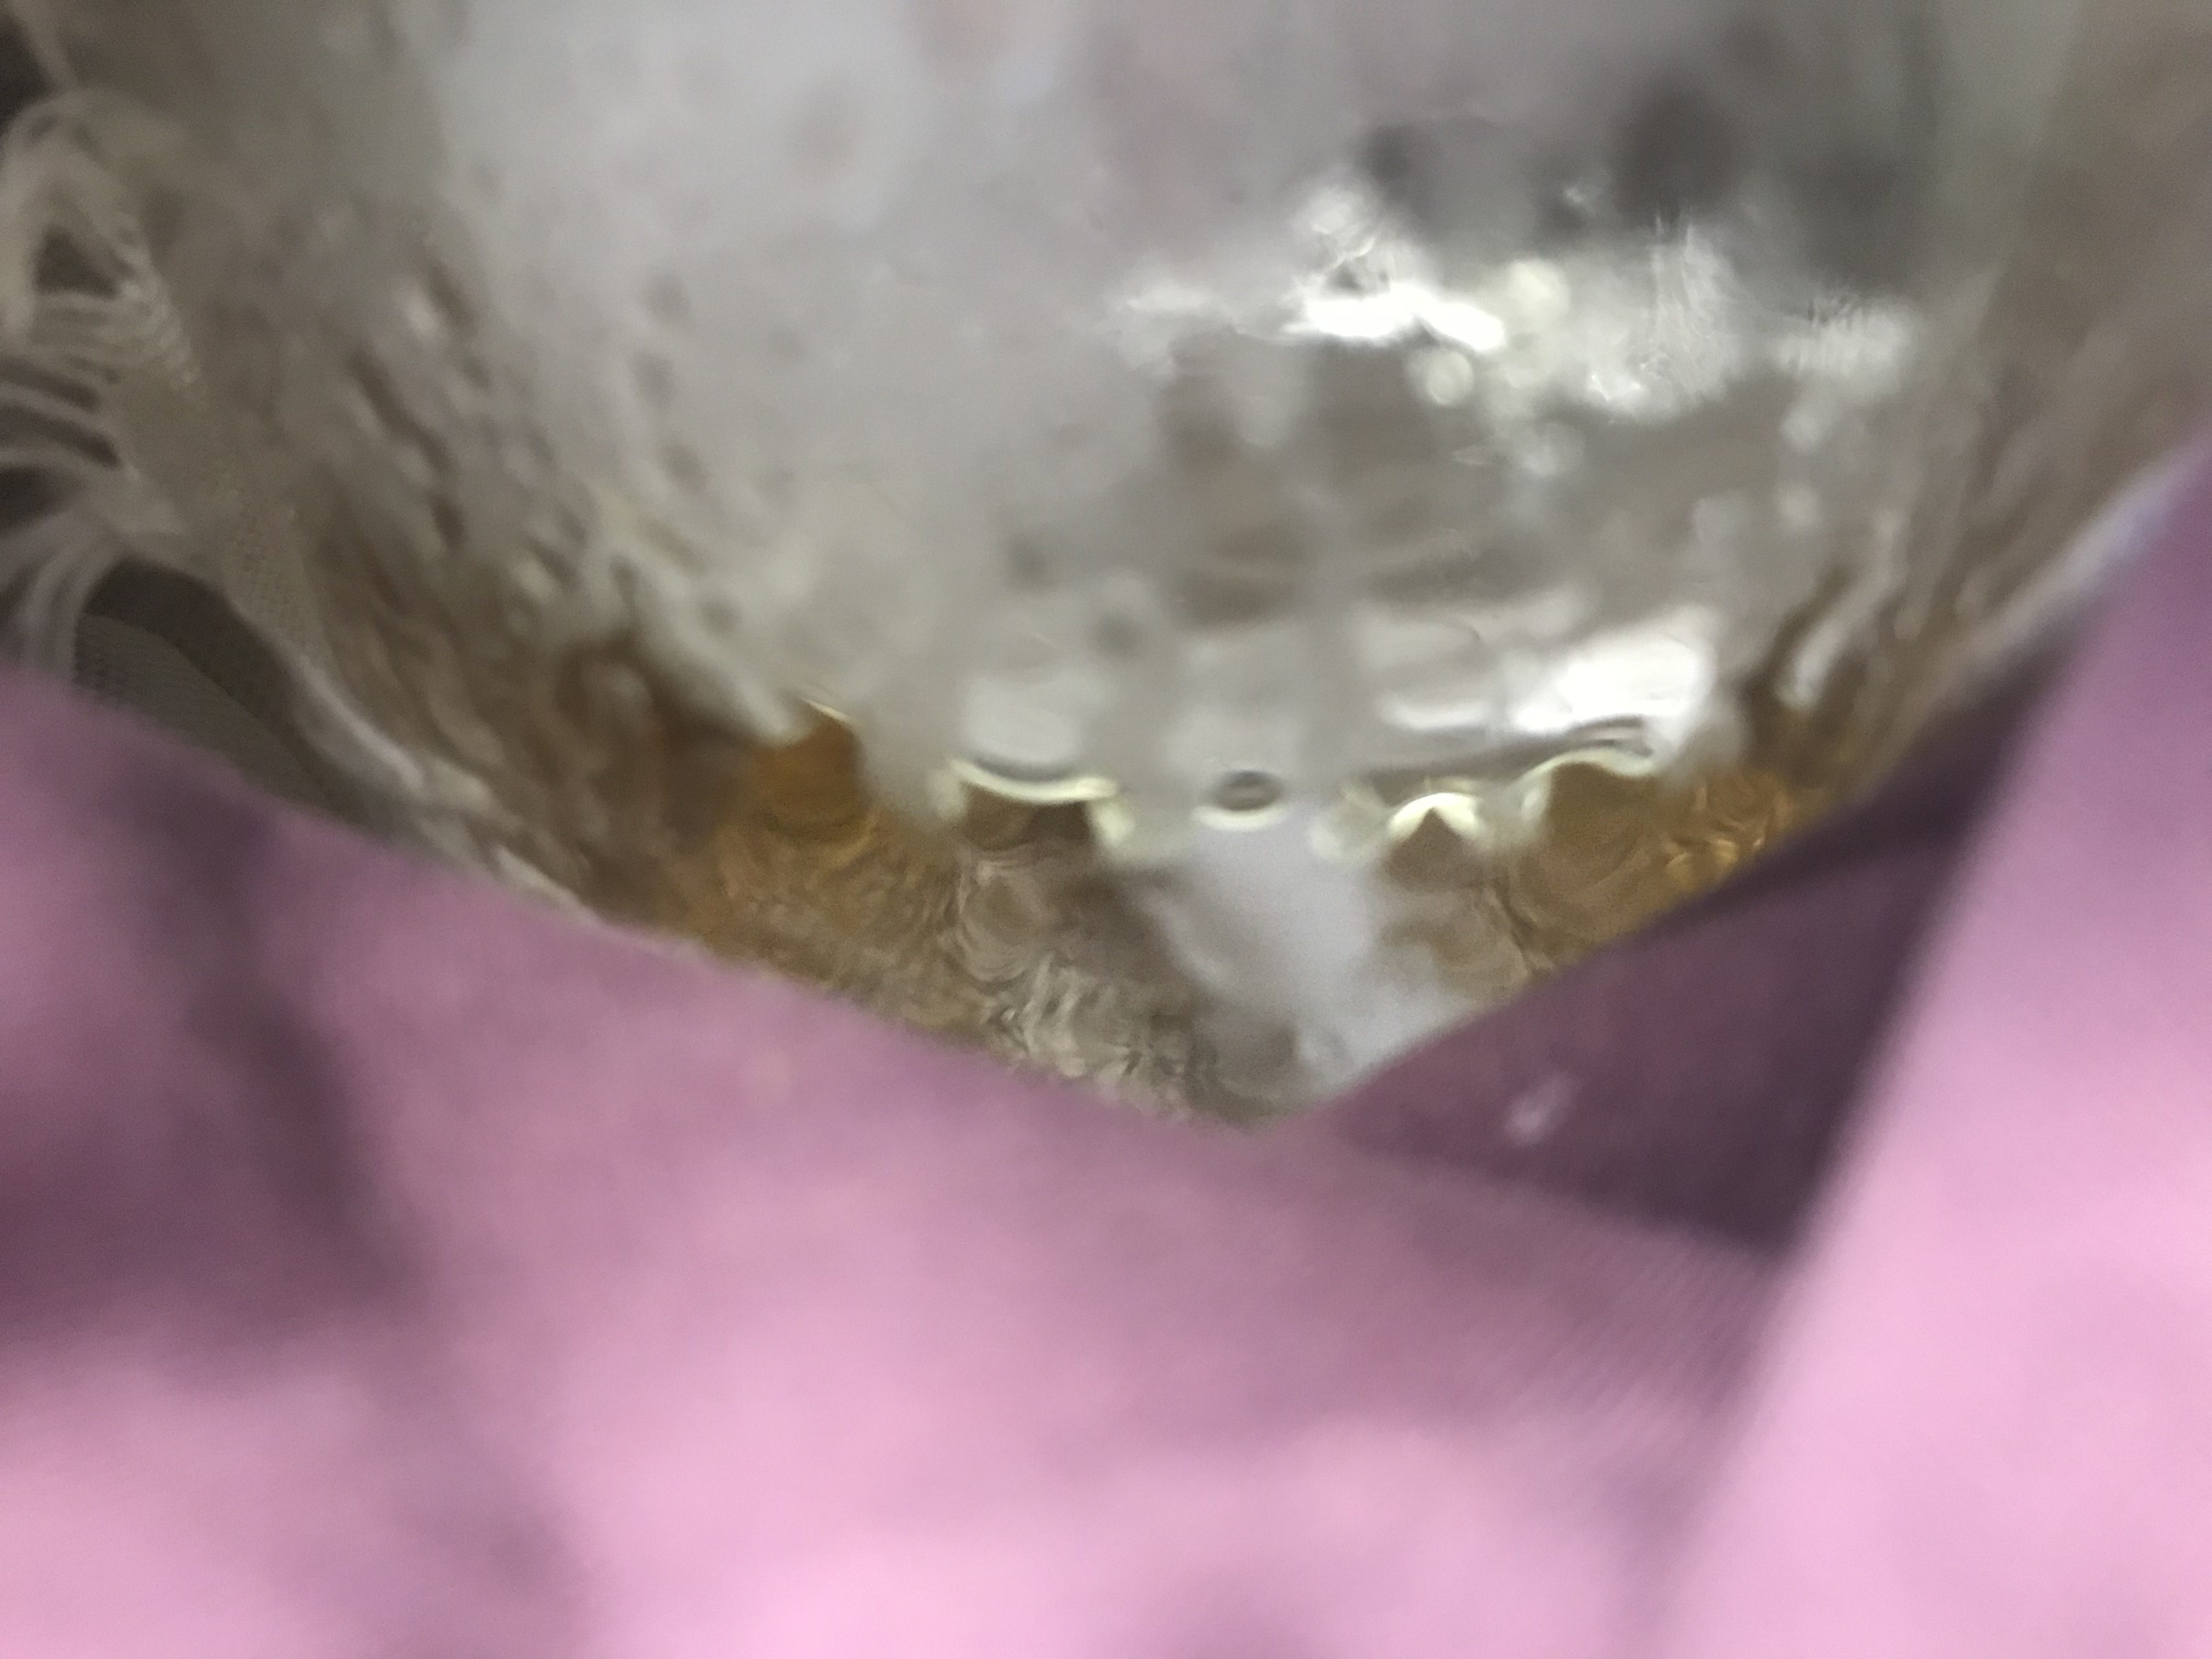
Above is the dewaxed and solvent purged crude from step one. Some boiling in rubbing alcohol took place before this is not shown. Below is after the micron reading dropped from hundreds of microns and as the catch bulb on the left filled with terpenes the micron reading pulled down to three microns. The contents of the boiling flask are then transferred. The terpenes shown collected in the catch bulb on the left are discarded.
-
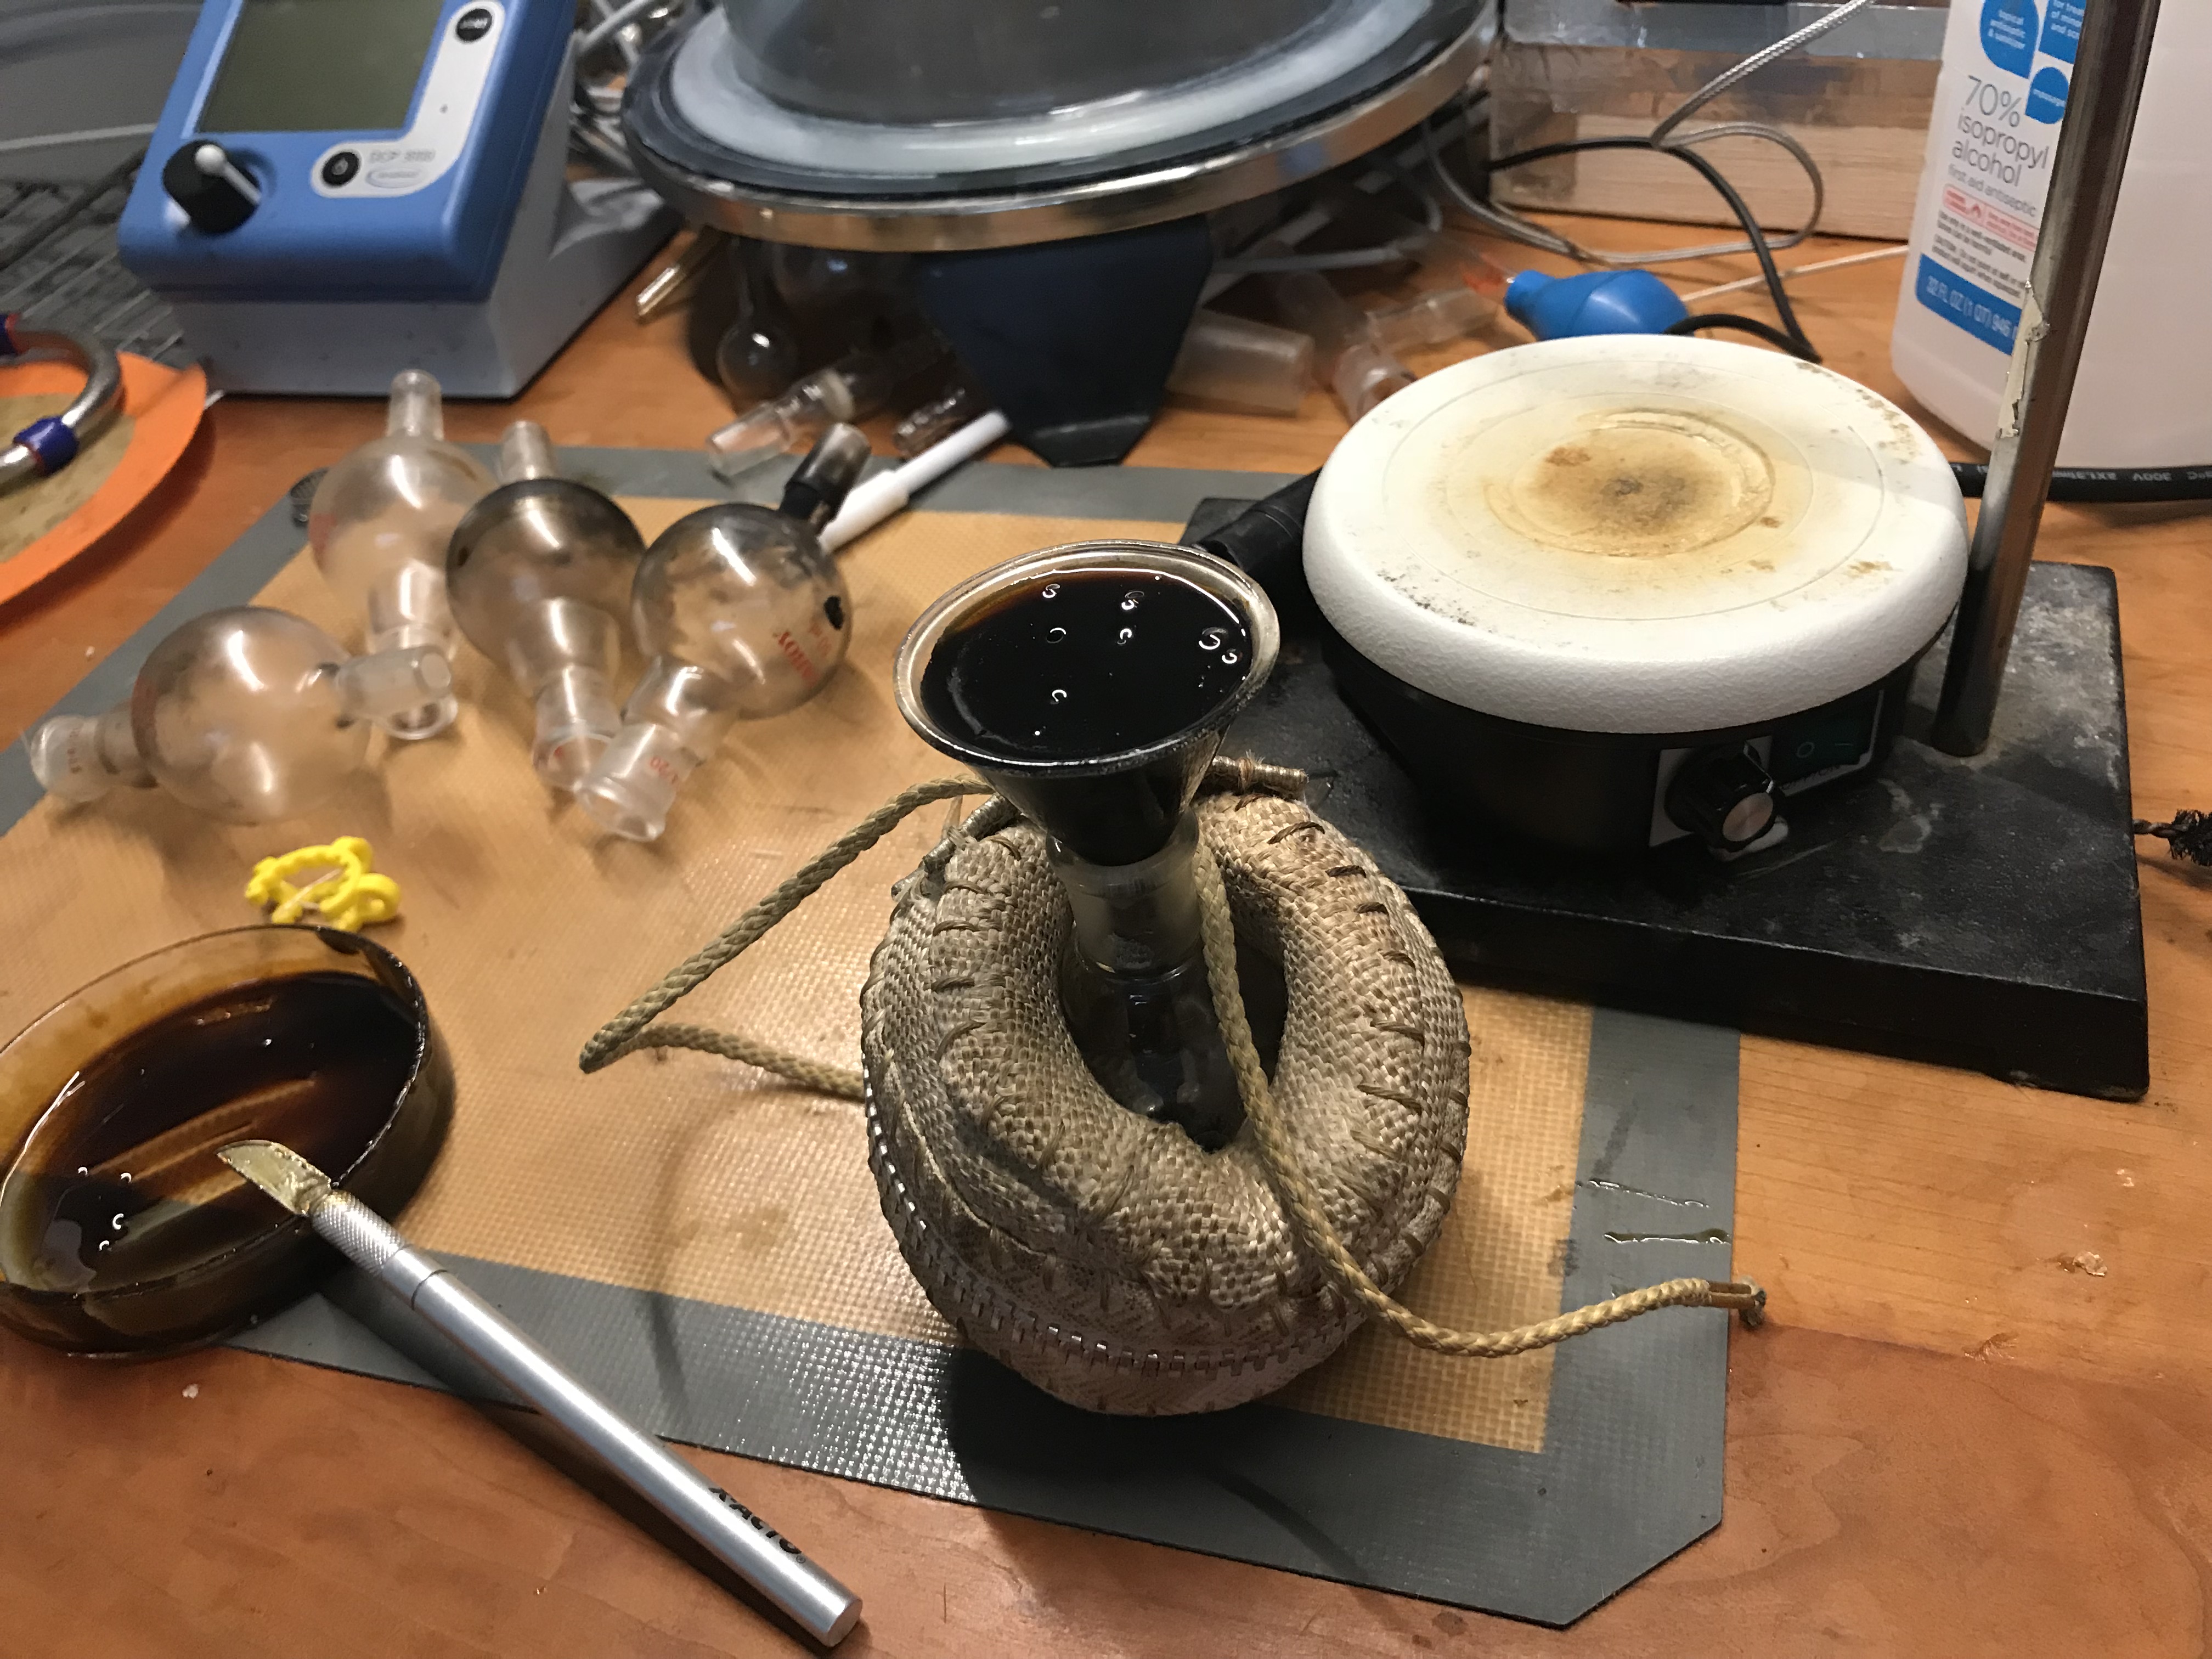
Two back to back runs through my cryogenic sublimation apparatus progressively refine to ever higher purities but the apparatus cannot fully seperate the thermal degredation products/unknown compounds that seem to evolve in step two.
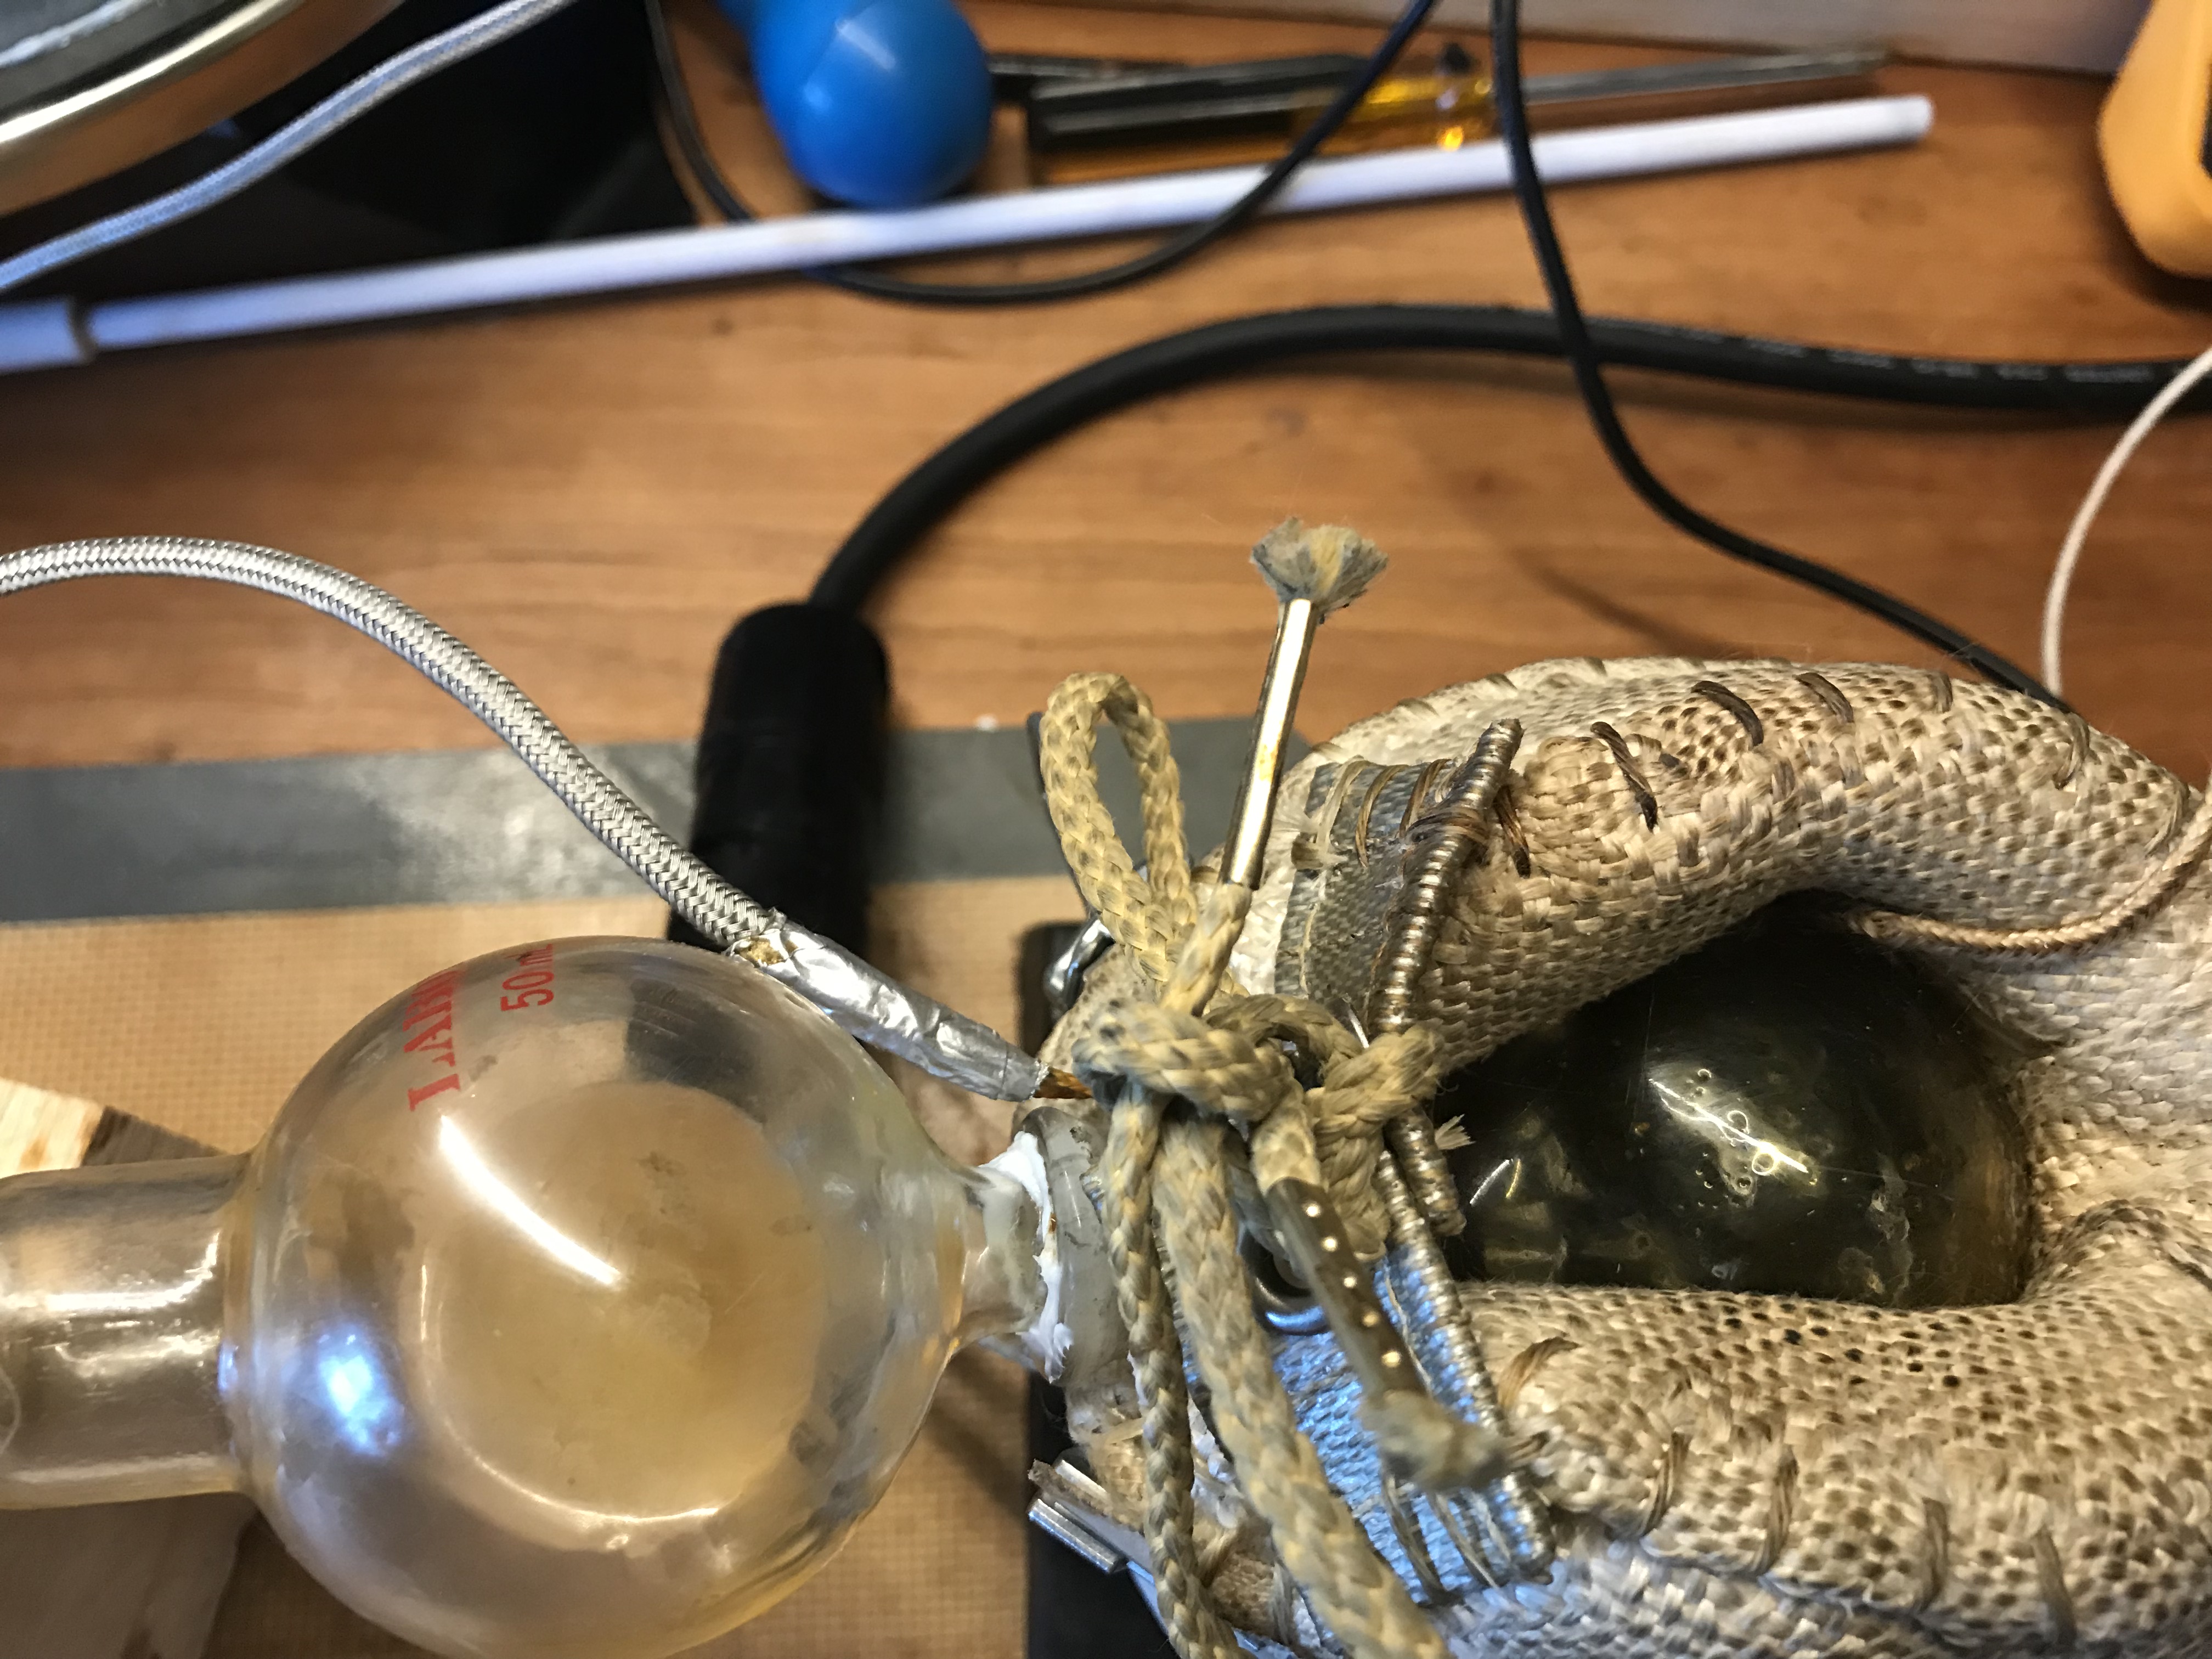
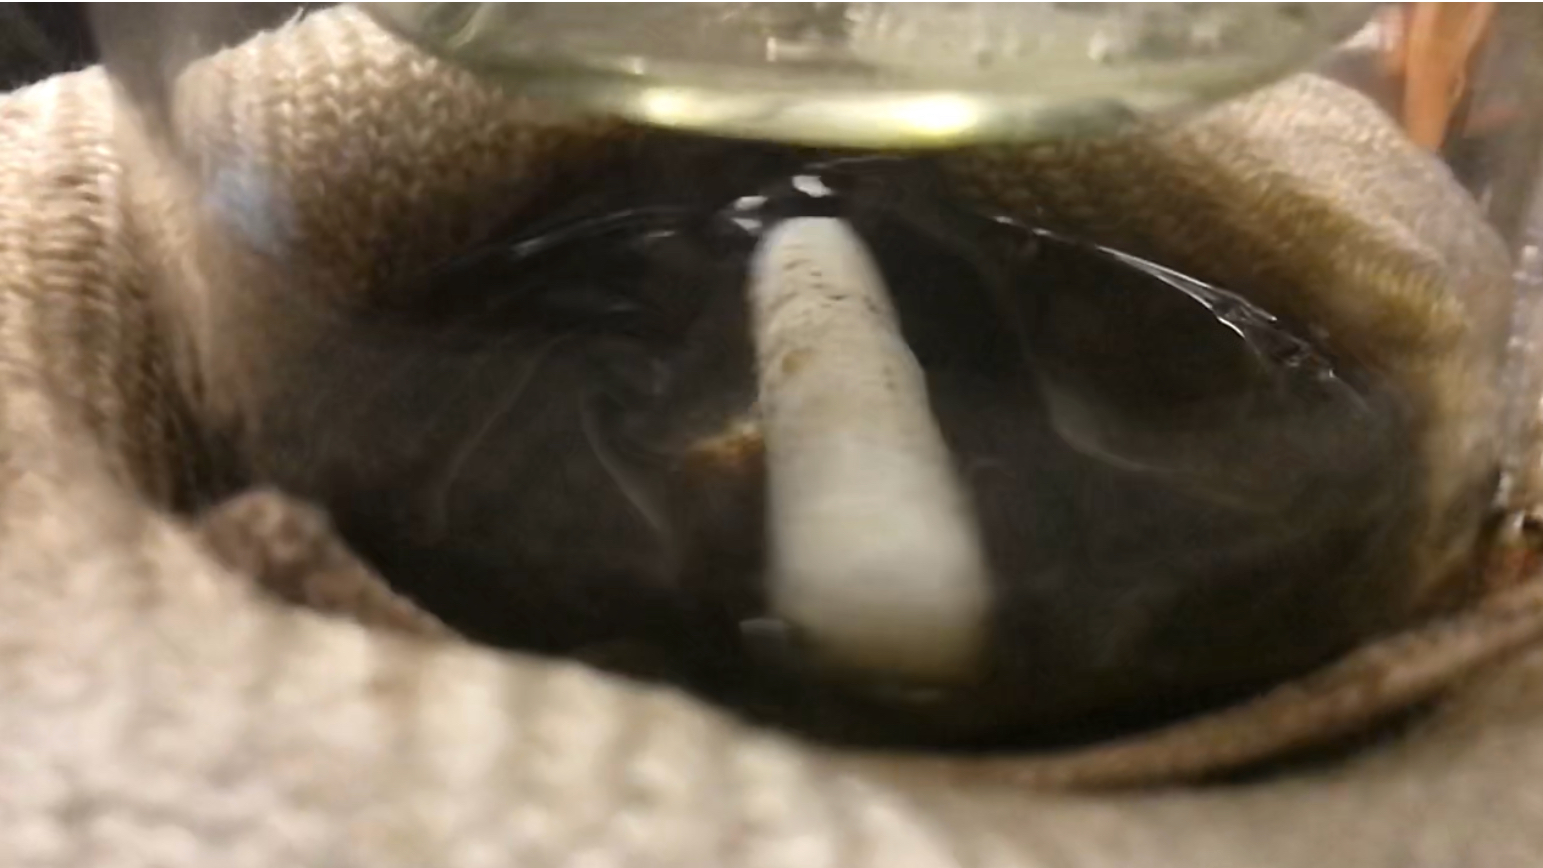
Pass one then pass two in progress shown. Pressure indicates one micron nominal. Heating mantle temp for pass one is 185C nominal. Pass two mantle temp is set for 145C nominal. The fluid is stirred under mean free path “flow” conditions for gas at one micron and deposits on the ice water filled cold finger. When the layer is thick the gas begins to condense onto the finger and the compound must be then harvested, the finger cleaned and put back in, and the unit restarted until finished with the boiling puddle.
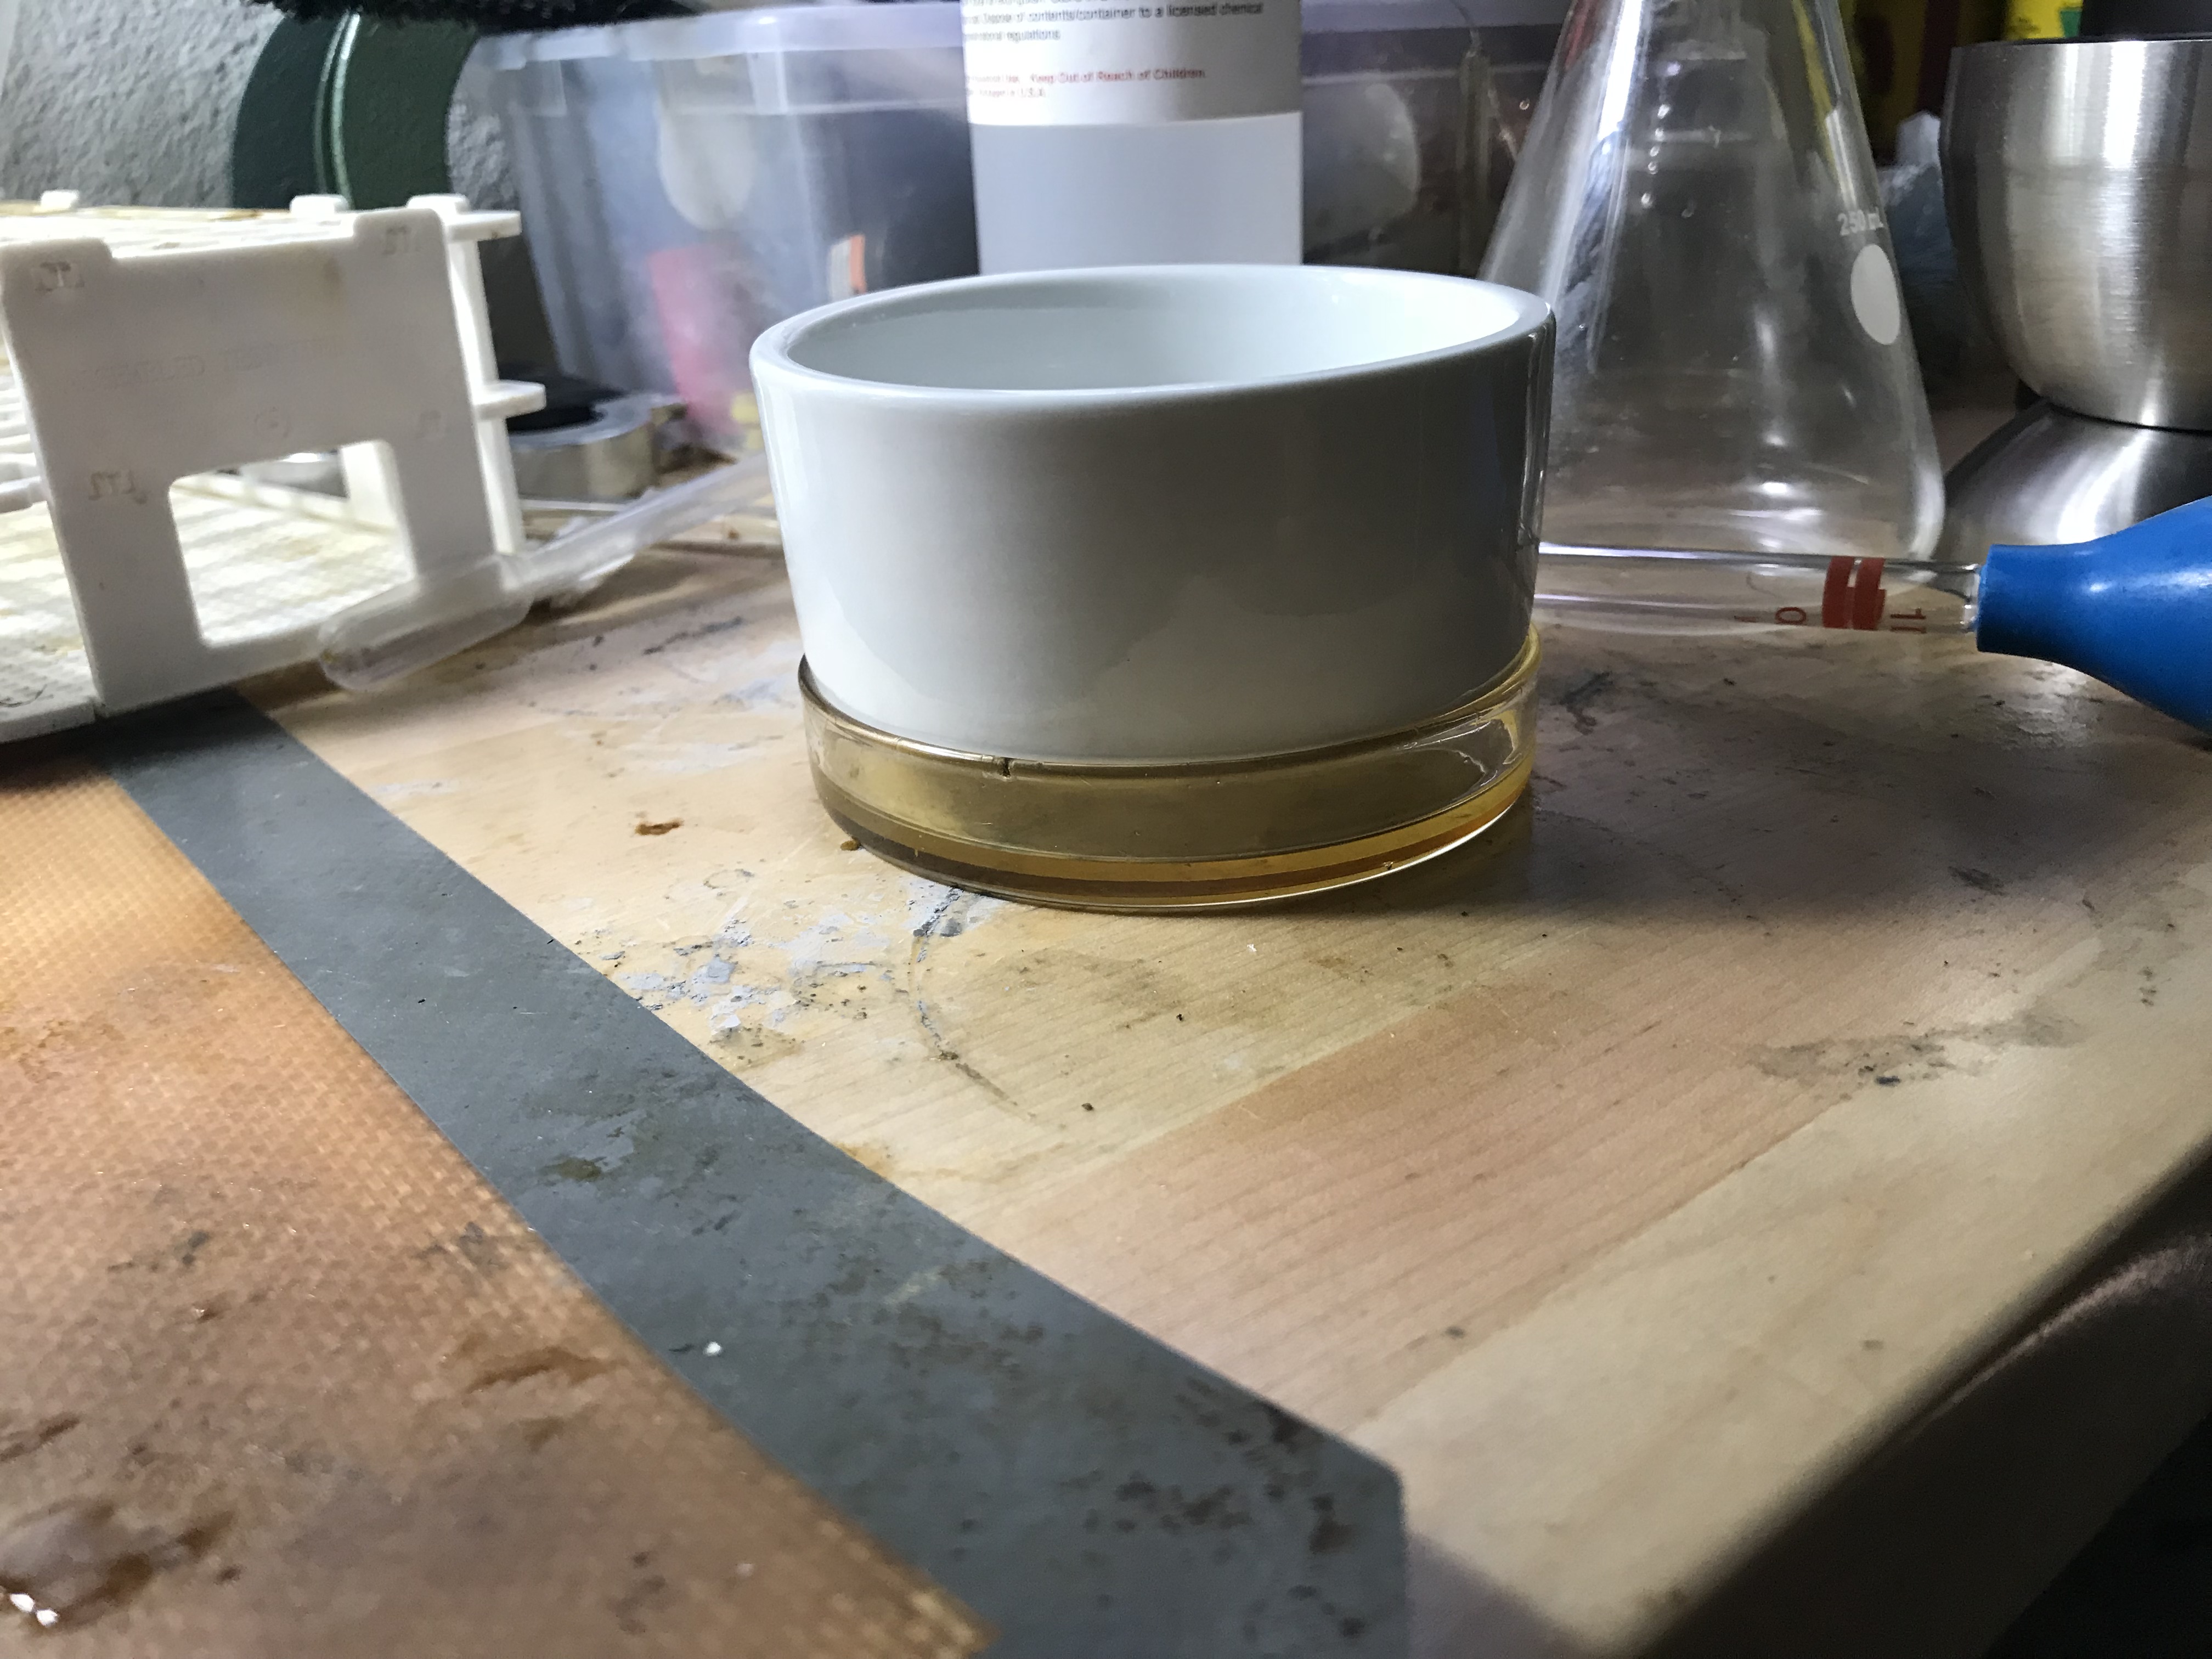
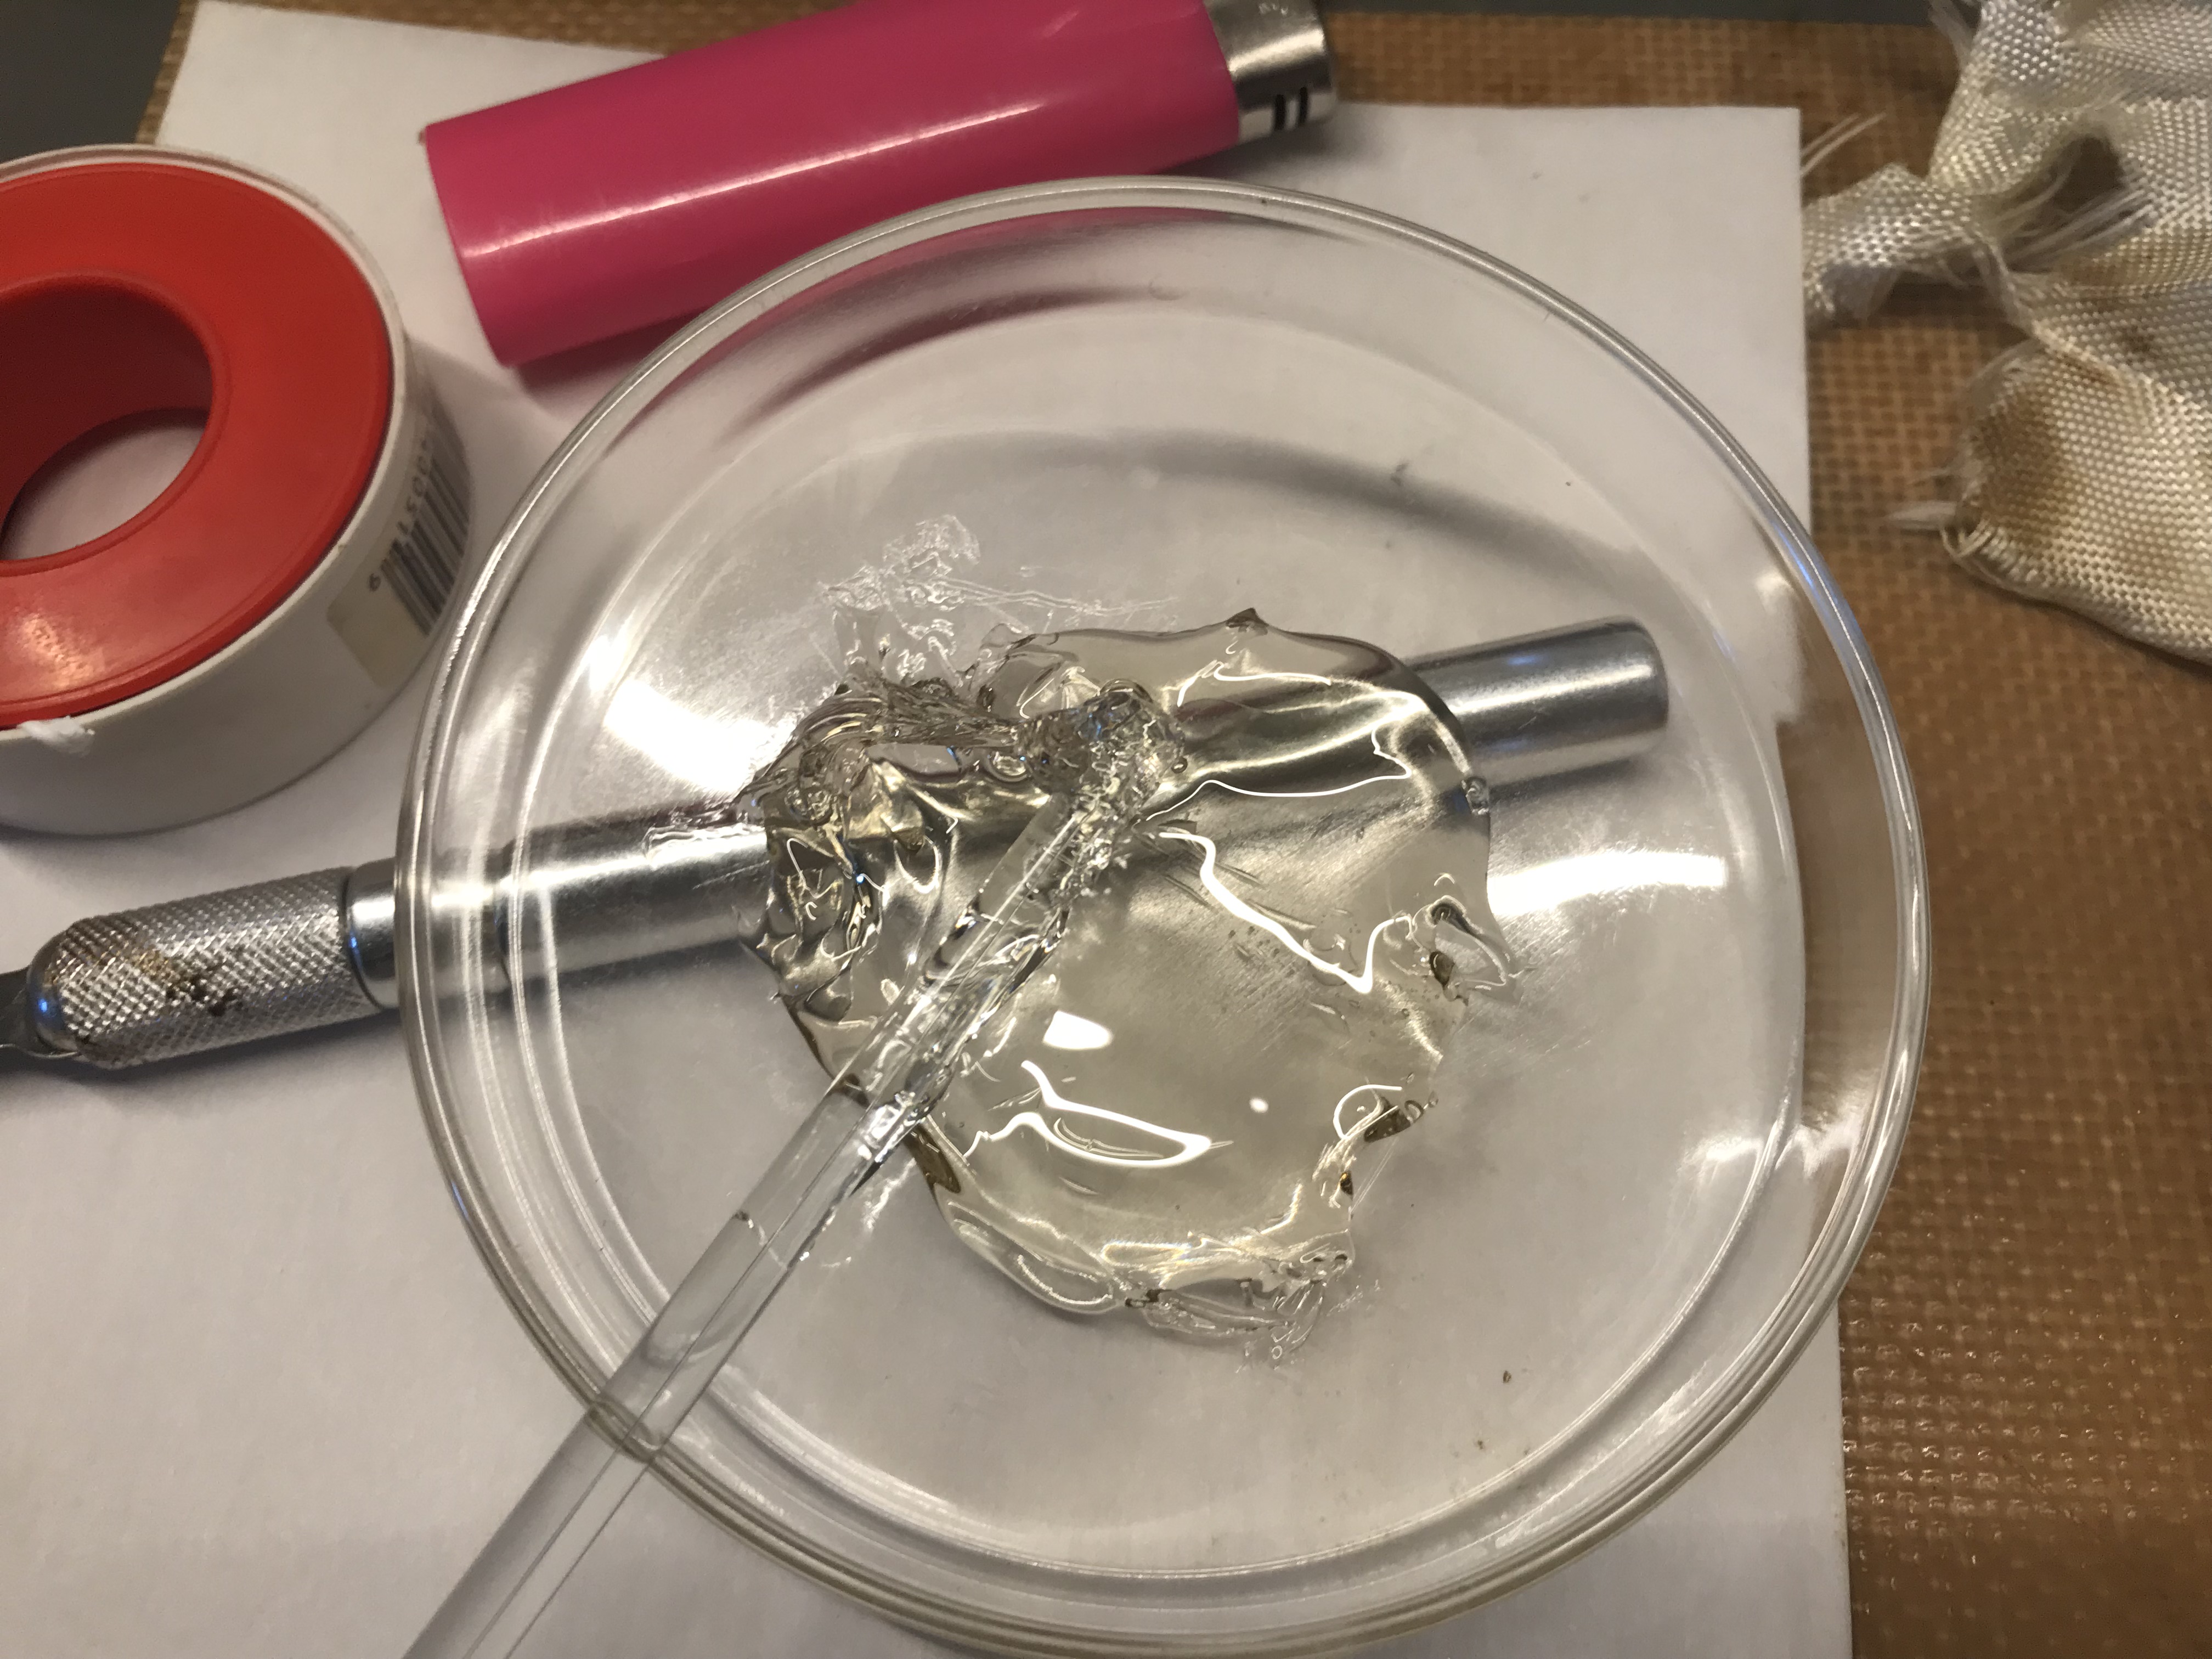
4) Compound was then dissolved at room temp in Ethyl Acetate and prepped for dry loading a Chromatography column. Shown here covered in a ceramic bowl to keep fume contained. About two milliliters per gram of material though it is better to err on too much solvent than too little.
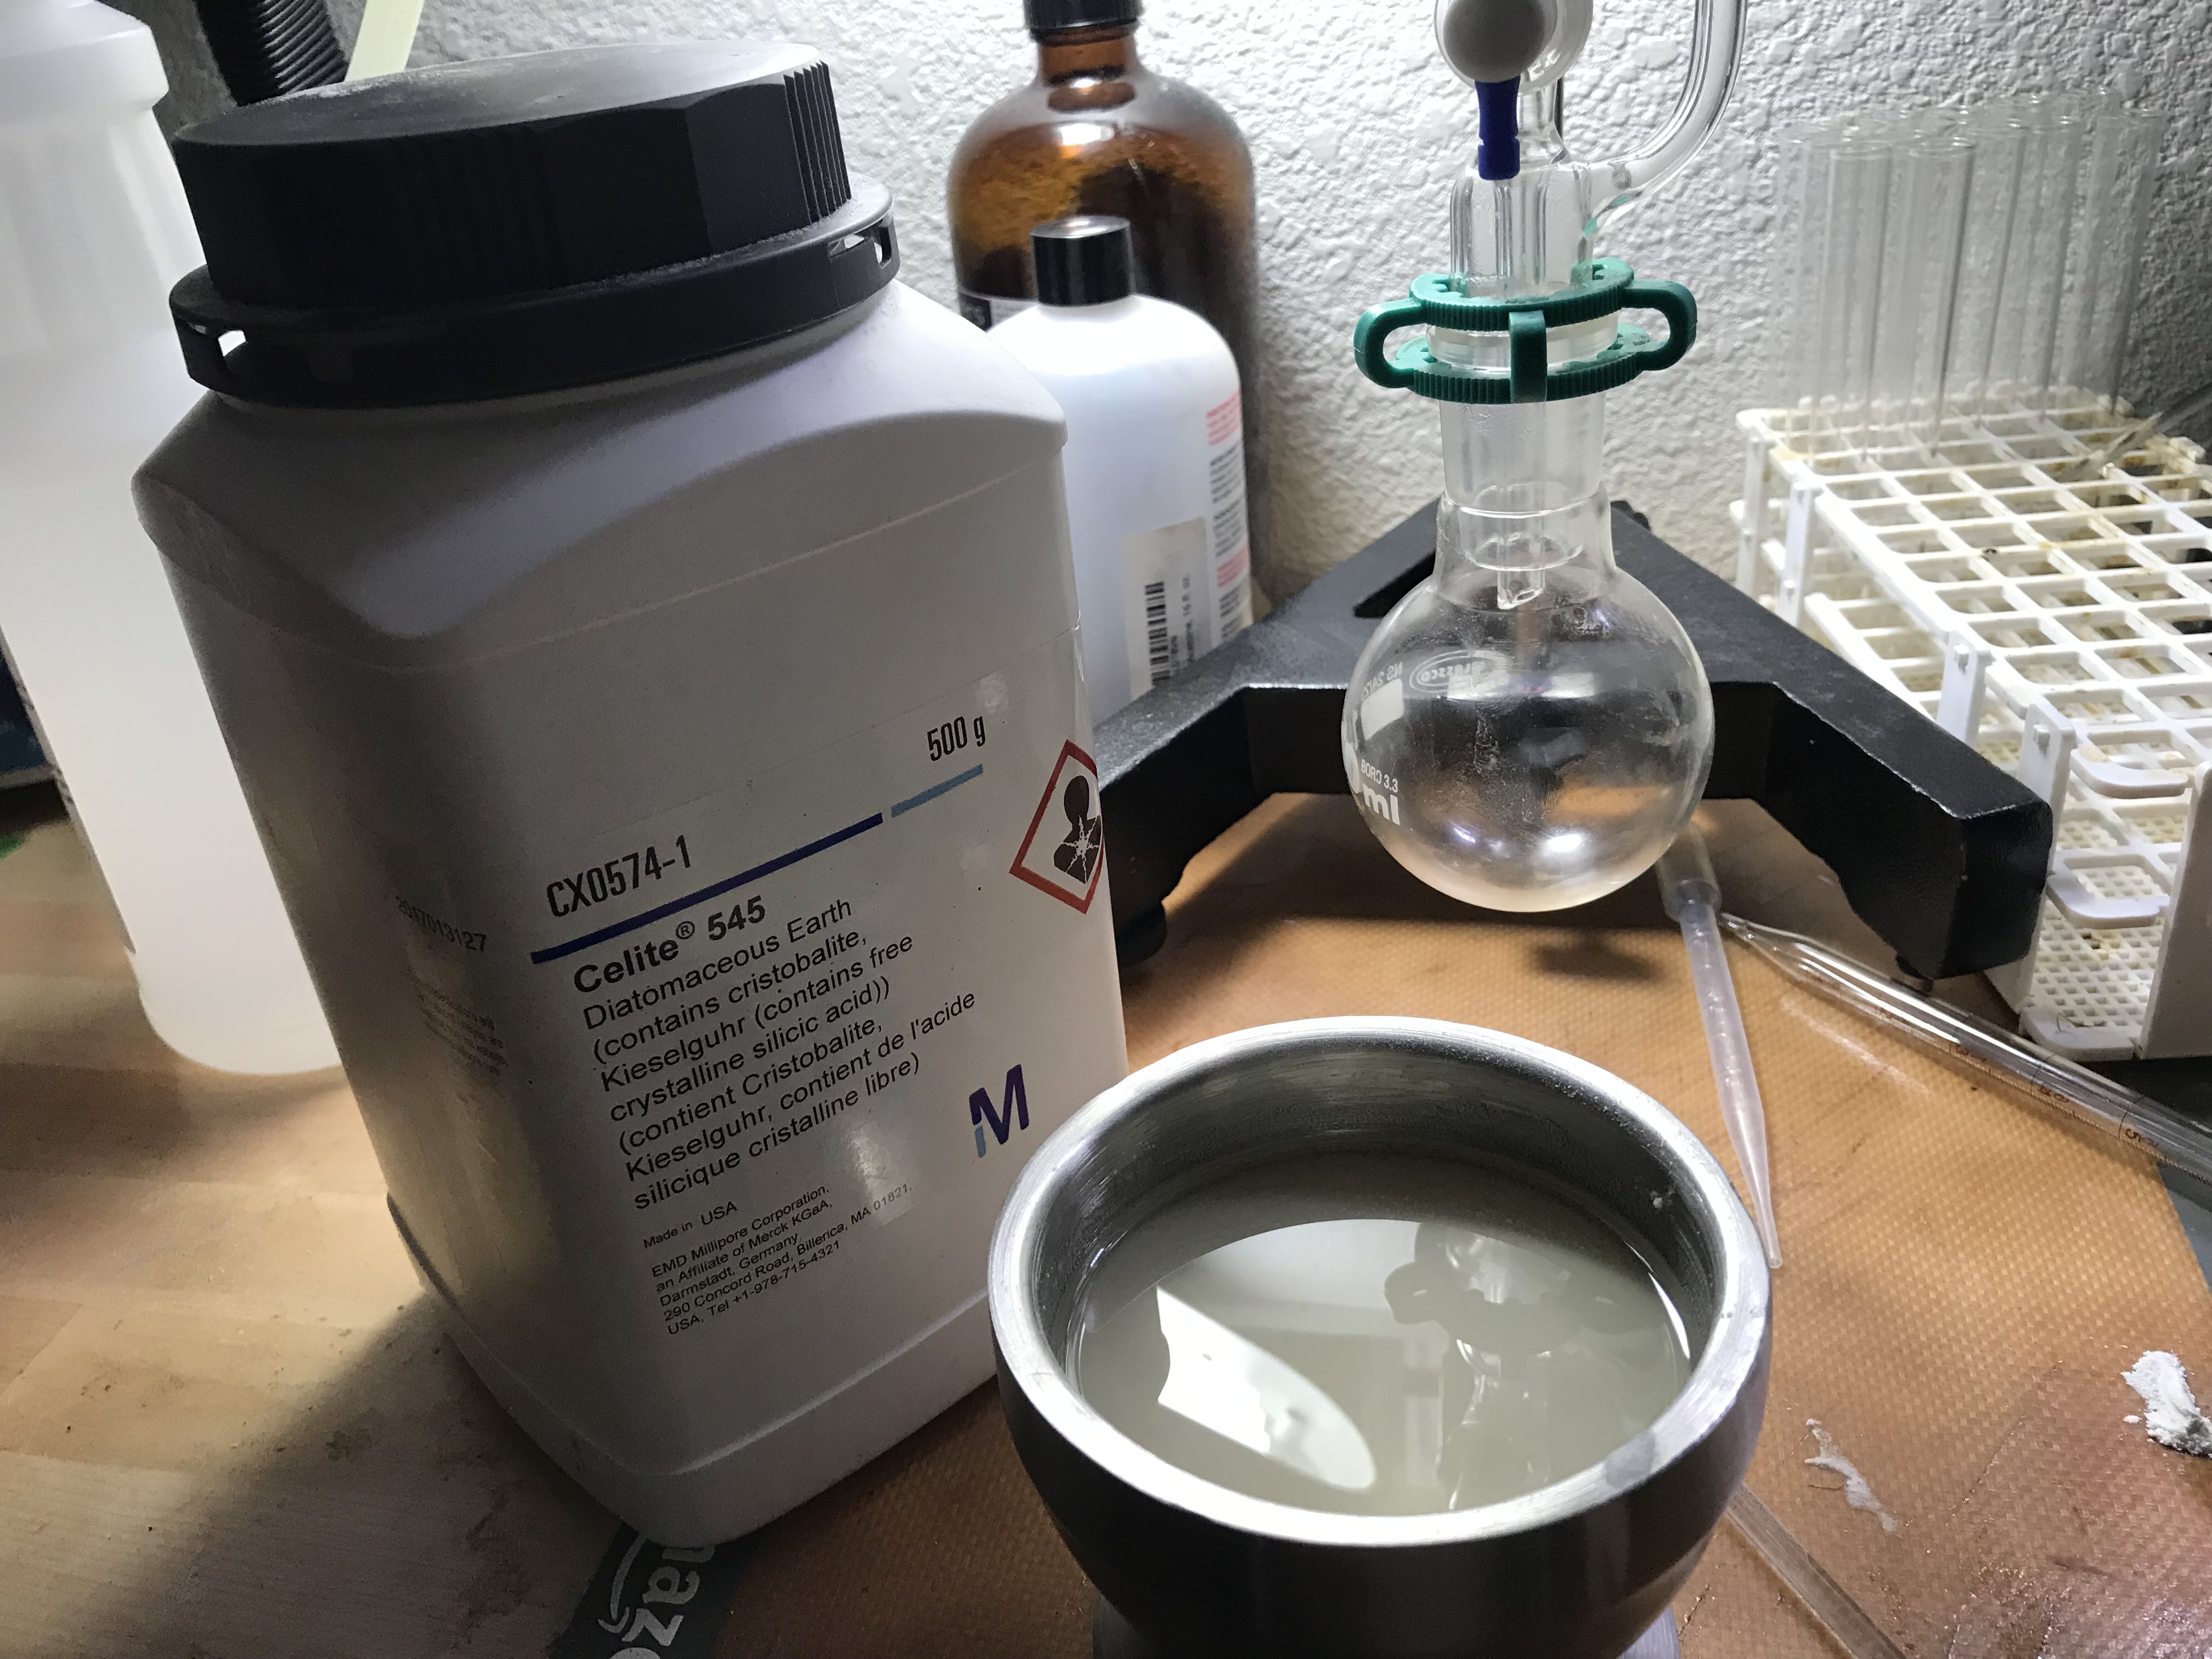
Here is the dissolved compound now being stirred into Celite. The Celite is also known as diatomaceous earth and is often used as a shop absorbant. The Celite will soak up the solvent readily and by this technique will equally distribute the compound into all the Celite which can then be dried.
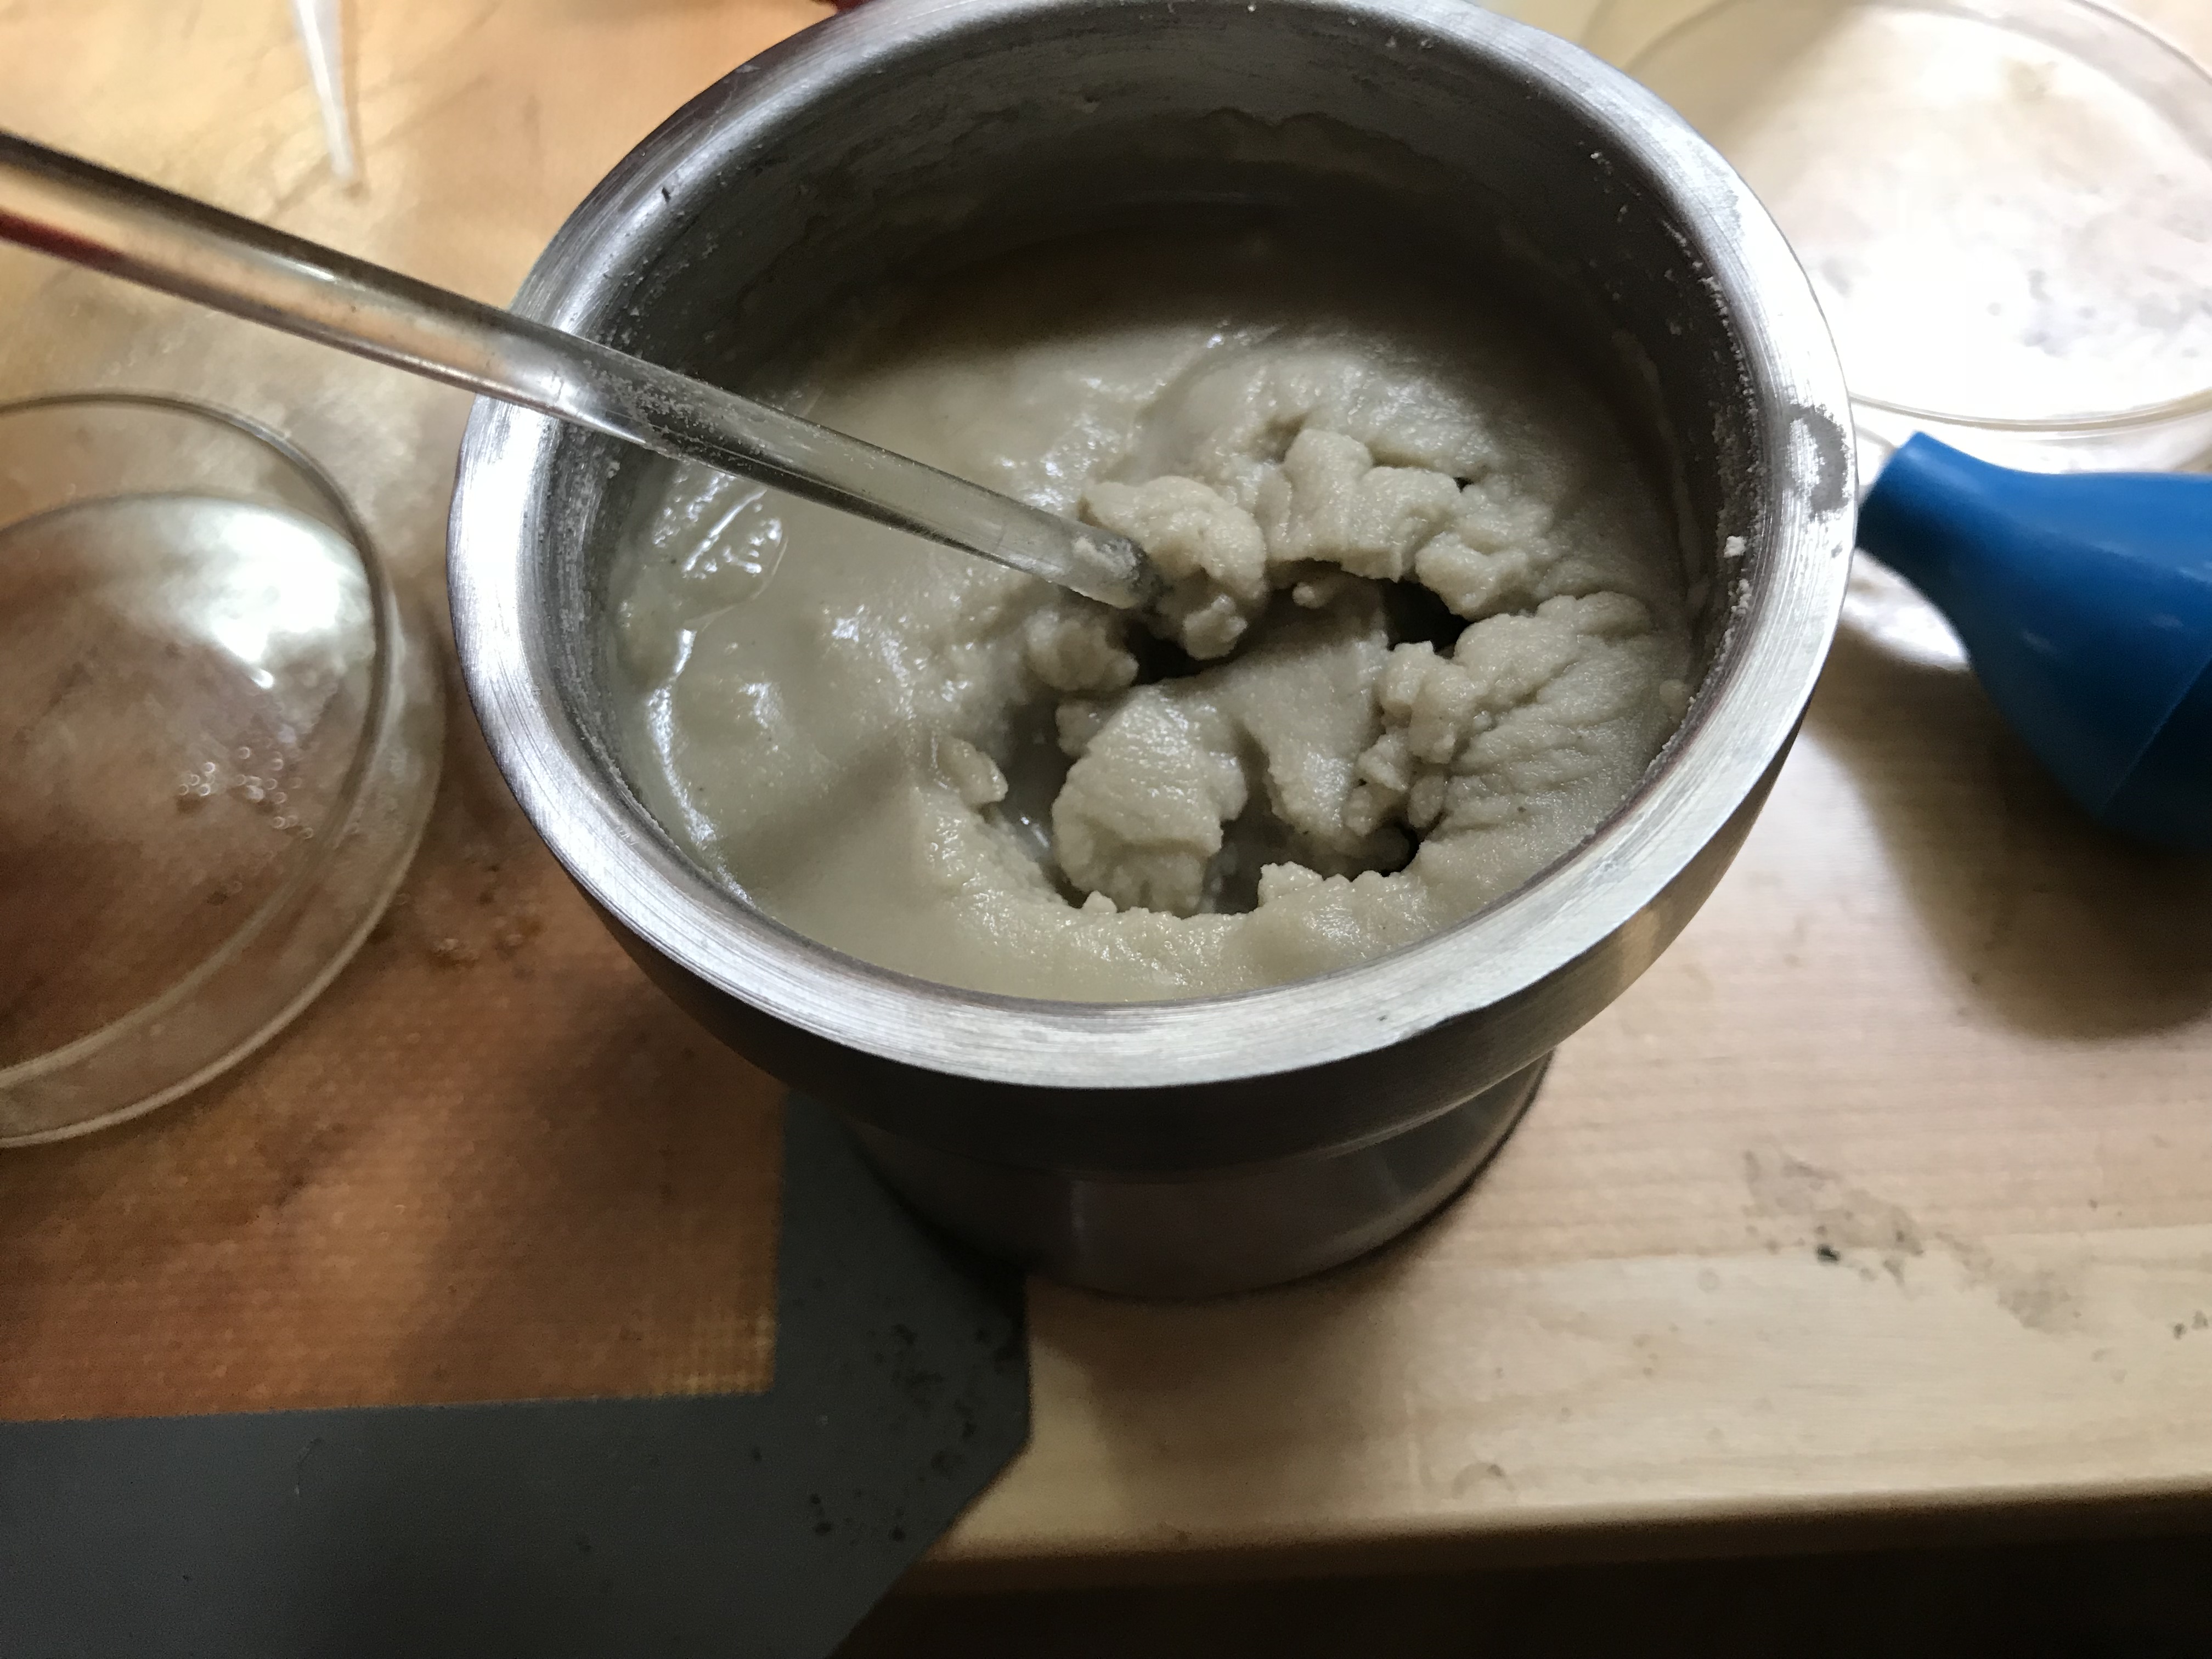
Here it is now after drying fully then purging in the bell jar vacuum chamber. The dry Celite with the compound on it is ground using the mortar and pestle until it is fine.
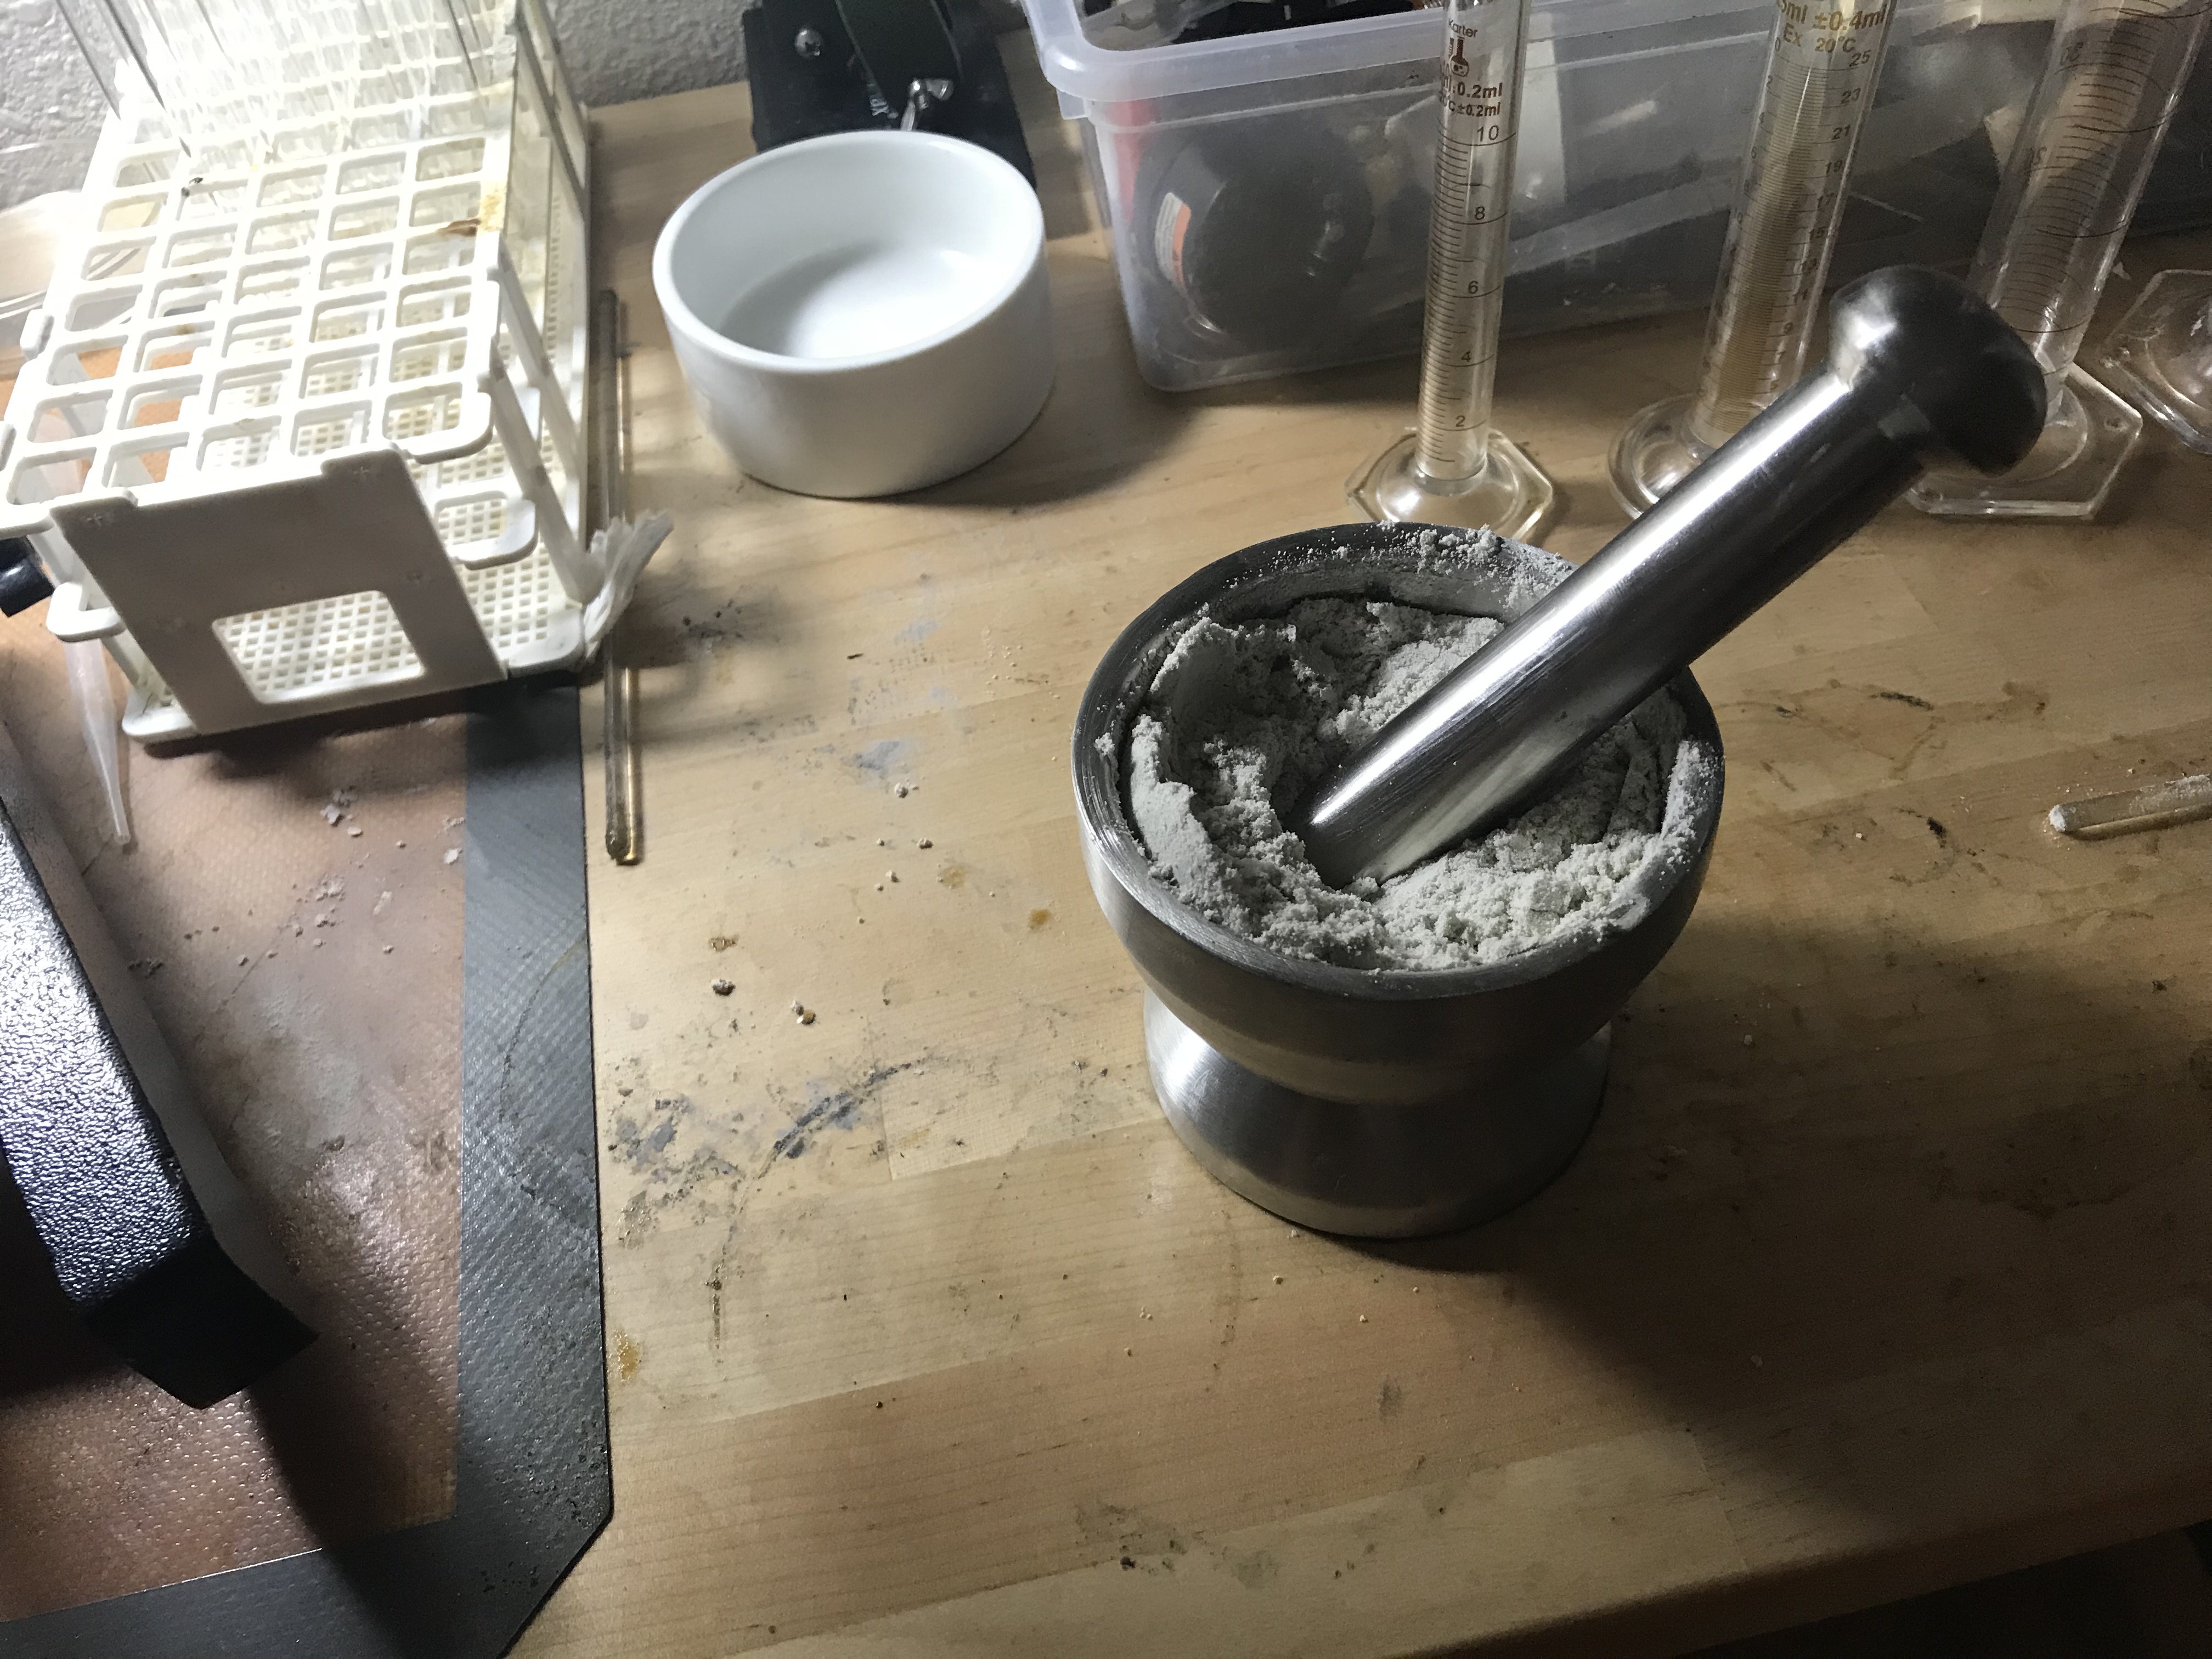
… and then loaded on top of standard silica gel 60 in this column.

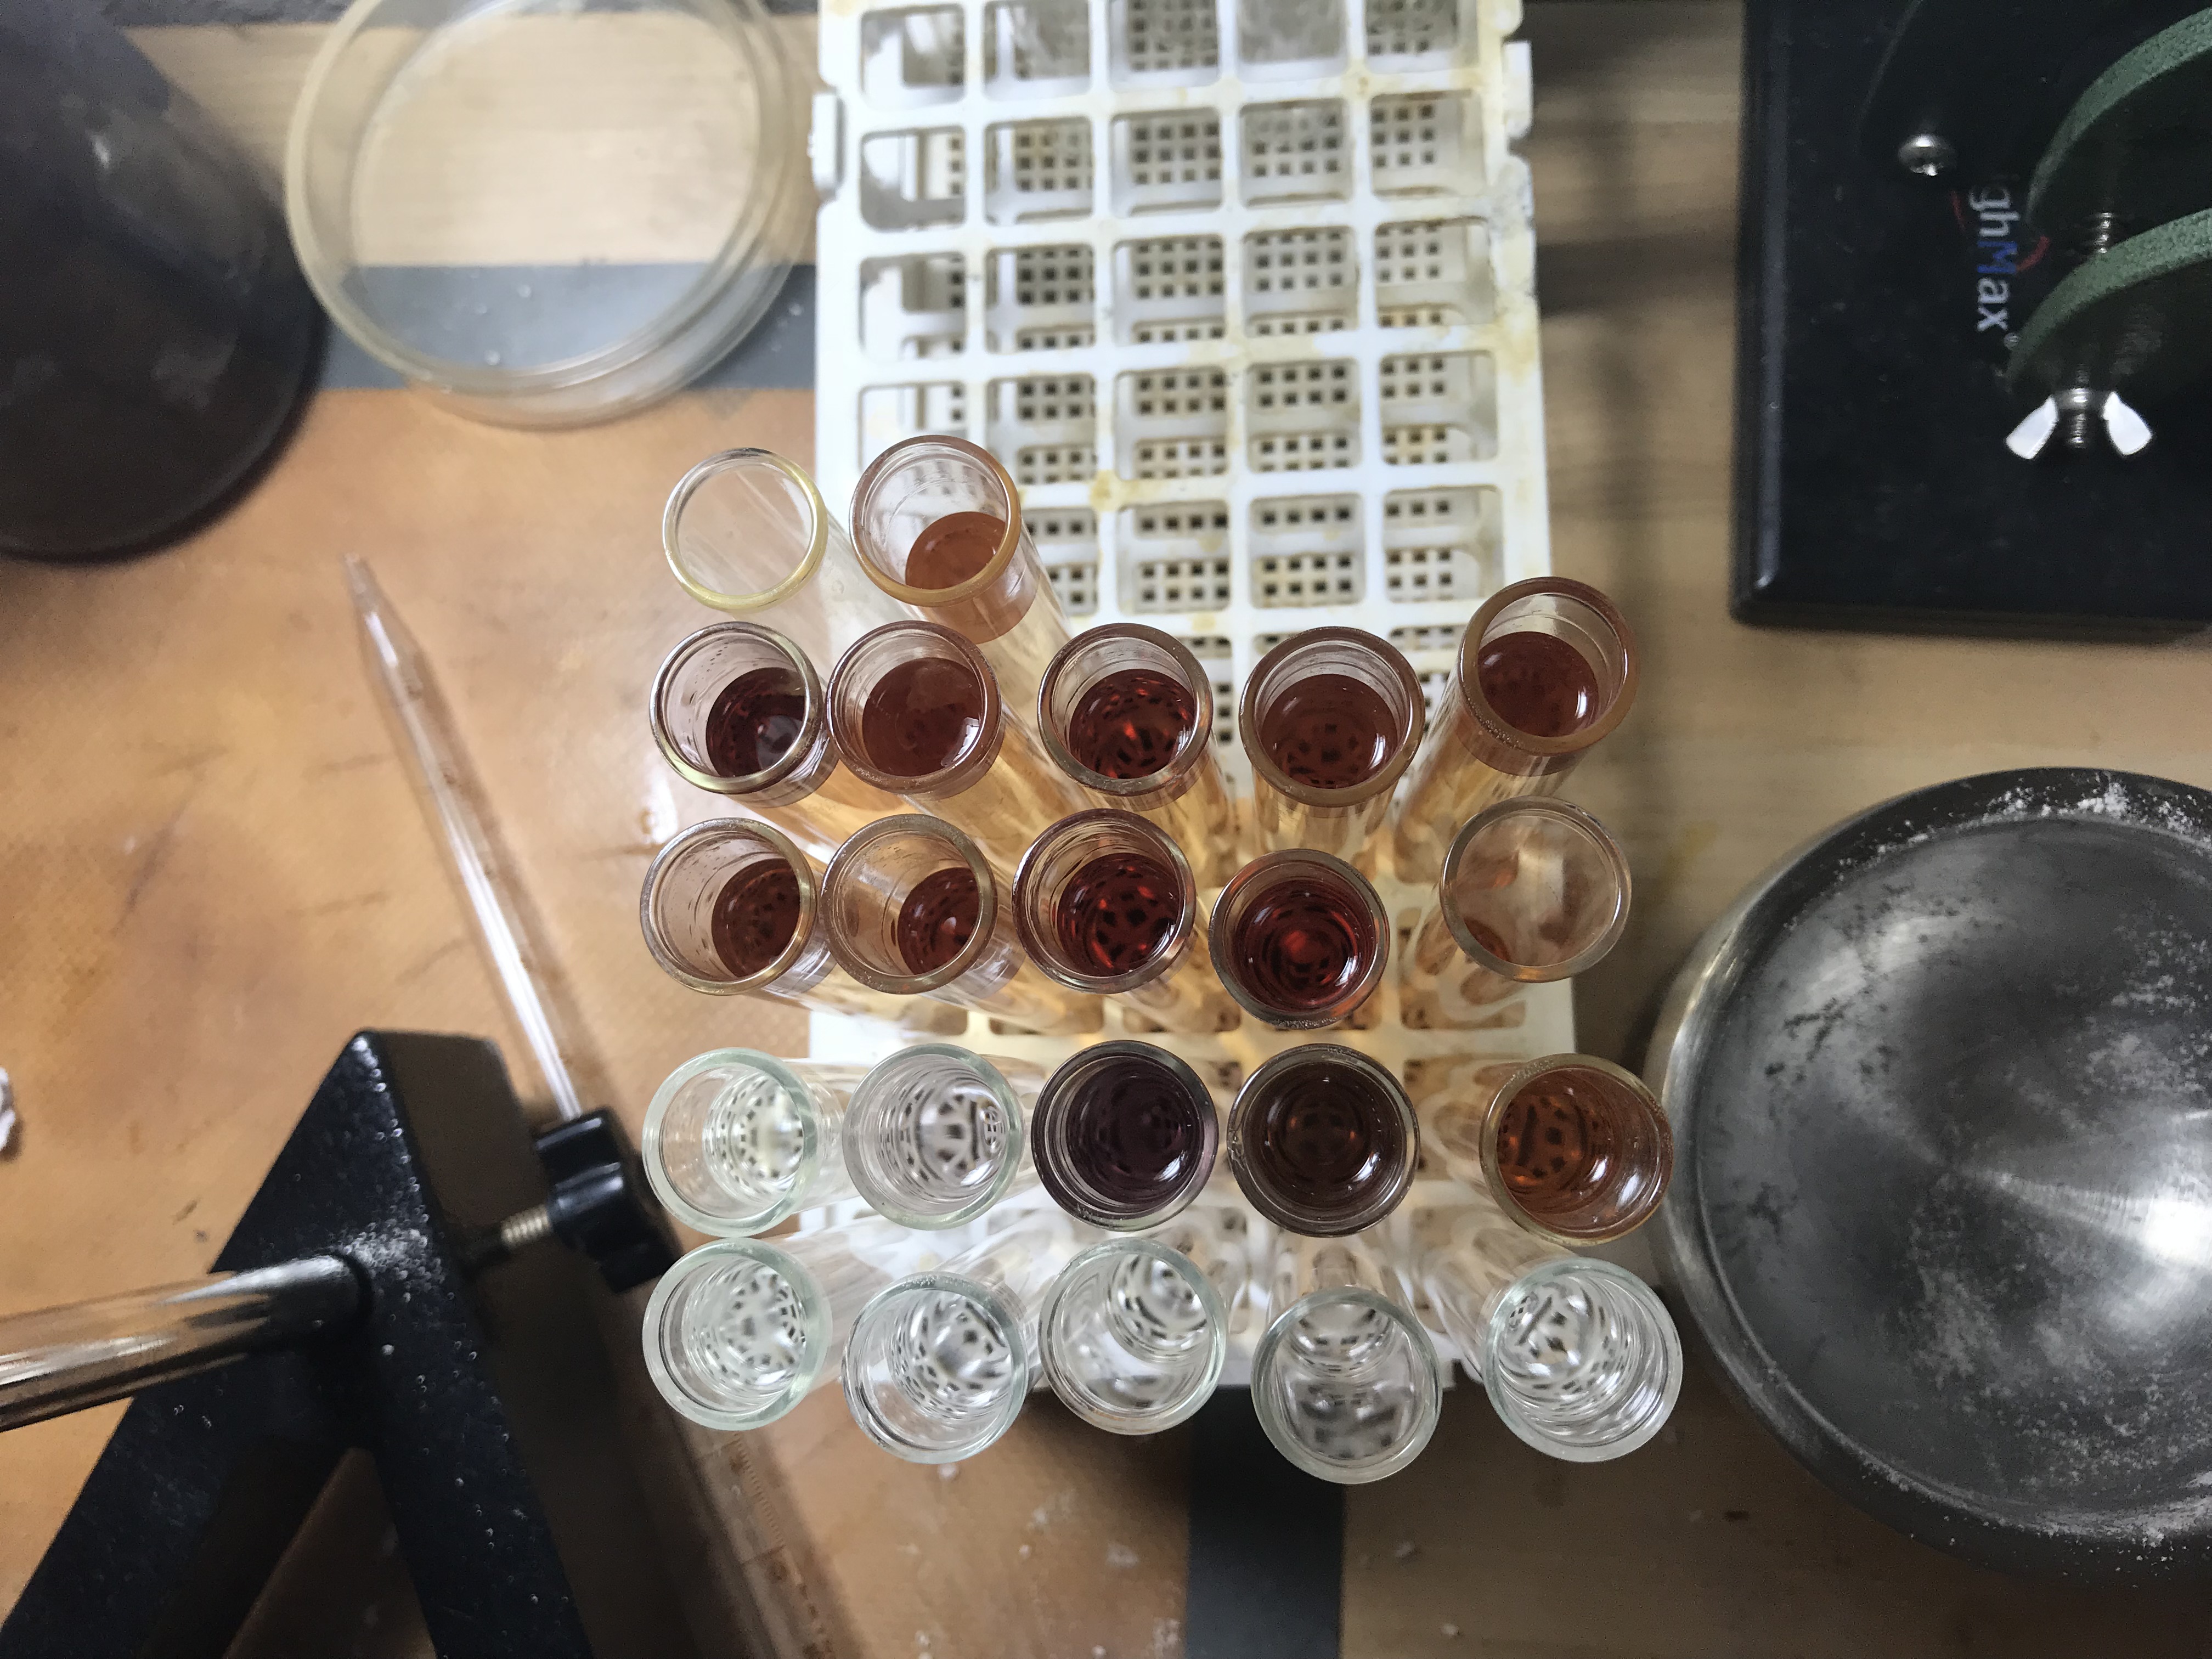
The technique is known as Dry Column Vacuum Chromatography (DCVC). I used an Ethyl Acetate and hexane gradient in 5% increments starting with pure hexane and progressing then to a mix of the two solvents with the solvent mix becoming ever more polar with each 20 ml of solvent added. Those solvent mixes are pulled through the column one at a time until the column is dry and pulls the compound off the Celite and down through. Those fractions are collected in order and shown here. The order is bottom to top left to right. So the first six fractions were substantially clear which is typical because the column is prewetted with solvent so at least three fractions will generally elute ahead of the rest and contains nothing but solvent. Beginning at fraction 7-9 I collect a trace purple component which lends a slightly bitter flavor and much color and cannot be removed otherwise with my gear. After that all the brown cannabinoid fractions were combined, mostly CBN and THC. Not shown are half a dozen highly polar solvent mixes needed to flush the traces of waxes and other unwanted compounds off the column. These compounds elute well after the cannabinoids and are disposed of.

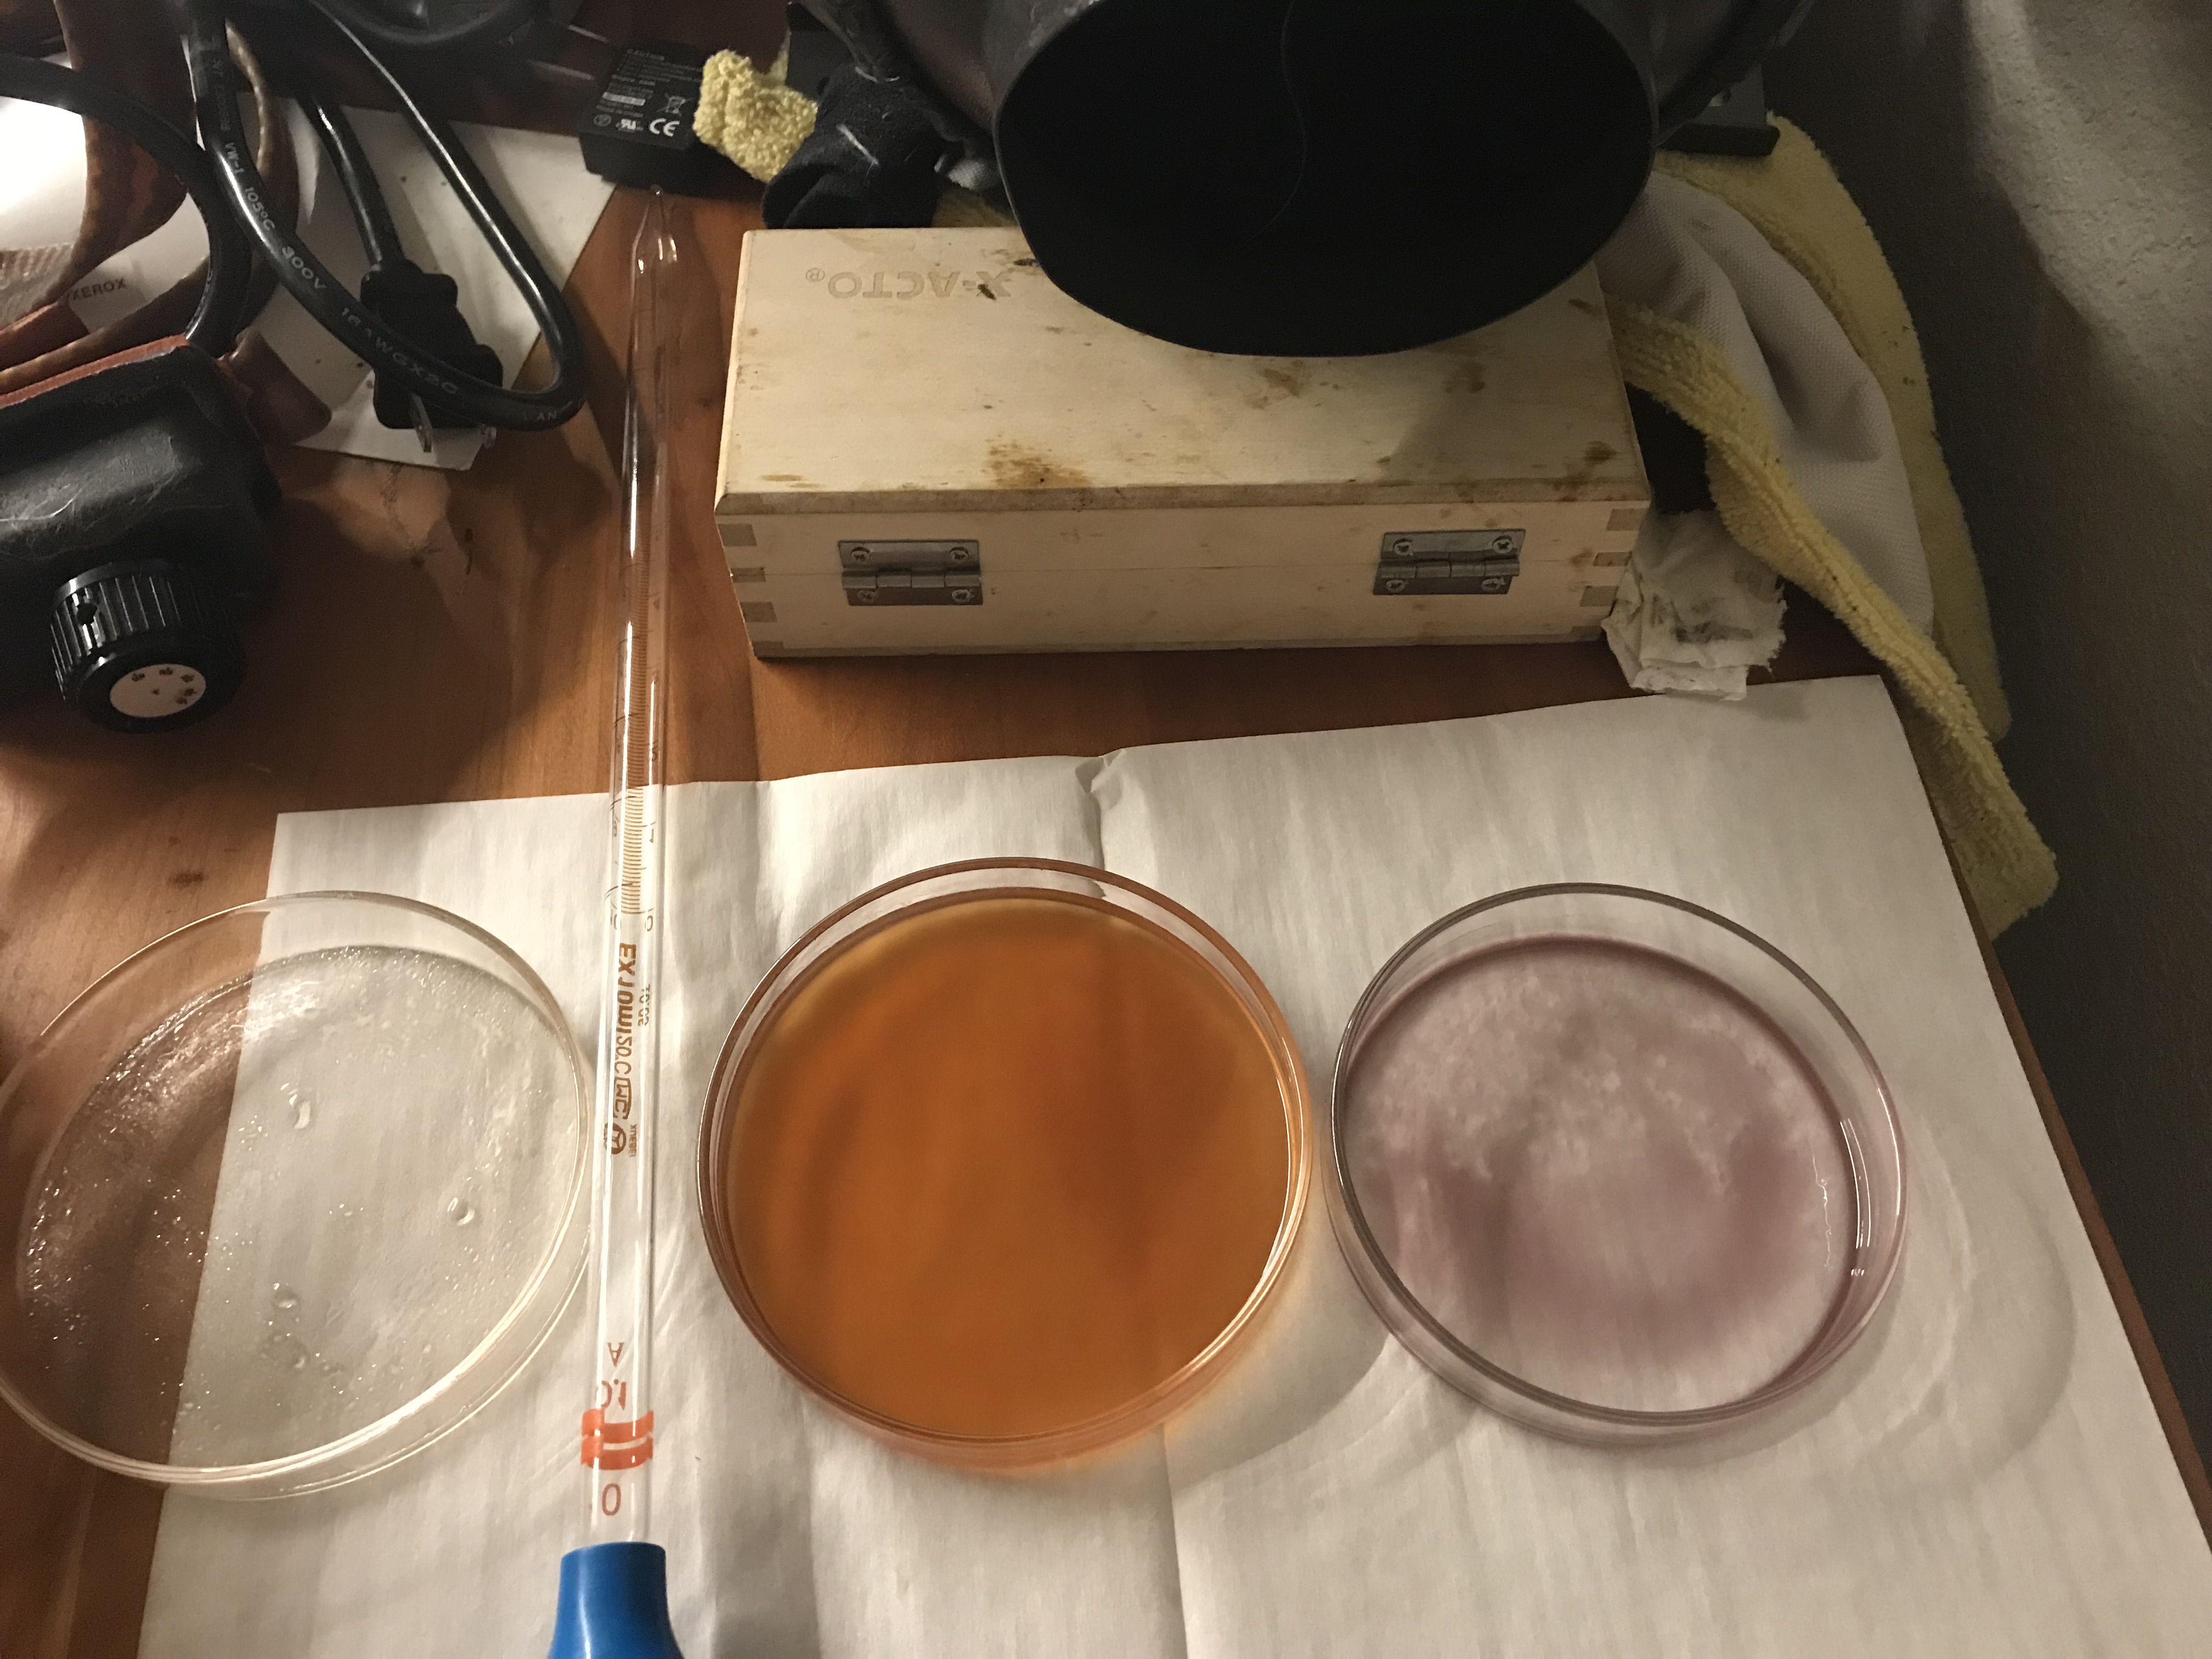
Now here the fractions are combined into two colors and evaporated. The purple always is just a trace and always seems to show up after even multiple distillation passes. However even though bitter I vape it anyway. It is stoney as hell and amounts to just a few good hits when scraped up vs. many weeks of med for me in the brown compound.
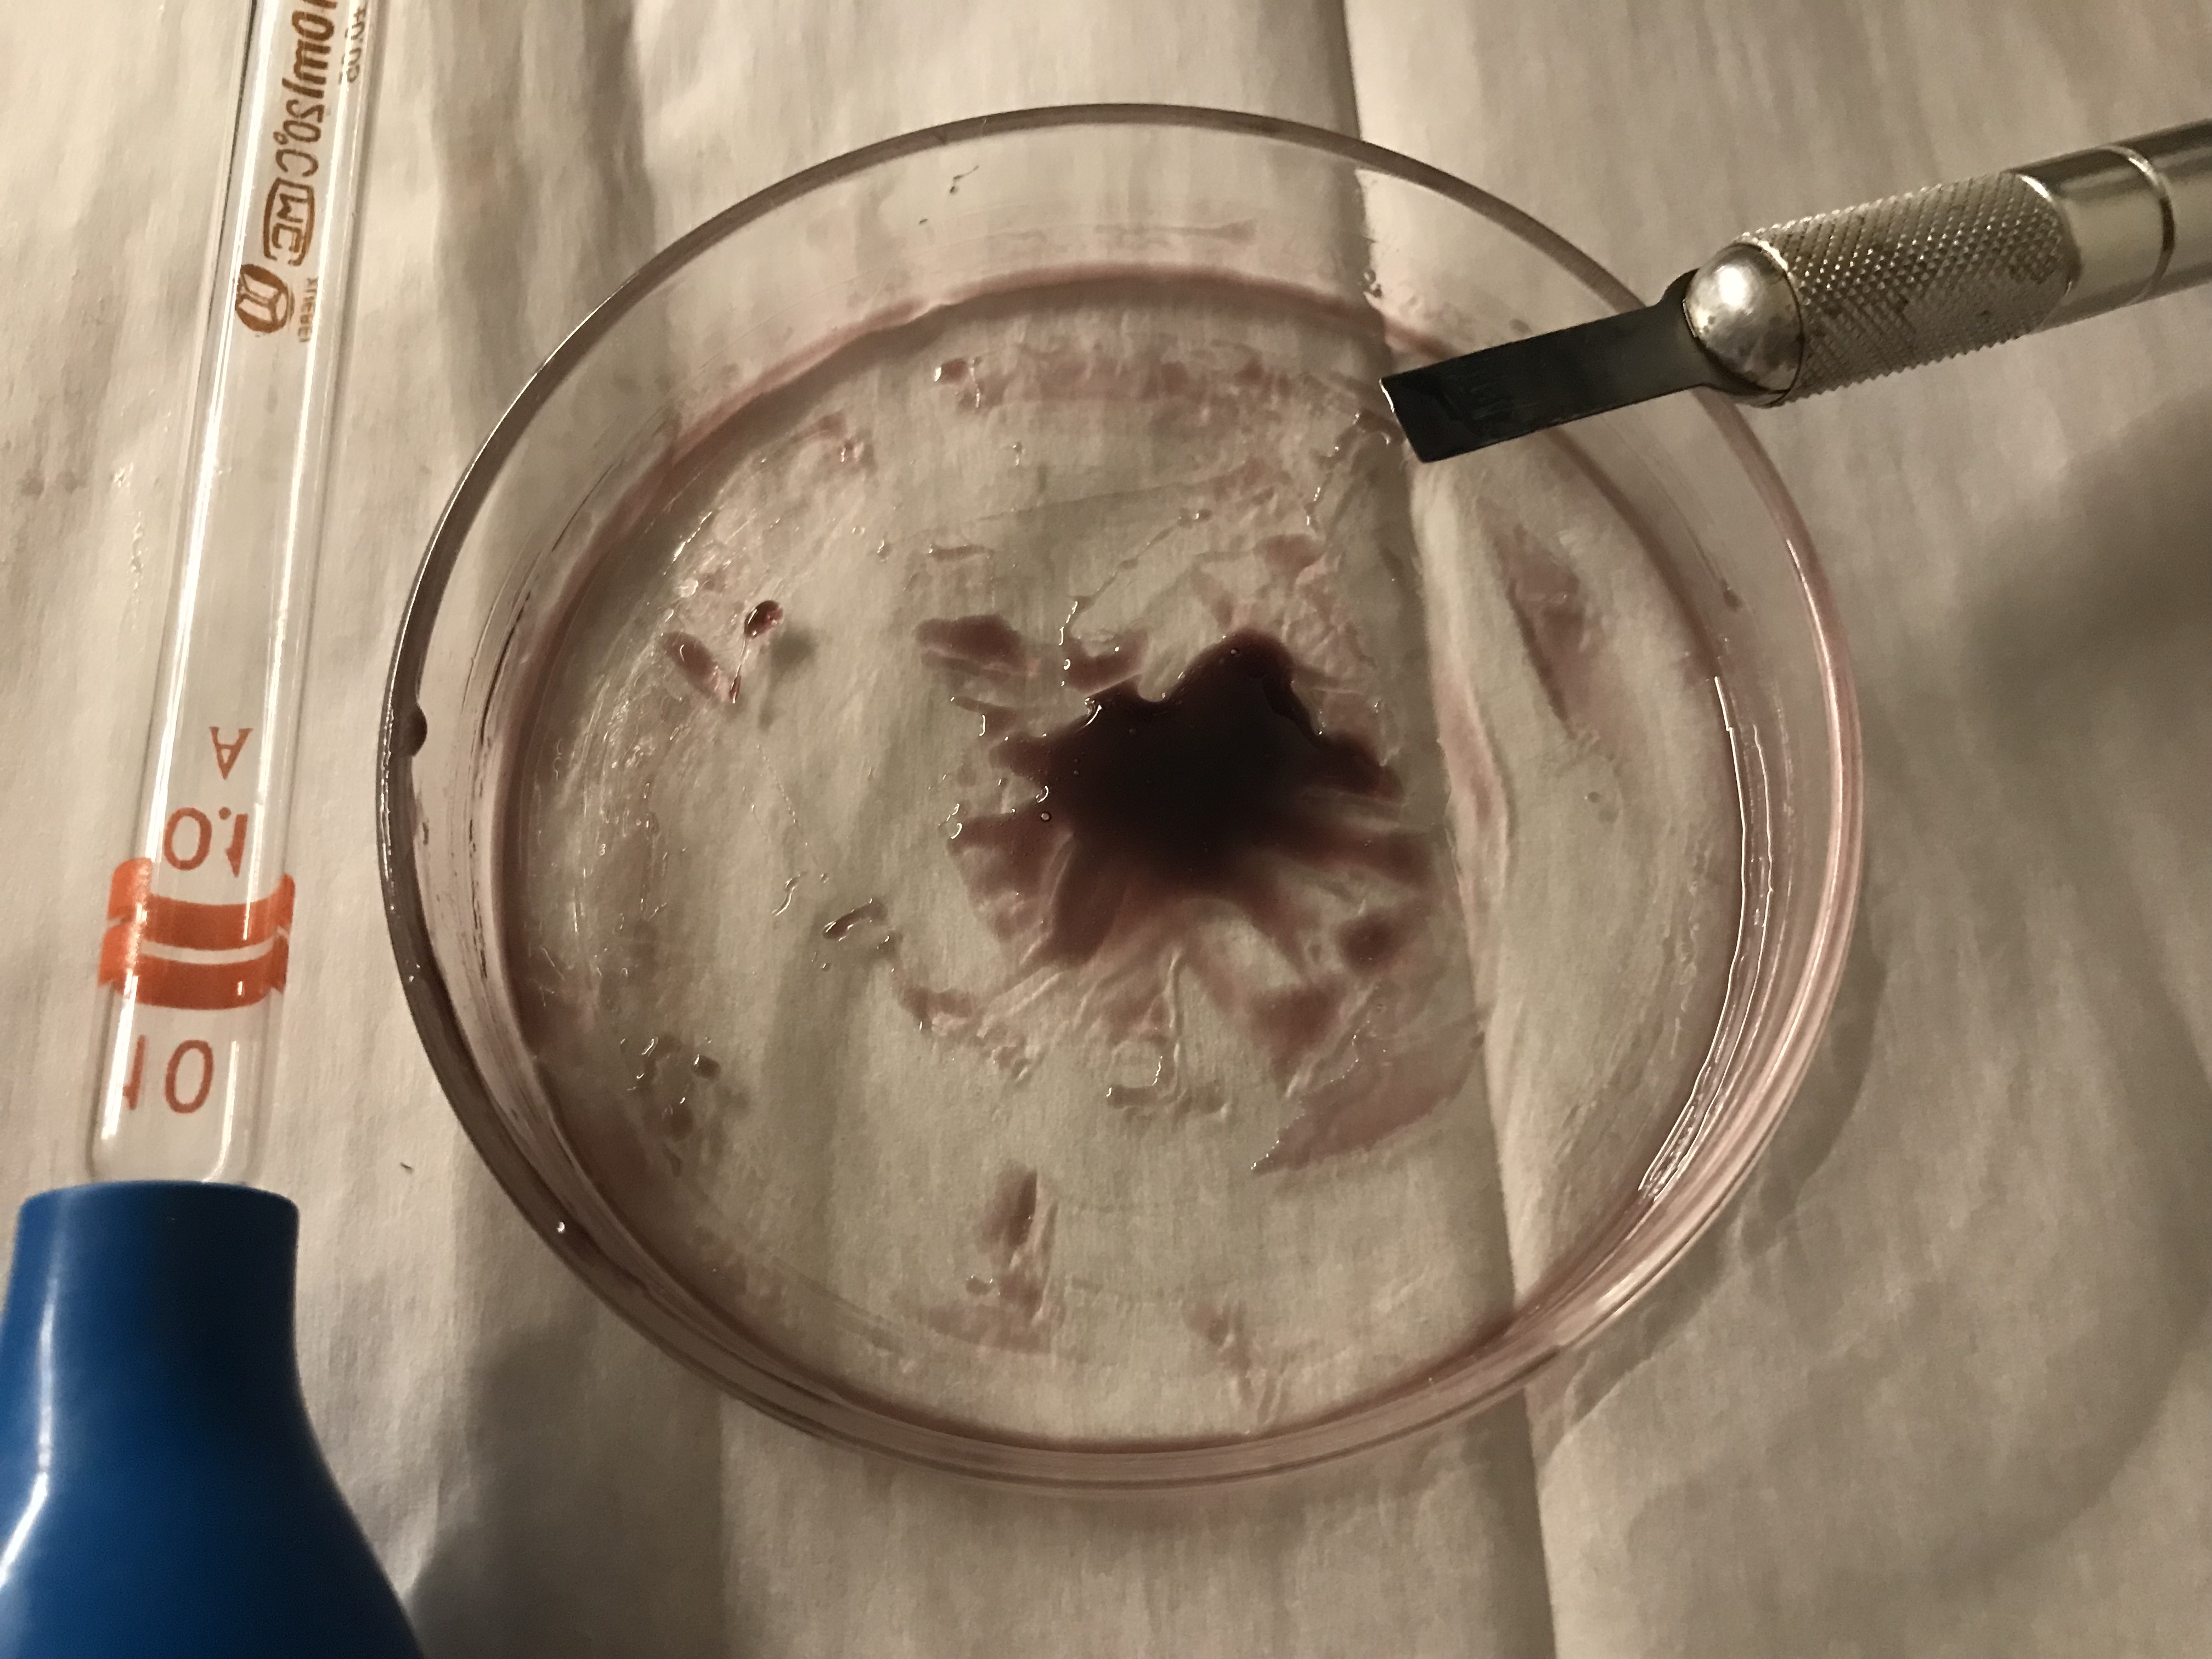
- Compound is loaded again into cryogenic sublimation apparatus for the final refining pass. The color changes rapidly at this point when exposed to oxygen and the compound turns orange red increasingly. Haste is made to get the solvent purged and get the compound under vacuum in the sublimator. Pressure indicated is ¾ of one micron. Heating mantle temp at this point is set at 135C nominal. Once the compound elutes from step 4 it begins to oxidize immediately into a trace red/brown component, likely CBN. This is now seperated and the result shown is Delta 9 THC isolate.
This has been denatured and dewaxed then distilled once for terps under deep vacuum. Short path deposited under mean free path vacuum conditions was done then twice. Then it was further seperated via DCVC Chromatography. Finally it was run again in the sublimator and harvested from the cold finger as some very potent and smooth med. A little bit goes a long ways.
Here is the harvest.

Here is the Delta 9 THC isolate.
These steps represent micro refinement and isolation of Delta 9 THC for use as my personal medicine.