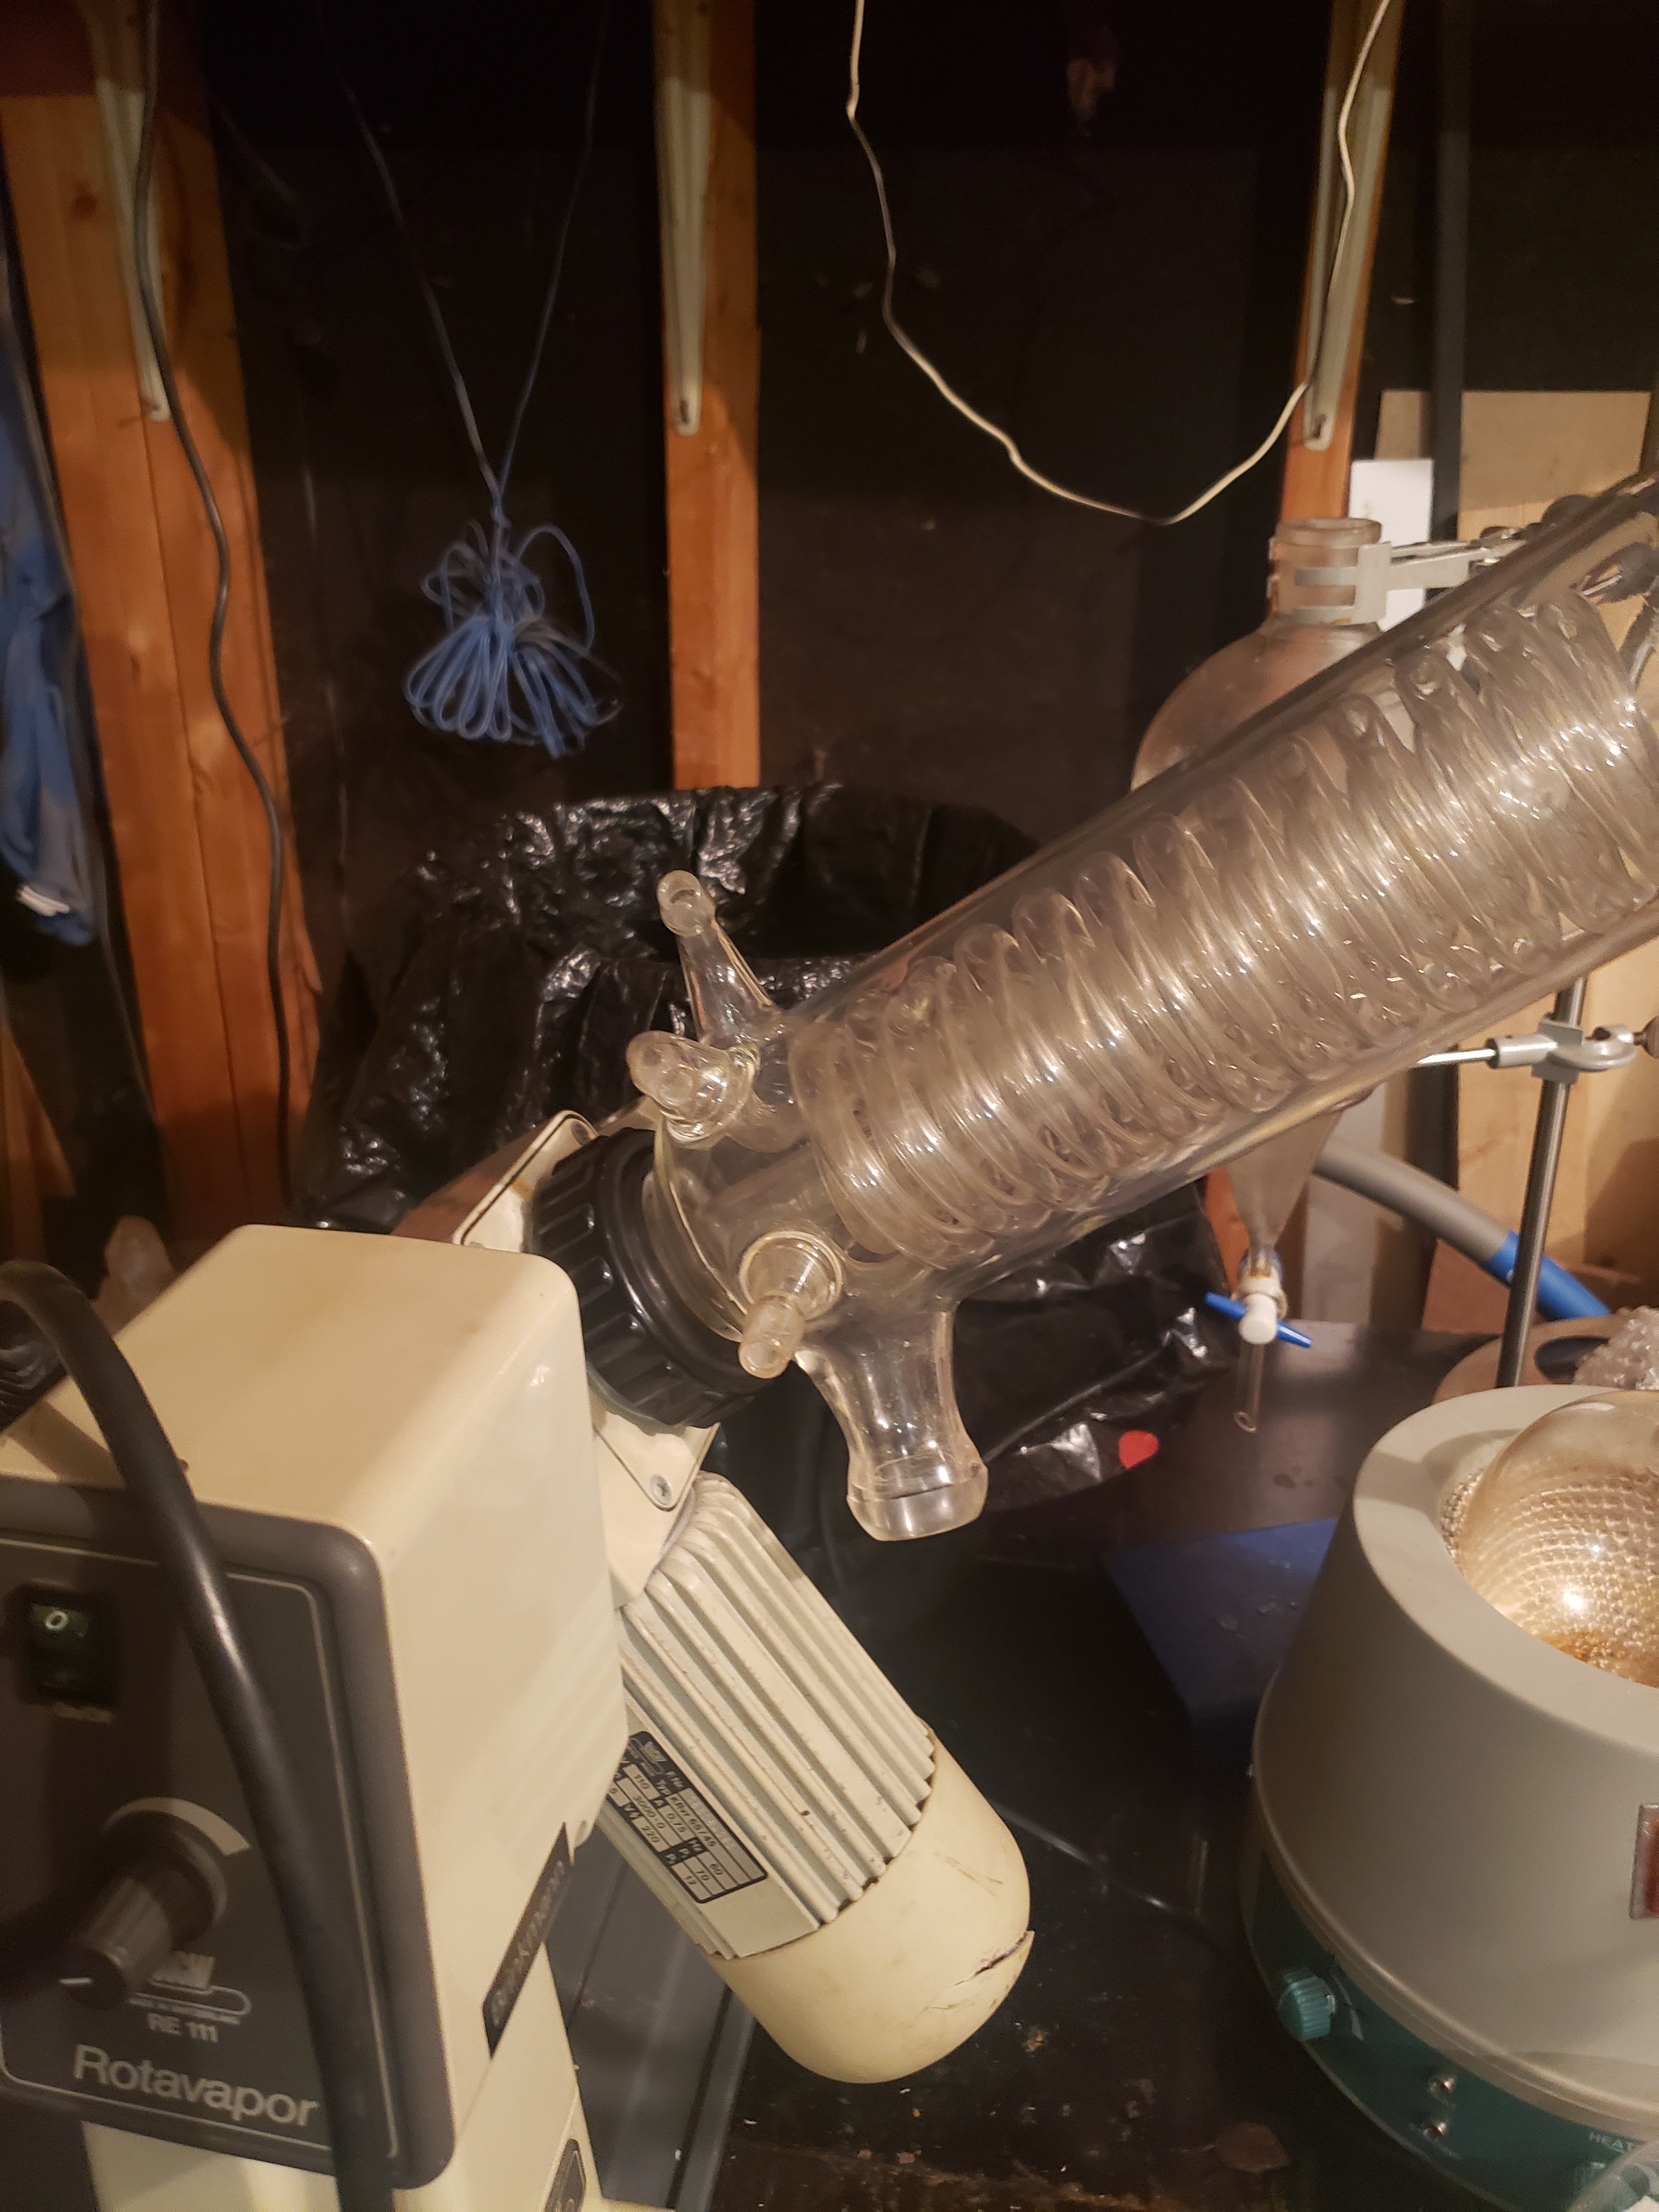
So i’m pretty new to all this and have been fantasizing about a rotary evaporator for a minute so I been piecing one together buying the cheapest parts i can find on Ebay as they appear. Anyway I get my new condenser in today and what do you know the motor driving the rotovap is right in the way of where the receiving Flask is meant to go! I mainly posted this to bitch and let out my frustration but if anyone has any ideas I’m all ears! Wish I would have paid more attention to the construction of both items.
Flip the motor.
4 Likes
Not sure it’s possible this model only has threads on one side.
Ok I’m pretty dumb lmao
Is the angle of the dangle fixed? In otherwords cab you change the angle of the condenser?
I flipped it I don’t know why I couldn’t see that lol, the stand for the water bath is on the wrong side now but that’s actually a good thing be I’m using a much larger water bath than would come with this machine. Thanks.
1 Like

This runs 80L per hour
8 Likes
That’s pretty cool man, I was thinking about going DIY but wants finding many resources. I think it was thought emporium on YouTube that had the best example of a homemade one I found when I was looking but construction required access to a metal lathe. If I would have seen this probably would have tried. What model and brand is the vacuum pump? still don’t have one as I’m not exactly sure what’s the minimum I could get away with is.
Im just teasing. Who knows if this works. I found this vid on youtube a while back, thought it was hilarious but also creative.
4 Likes
Lmao seems much better than no roto, idk why but I didn’t catch the sarcasm 80l per hour ![]()
Rotate the motor assembly so the motor is pointing up, then rotate the condenser assembly so the receiver outlet is pointed down. This puts the condenser on the left instead as on the right as you show it.
2 Likes
Thank you, I did exactly that feel like a dufus lol. I got it in the mail and threw it right on in prematurely thought I was fucked lmao.
I just realized there’s no condenser on this unit so it’s more like a roto-retort with vacuum?
I’m going to have to put you in the remedial class.
That coil shaped thing is the condenser.
You have a one piece unit instead of the more conventional two piece units.
That is a precision Swiss made piece and there is a guy on Future that stocks parts.
Try not to fuck it up.
( I taught at the U of M so it is mandatory that I ridicule you, feel humiliated but pay your tuition)
3 Likes
I refurbished buchi rotos for a few years. Lmk if you need any help. I practically have the part numbers memorized, lol.
2 Likes
Well my rule of thumb when I try to buy anything for soemthing specific I usually look up the model number and go from there.
1 Like
When I said the unit had no condenser I was referring to the video of the DIY roto @Waxplug1 posted. Still do have a lot to learn though that’s for sure. I’ve looked into distribution heads for rotovaps but it seems I would’ve needed to buy a shorter vapor duct plus incur the further expense of both pieces of glass. I’m definitely scared I’m gonna break this thing it seems so fragile.
1 Like
It’s fragile in the way if you drop it you’re fucked but not in the way that you cant go outside and use a garden hose on low water setting to clean it out. The vapor duct you mean the glass piece between the bf and the receiving flask? Yeah I broke that part by accident with my 5L bf once -[so this just happened] fortunately only the tube and not the flask broke, those tubes are like 50$-150$.
1 Like
If you can’t find an inexpensive used OEM Buchi vapor duct, buy replacements from Chemglass. Ace glass units aren’t as sturdy, breakage much more common with the 5L flasks we run.
1 Like